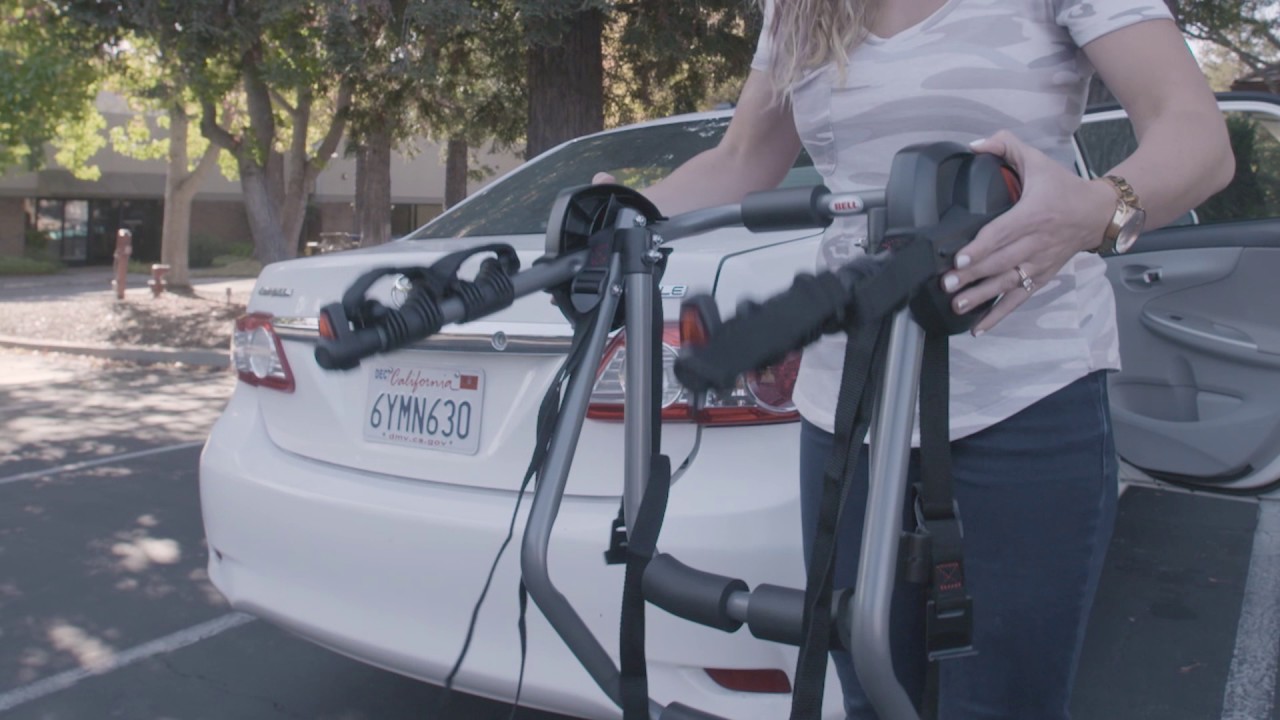
You just bought the Bell Cantilever 300 3-Bike Trunk Rack—a budget-friendly, easy-to-use solution for hauling bikes on your hatchback or SUV. At just $60, it is an attractive option for families or casual riders. But like any trunk rack, its safety and performance depend entirely on correct installation. A loose rack can sway, scratch your paint, or worse come loose on the highway.
This guide walks you through every step of Bell bicycle rack installation, based on real-world use and tested procedures. You will learn how to securely attach the rack, mount up to three bikes, prevent movement, and avoid common mistakes. Whether you are a first-time user or fine-tuning your setup, this guide ensures your rack stays stable and your vehicles and bikes stay safe.
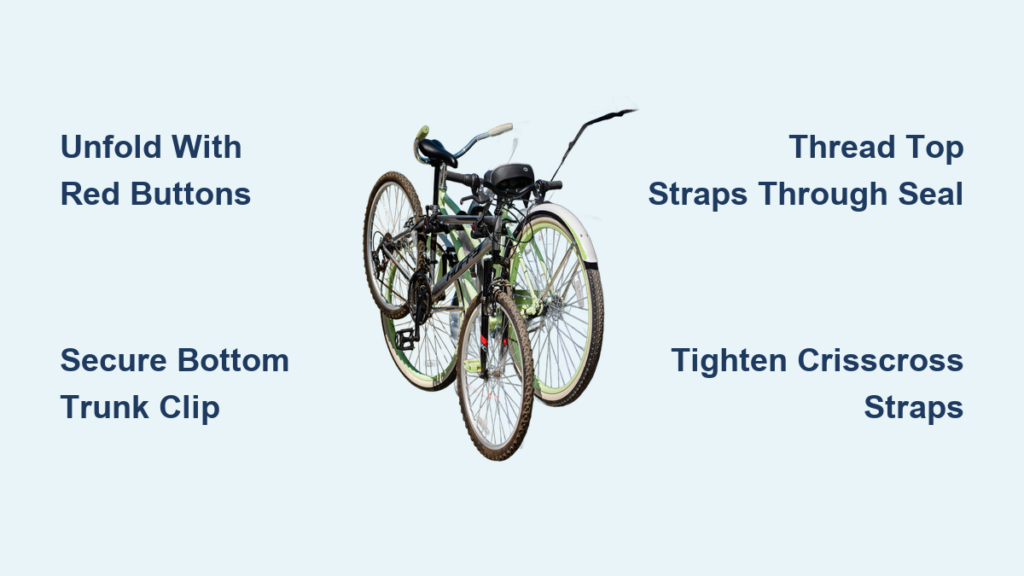
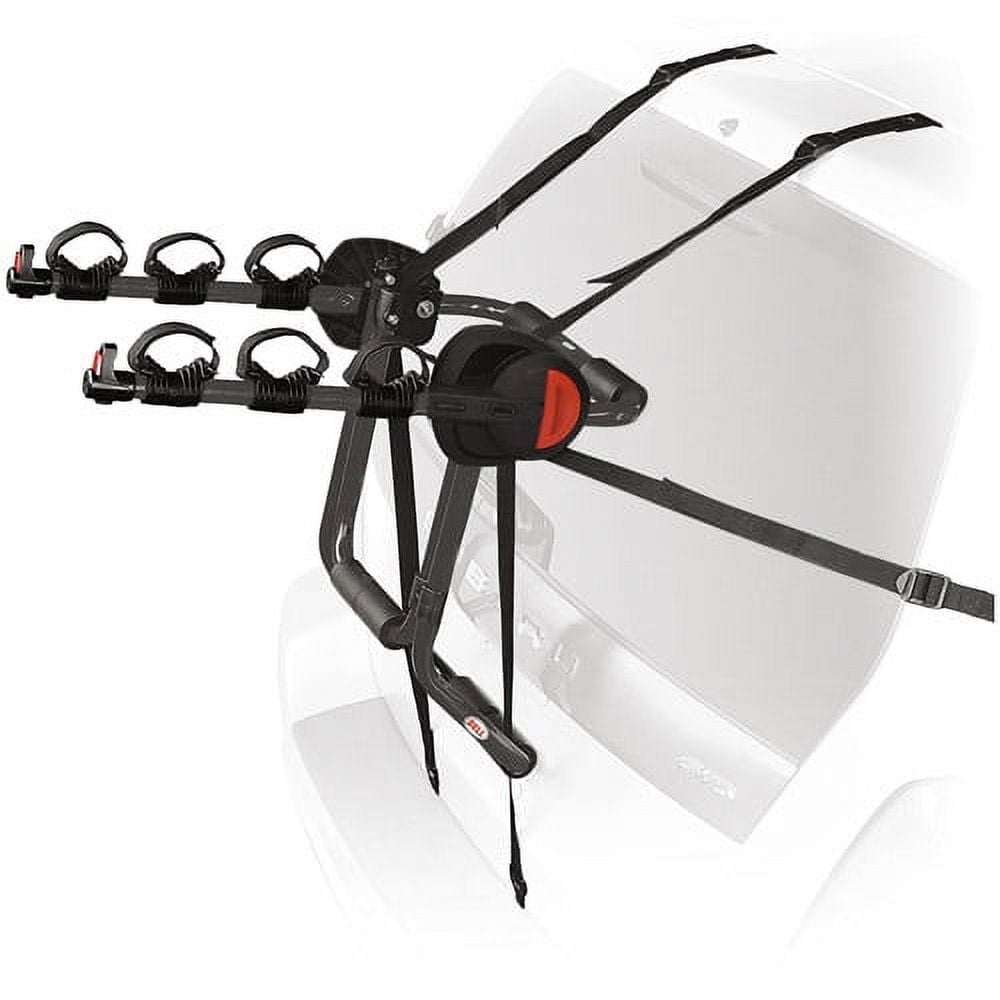
Unfold the Rack Using Red Release Buttons
Start by locating the red release buttons on both sides of the central support bar. These lock the rack arms in the folded position during shipping. Press both buttons simultaneously and swing the arms outward until they click into place. Fully extend them so the cradles lock at the proper width for bike mounting.
No tools are needed for this step since it is a tool-free design. Once unfolded, the rack should feel rigid and ready for vehicle attachment. If any part feels loose or does not lock, re-engage the arms by pressing the red buttons and re-extending them firmly.
Ensure the rubberized cradles face upward and are aligned with the rack arms. Each cradle holds one bike frame, so all three should be accessible and evenly spaced. Check that all cradles are properly positioned before proceeding to vehicle attachment.
Secure the Bottom Trunk Clip First
Place the bottom bar of the rack against the edge of your trunk or hatchback. It should sit flat across the lip where the door meets the body. This bottom trunk bar clip is critical because it anchors the lower half of the rack and prevents upward lift during driving.
The clip works best on vehicles with a defined rear edge, like the 2007 Pontiac Vibe or similar hatchbacks and SUVs. Avoid using it on flush-mounted glass hatches with no lip. Make sure the rubberized edge of the clip makes full contact with the vehicle.
Gaps reduce grip and increase the risk of slippage. Apply slight downward pressure to seat the clip firmly before moving to the strap system. This is the foundation of your entire installation, so get it right.
Thread Top Straps Through Door Seal Gaps
The top straps anchor through a small seam in the hatchback door seal, usually near the weather stripping at the top corners of the rear door. Open the hatch slightly and inspect the rubber gasket. Look for a natural gap where the strap can be threaded without damaging the seal.
Take the top strap on one side and weave it through the gap from outside to inside. Pull it through until the buckle rests against the seal. Repeat on the other side. Do not fully tighten yet because you will adjust all straps together after routing the lower ones.
These straps prevent the top of the rack from lifting but rely on proper routing. Never skip this step or drape straps over the door edge. Improper routing leads to instability at highway speeds.
Install Lower Side Straps with Hooks
To install the lower side straps, open the hatch about 2 to 3 inches. This creates just enough space to slide the metal hook under the trunk lip. These straps are labeled left and right, so match them to the correct side of the vehicle.
Take the metal J-hook on the strap and slide it horizontally under the edge of the hatch. Push it through until the hook is fully behind the metal lip. Then gently close the hatch, trapping the hook securely. Do this on both sides.
The hatch must remain closed to hold the hooks in place. This is a key safety feature. Now go back and tighten all four straps in a crisscross pattern: right top, left lower, left top, right lower. This even tension prevents twisting and ensures the rack sits flush.
Pull each strap firmly until there is zero wobble when you shake the rack. If the rack shifts, recheck hook placement and re-tighten. The rack should feel completely solid before you load any bikes.
Mount Your First Bike Securely

Lift the first bike onto one of the outer cradles. Position the frame so the main tube rests in the rubberized saddle. Center the bike left-to-right to maintain balance. Use the primary Velcro strap to wrap around the bike frame and the cradle bar.
Pull tight and press the fastener down securely. Then use the second Velcro strap to attach the upright support arm to the bike frame. Loop it between the upright and down tubes of the frame for maximum stability. Avoid wrapping around thin seat stays or rear dropouts because they can bend under pressure.
Attach a bungee cord from the bike frame to the lower crossbar of the rack. This prevents side-to-side flop caused by wind or bumps. Hook one end to the frame, the other to the rack bar, and stretch tight. This secondary tether is essential even with Velcro straps.
Load the Second Bike with Proper Balance
Place the second bike on the opposite outer cradle to distribute weight evenly. If using a third bike later, the middle cradle will be reserved for it. Longer bike frames may leave slack in the Velcro straps.
Do not leave loose strap ends flapping because they can snag or wear down. Instead, wrap excess material around the rack bar in a neat loop. Once wrapped, fasten the loop with a zip tie to prevent unwinding from vibration. Trim the tail after securing.
This simple trick keeps straps tidy and maintains tension over long drives. Use bungee cords on this bike as well for consistent stability across all mounted bicycles.
Install the Third Bike When Needed
Mount the third bike on the middle cradle. This balances the total load and reduces leverage on the rack arms. Follow the same procedure: secure frame with Velcro strap, reinforce with second Velcro strap on upright support, and add bungee cord to lower bar.
Ensure at least 6 inches of space between each bike handlebars and pedals. Cross the handlebars diagonally if needed, but never let metal parts contact because this can cause scratches or damage. If bikes are too close, consider carrying only two for safer transport.
Despite its capacity, never exceed three bikes. Overloading strains the arms, increases wind resistance, and raises the chance of detachment. Even two heavy bikes may require extra stabilization, so use bungees generously.
Make Final Adjustments for Safety
After all bikes are mounted, slide them slightly forward on the cradles so their weight centers over the vehicle rear axle. This improves handling, reduces rear-end sway, and minimizes stress on the hatch. Avoid letting bikes hang too far back because this increases leverage and wobble.
Go over every strap again: top trunk straps, lower side hooks, Velcro frame ties, and bungee cords. Re-tighten any that have loosened during bike loading. Shake the rack firmly; no movement should occur.
If the rack shifts, reseat the bottom clip and re-tighten all straps. These final checks take less than a minute but prevent catastrophic failures on the road.
Prevent Movement During Travel
For extra security, add a second bungee cord per bike. Run from the seat post or down tube to the bottom support bar. Stretch tight with no slack. This dual-cord system absorbs road shock and wind gusts, reducing frame vibration.
Check that plastic buckles on straps are fully engaged and not cracked. These are the weakest point in the system, especially after UV exposure. If any look brittle, replace the strap or avoid high-speed travel.
Do not leave the Bell rack attached for days or weeks. Prolonged sun exposure makes plastic buckles brittle and straps weak. Over time, this increases failure risk. Remove the rack after each trip to protect both the unit and your vehicle paint.
Test Before Driving
With all bikes loaded, shake the rack side-to-side and up-down. Any movement means straps are too loose or hooks are not seated. Re-secure until the entire system feels solid.
Drive at 15 to 20 mph for the first mile, then stop and recheck strap tension, bike alignment, and hook security. If everything holds, proceed with confidence.
This test run catches problems before they become dangerous. It also gives you peace of mind for longer trips.
Remove and Store Properly
To remove the rack, unbuckle all bike straps and bungees first. Open the hatch to release lower hooks. Remove top straps from seal gaps. Lift rack off the trunk lip. Press the red release buttons and fold the arms inward.
Wrap straps neatly and secure with included elastic bands. Store indoors, not in a garage or trunk exposed to heat and UV. This extends the life of plastic and fabric components.
Proper storage prevents premature wear and ensures the rack is ready for your next adventure.
Maintain Your Rack Regularly
Inspect after every use for frayed or stretched straps, cracked buckles or Velcro wear, and loose hinges or red buttons. Replace damaged parts immediately; do not risk failure on the road.
Clean straps with mild soap and water if dirty. Remove road salt, mud, or sand that can degrade fabric over time. Air dry completely before storage.
Apply a dry silicone spray to the red button mechanisms and hinge points annually. Avoid oil-based lubricants because they attract dust and grime.
Frequently Asked Questions About Bell Bicycle Rack Installation
How long does it take to install a Bell Cantilever 300 rack?
First-time installation takes approximately 10 to 15 minutes once you are familiar with the strap routing. Subsequent uses are faster since you already know the process.
Can I use this rack on a sedan with no hatchback?
The Bell Cantilever 300 requires a trunk lip or hatchback edge for the lower hooks and top strap routing. It works best on hatchbacks and SUVs with a defined rear edge. It will not work on vehicles with flush-mounted glass hatches.
How do I prevent my bikes from swaying during highway driving?
Use bungee cords on every bike, running from the frame to the lower support bars. Add a second bungee per bike for extra security. Ensure Velcro straps are tight and bikes are positioned forward over the rear axle.
What vehicles are compatible with the Bell Cantilever 300?
This rack is compatible with hatchbacks, sedans, and SUVs that have a usable trunk lid or hatchback edge. It has been successfully installed on vehicles like the 2007 Pontiac Vibe. Always check your vehicle has a lip before purchasing.
How do I maintain the rack to make it last longer?
Remove the rack after each trip to avoid UV damage to plastic buckles. Store indoors in a cool, dry place. Inspect straps and buckles regularly for wear. Clean straps with mild soap and apply silicone to moving parts annually.
Key Takeaways for Successful Bell Bicycle Rack Installation
The Bell Cantilever 300 delivers solid performance for its price when installed correctly. It safely carries three bikes on highways and backroads alike, but its strap-based design demands attention to detail. Follow this guide every time you install it, and you will avoid common failures that lead to accidents or damage.
Always use bungee cords as secondary stabilizers, check strap tension before every trip, and never leave the rack attached to your vehicle for extended periods. The plastic buckles degrade quickly under sun exposure, so proper storage extends the rack life significantly.
With proper care and attention to these installation steps, your Bell bicycle rack will serve you well for years of weekend adventures. Now that your Bell bicycle rack installation is complete, double-check each strap, hit the road, and enjoy the ride.