If you’ve ever wasted precious minutes searching for a wrench or socket in a cluttered toolbox, a custom foam tool organizer is your solution. Learning how to cut foam tool organizer inserts transforms chaos into order, giving every tool a precise, labeled home. Whether you’re using a simple scalpel or a laser cutter, the process revolves around accurate layout, clean cuts, and smart depth control. This guide walks you through every step, from choosing the right foam and tools to designing your layout, cutting with precision, and finishing like a professional.
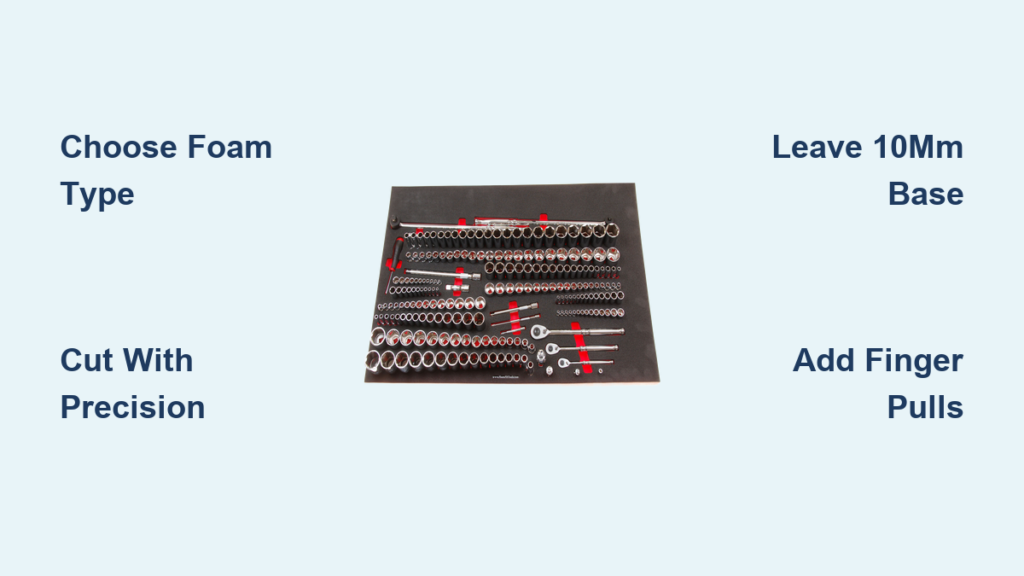
Choose the Right Foam Type

Selecting the appropriate foam is the foundation of a durable, functional tool organizer. The material you choose directly impacts how well your inserts hold up over time and how professional they look.
Closed-Cell Cross-Link Foam
Closed-cell cross-link foam is the gold standard for durable tool organizers. It resists moisture, oils, and temperature swings, making it ideal for automotive and industrial environments. Its layered structure, often black over red, enables clean shadow cuts by peeling only the top layer. This foam maintains shape after hundreds of tool insertions and is available in 30mm, 50mm, and 70mm thicknesses. For deep tools, stack layers up to 100mm.
EVA Foam for DIY Projects
EVA (ethylene-vinyl acetate) foam, commonly found in interlocking gym mats, is a budget-friendly option for DIYers. At around $8 for four 1m² sheets, it’s soft yet supportive for hand tools and electronics. It’s compatible with laser cutters. Use 80% power and 450mm/min speed on a 5.5-W diode laser for 10mm thickness. Warning: Laser-cutting EVA produces strong fumes. Always work in a ventilated area or use a fume extractor.
Layered Foam for Deep Storage
For oversized tools like long-handled wrenches or power tool bases, stack multiple foam sheets. Two 50mm sheets create a 100mm-deep insert. Secure layers with low-tack adhesive or rely on friction-fit placement in drawers. This modular approach allows future reconfiguration without replacing the entire insert.
Select Foam Depth by Tool Size
Choosing the right foam depth ensures tools sit securely without bottoming out. Follow this quick-reference guide to match thickness to tool profile.
Match Thickness to Tool Profile
Use this depth guide for optimal results:
- 30mm foam: Ideal for screwdrivers, pliers, and standard sockets. Leave at least 20mm base.
- 50mm foam: Best for torque wrenches, power tool attachments, and irregular shapes. Requires 40mm minimum base.
- 70mm foam: For long-handled tools or full encapsulation. Maintain 60mm base layer.
- Layered foam (>70mm): Stack sheets for custom depth. Always leave 10mm base per layer.
Never Cut Through the Base
A critical rule applies to every cut you make. Always leave at least 10mm of uncut foam beneath the deepest tool cavity. This prevents tools from touching the drawer floor, reduces wear, and maintains structural integrity. Cutting too deep compromises foam support and leads to premature collapse.
Use the Correct Cutting Tools
The right cutting tool makes the difference between clean, professional cuts and ragged, crushed edges. Here’s how to choose wisely for each application.
Scalpel with #11 Blade for Precision
The #11 scalpel blade is the top choice for clean, controlled cuts. Its fine, pointed tip excels at outlining intricate shapes like ratchets or angled sockets. Replace the blade at the first sign of drag. Dull blades crush foam instead of slicing. Use forceps to install the blade safely. Grip the blade just above the edge, align “11” toward you, and slide into the handle without touching the sharp end.
Utility and X-Acto Knives for Bulk Work
For larger cuts or straight edges, a utility knife or X-Acto knife offers depth control with retractable blades. These tools are effective but less precise than a scalpel. Avoid kitchen knives or spoons. They compress the foam, leaving permanent dents and ragged edges.
Hot Knife or Laser for Professional Results
A heated foam knife melts through material, sealing edges and preventing fraying. This is ideal for industrial applications. For high-precision, repeatable results, use a 5.5-W diode laser at 80% power and 450mm/min speed. Laser cutting requires LightBurn software and proper ventilation due to fumes. CNC machines are used commercially for bulk production.
Follow Safety Best Practices
Safety should never be an afterthought when cutting foam. These practices protect you from common injuries associated with sharp blades and powered equipment.
Wear Protective Gear
Always wear anti-cut gloves on your non-dominant hand, the one holding the foam. This protects against slips that can cause deep lacerations. Use eye protection when using hot knives or lasers. For laser cutting, ensure adequate ventilation. Use a fume extractor or work in a well-ventilated space to avoid inhaling EVA fumes.
Handle Blades Safely
Never leave a scalpel on your workbench. Store it in a secure container after use. Cut away from your body with deliberate strokes. Replace blades immediately if they start tearing the foam. Avoid cutting near metal drawer edges. They quickly dull blades.
Plan Layout Before Cutting
A well-planned layout saves material and ensures every tool has a proper home. Take time to arrange your tools before making any cuts.
Start with Large Tools
Begin by placing your biggest tools like wrenches or power drills near drawer corners or edges. Leave a 20mil gap around each for easy access. Group related items. Keep Allen keys together, stagger screwdrivers, and top-and-tail pliers to save space. Use vertical stacking. Place rulers or pens under larger tools.
Use Alignment Aids
Apply masking tape along drawer edges to maintain consistent spacing. Insert dull blade pins (15mil wide) as spacers between tools. Remove them after cutting. For repeated shapes like multiple sockets, create paper templates in Word or Pages, print, and reuse. Online SVG outlines can guide complex cuts.
Try the Light-Box Method
For digital precision, follow these steps:
- Tape four A3 papers to match drawer size.
- Arrange tools on the paper.
- Place on a bright light box.
- Capture the layout with the Tool Kizer app.
- Edit in a web editor, export as SVG, and import into LightBurn for laser cutting.
Master Cutting Techniques
The cutting technique you use determines the quality of your final insert. Master these core methods for professional results every time.
Peel for Shadow Layer Effect
The peeling method creates a clean, two-tone shadow by removing only the top layer of laminated foam like black over red. After cutting the full outline, gently lift one edge and peel at a low angle, parallel to the surface. Use your strongest finger, usually the index, to pull the section out smoothly. If resistance occurs, re-cut any unsevered fibers before continuing.
Through-Cut for Deep Cavities
For tools deeper than a single layer, cut fully through the foam. Use a self-healing cutting mat to protect your work surface. This method is essential for thick power tools or stacked foam inserts. Ensure the base layer remains intact beneath.
5mil Insert from the Back
When peeling isn’t possible, cut a shallow 5mil piece from the back of the foam, pop it out, and insert it into the cavity base. This mimics the shadow effect and works well for flat or shallow tools.
Add Accessibility Features
Well-designed accessibility features make your organizer practical for daily use. These additions help you access tools quickly, even from deep cavities.
Create Finger Pulls
Cut half-moon shapes using a 34mil stencil to help extract tools from deep cavities. Peel to the desired depth, then smooth the edge with a foam smoothing spinner. Use the same size pull across all inserts for a uniform look.
Cut Pop-Up Cavities
For tools with no grip, cut a small square under one end of the cavity. When pressed, the foam pops up, lifting the tool for easy removal. It reseals seamlessly when released. This is perfect for hex keys or small drivers.
Install Tram Lines
Cut narrow channels, called tram lines, to access rear tools without removing front ones. Position a 1m aluminum ruler ~12mil from the bottom, cut along both sides and across, then smooth the base. Angled tram lines can be cut directly with no alignment needed.
Smooth and Finish Cavities
Proper finishing transforms rough cuts into clean, professional-looking cavities. These techniques ensure your inserts look as good as they function.
Use a Foam Smoothing Spinner
A foam smoothing spinner with a ¼-inch extension reaches deep or tight cavities. Attach it to any standard ¼-inch drive available on Amazon. Use only for smoothing, never drilling. Flexible extensions help users with limited dexterity.
Flatten Uneven Bases
Foam’s cellular structure can leave cavity floors uneven. Use a scalpel held horizontally to gently shave high spots. For faster results, use a heated blade or abrasive file. These are ideal for large projects.
Achieve the Shadow Effect
Two-tone foam creates a visual cue when a tool is missing. Remove the 10mil top layer around the tool outline to expose the contrasting underlayer. This improves inventory control and adds a professional finish.
Laser-Cut Workflow for Precision
Laser cutting delivers unmatched precision for complex layouts. This workflow walks you through the digital process from design to finished cut.
Set Up Your Equipment
For laser cutting, you’ll need a 5.5-W diode laser, LightBurn software, an A3 light box, the Tool Kizer app, and a ventilation system. Gather everything before starting your project.
Execute the Cut
Follow this sequence for best results:
- Trace tools in the drawer with a long-nose marker.
- Use paper mock-up or light-box method to finalize layout.
- Generate outlines with Tool Kizer, edit, and export as SVG.
- Import into LightBurn: set speed to 450mm/min, power to 80%.
- Apply offset adjustments for handle clearance.
- Load foam and start the cut.
Allow time for trial runs. Fine-tune settings and keep notes for future projects.
Fit Foam to Any Container
Custom foam fits any container, not just standard drawers. These techniques handle irregular shapes and custom sizes.
Customize for Irregular Drawers
For non-standard drawers or bags, trace the container’s interior onto cardboard. Cut and test-fit the paper template. Transfer the shape to foam. Cut with a scalpel and adjust until snug. This method works for wall panels, tool bags, or van organizers with no special tools required.
Order Custom-Sized Sheets
Foam can be ordered up to 2 meters by 1 meter for large-scale projects. This ensures a perfect fit for deep chests or mobile units. Use hand-cutting techniques to personalize after fitting.
Ensure Quality with Test Fits
Testing each tool after cutting reveals issues before they’re permanent. This step saves material and frustration.
Check Snugness and Stability
After cutting, test each tool. It should fit snugly with slight resistance. If it wobbles, deepen or widen the cavity. For angled tools like swivel sockets, adjust depth selectively within one cavity.
Refine as Needed
Don’t rush. Misaligned cuts are common on first attempts. Use scrap foam to practice peeling and cutting before final layout. Adjust spacing, depth, and finger pulls iteratively until satisfied.
Personalize Your Organizer
Custom touches make your organizer uniquely yours while improving functionality. Add identification and branding elements that serve a purpose.
Add Labels and Logos
Use a scalpel to hand-cut text, initials, or section labels like “10mm” or “Allen Keys”. For consistency, use stencils. Engrave company logos for service vans or user names in shared workshops.
Maintain Professional Aesthetics
Standardize finger pull sizes, tram line widths, and color contrasts. A uniform look enhances usability and visual appeal. Consistency matters more than complexity.
Frequently Asked Questions About Cutting Foam Tool Organizers
What is the best foam type for DIY tool organizers?
Closed-cell cross-link foam offers the best durability and creates professional shadow effects. EVA foam is more budget-friendly and works well for light-duty applications. Choose closed-cell for long-term use and EVA for quick, inexpensive projects.
Can I cut foam tool organizers without special tools?
Yes. A sharp #11 scalpel blade and a steady hand produce excellent results. Utility knives work for larger cuts. The key is using sharp blades and cutting slowly to avoid crushing the foam.
How deep should the foam base remain after cutting?
Always maintain at least 10mm of uncut foam at the bottom of every cavity. This base layer prevents tools from touching the drawer floor and maintains structural integrity.
Is laser cutting better than hand cutting for foam organizers?
Laser cutting offers superior precision and repeatability, especially for complex layouts. However, hand cutting with a scalpel provides sufficient accuracy for most DIY projects and requires minimal investment.
How do I create the shadow layer effect?
Use two-tone foam with a colored top layer over a contrasting base. Cut around the tool outline, then peel away only the top layer to expose the color beneath. This creates visual contrast when tools are removed.
How long do foam tool organizers last?
Quality closed-cell foam maintains shape for 500+ insertions. EVA foam lasts similarly under normal use. Replace foam when it becomes loose, torn, or no longer holds tools securely.
Key Takeaways for Cutting Your Own Foam Tool Organizer
Creating a custom foam tool organizer requires the right foam type, proper depth selection, and sharp cutting tools. Closed-cell cross-link foam provides durability and enables the professional shadow effect that makes tool identification instant. Always leave a minimum 10mm base layer beneath the deepest cut to maintain structural integrity and protect your tools.
The cutting technique matters as much as the tools. Master the peeling method for clean shadow layers, use the light-box method for precise digital layouts, and add accessibility features like finger pulls and tram lines for practical daily use. Test every tool fit before finishing, and don’t hesitate to refine adjustments iteratively.
Whether you choose hand cutting with a scalpel or laser cutting with specialized software, the investment pays off in saved time, reduced frustration, and a workspace that meets professional 5S standards. Start with a small project, practice on scrap foam, and build your skills progressively. The result is a custom organizer that works exactly how you need it to.