If you’re a glazier, window installer, or contractor who regularly hauls glass, you know how risky it is to transport large, fragile sheets without the right equipment. A glass rack for a truck keeps your materials upright, secure, and protected during transit, preventing costly breakage and dangerous road hazards. While commercial racks can cost $800 to $3,000+, many professionals opt to build their own glass rack for a truck using affordable materials and proven designs.
This guide gives you a complete, step-by-step plan to construct a safe, durable, and functional DIY glass rack. You’ll learn how to design for stability, choose the right materials, reinforce joints, add padding, secure loads properly, and avoid common mistakes that lead to glass breakage.
Choose Your Rack Type
Before cutting any material, decide which type of glass rack fits your workload, budget, and tools.
Wood A-Frame Rack (DIY Beginner)
Best for occasional use, small jobs, or testing design concepts. Made from 2x4s and 1x6s, this lightweight rack supports standard 4×8 glass sheets at a slight rearward tilt. It’s fast to build, inexpensive, and easy to modify.
Pros:
• Low cost ($50–$100 in materials)
• No welding or advanced tools needed
• Simple to disassemble or store
Cons:
• Degrades in wet conditions
• Not ideal for daily professional use
• Requires frequent inspection
Metal Frame Rack (Pro/DIY Hybrid)
Built from aluminum or steel tubing, this rack offers commercial-grade durability. It resists weather, vibration, and heavy loads. Ideal for contractors moving multiple sheets daily.
Pros:
• Long lifespan (5–7+ years)
• Corrosion-resistant (especially aluminum)
• Can integrate E-track and quick-release straps
Cons:
• Higher upfront cost ($150–$400)
• Requires welding or precision bolting
• Heavier and harder to remove
Tip: Start with a wood version to test layout before investing in metal.
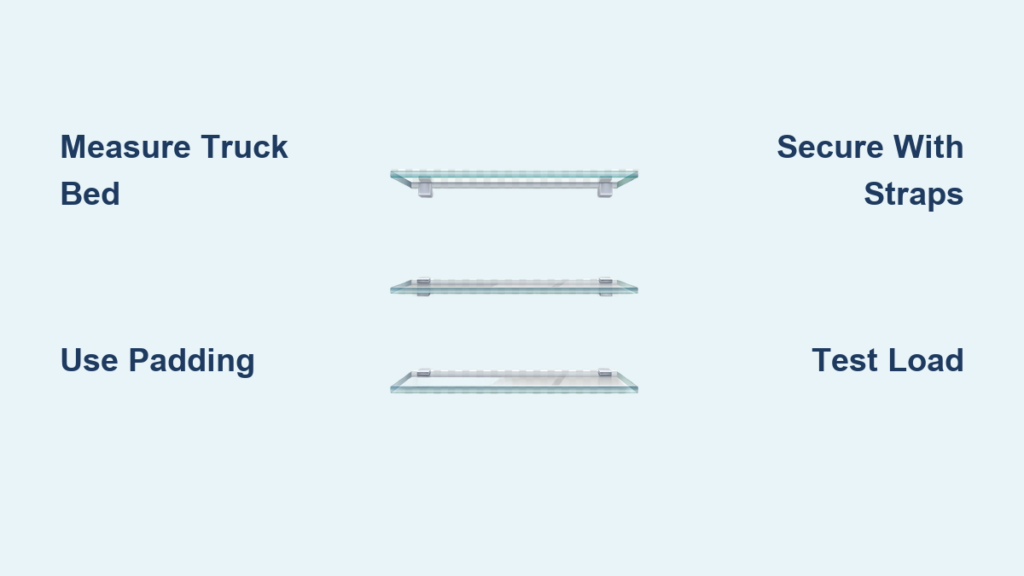
Measure Truck Bed and Glass Size
A well-fitting rack starts with accurate measurements.
Step 1: Check Truck Bed Dimensions
Use a tape measure to record:
• Internal width (left to right rail)
• Length (from cab to tailgate)
• Height clearance (floor to top of bed rails or canopy)
Ensure the rack fits without blocking tailgate operation or rear visibility.
Step 2: Confirm Glass Sheet Size
Most architectural glass comes in standard sizes. Your rack must support the full height of the glass when stood on edge.
Common glass sizes:
• 4′ x 8′ (48″ x 96″) – standard size
• 4′ x 10′ or 4′ x 12′ – common for commercial projects
Example: For 4×8 glass, the rack needs at least 48 inches of vertical support.
Cut Lumber for Wood A-Frame Rack

Use this proven design based on real-world builder feedback.
Material List
• One 38″ long 2×4 (base)
• Two 48″ long 2×4s (A-frame legs)
• Two 1×6 boards, 12–16″ long (side supports)
• One 1×6 or 2×4 (cross brace)
• 3.25″ nails or screws
• Rubber or foam padding (1/2″ thick)
Step 1: Prepare the Base
Cut a 2×4 to 38 inches. Mark a line 11 inches from each end across the top edge. These lines show where the A-frame legs will attach.
This spacing allows 16 inches between support faces, perfect for centering a 48″ glass sheet.
Step 2: Cut A-Frame Legs
Take two 2×4s and cut both ends at a 7.5° bevel, like a picture frame. This tilts the glass slightly backward for better stability.
Then make a mating cut on one end of each leg:
1. Measure 3 inches from the tip along the wide face
2. From the top narrow edge, measure 6 inches down
3. Draw a diagonal line between these points and cut
When joined, the two legs form a tight peak with no gap.
Step 3: Assemble the A-Frame
Temporarily nail the two legs together at the apex. Then place the frame on the base, aligning the inside edges with the 11-inch marks.
Secure each leg to the base using toe-nailing. Drive two 3.25″ nails per side at a 45° angle. Flip and repeat on the opposite side.
Pro Tip: Add wood glue before nailing for stronger joints.
Install Side Supports and Bracing

Now add the parts that hold and stabilize the glass.
Step 1: Attach Side Support Boards
Place one 1×6 board just outside each A-frame leg on the base. Position them so the inner faces are 16 inches apart.
Nail or screw them securely into the base. These boards support the bottom edge of the glass and prevent side-to-side tipping.
Step 2: Add Cross Brace
Cut a 1×6 or 2×4 to span between the two side supports. Attach it flush with the front or back edge using nails or screws.
This brace stops the rack from twisting during transport over bumpy roads.
Without bracing, even strong joints can fail under dynamic loads.
Pad All Contact Points
Never let glass touch bare wood or metal.
Use These Padding Materials
• 1/2″ closed-cell foam rubber – UV and moisture resistant
• Neoprene strips – durable and long-lasting
• Adhesive-backed felt or foam tape – easy to apply
Apply padding to:
• Top edges of side support boards
• Inside faces of A-frame legs
• Any area where glass might rub during loading
Critical Rule: Padding must be continuous and uncompressed. Replace it when worn.
Build Metal Frame Rack (Advanced Option)
For long-term use, aluminum or steel tubing delivers unmatched strength.
Material List
• 1.5″ or 2″ 6061-T6 aluminum square tubing (best for corrosion resistance)
• Or 1″ x 2″ rectangular steel tubing (if welding available)
• 1/2″ thick rubber or neoprene strips
• E-track channels (12″–24″) for adjustable straps
• 2″ cam buckle straps (500+ lb WLL)
• 1/4″ or 5/16″ bolts, washers, locknuts or welding equipment
Step 1: Design Frame Layout
Sketch your rack to fit the truck bed width and glass height.
Common dimensions:
• Vertical supports: 48″–54″ tall
• Base cross-member: Cut to match bed width minus 1–2″
Step 2: Cut and Assemble Frame
Cut tubing to size. Attach verticals to the base using bolted corner plates for disassembly or welded joints for maximum rigidity.
Add diagonal bracing between base and uprights to resist racking forces.
Step 3: Mount E-Track and Padding
Install E-track channels on the vertical supports. This lets you adjust strap positions for different glass sizes.
Line all contact surfaces with 2″ wide rubber padding. Secure with adhesive or small screws.
Avoid galvanic corrosion: Use nylon washers if connecting aluminum and steel parts.
Secure Glass Properly During Transit

A strong rack means nothing without proper load securement.
You Need
• Minimum four tie-down points: two upper, two lower
• 2″ wide cam buckle or ratchet straps rated for 500+ lb WLL
• Tight, zero-sag tension on all straps
Step-by-Step Loading
- Stand glass on edge, resting bottom edge on padded supports
- Lean slightly into A-frame or metal uprights
- Attach lower straps first, pulling tight
- Add upper straps, crossing diagonally if possible
- Re-check tension after first few miles
Never use bungee cords: They stretch and fail under vibration.
Follow Safety and Legal Rules
Your rack must meet transportation standards, even if homemade.
FMCSA Cargo Securement Rules
• Load must not shift during braking or turning
• No part of glass may extend beyond truck sides unless marked with red flags
• Straps must be undamaged and properly rated
Violation risks fines, liability, or denied insurance claims.
Weight and Balance Tips
• Keep heavy loads over or ahead of rear axle
• Balance side-to-side to avoid swaying
• Don’t exceed your truck’s GVWR (check door jamb sticker)
A shattered glass panel at highway speed becomes deadly shrapnel.
Test Rack Before First Use
Never load real glass without testing.
Dry Run Steps
- Replace glass with plywood cut to same size
- Strap it down as usual
- Drive at 45 mph over rough roads and sharp turns
- Check for loose fasteners, frame flexing, strap slippage, or unusual noise
Fix any issues before using with real glass.
One builder reported: “Mine flexed on the highway until I added diagonal braces.”
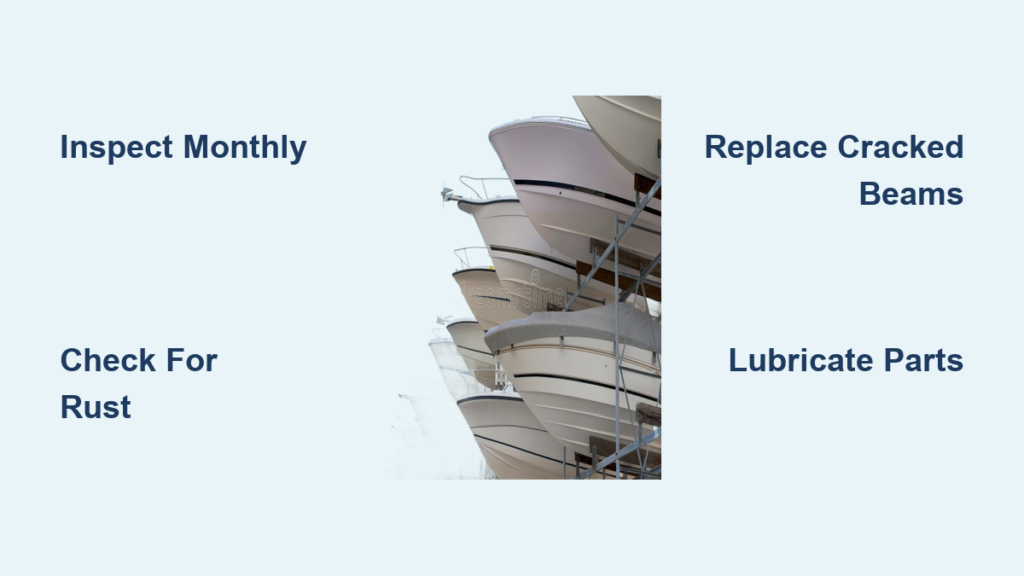
Maintain and Inspect Regularly
A rack degrades over time, especially wood.
Monthly Inspection Checklist
• Tighten all screws, bolts, or nails
• Check padding for wear or compression
• Examine straps for frays or UV damage
• Look for cracks, warping, or joint separation
• Reapply sealant to wood (if used)
Expected Lifespans
| Type | Lifespan |
|---|---|
| Untreated wood | 1–2 years |
| Sealed wood | 2–3 years |
| Uncoated steel | 2–3 years (rust risk) |
| Aluminum (6061-T6) | 5–7 years |
| Commercial rack | 10+ years |
Build vs Buy: Make the Right Choice
| Feature | Build Your Own | Buy Commercial |
|---|---|---|
| Cost | $50–$200 | $800–$3,000+ |
| Durability | Moderate | High |
| Safety | Depends on skill | Pre-engineered |
| Custom Fit | Full control | Limited options |
| Time | High (design, build, test) | Low (bolt-in) |
| Warranty | None | 1–5 years |
Hybrid Tip: Buy E-track, straps, and padding from commercial suppliers, then build the frame yourself. Best of both worlds.
Frequently Asked Questions About Building a Glass Rack for a Truck
How much does it cost to build your own glass rack?
Building your own glass rack costs between $50 and $200, depending on materials. Wood versions run $50–$100, while aluminum frames cost $150–$400. This compares favorably to commercial racks priced at $800 to $3,000+.
What materials are best for a DIY glass rack?
For occasional use, dimensional lumber (2x4s and 1x6s) works well. For professional or long-term use, 6061-T6 aluminum square tubing offers the best balance of strength, weight, and corrosion resistance. Avoid untreated wood for wet environments or daily professional use.
How do I secure glass in my truck rack properly?
Use minimum four tie-down points: two upper and two lower. Apply 2″ wide cam buckle or ratchet straps rated for 500+ lb working load limit. Tighten all straps to zero-sag tension and re-check after driving the first few miles. Never rely on bungee cords.
Can I use my glass rack for other materials?
Yes, with modifications. The A-frame design works for drywall, plywood, or paneling. Add horizontal dividers to create separate compartments for different materials. Just ensure padding is appropriate for each material type.
Do I need a permit to transport glass on my truck?
Generally no, but overhang regulations apply. If glass extends beyond your truck’s sides, you must mark it with red flags during daylight or red lights at night. Always stay within your vehicle’s Gross Vehicle Weight Rating (GVWR).
How often should I inspect my DIY glass rack?
Inspect monthly or after every 10 uses. Check all fasteners for tightness, examine padding for compression or wear, look for cracks or warping, and inspect straps for fraying or UV damage. Regular inspection prevents catastrophic failures.
Key Takeaways for Building Your Glass Rack
Building a glass rack for a truck saves money but requires attention to safety fundamentals. Choose your materials based on how often you’ll use the rack. Wood works for occasional use, while aluminum provides professional-grade durability. Always pad all contact points, use proper straps with adequate working load limits, and test with dummy loads before transporting real glass.
The most critical steps are adding diagonal bracing to prevent racking, maintaining continuous padding on all glass contact surfaces, and ensuring proper strap tension. Inspect your rack regularly, especially if made from wood, as moisture and vibration degrade joints over time.
Your rack isn’t just holding glass, it’s protecting lives on the road. Take time to build it right, test thoroughly, and maintain it consistently.