Every achievement deserves to be seen. Whether it is a child is first-place ribbon, a championship medal, or a hard-earned academic plaque, a trophy shelf turns fleeting success into lasting pride. Instead of letting awards collect dust in boxes, a custom-built trophy shelf organizes and displays them beautifully right where they belong. This guide walks you through how to build a trophy shelf step by step, using accessible materials and smart design principles. You will learn how to choose the right wood, assemble a sturdy frame, mount it securely, and customize it for long-term use.
With just a few tools and less than $50 in supplies, you can create a display that grows with your family is accomplishments. The project takes one to two days including paint drying time, and the result becomes a centerpiece of pride that lasts for years.
Plan Your Trophy Shelf Layout
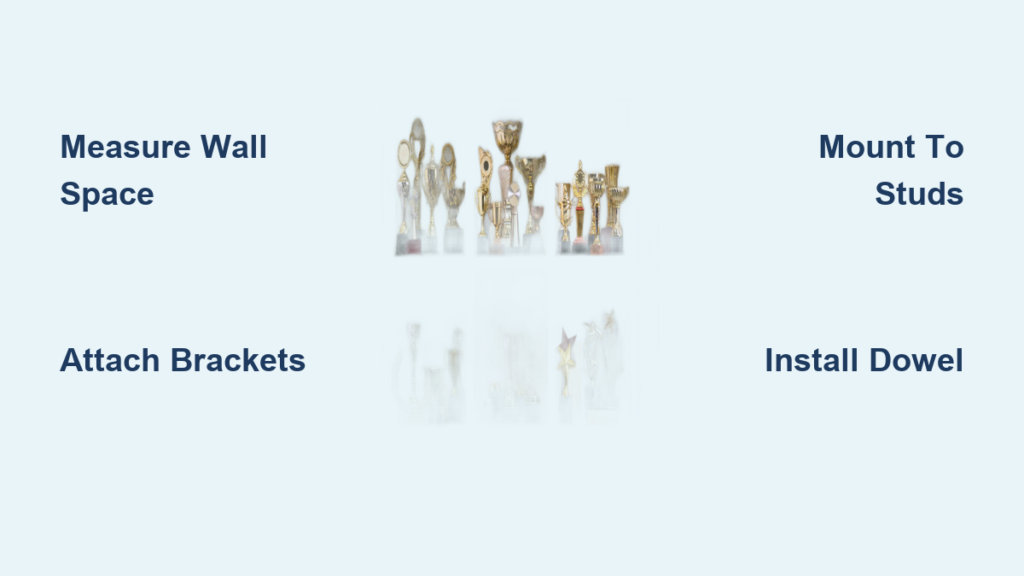
Measure Wall Space First
Before cutting any wood, measure the wall area where the shelf will go. Standard lengths range from 24 to 48 inches, but 36 inches works well for most rooms. Leave at least 12 to 18 inches above furniture like desks or beds for clear visibility. Note stud locations, typically spaced 16 inches apart, so your final design aligns with them for secure mounting.
Choose Display Zones
Divide your shelf into functional zones to prevent clutter and make each item stand out. The top surface holds trophies, plaques, and bulky awards. The lower hanging rod area accommodates ribbons and medals on dowels. This dual-level setup ensures every award gets proper attention.
Sketch Your Dimensions
Use these baseline specifications and adjust as needed. The shelf top uses a 1×8 inch pine board, typically 36 inches long. The back board uses a 1×6 inch board, about 7 inches high. The dowel measures ¾ inch diameter and sits 1/8 inch shorter than the back board width. Include 1 to 2 inch side overhangs on each end for visual balance and easier access.
Cut and Prepare Wood Pieces
Gather Your Lumber
Purchase the following materials from your local hardware store. One 1×8 inch board at 8 feet covers multiple builds. One 1×6 inch board serves as the back. A ¾ inch wooden dowel comes in 3-foot or 6-foot sections.
Cut your pieces to these sizes. The shelf top measures 36 inches. The back board cuts to 34 inches, allowing 1 inch overhang on each side. The dowel measures 33 and 7/8 inches, slightly shorter than the back board to prevent binding.
Pro tip: Have cuts made at the hardware store with a miter saw for precision and clean edges.
Sand All Surfaces Thoroughly
Use 120-grit sandpaper or an orbital sander on all pieces. Focus on edges, faces, and end grains. Smooth wood ensures better paint adhesion and a professional finish. Wipe away dust with a tack cloth before priming to remove all particles.
Assemble the Shelf Frame

Attach Brackets to Back Board
Position two decorative shelf brackets flush with the top edge of the back board. Pre-drill holes to prevent splitting, then secure with 1¼ inch wood screws. Space brackets evenly, one near each end.
Alternative method: Cut two support braces from scrap wood at 45-degree angles. Attach them vertically to the back board, then fasten the shelf top across them for a simpler build.
Mount the Shelf Top
Align the shelf top flush with the back edge of the back board. Screw down through the shelf into the brackets using 2-inch wood screws. For extra strength, apply wood glue at contact points before screwing. Clamp pieces together while fastening to keep alignment perfect.
Paint for Durability and Style
Apply Primer First
Apply one coat of primer to all wood surfaces. Let dry completely, usually 1 to 2 hours. Primer blocks stains and helps paint adhere better, especially on softwoods like pine. This step prevents bleed-through and ensures even color.
Apply Finish Coats
Use semi-gloss paint for easy cleaning and resistance to dust. Two to three coats are recommended. The first coat provides light, even coverage. The second coat fills thin spots. The third coat, if needed, creates rich, uniform color.
Popular color choices include white to match trim and brighten rooms, bold colors like pink for dance or blue for sports, or custom hues to match your room theme. Paint dowels separately and let dry fully before installation.
Mount the Shelf Securely
Locate Wall Studs
Use a magnetic stud finder to detect nails in studs, then confirm with a digital stud finder. Mark both edges of each stud. Avoid mounting into drywall alone since trophies add weight over time and can pull out drywall anchors.
Level and Mark
Hold the shelf against the wall, aligned with stud centers. Use a bubble level to ensure it is perfectly horizontal. Mark screw holes through the back board onto the wall.
Fasten to Studs
Drive 2½-inch wall screws through the back board into studs. Place screws where the dowel will hide them later. Do not use drywall anchors unless rated for heavy loads. Direct stud attachment is essential for safety and long-term stability.
Install Dowel for Hanging Awards
Insert Dowel Into Brackets
Slide the painted dowel through the lower slots of the decorative brackets. If using wooden supports, rest the dowel on small nails or hooks driven into each side.
Prevent Slippage
Add tiny brass hooks or pins on either end of the dowel to keep it from sliding out. These also conceal mounting screws and add decorative flair.
Hang Ribbons and Medals
Ribbons loop over the dowel or fold and clip in place. Medals thread directly onto the dowel. Use two separate dowels, one for ribbons and one for medals, to avoid tangling and simplify organization.
Customize for Personal Touch
Add a Name Sign
Buy a pre-cut wooden name plaque from craft stores. Paint or stencil the child is name or activity like Dance or Soccer. Mount centered above or below the shelf for a personalized focal point.
Upgrade With Lighting
Install LED strip lights under the front edge of the shelf to spotlight awards. Choose warm white for cozy rooms or cool white for modern spaces. Use adhesive-backed strips for easy setup with no wiring needed.
Match Room Theme
A rustic look uses reclaimed wood and black iron brackets. A modern style features matte black paint with sleek metal supports. A kids room benefits from colorful stencils or vinyl decals.
Build a Multi-Function Shelf
Integrate a Hat Rack
Choose brackets with lower hooks or attach J-hooks beneath the shelf. The unit now holds hats, backpacks, dance bags, and jackets. This design works perfectly in mudrooms, entryways, or small bedrooms needing space-saving solutions.
Design Gallery Walls
Install multiple trophy shelves at staggered heights to create a feature wall. Alternate with photo frames, shadow boxes, and floating shelves for books or toys. This expands display capacity as collections grow.
Ensure Long-Term Strength
Check Weight Limits
A properly built shelf holds 20 to 30 pounds depending on wood thickness, bracket quality, and number of stud attachments. Avoid overcrowding and rotate seasonal awards if needed to prevent sagging.
Inspect Annually
Once a year, check for loose screws, sagging dowels, and cracked glue joints. Tighten fasteners and re-glue if necessary. Replace dowels if warped.
Dust and Clean Easily
Wipe the shelf weekly with a microfiber cloth. Semi-gloss paint resists smudges and wipes clean with a damp rag. For medals and ribbons, dust gently to preserve fabric and finishes.
Expand as Collections Grow
Add Vertical Shelves
When the main shelf fills up, install a second one 12 to 18 inches above or below. Keep consistent styling for a coordinated look.
Use Wall-Mounted Medal Holders
Purchase acrylic or fabric medal holders online. Mount them on adjacent walls or closet doors to free up shelf space for larger trophies.
Rotate Seasonal Displays
Store older awards in labeled bins. Swap in current season is ribbons to keep the shelf fresh and meaningful.
Avoid Common Mistakes
Skipping the Stud Finder
Mounting into drywall without studs risks collapse. Always verify stud location even if it means patching a test hole.
Ignoring Overhang
Too much overhang above 2 inches looks unbalanced. Too little below 1 inch makes access difficult. Stick to 1 to 2 inches per side.
Using Weak Brackets
Flimsy brackets bend under weight. Choose solid metal or build 45-degree wood supports for reliability.
Painting Before Assembly
Painting after assembly leaves screw heads and joints exposed. Paint all pieces before building for full coverage.
Frequently Asked Questions About Building a Trophy Shelf
What tools do I need to build a trophy shelf?
You need basic tools including a drill, measuring tape, level, stud finder, and sandpaper or orbital sander. A miter saw helps make precise cuts, though hardware stores often provide this service.
How much does it cost to build a trophy shelf?
The materials cost approximately $30 to $50. This includes wood boards, a dowel, brackets, screws, paint, and primer. The project is significantly cheaper than retail display cases.
How do I hang a trophy shelf securely?
Locate wall studs using a stud finder. Mark both edges of each stud. Drive 2½-inch wall screws directly through the back board into the studs. Avoid drywall anchors for heavy loads.
Can a trophy shelf hold medals and ribbons?
Yes. The design includes a dowel installed below the shelf surface specifically for hanging ribbons and medals. Use separate dowels for each type to prevent tangling.
What is the best paint finish for a trophy shelf?
Semi-gloss paint works best because it resists dust and wipes clean easily. It also provides a slight shine that highlights displayed awards.
Key Takeaways for Building Your Trophy Shelf
Building a trophy shelf is a rewarding weekend project that costs under $50 and takes one to two days including paint drying time. The dual-level design, with a shelf on top and dowel below, accommodates trophies, plaques, ribbons, and medals while keeping everything organized and visible.
Secure mounting into wall studs is the most critical step for safety and durability. Use a stud finder, mark stud edges, and drive screws directly into the studs rather than relying on drywall anchors. This ensures the shelf holds 20 to 30 pounds without sagging or collapsing.
Customization options make the shelf personal. Add a name sign with the child is name or activity, install LED lighting to spotlight awards, or choose colors that match the room theme. The design also expands easily by adding vertical shelves or wall-mounted medal holders as collections grow.
Ready to start your project? Gather your materials, measure your wall space, and follow these steps to build a trophy shelf that celebrates every achievement beautifully.