You’ve just finished drying your clothes and now need to put the rack away, but the folding mechanism feels confusing or the rack seems stuck. Collapsible drying racks are designed for easy storage in small spaces like apartments, laundry rooms, and RVs, but each model uses a different locking system. Whether you own a Honey-Can-Do, Chrome 3-Tier Accordion, or Mainstays Expandable rack, knowing the correct collapse method prevents damage and saves time.
This guide walks you through step-by-step folding techniques for every major type of collapsible metal drying rack. You’ll learn how to identify your model’s mechanism, safely unlock it, and fold it down to a compact size in under 30 seconds. We also cover troubleshooting tips, maintenance advice, and storage best practices so your rack stays functional for years.
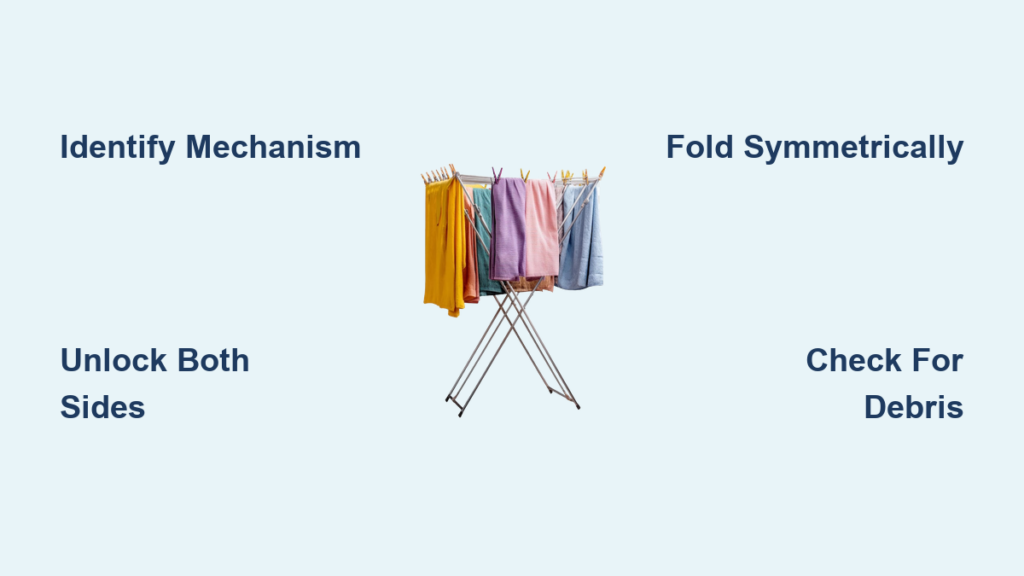
Identify Your Drying Rack Type Before Folding
Before attempting to collapse your rack, determine which mechanism it uses. Using the wrong technique can cause bending or joint failure. Most models fall into one of four categories.
Check for Visual Clues
• Levers at the top corners? → Likely lever-activated accordion type.
• No levers, but a top joint that clicks into place? → Snap-release mechanism.
• Metal rods sliding into brackets with no buttons? → Slide-and-hook system.
• Disks or clips on the ends that press inward? → Locking disk or press-fit system.
Once identified, proceed with the correct folding steps for your specific model.
Collapse a Snap-Release Drying Rack
Models: Honey-Can-Do DRY-01306 and similar designs
This design relies on friction-fit joints at the top of each side support. No levers or buttons exist—just a firm snap to lock and release the joint.
Unsnap the Top Joint
- Remove all clothing and ensure the rack is dry.
- Stand facing the rack on a flat surface.
- Locate the movable top segment where the vertical support meets the upper crossbar.
- Apply gentle lateral pull or downward pressure to disengage the joint.
- You may hear a click or pop when released.
- Repeat on the opposite side.
Fold the Rack Down
- With both top joints unlocked, lower the side supports inward.
- Guide the middle and lower bars as they slide out of alignment.
- Allow the entire unit to collapse flat like an accordion.
- Final thickness measures 3 to 5 inches, ideal for closet or under-bed storage.
Pro Tip: If the joint feels stuck, wiggle it slightly. Dust or moisture may cause temporary stiffness.
Collapse a Lever-Activated Accordion Rack
Models: Chrome 3-Tier Folding Rack
This model uses locking levers to secure the frame in place. Releasing them unlocks internal pins, allowing smooth vertical compression.
Raise Both Levers
- Ensure the rack is empty and stable.
- Locate the locking levers at the top of each side support.
- Use both hands to raise the levers fully upward.
- Partial lift won’t disengage the pin.
- You should feel a slight release as the mechanism unlocks.
Compress the Frame
- Apply gentle inward pressure on both sides.
- The rack will begin to fold like an accordion.
- Guide it down until all tiers nest tightly.
- Final width measures under 6 inches with thickness of 3 to 4 inches.
Secure for Storage
- Some models have a secondary friction clip to keep the rack closed.
- Store vertically behind a door or horizontally under a counter.
Warning: Never force collapse if levers do not raise easily. Check for debris or misalignment first.
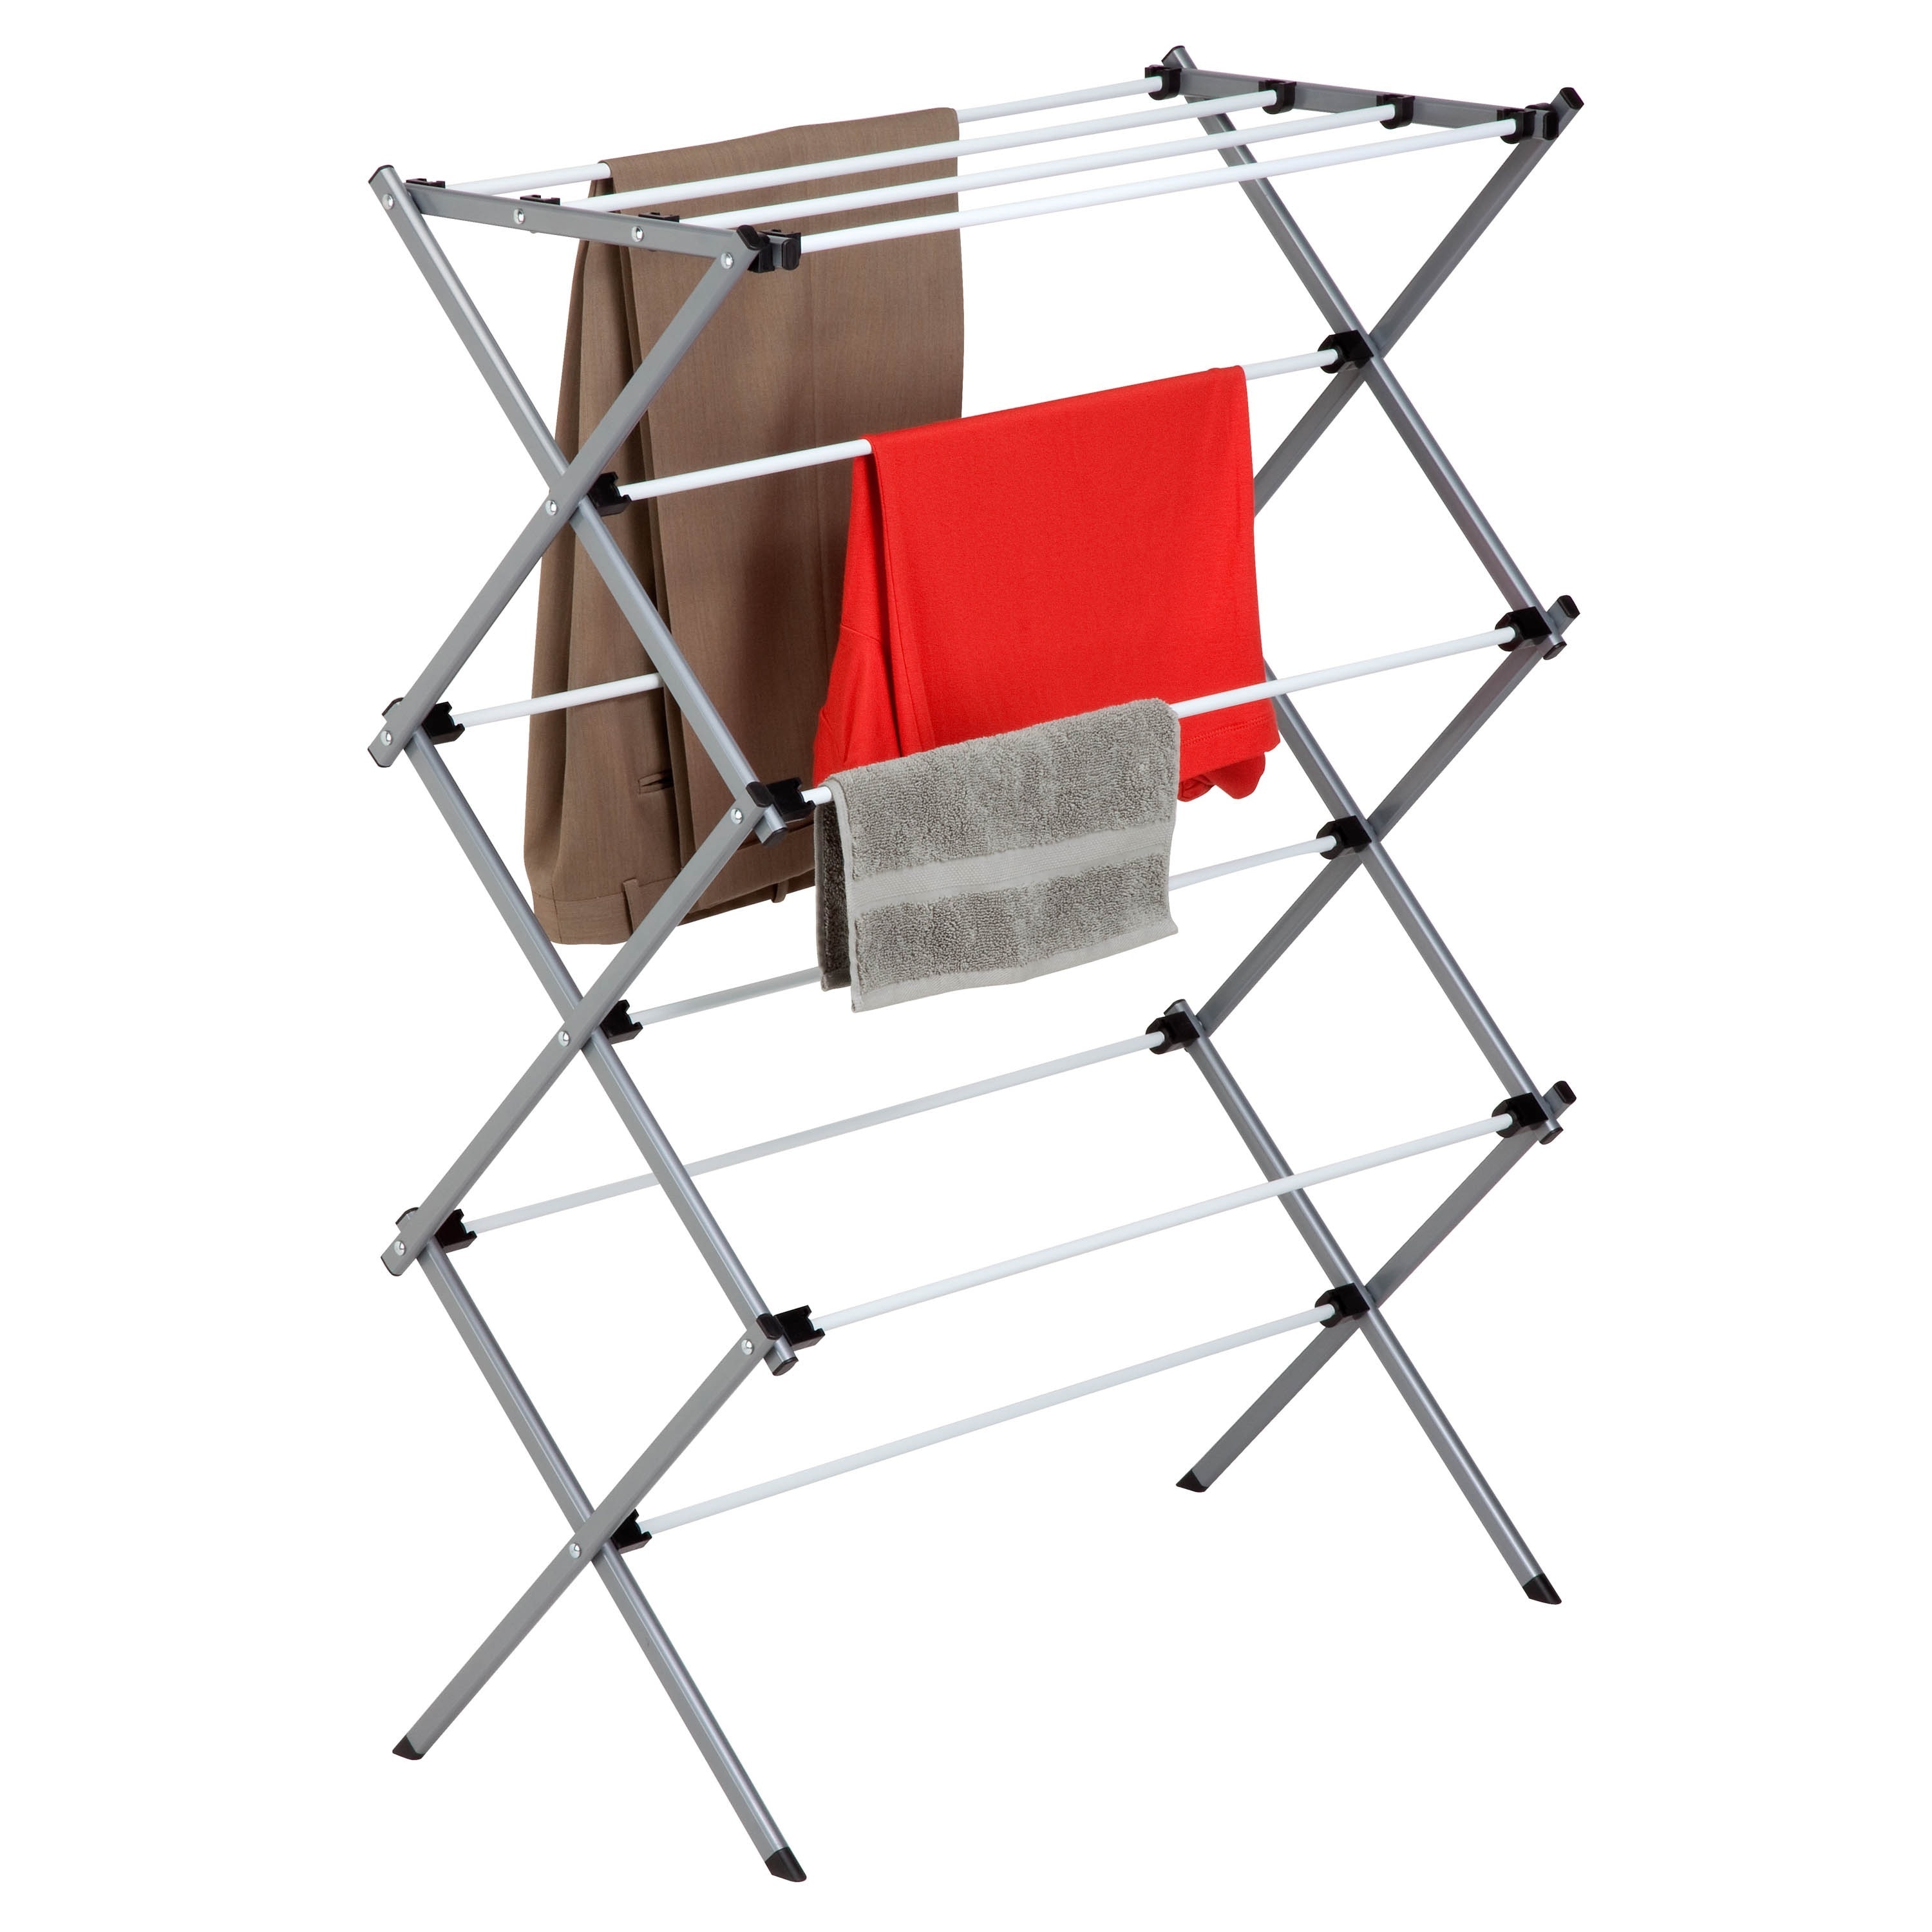
Collapse a Slide-and-Hook Mechanism Rack

Common in Basic Metal Models
This older-style design uses metal rods that slide into brackets with indentations or hooks. No levers exist—just mechanical fit.
Dislodge the Rods
- Stand to the side of the rack.
- Identify where the horizontal rod connects to the vertical bracket.
- Stabilize the rod with one hand.
- With the other, firmly strike the side of the bracket using the heel of your hand.
- A light tap often releases the rod from its seat.
- Repeat on the opposite side.
Fold Inward
- Once both ends are free, the rack will pivot inward.
- Lower it gently to avoid bending.
- Final form is flat or slightly angled, approximately 12 inches wide.
Caution: Avoid excessive force. Bent rods are the most common damage in this model type.
Collapse an Expandable Rack with Locking Disks
Models: Mainstays Expandable Folding Rack
Designed for portability, this model includes locking disks at each end and often comes with a carry bag.
Unlock the Disks
- Press the locking disk inward on one side to disengage it from the slot.
- Repeat on the other side.
- If stiff, clean the slot with a soft brush. Debris can jam the mechanism.
Compress the Center
- Gently push both side panels together.
- The accordion-style center will compress automatically.
- Continue until fully folded, typically 12 inches wide.
Secure and Store
- Engage any built-in strap or latch to keep it closed.
- Slide into the included carry bag for travel or seasonal storage.
Best for: Dorms, camping, RVs, and renters who move frequently.
Universal Folding Steps for Any Model
Regardless of mechanism, follow these proven techniques to fold safely and efficiently.
Prepare Before Folding
• Remove all laundry. Even one sock can block movement.
• Place on a level surface to prevent tipping.
• Wipe down damp bars to avoid moisture buildup in storage.
Fold in Sequence
- Unlock both sides evenly. Asymmetrical release causes jamming.
- Guide the collapse with both hands to control speed.
- Let gravity assist. Do not force it downward.
- Check alignment. All bars should nest neatly.
Secure After Folding
• Use built-in clips or straps to lock the folded shape.
• Store vertically to save floor space.
• Keep in a dry area to prevent rust, especially on chrome-plated steel.
Troubleshoot Common Collapse Problems

Even with the right steps, issues can arise. Here is how to fix them fast.
Rack Won’t Unlock
Cause: Levers not fully raised or joint stuck from moisture.
Fix: For lever models, lift both levers completely. For snap-joints, wiggle the top segment while pulling apart.
Bars Stick During Collapse
Cause: Dirt, burrs, or lack of lubrication.
Fix: Wipe joints with a dry cloth. Apply a light silicone-based lubricant. Never use oil, as it attracts dust.
One Side Releases Early
Cause: Uneven pressure or worn bracket.
Fix: Always use both hands. Release symmetrically. Inspect for wear.
Locking Disk Won’t Press In
Cause: Debris in the slot or damaged disk.
Fix: Blow out dust with compressed air or clean with a toothpick. Replace if cracked.
Rack Collapses Unexpectedly
Cause: Improper reassembly or worn mechanism.
Fix: Ensure a firm click when setting up. Replace if joints no longer lock securely.
Video Help Tip: If stuck, search your model name with “collapse tutorial” on YouTube. The visual demo often clarifies confusion instantly.
Maintain Your Drying Rack for Longevity
A well-maintained rack folds smoothly for years. Follow these simple care steps.
Clean After Use
• Wipe bars with a damp cloth after humid or outdoor use.
• Dry thoroughly before folding to prevent rust.
Prevent Rust
• Store only when completely dry.
• Avoid placing in damp basements or bathrooms unless ventilation is excellent.
• For outdoor models, check weather-resistant coating integrity.
Inspect Regularly
• Look for bent rods, loose joints, or worn levers.
• Replace damaged parts early. Most brands offer free replacements.
Avoid Common Mistakes
• Do not force stuck parts. This causes permanent bending.
• Do not overload with wet heavy items. This stresses joints.
• Do not store while damp. This leads to mold and corrosion.
Store Your Rack Properly
Where and how you store the rack affects its performance and lifespan.
Best Storage Spots
• Vertical against wall. Saves floor space.
• Behind bathroom or laundry room door. Out of sight, easy access.
• Under sink or counter. Ideal for compact kitchens.
• In carry bag. Perfect for travel or seasonal storage.
Storage Safety Tips
• Do not stack heavy items on top.
• Keep away from direct water sources.
• Use a fabric cover if storing long-term to reduce dust buildup.
Final Tips for Effortless Folding
- Practice the first few times. It gets easier.
- Watch the manufacturer video. Many issues are visual.
- Apply even pressure. Never use one hand.
- Keep the instruction guide handy. Save the link on your phone.
- Do not rush. A controlled fold prevents damage.
Real User Insight: After the first week, collapsing my rack takes less than 20 seconds. Just learn the trick. Once you do, it is effortless.
Frequently Asked Questions About Collapsing a Drying Rack
How do I know which type of drying rack I have?
Examine the locking mechanism. Levers at the top corners indicate a lever-activated accordion model. No levers with a clicking top joint means snap-release. Metal rods sliding into brackets without buttons suggests slide-and-hook. Press-in disks or clips indicate a locking disk system.
Why won’t my drying rack collapse?
The most common cause is the locking mechanism not fully disengaged. For lever models, ensure both levers are raised completely. For snap-release types, apply gentle wiggling while pulling apart. Check for debris or moisture causing stiffness.
Can I use oil to lubricate a sticky drying rack?
No. Use a light silicone-based lubricant instead. Oil-based products attract dust and dirt, which can worsen the problem over time.
How long does it take to collapse a drying rack?
Once familiar with the mechanism, most people collapse their rack in 20 to 30 seconds. First-time users may need 1 to 2 minutes to locate and operate the release properly.
What should I do if one side collapses before the other?
Release both sides symmetrically using both hands. Premature collapse on one side typically results from uneven pressure or a worn bracket. Inspect for damage if this happens frequently.
Is it normal for the rack to feel stiff when new?
Yes. New racks often require a break-in period. The joints and mechanisms loosen after several uses. Practice collapsing a few times during the first week to accelerate this process.
Key Takeaways for Collapsing Your Drying Rack
Collapsing a drying rack should be quick, safe, and tool-free. By identifying your model mechanism and following the correct steps, you will enjoy years of reliable, space-saving performance. The four main types snap-release, lever-activated accordion, slide-and-hook, and locking disk each require a specific technique. Always unlock both sides symmetrically, apply even pressure, and never force stuck joints.
Proper maintenance extends your rack lifespan significantly. Keep joints clean, store only when completely dry, and inspect regularly for wear. Whether you are folding daily or storing for the season, the right technique makes all the difference. Save the manufacturer video link on your phone for quick reference whenever needed.