
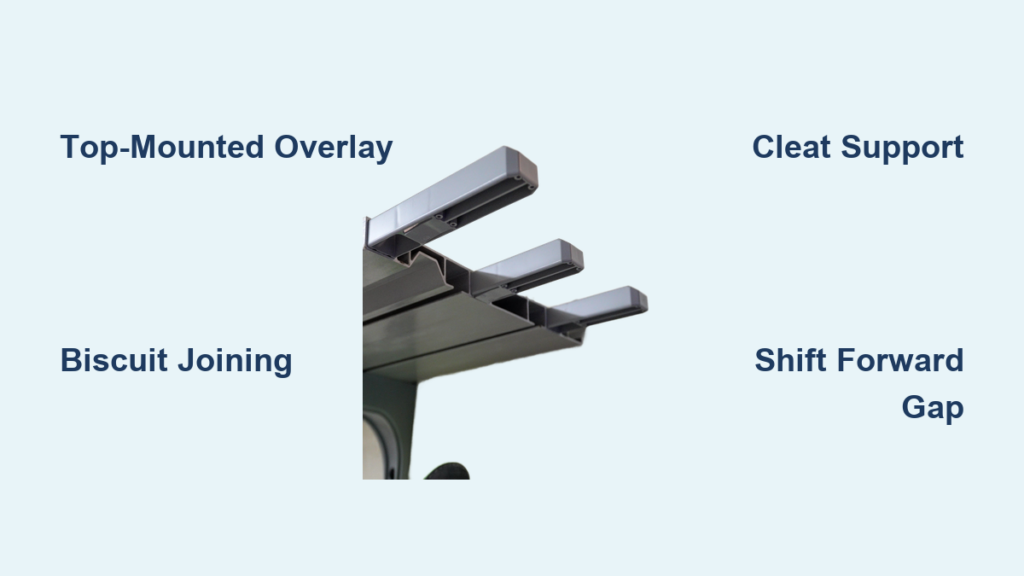
You’ve got a shelf that’s just too short. Maybe your speakers overhang, your pantry feels cramped, or you’re restoring vintage built-ins and need more depth. Learning How to Extend Shelf space is not just about adding wood. It is about doing it safely, securely, and seamlessly so the joint does not fail under load or look obvious in your cabinets.
This guide covers practical methods that work, from simple overlays to structural cleats, and helps you choose the right approach based on your shelf material, load, and space constraints. You will learn what works and what does not when extending shelves made of MDF or particle board, plus professional finishing tricks to hide the joint.
Choose the Right Extension Method for Your Shelf
Not all shelf extensions are created equal. The best method depends on your shelf’s material, load capacity, clearance, and aesthetics. Jumping into cuts or glue without planning can lead to failure, especially with MDF or melamine-coated particle board.
Each approach balances durability and disruption. Here’s what to consider based on your situation:
Match Your Solution to the Use Case
- Audio cabinets with speaker overhang? Use a top-mounted overlay.
- Linen closet with factory edges? Shift the shelf forward and fill the back gap.
- Heavy loads or permanent install? Replace entirely or use cleat-supported extension.
- Vintage restoration? Opt for reversible, screw-based fixes.
The key is matching your shelf material to the right technique. MDF and particle board require different handling than solid plywood or hardwood.
Install a Top-Mounted Overlay Board
Add depth without modifying the original shelf by placing a new board on top. This works well when you can’t access the underside or want a non-permanent fix.
Why This Works for Audio Shelves
If your turntable or amplifier extends past the shelf edge, an overlay adds just enough depth to support it. Since the load sits close to the original structure, the cantilever stress is minimal, making this safe for light to medium equipment.
How to Attach It Securely
- Cut the overlay board to size. Match the equipment footprint plus 1-2 inches rearward for cable clearance.
- Use 2-inch countersunk screws driven through the top into the original shelf. Space them every 8-10 inches.
- For lighter anchoring, apply dabs of silicone adhesive or double-sided foam tape at contact points.
Pro Tip: Add a thin MDF strip to the bottom of the overlay to create a shadow gap that visually blends with the original shelf.
When to Avoid This Method
- If there is less than 1 inch of headroom above the shelf, avoid screwing through the top.
- This method is not suitable for heavy books or appliances. Stick to audio gear and decor.
Use Biscuit Joining for Seamless Edges

For a nearly invisible, strong edge-to-edge joint, biscuit joining is the go-to method, especially with MDF or plywood shelves.
Step-by-Step Biscuit Join Setup
- Remove any melamine coating from the mating edges using sandpaper or a utility knife.
- Mark alignment lines perpendicular to the edge every 8 inches.
- Set your biscuit joiner to cut at 1.25 cm depth for a 2.5 cm thick shelf.
- Cut slots using the same reference face on both pieces to ensure alignment.
- Insert #20 biscuits (largest standard size) coated in wood glue.
- Clamp the joint flush using wood blocks and weights. Wipe excess glue immediately.
Boost Strength in MDF
Because MDF lacks tensile strength, try these reinforcement tactics:
- Stack two biscuits vertically per position, spaced 1 cm apart.
- Space joints every 8 inches, with end biscuits 3 inches from each end.
Reality Check: Biscuits improve alignment more than strength in MDF. They help distribute shear forces but won’t prevent pull-out under heavy loads.
Tools You Will Need
- Biscuit joiner
- Wood glue (Titebond II or III)
- Clamps and scrap wood for protection
- Level and tape measure
This method works best when combined with cleat support underneath for long-term durability.
Try Dowel Joining Without a Biscuit Joiner
No biscuit joiner? Use dowels instead. While not as fast, dowels offer solid alignment and decent pull-out resistance.
How to Align Dowel Holes Perfectly
- Use a dowel jig to guide your drill bit.
- Drill holes every 6-8 inches along the edge.
- Match dowel diameter to bit size (e.g., 1/4 inch).
- Apply wood glue inside holes and on dowels before joining.
Dowel vs. Biscuit Comparison
| Feature | Dowels | Biscuits |
|---|---|---|
| Glue Surface | Smaller | Larger |
| Alignment | Good (with jig) | Excellent |
| Shear Strength | Moderate | Higher |
| Tool Cost | Lower | Higher |
For MDF, biscuits are preferred due to better load distribution. But dowels work fine for light-duty shelves.
Support with Floating Brackets Safely
Floating shelf brackets can support an extension, but only if mounted correctly.
Why MDF Alone Will Not Hold
MDF crumbles under screw pressure, so never rely on it to anchor a bracket. The bracket must attach directly to wall studs, not just the shelf material.
Safe Installation Steps
- Locate studs behind the shelf using a stud finder.
- Mount L-brackets or floating supports into the studs.
- Rest the extended shelf on the brackets, ensuring both original and new sections are supported.
Do Not Do This: Screwing a bracket only into the MDF extension. It will pull out over time.
Use this method only when you have full access to the wall and can secure into solid framing.
Add a Cleat or Ledger for Maximum Support
The strongest way to extend a shelf is with a cleat, a hidden wooden strip that runs along the back wall and supports the entire shelf surface.
How to Install a Cleat
- Cut a 1/2-inch thick hardwood strip to fit the cabinet width.
- Attach it to wall studs using 2-inch screws.
- Rest the shelf (original or extended) on top of the cleat.
- Secure from above with screws or below with brackets.
Ideal for Pantry and Closet Shelves
This method prevents sagging, allows use of thinner materials, and distributes weight evenly.
Pro Tip: Use a level and shims to ensure the cleat is perfectly horizontal.
You can extend the shelf by placing a new board over the cleat, creating a seamless surface without relying on edge joints.
Shift the Shelf Forward Using the Rear Gap Method
Instead of extending forward, move the whole shelf out and leave a gap at the back. This avoids weak joints and preserves the factory edge.
How to Do It Right
- Remove the existing shelf.
- Install new supports (cleats or pins) 4 inches forward.
- Reinstall the shelf on the new supports.
- Fill the rear gap with a scrap piece of shelving.
Why This Works for Linen Closets
- Towels and sheets will not fall through a 4-inch back gap.
- The finished front edge stays intact.
- There are no visible seams or exposed raw wood.
User Verified: “Leave a gap at the rear and move the shelf further out. A towel or bed sheet is not going to fall through a 4-inch gap.”
Use iron-on melamine edge banding if you need to finish the back edge of the filler piece.
Replace the Shelf Entirely When Extensions Are Too Risky
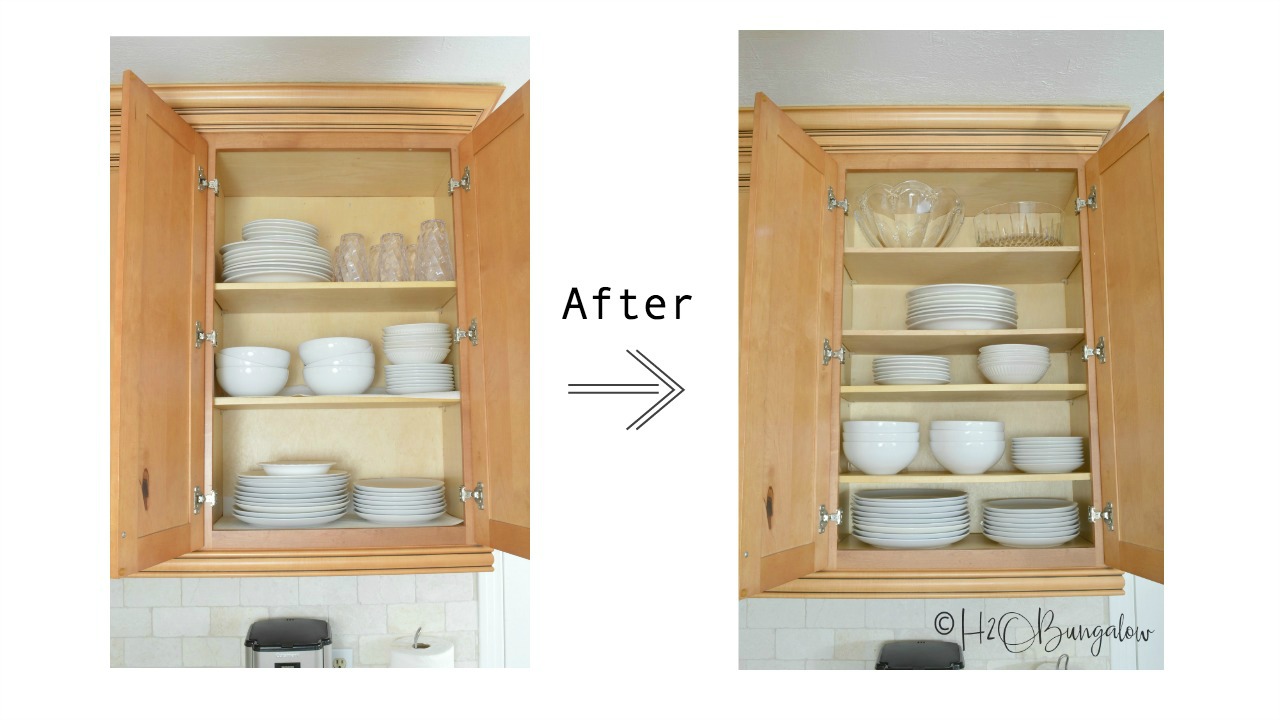
When extensions are too risky or impractical, replace the shelf with a wider board. This is the cleanest, strongest solution.
When to Choose Full Replacement
- Original shelf is damaged or weak
- High load (books, kitchen appliances)
- Seeking a seamless, professional look
Steps to Install a New Shelf
- Measure the opening width and depth.
- Cut a new board from 3/4-inch plywood or matching melamine.
- Support with cleats, brackets, or cabinet standards.
- Finish edges with paint, stain, or edge banding.
Expert Advice: “Buy wider material and cut new shelves.”
This eliminates joint failure risks and gives you full control over fit and finish.
Reinforce Joints and Prevent Sagging
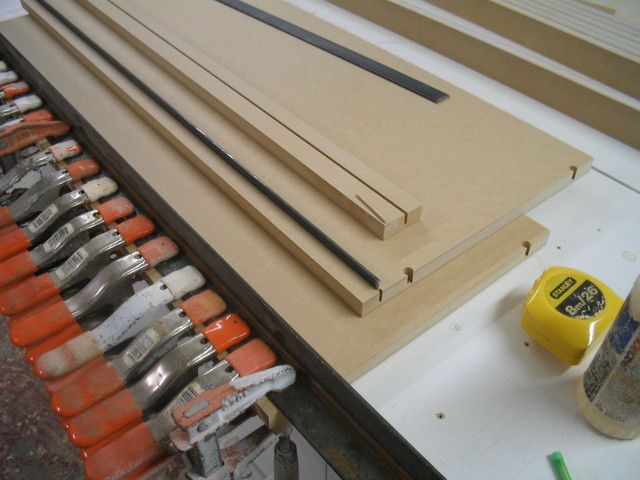
Even the best joint can fail without proper reinforcement. MDF and particle board are especially prone to sagging and screw pull-out.
Use These Strength-Boosting Tactics
- Pre-drill all holes in MDF to prevent splitting.
- Countersink screws and fill with wood putty for a clean finish.
- Combine glue with mechanical fasteners. Never rely on adhesive alone.
- Seal MDF edges with PVA or primer to block moisture and strengthen the surface.
Fastener Comparison Guide
| Method | Best For | Load Capacity | Visibility |
|---|---|---|---|
| Countersunk screws | All shelves | High | Hidden |
| Biscuit joint | MDF/plywood | Medium | Hidden |
| L-brackets (underside) | Heavy loads | Very High | Visible |
| Liquid Nails | Light items only | Low | Hidden |
Avoid: Using liquid nails alone. They creep over time and fail under sustained load.
For long spans, add a center support or use thicker material (3/4 inch instead of 1/2 inch).
Finish for a Seamless Look
A poorly finished edge ruins the look of a perfectly installed extension.
Hide Raw Edges Like a Pro
- Iron-on melamine edge banding: Press with a clothes iron or edge-banding tool. Trim excess with a utility knife.
- Wood veneer tape: For natural wood shelves.
- Paint or primer: Seal and paint MDF edges to match the cabinet.
Match the Existing Finish
- Test paint on a scrap piece first.
- For vintage melamine, mix custom colors to mimic aged amber tones.
- Sand lightly before painting for better adhesion.
Pro Tip: Feather the paint from the joint outward to blend the new section seamlessly.
Pick the Best Method for Your Needs
Here is a quick-reference guide to help you decide:
| Scenario | Best Method | Why |
|---|---|---|
| Speaker overhangs shelf | Top-mounted overlay | Low risk, no underside access needed |
| Linen closet with tight front clearance | Shift shelf forward + rear fill | Preserves finish, no joint visible |
| Heavy books or appliances | Cleat-supported new shelf | Maximum strength, no cantilever |
| Vintage midcentury cabinet | Countersunk screws + reversible attach | Allows future removal |
| No tools or expertise | Silicone dabs + gravity | Temporary, low-effort fix |
Frequently Asked Questions About Extending a Shelf
Can you extend an MDF shelf without it sagging?
Yes, but you must support the extension properly. Use a cleat or ledger beneath the shelf to distribute the load, and avoid relying on edge joints alone. Pre-drill holes and use countersunk screws for secure fastening.
What is the strongest method for extending a shelf?
A cleat or ledger support combined with a new wider shelf provides the strongest result. This eliminates weak joints entirely and distributes weight across wall studs rather than relying on the shelf material itself.
Is biscuit joining strong enough for MDF shelves?
Biscuits improve alignment in MDF but do not significantly increase tensile strength. They help distribute shear forces, but for heavy loads, combine biscuits with cleat support underneath.
Can I use liquid nails to extend a shelf?
Liquid nails alone are not sufficient for load-bearing shelves. They creep over time under sustained weight. Use them only for light, temporary fixes, and always combine with mechanical fasteners for permanent installations.
How do I match the finish on a shelf extension?
Sand and repaint MDF edges to match surrounding cabinetry. Use iron-on melamine edge banding for particle board or MDF to conceal raw edges. Test custom paint mixes on scrap material first, especially for vintage finishes.
Can I extend a shelf without removing it?
Yes. The top-mounted overlay method allows you to add depth by placing a new board directly on top of the existing shelf. Secure with screws or adhesive, depending on the load requirements.
Key Takeaways for Extending Your Shelf
Extending a shelf does not have to be risky or ugly. With the right method, you can gain valuable space while keeping your cabinets strong and stylish.
The most important points to remember are these. Always anchor into wall studs for any load-bearing support. Match your solution to the material. MDF and particle board require different handling than plywood or solid wood. Never rely on adhesive alone for permanent installations. And seal all MDF edges to prevent moisture damage and strengthen the joint.
Whether you are upgrading a closet, restoring a retro audio unit, or optimizing pantry storage, the key is matching the solution to the material and use. Skip the weak joints, avoid MDF pitfalls, and build something that lasts.
Your shelf was too short. Now it is just right.


