

Is your refrigerator shelf cracked, bent, or wobbling? Shelf damage is one of the most common appliance issues, affecting everything from plastic door bins to tempered glass interior shelves. The good news? Many fridge shelf problems can be fixed without replacing the entire unit. Whether it is a snapped plastic tab, a warped wire rack, or a surface-level scratch, this guide shows you exactly how to fix fridge shelf using proven repair techniques and cost-effective materials.
We will walk you through step-by-step fixes for plastic, metal, and framed shelves, plus reveal the best adhesives, reinforcement tricks, and sourcing tips for replacement parts. By the end, you will know how to restore stability, safety, and functionality to your fridge with confidence.
Diagnose the Damage First
Before grabbing glue or ordering parts, identify the shelf type and extent of damage. Repair options depend on material, location, and structural impact.
Check Shelf Material Type
Tempered glass shelves are smooth, heavy, and often have plastic trim. They cannot be safely repaired if cracked. Plastic and acrylic shelves are lightweight, clear or white, and used in door bins and small shelves. These are highly repairable. Wire or metal shelves are chrome or steel rods forming open grids. Bends can be fixed, but breaks require replacement. Crisper bins and door shelves are thin translucent plastic with tabs, and these are frequent failure points that should be replaced if cracked.
Remove the shelf and inspect under bright light. Look for hairline cracks, bent hooks, or broken glide tracks.
Assess Structural Integrity
Ask yourself whether pieces are missing, whether the shelf is sagging or unstable, and whether it supports weight without flexing. If the answer is yes to any of these, the shelf may need replacement, especially if it is glass or a critical support component.
Fix Cracked Plastic Shelves
Plastic shelves are the most common candidate for DIY repair. With the right adhesive and technique, you can restore strength and prevent crack spread.
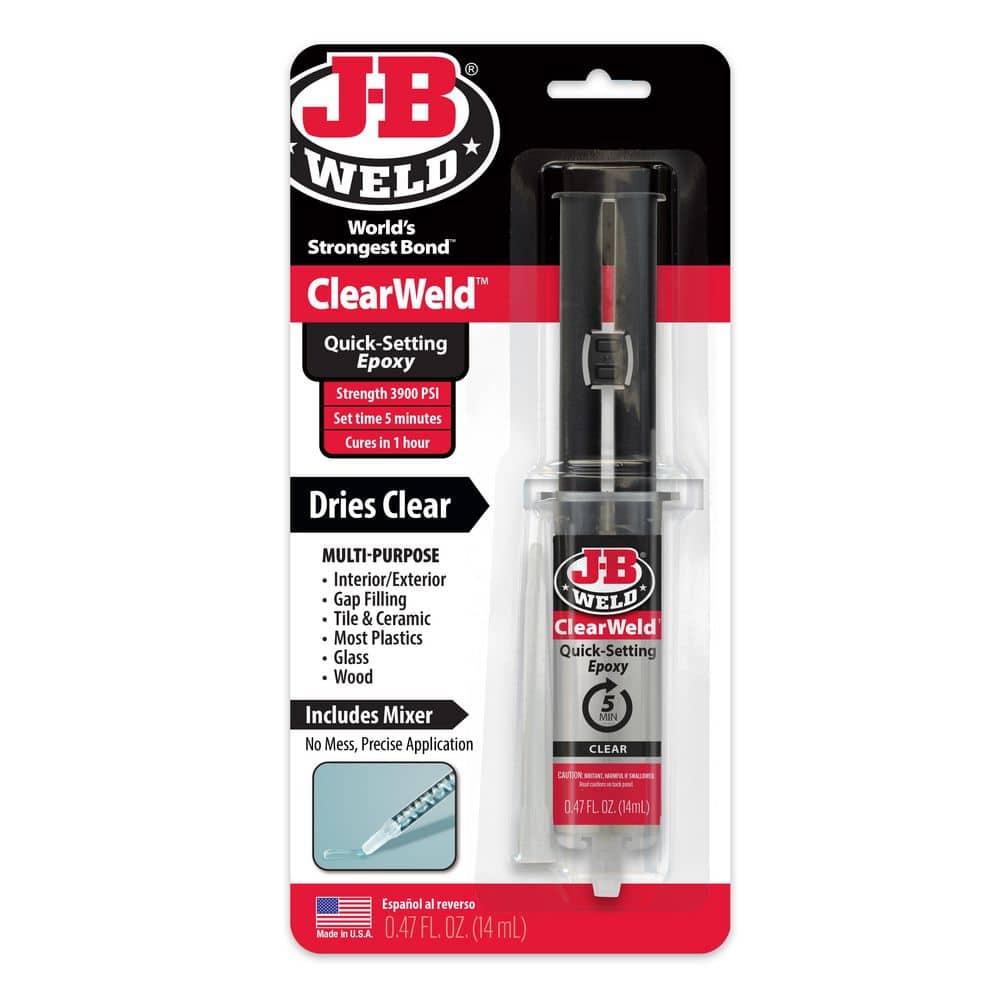
Use JB Weld Clear Weld Epoxy
This is the top-recommended product for fridge shelf repairs. It has a clear finish that becomes invisible after curing. It is cold-resistant and performs well in 34°F to 40°F temperatures. It holds up to 16 lbs, which matches standard shelf load limits.
Step-by-Step Repair
Remove and clean the shelf by taking it out of the fridge. Scrape debris from the crack with a dental pick. Wipe with isopropyl alcohol, then dry completely.
Mix the epoxy by squeezing equal parts resin and hardener. Stir thoroughly, because relying on the syringe mixer alone is not enough.
Apply to the crack using a toothpick or applicator to fill the entire gap. Slightly overfill high-stress areas for added strength.
Clamp and align by pressing broken edges together. Secure with tape, C-clamps, or a warped wood block for even pressure.
Let cure for 24 hours. Even if the label says “1-hour cure,” wait a full day for maximum strength.
Test before use by gradually adding light items like condiments or snacks. Avoid heavy loads like gallon jugs.
Reinforce the backside with a plastic patch cut from a yogurt lid for extra durability.
Never Repair Cracked Glass Shelves
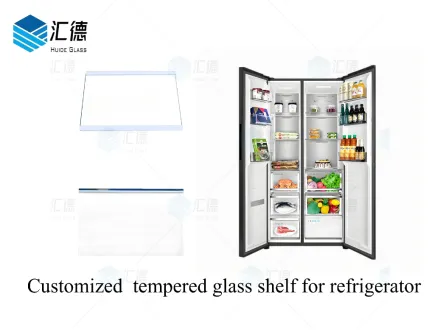
Tempered glass shelves should never be repaired if cracked. Once damaged, they lose structural integrity and can shatter unexpectedly, even days later.
Why It Is Dangerous
Tempered glass is under internal tension. A small crack can propagate spontaneously. Sudden failure risks injury and food contamination.
When Replacement Is Mandatory
Replace immediately if there is any visible crack, chip, or spiderweb pattern. Replace if shelves flex or make popping sounds. Replace if glass has missing chunks.
Wrap broken glass in newspaper, wear gloves, and dispose in a puncture-proof container.
How to Replace Safely
Note the model number, which is found inside the door or frame. Search PartSelect.com or the manufacturer site. Order an exact-fit replacement, which typically costs $20 to $80. Slide the new shelf into brackets. No tools are needed.
Consider acrylic or Corian shelves as an upgrade. They are shatter-resistant and easier to clean.
Straighten Bent Shelf Hooks
Bent metal hooks cause shelves to tilt or collapse. Fortunately, they are easy to fix with basic tools.
Tools Needed
You will need needle-nose pliers, work gloves, and a flathead screwdriver as an optional tool.
Fix in Three Steps
Remove the shelf by lifting it out to access the hooks.
Straighten with pliers by gripping the bent section firmly. Apply slow, steady pressure to return it to its original shape.
Reinstall and test by sliding the shelf back into brackets. Ensure it sits level and does not wobble.
Prevent future bending by avoiding edge loading and distributing weight evenly.
Replace Broken Tabs and Glides
Plastic tabs on door shelves and drawer glides break frequently. Do not attempt to glue them. These small parts fail under repeated stress.
Why Replacement Works Better
Glue bonds fail quickly due to flexing. Replacement parts cost $5 to $15, which is the same as quality adhesive. Most are snap-in or slide-in, requiring no tools.
How to Replace
Find your fridge model number, which is usually on the inner frame or door edge. Search online using PartSelect.com or Amazon. Search for “fridge shelf tab,” “door bin glide,” or “shelf support.” Install the new part by pulling the old tab out or unhooking the glide. Snap the new one into place, matching the orientation.
Label shelves before removal to avoid confusion during reassembly.
Fill Scratches and Gouges in Plastic
Deep scratches trap bacteria and weaken plastic over time. Filling them improves hygiene and prevents crack formation.
Best Material: Epoxy Putty or Clear Epoxy
Epoxy is moldable and strong. It bonds well to cold plastic. It can be sanded smooth.
Repair Steps
Clean the area by washing with soap and water, then drying completely.
Roughen the surface using 200 to 220 grit sandpaper to create texture.
Mix and apply epoxy by filling the gouge slightly over the surface.
Smooth and cure by using a plastic card to level. Let cure for 24 hours.
Sand flush optionally by lightly sanding for a smooth finish.
Wear gloves and work in a ventilated area. Epoxy fumes are harmful.
Repair Rust on Metal Shelves
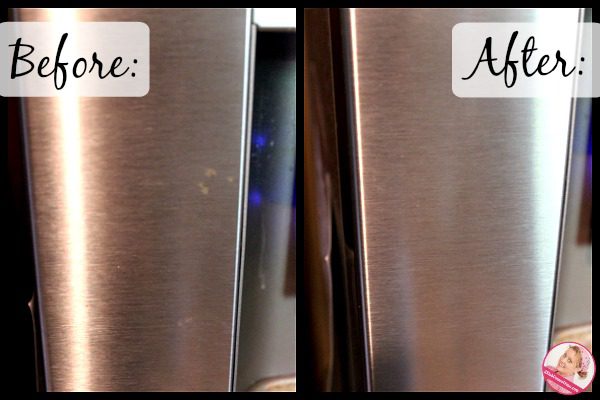
Rust weakens metal and can contaminate food. It must be removed and sealed to stop recurrence.
Remove Rust Completely
Scour with steel wool, rubbing until the metal is shiny and clean. Clean with vinegar to soak or wipe and neutralize remaining rust. Dry thoroughly.
Prevent Future Rust
Apply rust-inhibiting primer as an optional step. Paint with appliance-grade enamel using thin, even coats. Let dry fully between layers. Cure for 24 to 48 hours before reinstalling.
Never leave bare metal exposed. Humidity will cause rust to return within weeks.
Best Adhesive for Fridge Shelves
Not all glues work in cold, humid environments. Here is what to use and what to avoid.
JB Weld Clear Weld is best for plastic, glass, and metal. It cures in 24 hours, is clear, strong, and cold-tested. Super glue, or cyanoacrylate, is best for small plastic breaks. It cures in 60 seconds but is brittle. Silicone adhesive is best for flexible bonds. It cures in 24 hours and is water-resistant. Contact cement is best for cracks and patches. It cures in one minute, is fast, and penetrates deep. Epoxy putty is best for deep fills and gouges. It cures in 5 to 30 minutes and is moldable and sandable.
JB Weld Clear Weld Epoxy is the top pick. It is proven to hold for over three months under load.
Reinforce Weak Plastic Shelves
Prevent future breaks by reinforcing high-stress areas.
Plastic Patch Reinforcement
Cut a disc from a rigid food container, such as an oat milk tub. Apply epoxy to the patch and shelf back. Clamp and cure for 24 hours.
Metal Wire Reinforcement
Bridge broken glides with a staple or thin wire. Embed in epoxy for anchoring. This is ideal for drawer supports.
Clamping Trick: Use a Warped Wood Block
Place a slightly curved block under the clamp. This prevents over-pressuring and warping during cure.
Repair vs. Replace Decision Guide
Use this quick checklist to decide.
A cracked plastic with a clean break can be repaired with epoxy. Shattered or missing plastic requires replacement. A bent metal hook can be straightened. A broken plastic tab requires replacement. Rust on metal can be cleaned and repainted. Cracked glass must be replaced immediately. Surface scratches can be filled with epoxy. A broken frame with intact glass can be re-framed or the frame replaced. A shelf that wobbles or will not seat requires replacement if brackets are damaged.
Essential Tools for Fridge Shelf Repair
Must-Have Tools
You will need needle-nose pliers, C-clamps or bar clamps, a dental pick or scraper, 200 to 220 grit sandpaper, tin snips for cutting plastic, and a heat gun on low setting as an optional tool.
Recommended Materials
Stock up on JB Weld Clear Weld Epoxy, super glue, silicone adhesive, epoxy putty, appliance enamel paint, replacement tabs, glides, and bins, plus plastic patch material from food containers.
Prevent Future Shelf Damage
Keep shelves strong and functional with these habits.
Do not overload. The maximum weight for plastic shelves is 16 lbs. Distribute weight evenly. Clean spills immediately. Avoid abrasive cleaners. Use shelf liners for grip and protection. Let glass warm before cleaning to prevent thermal shock. Inspect monthly for cracks, rust, or bent hooks.
Where to Buy Replacement Parts
Top Sources
PartSelect.com has the largest inventory with model-specific filters and installation guides. Manufacturer sites like GE, Samsung, and LG offer OEM parts with reliable fit. Amazon and eBay provide fast shipping with third-party options. Appliance Parts Pros offers expert support and compatibility help.
When replacing, upgrade to acrylic, Corian, or stainless steel for longer life and better performance.
Safety First: Best Practices
Wear nitrile gloves when handling adhesives. Work in a ventilated area. Epoxy and paint fumes are toxic. Handle broken glass with cut-resistant gloves. Never use non-food-safe adhesives near food zones. Wait 24 hours for full cure. Rushing causes failure.
Key Takeaways for Fixing Your Fridge Shelf
Most non-glass fridge shelf issues can be fixed, especially plastic, wire, and frame damage. With JB Weld Clear Weld Epoxy, basic tools, and 24 hours of curing time, you can restore functionality, save money, and reduce waste.
Cracked glass shelves must be replaced. No exceptions. Safety comes first. For broken tabs, glides, or crisper bins, replacement is faster and more reliable than repair.
By following this guide, you will keep your fridge organized, safe, and efficient for years to come.
Frequently Asked Questions About How to Fix a Fridge Shelf
Can I repair a cracked plastic fridge shelf myself?
Yes, you can repair a cracked plastic fridge shelf yourself using JB Weld Clear Weld Epoxy. Clean the crack thoroughly, apply the epoxy, clamp the pieces together, and allow 24 hours for full cure. The repair can hold up to 16 lbs and lasts 6 to 18 months under moderate use.
What is the best adhesive for fixing refrigerator shelves?
JB Weld Clear Weld Epoxy is the best adhesive for refrigerator shelves. It cures clear, resists cold temperatures, and forms a strong bond. Avoid tan-curing epoxies because they are visible after repair and may not hold as well in cold environments.
When should I replace instead of repair a fridge shelf?
Replace instead of repair when the shelf is cracked tempered glass, when plastic is shattered with pieces missing, when plastic tabs or glides are broken, or when the shelf wobbles and will not seat properly despite adjustment. These conditions compromise safety and structural integrity.
How much does it cost to repair vs. replace a fridge shelf?
DIY repair costs $8 to $12 for epoxy and materials. Replacement shelves cost $20 to $80. Crisper bins cost $10 to $20. Door shelves cost $10 to $25. You can save up to $70 per repair by fixing instead of replacing.
How long do fridge shelf repairs last?
Epoxy repairs on plastic shelves typically last 6 to 18 months under moderate use. Reinforced shelves can last up to 2 years with light loads. Always test repaired shelves with light items first and avoid heavy loads like gallon jugs.


