
A wobbly or damaged kitchen rack can turn a functional space into a daily frustration. Whether it is a wooden wall-mounted unit sagging under the weight of dishes or an over-the-sink rack that will not stay level, knowing how to fix kitchen rack issues is essential for safety, efficiency, and kitchen organization. Poor installation, moisture damage, or worn hardware often cause these problems, but most can be resolved with simple tools and the right techniques. This guide walks you through diagnosing common failures, repairing loose or tilted racks, and maintaining long-term stability.
Diagnose the Problem First
Before grabbing a drill, identify what is causing the rack to fail. A quick assessment saves time and prevents repeated fixes.
Check for Loose Mounting Points
Inspect each screw connecting the rack to the wall. Gently wiggle the rack front-to-back and side-to-side. If there is movement, the issue is likely loose or failed fasteners. Look for these signs:
- Gaps between the rack and wall
- Screw heads pulling through wood
- Cracked or crumbling drywall around anchors
Use a screwdriver to test tightness. Do not overtighten. If the screw spins without gripping, the hole may be stripped.
Test Wall Type and Stud Alignment
Not all walls offer equal support. Determine whether your rack is mounted into:
- Wood studs (strongest option)
- Drywall only (requires heavy-duty anchors)
- Tile or masonry (needs special bits and anchors)
Use a stud finder to check if existing screws hit structural framing. If not, relocation or reinforcement is necessary.
Look for Physical Damage
Examine the rack itself for visible signs of wear. Is the wood warped, cracked, or soft to the touch? Are mounting brackets bent or misaligned? On metal racks, check if rust is weakening joints. Minor cosmetic wear can be ignored, but structural compromise means repair or replacement is needed.
Fix a Wobbly Kitchen Rack
A shaky rack risks falling and damaging dishes or injuring someone. Secure it properly using these targeted solutions.
Anchor Into Wall Studs
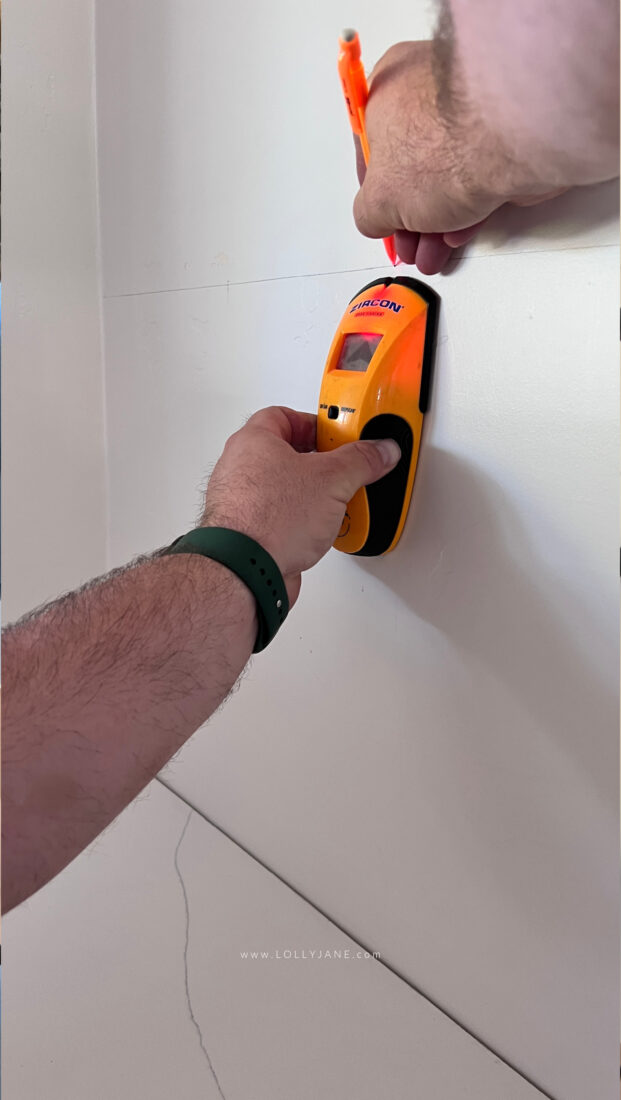
Mounting into studs is the single most effective way to stabilize a kitchen rack.
Find and Mark Stud Locations
Use a stud finder to locate vertical wooden supports behind drywall. Confirm by tapping, as studs sound more solid than hollow drywall. Mark center points with a pencil.
Pro Tip: Studs are typically spaced 16 or 24 inches apart, starting from corners.
Relocate Mounting Screws to Studs
Remove the rack from the wall. Hold it at desired height and align back mounting points with stud locations. Mark screw holes through level plates or brackets. Pre-drill pilot holes into studs using a bit slightly smaller than screw diameter. Reattach rack with 2 to 3 inch wood screws, driving them fully into the stud. This method eliminates wobble and supports heavy loads long-term.
Upgrade Drywall Anchors
When studs do not line up with mounting points, use high-strength anchors rated for 50 pounds or more.
Choose the Right Anchor Type
- Toggle bolts: Best for heavy loads, expand behind drywall
- Snap-toggle anchors: Easier to install than traditional toggles
- Heavy-duty plastic anchors: Acceptable for lighter racks if properly sized
Install Toggle Bolts Step-by-Step
- Remove old screws and patch stripped holes if needed.
- Drill hole according to anchor instructions, usually 1/4 inch to 3/8 inch.
- Insert toggle bolt through rack bracket, then push anchor through wall until wings open behind.
- Pull slightly to seat wings, then tighten screw until bracket lies flush.
- Repeat for all mounting points.
Warning: Never rely on standard plastic anchors for dish-laden racks. They fail under sustained weight.
Repair Stripped or Damaged Screw Holes
Stripped wood or crumbling drywall prevents screws from holding. Fix this common failure with simple reinforcement tricks.
Fill Stripped Wood Holes
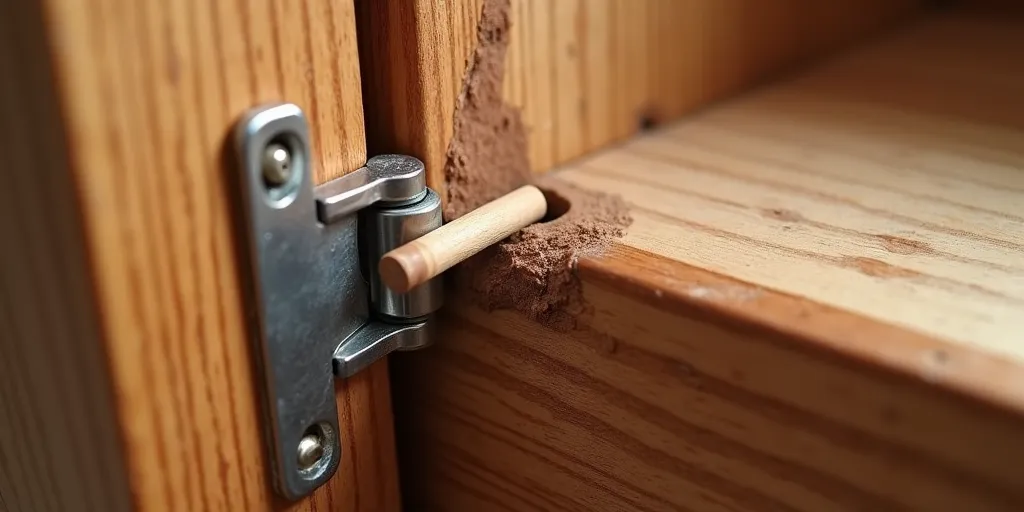
When wood around a screw hole is worn out, follow these steps. Remove the screw. Insert wood glue-coated wooden toothpicks or matchsticks into the hole until tightly packed. Snap off flush with surface. Let dry for 2 to 4 hours. Re-drill a small pilot hole through the filler. Reinsert screw and tighten gently. For larger damage, use epoxy wood filler and shape to match.
Reinforce Drywall Holes
If drywall around an anchor has cracked, remove the broken anchor. Apply spackle or joint compound to patch the hole and let dry. Re-drill and install a larger or toggle-style anchor nearby, not in the same weak spot. Consider shifting the bracket slightly to access undamaged wall area.
Correct a Tilted or Misaligned Rack
A crooked rack looks unprofessional and causes water pooling or dish sliding. Fix alignment fast.
Use a Spirit Level During Adjustment
Loosen but do not remove all mounting screws slightly. Place a spirit level across the top edge of the rack. Adjust left or right side by gently tapping up or down with a rubber mallet. When bubble centers, re-tighten screws evenly, alternating sides.
Expert Note: Always check levelness before final tightening. Never assume the floor or countertop is flat.
Shim Gaps Behind the Rack
Uneven walls create tilt even with perfect drilling. Cut thin shims from plastic or sand down wood scraps. Slide behind rack at low spots until it sits flush. Re-tighten screws to hold shims in place. These fillers distribute pressure and eliminate gaps without stressing screws.
Prevent Water Damage in Wooden Racks
Wood absorbs moisture, leading to swelling, warping, or rot, especially near sinks.
Apply Protective Sealant Annually
Remove rack or clean thoroughly in place. Sand surface lightly to remove old finish if needed. Wipe with damp cloth, then dry completely. Apply water-resistant varnish or polyurethane with a brush. Let cure 24 to 48 hours before reuse.
Maintenance Tip: Reapply sealant every 12 months to maintain protection.
Position to Avoid Standing Water
Do not place the rack directly under leaky faucets. Angle slightly forward so water drains off, not into wall joints. Wipe down daily with a dry cloth after dish drying. Replace any section that feels soft or shows black mold, as this indicates deep decay.
Mounting by Wall Type
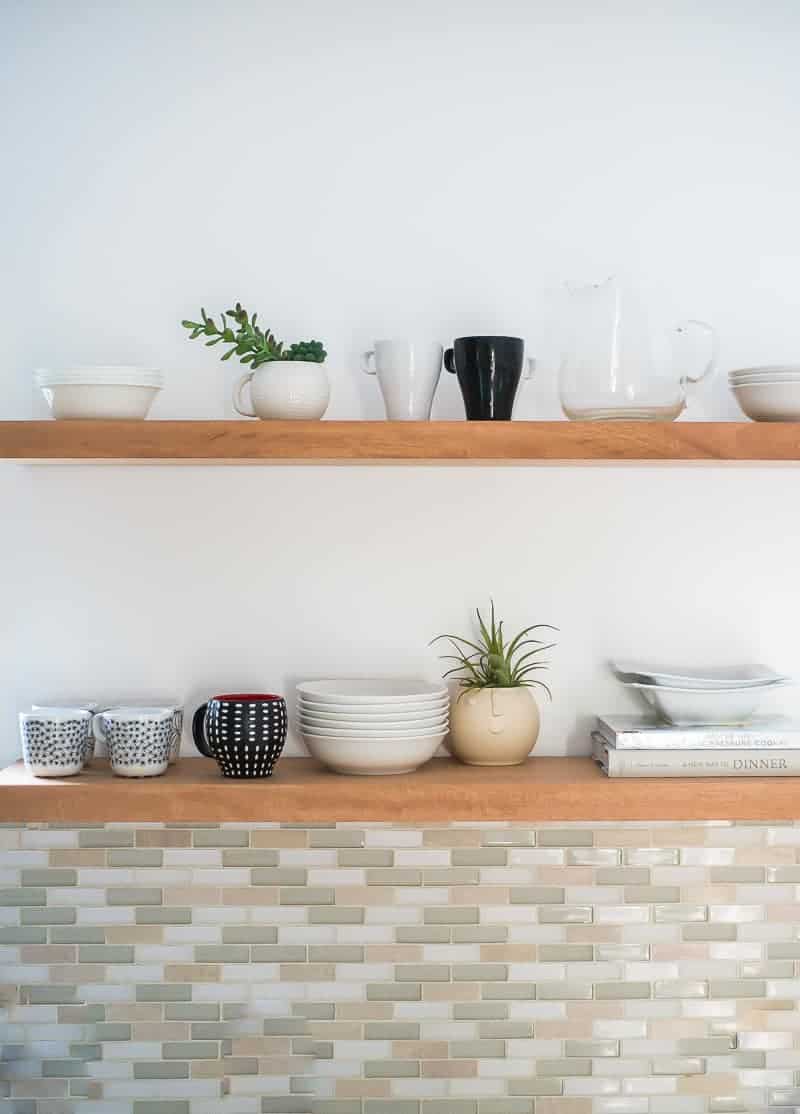
Different walls need different strategies. Match your fix to the surface.
Into Wood Studs
Use coarse-thread wood screws 2 to 3 inches long. Pre-drill pilot holes to avoid splitting. No anchors are needed, as screws grip solid wood directly.
Into Drywall
Avoid lightweight anchors. Use toggle bolts or snap-toggles for loads over 20 pounds. Distribute weight across multiple anchor points.
Into Tile or Masonry
Use a masonry drill bit, carbide-tipped for tile. Cover drilling spot with masking tape to reduce cracking. Drill slowly with light pressure. Insert plastic anchor sleeves or concrete screws. Use stainless steel screws to resist rust in humid kitchens.
Visual Cue: Dust from drilling should be fine and powdery, not chipping or cracking tile.
Maintain Your Kitchen Rack Long-Term
Prevent future problems with routine care.
Inspect Every 3 to 6 Months
Tighten loose screws. Check for rust on metal or soft spots on wood. Ensure brackets remain flush with wall.
Clean Without Causing Damage
For wood, use damp cloth only, then dry immediately. For metal, wipe with vinegar-water mix to remove hard water stains. Avoid abrasive sponges or harsh cleaners.
Distribute Weight Evenly
Do not stack heavy pots on one side. Alternate storage sides to prevent stress fatigue. Stay within manufacturer weight limits.
When to Replace Instead of Repair
Some damage is not worth fixing.
Replace If
- Wood is rotten, cracked, or severely warped
- Metal frame is bent or corroded
- Mounting points are too close to edge, risking pull-out
- Original design lacks stability, such as flimsy brackets
Consider upgrading to a stainless steel over-sink model for durability and easier cleaning. If replacing, match rack length to sink dimensions: 65 cm for compact sinks, 85 cm for standard size, and 105 cm for large double bowls. Clamp-on models require no wall drilling, ideal for renters or tile walls.
Frequently Asked Questions About How to Fix Kitchen Rack
Why does my kitchen rack keep coming loose?
The most common reason is that screws are anchored into drywall only rather than wall studs. Drywall cannot support sustained weight, so anchors pull out over time. Relocate mounting points to align with studs, or upgrade to toggle bolts if studs are unavailable.
Can I reuse the same holes if screws are stripped?
No. Stripped holes will not hold screws securely even after tightening. Fill stripped wood holes with toothpicks and glue, or patch drywall holes and install anchors in a new location nearby.
How do I know if my wall has studs where I need them?
Use a stud finder to locate vertical wooden supports behind the drywall. Studs are typically spaced 16 or 24 inches apart. Mark centers with a pencil before drilling.
Should I use wood screws or wall anchors?
Wood screws are stronger when anchored into studs. Use wall anchors only when studs are not available, and choose heavy-duty toggle bolts rated for 50 pounds or more.
How often should I seal a wooden kitchen rack?
Apply water-resistant sealant annually to protect against moisture damage. Reapply every 12 months or sooner if you notice water spots or finish wear.
When should I replace rather than repair my kitchen rack?
Replace if wood is rotten or severely warped, metal is bent or corroded, or mounting points are too close to the edge. If the rack design was unstable from the start, upgrading to a better model makes more sense than repeated repairs.
Key Takeaways for Fixing Your Kitchen Rack
Fixing a kitchen rack is not just about tightening screws. It is about ensuring lasting stability and safety. Always use a spirit level, as accuracy starts with proper alignment. Pre-drill holes to protect both wood and wall integrity. Anchor into studs whenever possible for maximum load-bearing capacity. Use stainless steel hardware in humid kitchen environments. Reapply sealant annually on wooden units to prevent water damage. Inspect the rack every 3 to 6 months to catch small issues before they become hazards.
By following these proven steps, you will transform a shaky, failing kitchen rack into a sturdy, reliable asset. Whether you are repairing a loose mount, correcting a tilt, or preventing water damage, the right technique makes all the difference. A properly fixed kitchen rack enhances both function and peace of mind, one tightened screw at a time.


