
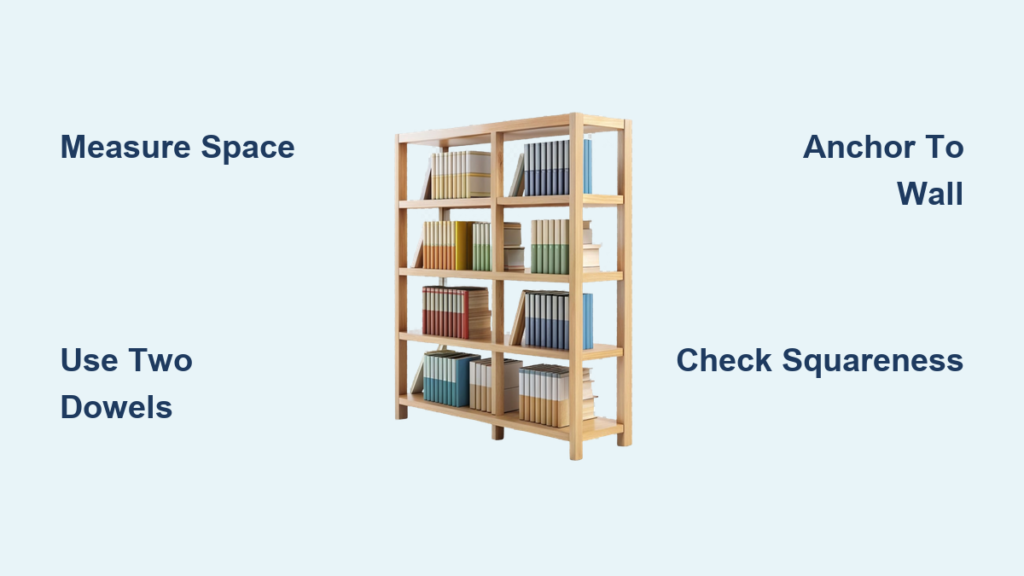
Nothing beats the satisfaction of building your own book rack, custom-fit to your space and budget-friendly. Whether you’re filling a tight corner, upgrading a home office, or creating a statement wall, how to make a book rack is a practical skill that transforms clutter into curated style. With just basic tools and affordable lumber, you can construct a sturdy, attractive shelf system in one weekend. This guide walks you through every step from planning and cutting to finishing and mounting using proven techniques from real DIY builds.
Plan Your Book Rack Layout for Perfect Fit
Measure Your Space Before Buying Lumber
Start by measuring the width, height, and depth of your intended installation area. For floor-to-ceiling units, subtract one-half inch from the total height to allow for flooring or carpet. If installing in a corner, check for non-90 degree angles. These can be advantages rather than obstacles. Use blue painter’s tape to outline the rack’s footprint on the wall. This visual mock-up helps test proportions and ensures furniture clearance.
Choose the Right Type for Your Room
Match your design to your room’s function. Wall-mounted racks work best for small spaces or renters. Freestanding units offer flexible placement and handle heavy loads. Built-ins maximize storage in closets, alcoves, or around doorways. Tabletop designs perfect for nightstands or kitchen counters. Prioritize shelf depth between 10 and 13 inches to fit standard and oversized books. Allow 4 to 6 inches between the base and floor to protect against moisture and simplify cleaning.
Sketch and Test Your Spacing
Draw a simple sketch with shelf heights. Start with a 12-inch gap from the floor, then space shelves in 4-inch increments upward. Place taller gaps at the top for decorative items. For built-ins, align shelf lines with existing trim or wainscoting to blend seamlessly. Always double-check measurements before cutting because errors compound during assembly.
Pick the Right Materials for Your Budget
Use Pine for Budget-Friendly Builds
One by 12 or 2 by 12 pine boards are ideal for DIY book racks. They are affordable, widely available, and easy to cut. Inspect each board for warping or cupping, and select the flattest pieces. For a painted finish, pine accepts primer and semi-gloss paint beautifully. Sand thoroughly with 80-grit paper, then 220-grit before finishing.
Opt for Plywood or MDF for Modern Designs
Plywood offers stability and clean edges, especially in contemporary styles. Use three-quarter-inch thickness for shelves over 3 feet long. MDF is perfect for painted built-ins because no grain means a flawless surface. Always prime all sides and edges to prevent moisture swelling.
Try Reclaimed or Alternative Materials
For rustic charm, use reclaimed barn wood sanded and sealed for durability. Renters or students can build cardboard shelves using triple-wall corrugated board glued and sealed with Mod Podge. Wooden crates or pallets make quick wall-mounted racks when stacked and secured.
Gather Essential Tools for Assembly
Basic Tools You Need
You do not need a full workshop. Key tools include a circular saw or miter saw for straight cuts. A drill driver with bits handles fastening. Clamps are essential for glue-ups. A level and framing square ensure alignment. A sander, either palm or belt, smooths rough finishes. A pocket-hole jig like Kreg creates hidden screws. A doweling jig builds hardware-free joints.
The tools you will need are:
• Circular saw or miter saw
• Drill driver with bits
• Clamps for glue-ups
• Level and framing square
• Palm or belt sander
• Pocket-hole jig
• Doweling jig
Safety Gear You Cannot Skip
Always wear eye protection when cutting or sanding. Use a respirator or dust mask, especially when staining or applying finish. Ear protection is necessary when using loud power tools. Work gloves protect hands when handling rough lumber. Work in a well-ventilated area, particularly during finishing.
Build Strong Structural Frames

Create T-Shaped Support Units
For freestanding or built-in racks, glue two 1 by 12 boards per side to form a T-shape. One board stands vertical, the other horizontal at the top. Clamp them tightly, centering pressure to flatten any cupped boards. This creates a rigid vertical support. Build three identical units and one shorter top piece for visual variation.
Cut and Fit Side Panels Precisely
For a 100-inch tall rack, cut side panels to 99.5 inches to account for base clearance. Use a straight-edge guide with a circular saw for precise rips. Label each piece to avoid confusion during assembly.
Bevel for Flush Wall Fit
If the rack meets a baseboard or molding, bevel the bottom end at 45 degrees so it sits flush against the wall. This small detail ensures stability and a clean appearance.
Join Shelves Securely Without Twisting
Use Two Dowels Per Joint
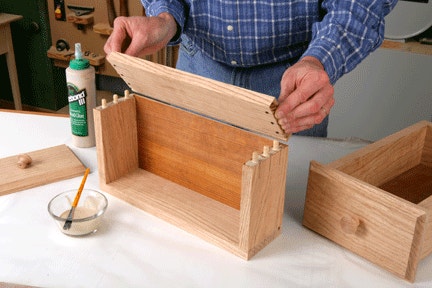
Dowel joints are strong and hardware-free. Mark the centerline of each board. Drill half-inch deep holes into the face for shelf ends. Drill one-inch deep holes into the end grain for vertical supports. Use one-and-a-half-inch dowels and a doweling jig for alignment. Insert two dowels per joint because single dowels cause twisting. Apply wood glue, insert dowels, clamp, and check squareness with a bevel square.
Reinforce with Pocket-Hole Screws
For extra strength, use washer-head pocket-hole screws on the inside of frames. The washer pulls slightly warped boards flat. This method works ideal for attaching bottom and back panels without visible hardware.
Install Shelves and Supports Correctly
Mark Shelf Positions Clearly
Measure 12 inches up from the base, then mark every 4 inches above. Use a level and speed square to draw straight lines across both side panels. Label each shelf position to avoid confusion during installation.
Add Mid-Span Bracing for Long Shelves
Shelves over 4 feet long need central support to prevent sagging. Install a 1 by 10 brace across the middle, screwed into both side panels. For 6-foot spans, this brace is essential for holding heavy books.
Attach Back Panel for Rigidity
Cut a three-quarter-inch plywood or shiplap back panel to size. Slide it into routed grooves along the side panels or screw it directly to the frame. This back panel stops racking and keeps the unit square. Use countersink bits for flush screws.
Finish for Durability and Style
Sand All Surfaces Before Staining
Sand every piece with 80-grit paper, then 220-grit. Remove all dust with an air hose or tack cloth. Never skip sanding because rough surfaces show through paint and stain.
Apply Stain or Paint Evenly
For a warm look, use oil-based stain like Minwax Golden Oak or water-based options like Aged Oak. Apply with a clean rag, wipe off excess immediately, and let dry fully. On pine, use pre-stain conditioner to prevent blotching.
For painted racks, prime all surfaces including edges. Use semi-gloss or satin finish for easy cleaning. Apply two or more coats of paint, sanding lightly between applications.
Seal for Long-Term Protection
Finish with two or more coats of polyurethane or lacquer sealer. This protects against scratches and moisture. Let each coat dry, then sand lightly with 220-grit before the next. Discard brushes after use because cleaning is rarely effective.
Mount and Secure Your Rack Safely
Anchor to Wall Studs
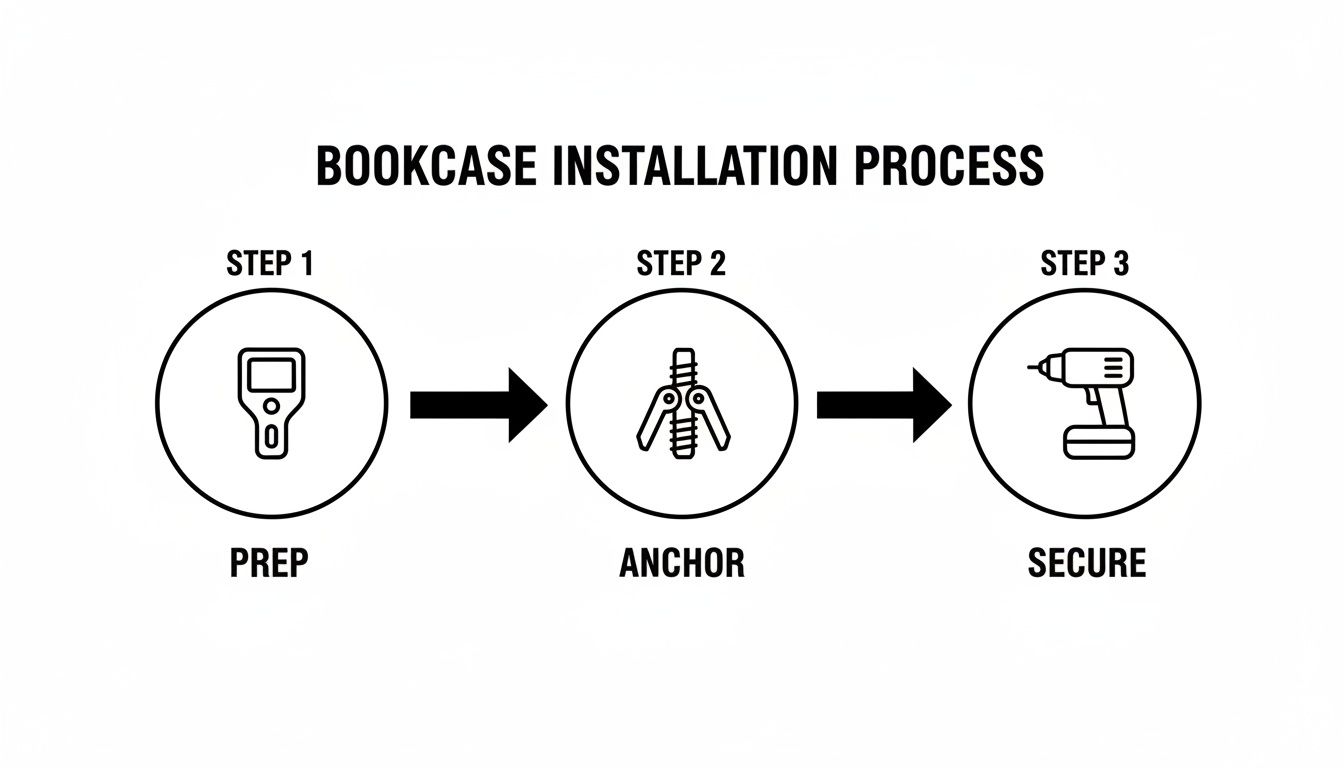
Never skip wall anchoring. Use a stud finder to locate wall studs. Drive wood screws through the top rail or back panel into at least two studs. On the opposite side, use heavy-duty drywall anchors if no stud is available.
Prevent Tipping Hazards
In homes with children or pets, secure the rack with anti-tip brackets. These L-brackets connect the top of the unit to the wall. Even freestanding bookcases must be anchored because unsecured shelves are a major safety risk.
Level and Shim for Stability
Use a 4-foot level during installation. If the floor is uneven, place wood shims under the base. Tap them in until the rack is plumb, then trim excess with a utility knife. Insert a wood wedge between the top and wall to press the unit flush before final tightening.
Customize for Your Unique Space
Build Corner Bookshelves
Maximize dead corners by building angled racks. Cut side panels to fit the wall’s angle. Do not force a 90-degree fit. Use floating shelves or ladder-style racks leaning into the corner. Mount 50 centimeters above the floor for visual balance.
Design Floating or Leaning Racks
For a minimalist look, build floating shelves using hidden brackets or keyhole hangers. Or create a leaning bookshelf from two A-frames and horizontal shelves. No wall mounting is needed, but anchor the unit if children are present.
Add Creative Touches
Paint the back panel navy or emerald for dramatic contrast. Install LED strips under shelves for ambiance. Use chicken wire or tile wallpaper as decorative backing. Build an ABC bookcase for kids with labeled compartments.
Avoid Common DIY Mistakes
Prevent Warping with Proper Lumber Selection
Inspect boards before purchase. Cupped or twisted wood leads to wobbly shelves. Store lumber flat and dry before use. For long spans, increase thickness or add mid-supports.
Do Not Skip the Diagonal Check
After assembly, measure corner to corner diagonally. Both measurements must be equal, for example 112 inches for a 100-inch tall unit. If not, the frame is out of square. Adjust before proceeding.
Avoid Single-Dowel Joints
One dowel per joint allows rotation and twist. Always use two dowels for balanced support. Test your jig on scrap wood first.
Prime All Edges on MDF
Unprimed MDF edges swell when exposed to humidity. Seal every edge with primer before painting.
Style and Maintain Your Rack
Arrange Books for Visual Impact
Mix vertical and horizontal stacks. Group books by color family rather than rainbow order. Add plants, vases, or framed photos for personality. Leave 20 percent negative space to avoid clutter.
Load Shelves Wisely
Place heavy books on lower shelves to lower the center of gravity. Distribute weight evenly across spans. Avoid overloading because long shelves with dense books need mid-bracing.
Clean and Inspect Regularly
Dust with a soft microfiber cloth. Check screws and anchors annually for tightness. Re-seal shelves every 1 to 2 years in high-use areas. Keep out of direct sunlight to prevent fading.
Frequently Asked Questions About Making a Book Rack
What is the best wood for a DIY book rack?
Pine boards are the best choice for most DIY book racks because they are affordable, easy to find, and work well with both stain and paint. For a modern painted look, MDF provides a smooth, flawless surface.
How deep should book rack shelves be?
Standard shelf depth ranges from 10 to 13 inches. Twelve inches accommodates most standard books, while 13 inches work well for oversized books and decorative items.
Do I need to anchor my book rack to the wall?
Yes, always anchor book racks to the wall, regardless of whether they are freestanding or wall-mounted. Unsecured shelves pose a serious tipping hazard, especially in homes with children or pets.
How do I prevent my shelves from sagging?
For shelves over 4 feet long, install a mid-span support brace across the center. Place heavier books on lower shelves to keep the center of gravity low. Use thicker material or add support brackets for long spans.
Can I build a book rack if I have no workshop experience?
Yes, beginners can successfully build a book rack. Start with a simple wall-mounted design using pre-cut boards. Focus on accurate measurements, proper sanding, and secure wall anchoring. The skills transfer easily to more complex projects.
Key Takeaways for Building Your Own Book Rack
Building a book rack is more than storage. It is a chance to personalize your space with craftsmanship. From measuring and cutting to staining and securing, every step ensures a rack that is strong, safe, and stylish.
Choose pine for affordability or MDF for a sleek painted finish. The result is a custom solution that store-bought units cannot match. Always use two dowels per joint, anchor to wall studs, and verify squareness with diagonal measurements before final assembly.
Anchor your rack properly, style it thoughtfully, and enjoy a lifetime of organized reading. Your perfect book rack is within reach.


