
Wasted space in your cabinets frustrates every homeowner. Learning how to make a shelf in a cabinet transforms cluttered, hard-to-reach corners into organized, functional storage. Whether you rent and need removable solutions or own and want permanent custom builds, adding interior shelves maximizes vertical space, improves accessibility, and keeps frequently used items within reach. This guide covers every method from quick no-tools drop-ins to heavy-duty sliding shelves using verified techniques from professional builders.
You will learn how to measure accurately, select the right support system, choose appropriate materials, and install a shelf that fits perfectly, supports weight safely, and blends seamlessly with your existing cabinetry.
Measure Cabinet Interior Correctly
Before purchasing materials or cutting any wood, you must measure your cabinet precisely. Most manufactured cabinets are not perfectly square, so a single measurement will lead to poor fit.
Check Width at Three Points
Measure the interior width at the top, middle, and bottom of the cabinet. Record the narrowest dimension as your maximum shelf width. Many cabinets taper slightly, and a shelf cut to the widest point simply will not fit.
Record Depth and Height
Depth is measured from the back wall to the inner edge of the face frame. For full-depth shelves, subtract 1/8 inch to 1/4 inch to ensure proper clearance. Height between existing shelves determines available space, and you should leave at least 5 inches for flat storage like baking sheets or cutting boards.
Identify Obstructions
Check for hinges, plumbing, electrical wires, or fixed braces that could block shelf installation. In lower kitchen cabinets, center supports often prevent full-depth sliding shelves. If present, consider cutting the shelf in half or removing non-load-bearing braces.
Pro Tip: Create a quick sketch with all measurements. Use it to plan shelf position and support placement before buying materials.
Choose the Right Shelf Type
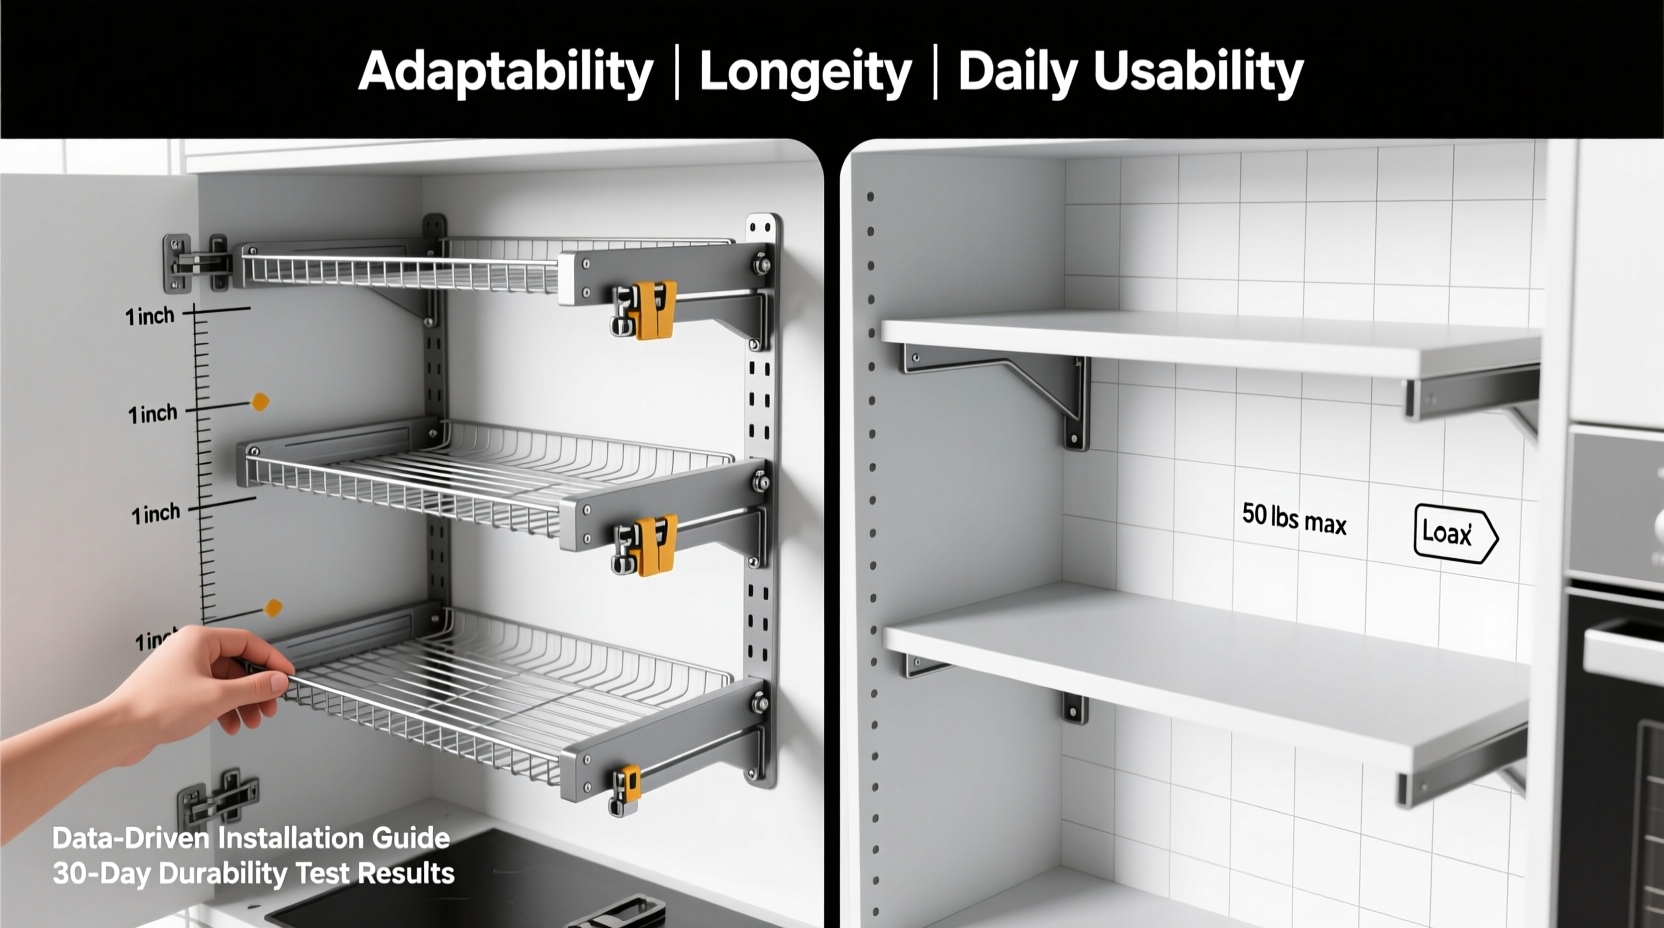
Not all shelves serve the same purpose. The best type depends on your cabinet location, load requirements, and whether you can drill or modify the structure.
Fixed Shelves for Heavy Loads
Fixed shelves are ideal for permanent storage of heavy items like cookbooks or small appliances. Built with support brackets secured directly into wall studs, these shelves handle 50 pounds or more when properly installed. This option works best for homeowners who do not need to reconfigure storage space.
Adjustable Shelves for Flexibility
Adjustable shelves use shelf pins to support 3/4 inch plywood or melamine boards. You can move shelves up or down as storage needs change. Metal pins support up to 30 pounds, which is perfect for canned goods or kitchenware. This method works most effectively in pantries or upper cabinets.
Pull-Out Sliding Shelves for Deep Access
Pull-out shelves are best for lower cabinets where items get lost in the back. Built on ball-bearing drawer slides, these shelves glide out fully to provide instant access. Each pair supports up to 100 pounds, making them ideal for pots, pans, or cleaning supplies.
No-Tools Shelves for Renters
No-tools shelves use pre-cut melamine boards and Command Strips. No drilling is required, and no damage occurs to the cabinet. This solution works perfectly for temporary upgrades in rentals, RVs, or closets and supports light loads of 5 to 7 pounds, such as spices or toiletries.
Quick Decision Guide:
• Renting? Choose no-tools shelf
• Need reconfiguration? Choose adjustable pins
• Storing heavy items? Choose fixed or sliding
• Deep cabinet? Choose pull-out shelf
Pick the Best Shelf Material
The right material ensures strength, durability, and a clean finished appearance.
3/4 Inch Plywood for Strength
Birch or sanded pine plywood works ideally for pull-out and fixed shelves. It is strong, easy to cut, and accepts edge treatment well. Always cover exposed edges with solid wood banding or iron-on veneer for a finished look.
Melamine Board for No-Fuss Builds
Melamine comes pre-laminated and moisture-resistant, requiring no painting. It features bull-nosed edges that hide raw material, making it great for pantries or bathrooms. Consider having it cut at hardware stores to avoid DIY errors.
Solid Wood for Premium Finish
Use solid wood for visible shelves where aesthetics matter, such as open cabinets or TV stands. This material requires sanding and finishing but offers the highest durability and beauty.
Avoid Particleboard
Particleboard swells when exposed to moisture and cannot support heavy loads over time. If you must use it, seal all edges with primer or edge tape.
Edge Tip: Apply Danish oil to plywood edges after banding for a warm, professional finish.
Install with Shelf Pins (Adjustable)
This method allows you to reposition shelves as needs change, which is perfect for evolving storage requirements.
Mark Pin Locations Accurately
Measure 1 inch from the back wall and 1 inch from the front edge on one cabinet side. Use a level to mark the same height on the opposite side. This ensures the shelf sits perfectly flat.
Drill with a Shelf Pin Jig
Use a Kreg shelf pin jig for perfectly aligned holes. Drill 5mm holes approximately 1/2 inch deep. Wrap tape around the drill bit to prevent drilling through the cabinet wall.
Insert Pins and Test
Press metal or plastic pins into the holes. Metal pins support more weight, ranging from 25 to 30 pounds. Place the shelf, cut to exact depth, onto all four pins. Test stability before loading any items.
Pro Tip: Install extra holes at alternate heights so you can adjust shelf position later without new drilling.
Build a Pull-Out Shelf (Step-by-Step)
For deep lower cabinets, a sliding shelf eliminates blind spots and heavy lifting.
Mount Slide Brackets to Cabinet
Install 3/4 inch plywood strips flush with the face frame if it protrudes from the cabinet walls. These strips create a flat surface for attaching ball-bearing slides that are 22 inches long with 100-pound capacity. Secure with construction adhesive and brad nails.
Build the Shelf Box
Cut a base from 3/4 inch plywood. The depth should equal cabinet depth minus 1.5 inches for slide and side thickness. The width should equal face frame width minus 1 inch for slide thickness minus 1.5 inches for side material. Then cut four 2-inch-high sides from the same plywood.
Assemble with Glue and Clamps
Apply wood glue to the base edges. Attach side pieces first, then front and back pieces, which overlap the sides. Clamp and let dry. Wipe excess glue with a damp cloth.
Attach Slides and Test
Mount slides to both the cabinet brackets and shelf box. Test glide action and adjust if binding occurs. Lubricate with silicone spray for smooth operation.
Cost Save: DIY pull-out shelves cost $40 to $60 versus $85 to $104 for pre-made units.
Conceal Gaps for Clean Look
When the shelf is closed, small gaps may remain visible. Glue a thin strip of Polywall to the inside of the cabinet door to hide the space. Polywall is durable, chemical-resistant, and easy to trim.
Use Fixed Brackets for Maximum Strength

When you need to support heavy loads like small appliances or toolboxes, fixed brackets provide the strongest option.
Install Vertical Support Boards
Attach two 3/4 inch plywood or solid wood strips vertically to the cabinet side walls. Ensure they are level and flush with the desired shelf height. These boards act as ledges for the shelf.
Cut and Fit the Shelf
Cut the shelf to exact depth, notching corners if internal braces block insertion. For very deep cabinets, cut the shelf in half and install two sections that meet in the center.
Secure and Finish
Slide the shelf onto the supports. Optionally screw up from below for extra stability. Add a 1/2 inch rear lip to prevent items from sliding off.
Load Tip: For spans over 24 inches, add a center support to prevent sagging.
Try No-Tools Installation (Renter-Friendly)
No drill? No problem. Create a functional shelf in minutes.
Buy Pre-Cut Melamine
Purchase a 6-foot melamine board and have it cut at Lowes or Home Depot. One piece at full depth becomes the shelf. Two 8-inch pieces act as vertical supports for a second tier.
Slide Into Place
Rest the shelf on the cabinet side walls. The bull-nosed front edge acts as a built-in lip. If the shelf shifts, secure it with Command Strips.
Add Upper Tier (Optional)
Place a 5-1/2-inch-wide board on the two 8-inch supports. Secure with another Command Strip. Now you have dual-level storage.
Renter Perk: Remove everything with no damage or residue.
Match Aesthetics to Existing Cabinets
A well-built shelf should blend in, not stand out.
Replicate Finish and Color
Use the same wood species, paint, or laminate as your current cabinetry. For painted cabinets, use pre-primed melamine to skip sanding and painting steps.
Add Face Frame or Trim
Attach a 1×2 or 1×3 board to the front edge of the shelf to mimic a cabinet door frame. This hides raw edges and improves visual integration.
Hide Fasteners and Raw Edges
Use pocket screws or L-brackets from underneath. Cover exposed plywood with edge banding or a solid wood strip. Leave hidden edges unfinished to save time.
Pro Note: In built-in cabinets, drill a 2-inch hole in the back panel for cord management, especially useful for TV stands.
Maximize Load Capacity and Longevity
Even the best shelf fails if overloaded or poorly supported.
Support by Shelf Type
Different support systems handle different weights. Plastic pins support 15 to 20 pounds maximum. Metal pins handle 25 to 30 pounds when used with 3/4-inch material. Fixed brackets support 50 pounds or more. Ball-bearing slides support approximately 100 pounds per pair. Command Strips support only 5 to 7 pounds.
Prevent Sagging
For shelves over 24 inches wide, add a center support or use thicker material. L-brackets underneath also help distribute weight effectively.
Maintain for Long Life
Wipe melamine with a damp cloth and avoid ammonia cleaners. Re-tighten slide screws annually. Reapply Danish oil every 1 to 2 years on wood shelves. Lubricate slides with silicone spray.
Real-World Tip: Ball-bearing slides last 5 to 10 years, making them worth the upfront cost.
Build a Full Cabinet with Integrated Shelves
For total control, build a custom cabinet from scratch, such as a TV stand or pantry unit.
Assemble Frame with Pocket Holes
Use a Kreg jig to create pocket holes in 2×2 legs and 3/4 inch plywood sides. Join with 2-1/2 inch screws for strong, hidden connections.
Install Adjustable Interior Shelf
Drill pin holes using a shelf jig. A 31-3/4-inch shelf fits between face frames with pins. Use 32 inches if using pocket screws on the ends.
Add Back and Top Panels
Attach 1/4 inch plywood back with staples or screws. For the top, use 3/4 inch plywood or a glued-up 2×10 for a rustic look. Secure with L-brackets and screws.
Finish with Function in Mind
Fill pocket holes with plugs or wood putty. Drill a 2-inch cord hole in the back. Paint or stain to match your decor.
Time Estimate: 6 to 8 hours for a full build.
Organize and Maintain Your New Shelf
A shelf is only as good as how you use it.
Group Like Items Together
Store spices with spices, baking sheets with cutting boards. Use bins or baskets for small items that might otherwise get lost.
Optimize Reach Zones
Eye to waist level works best for daily-use items. Below waist level suits heavy or infrequent items. Top shelf is ideal for light, rarely used items.
Purge Annually
Once a year, remove everything and discard expired or unused items. This prevents clutter from creeping back into your newly organized space.
User Insight: Verified builders report up to 50 percent more usable space and fewer forgotten items.
Frequently Asked Questions About Making a Shelf in a Cabinet
How much does it cost to add a shelf to a cabinet?
DIY costs range from $8 for a simple no-tools melamine shelf to $40 to $60 for a pull-out sliding shelf. Pre-made pull-out shelves cost $85 to $104, making DIY options significantly cheaper.
What is the strongest way to install a cabinet shelf?
Fixed brackets attached to the cabinet side walls provide the strongest support, handling 50 pounds or more. For even heavier loads, ball-bearing slides support approximately 100 pounds per pair.
Can I add shelves to any cabinet?
Most cabinets can accommodate additional shelves. However, you must check for obstructions like hinges, plumbing, or fixed braces. Some cabinets may require removing non-load-bearing center supports.
How do I prevent shelves from sagging?
Use 3/4-inch-thick minimum material. For spans over 24 inches, add a center support or use L-brackets underneath. Avoid overloading shelves beyond their rated capacity.
Do I need special tools to install adjustable shelves?
A shelf pin jig is the most helpful tool for precise hole alignment. A drill, tape measure, and level are essential. No specialty tools are required for basic installation.
Can renters add shelves without damaging cabinets?
Yes. Use pre-cut melamine boards that rest on cabinet side walls. Secure with Command Strips for light loads. This method leaves no damage and is fully removable.
Key Takeaways for Making a Shelf in a Cabinet
Adding a shelf in a cabinet is a high-impact, low-cost upgrade that dramatically increases storage capacity. Accurate measurement is the foundation of any successful project, and you must measure width at multiple points to account for cabinet taper. Choose your shelf type based on weight needs and whether you require flexibility. Adjustable pin systems work well for changing storage needs, while fixed brackets handle heavy loads and pull-out slides provide easy access to deep cabinets.
Select appropriate materials for your situation. Plywood offers strength for custom builds, melamine provides quick no-paint solutions, and solid wood delivers premium aesthetics. Match your installation method to your skill level and whether you can modify your cabinets. No-tools solutions work for renters, while permanent installations require more tools but provide greater durability.
With the right method, accurate measurements, and proper support, you will gain significant storage space, reduce strain from reaching into deep cabinets, and keep your kitchen, bathroom, or garage organized for years to come.