
You don’t need expensive tools or materials to make a functional wire rack. Whether you’re roasting bacon or organizing kitchen tools, two powerful solutions exist: a no-cost foil baking rack for one-time cooking use and a custom wall-mounted wire utensil rack for long-term storage. Both methods are simple, effective, and backed by real user results. This guide gives you step-by-step instructions, material lists, safety tips, and customization ideas to build the right rack for your needs.
Build a Foil Baking Rack Without Tools
Create an instant elevated cooking surface using only aluminum foil. This method works perfectly for crispy bacon, roasted vegetables, or lean meats that need fat to drain away.
Fold Foil into a Stable Fan
Start with a full sheet of heavy-duty aluminum foil large enough to span your baking tray. A standard 18″ x 13″ half-sheet pan works best.
- At one short end, fold down 1 inch of foil.
- Flip the foil over and repeat the fold in the same direction.
- Continue this fold-flip pattern across the entire length.
- The result is a ridged accordion-style zigzag that stands upright on the baking sheet.
Place and Bake
Position the folded foil across your rimmed baking sheet to catch drippings. Lay food like bacon strips directly on top of the peaks.
Preheat your oven to 400°F (204°C) and bake for 15 to 20 minutes. Discard the foil after use. No cleanup required.
Why This Method Works
Fat drains away from the food, reducing grease by up to 15% compared to pan-frying. Air circulates under the food, delivering crispier results similar to commercial baking racks. The foil withstands standard baking temperatures without melting or warping.
Pro Tips for Best Results
Use double-layered foil before folding for extra strength. Try 1.5-inch folds for sturdier support with larger items. Add crumpled foil balls at each end to prevent the rack from sliding on the pan.
Limitations to Know
This method is not suitable for heavy foods like whole chickens or roasts. The structure is less stable than metal racks, so center your food carefully. The foil is single-use only and deforms after heating.
Construct a Wall-Mounted Wire Utensil Rack
Turn steel mesh into a sleek industrial-style organizer that keeps tools within reach and drawers clutter-free. This permanent solution lasts 5 to 10 years with proper care.
Choose and Cut the Right Mesh
Use 6″ x 6″ wire rebar mesh from the concrete section of hardware stores. This is 9 to 11 gauge steel. A standard 24″ x 24″ sheet fits four squares per side.
Mark your cut lines with a pencil. Use industrial wire cutters for clean, safe cuts. An angle grinder with a metal-cutting disc works as an alternative, but you must wear gloves, eye protection, and long sleeves.
Deburr sharp edges after cutting to prevent cuts during handling.
Clean and Prep for Long Life
Raw steel rusts easily, so proper preparation ensures durability.
- Spray the surface with CLR rust remover or a vinegar-based solution.
- Scrub with a metal pad to remove mill scale and oxidation.
- Rinse thoroughly and let dry completely before painting.
Skipping this step risks premature rust, especially at cut edges.
Prime and Paint for Durability
Apply bare metal primer to the entire surface, including the front, back, and cut ends. This enhances adhesion and prevents corrosion.
Once dry, coat with appliance epoxy paint in black, white, or metallic finish. This paint resists heat, scratches, and daily wear. Allow 24 hours to fully cure before mounting.
Paint the hook ends to match the rack color while painting the necks white to blend with the wall for a floating effect.
Install with Secure Mounting
Mark and Level the Layout
Hold the mesh against the wall at your preferred height. This is typically 12 to 18 inches above the counter.
Use a laser or bubble level to ensure straight alignment. Mark corner points and midpoints. A 24-inch square rack needs 6 mounting points total.
Uneven installation causes sagging and visual imbalance.
Drill and Anchor Safely
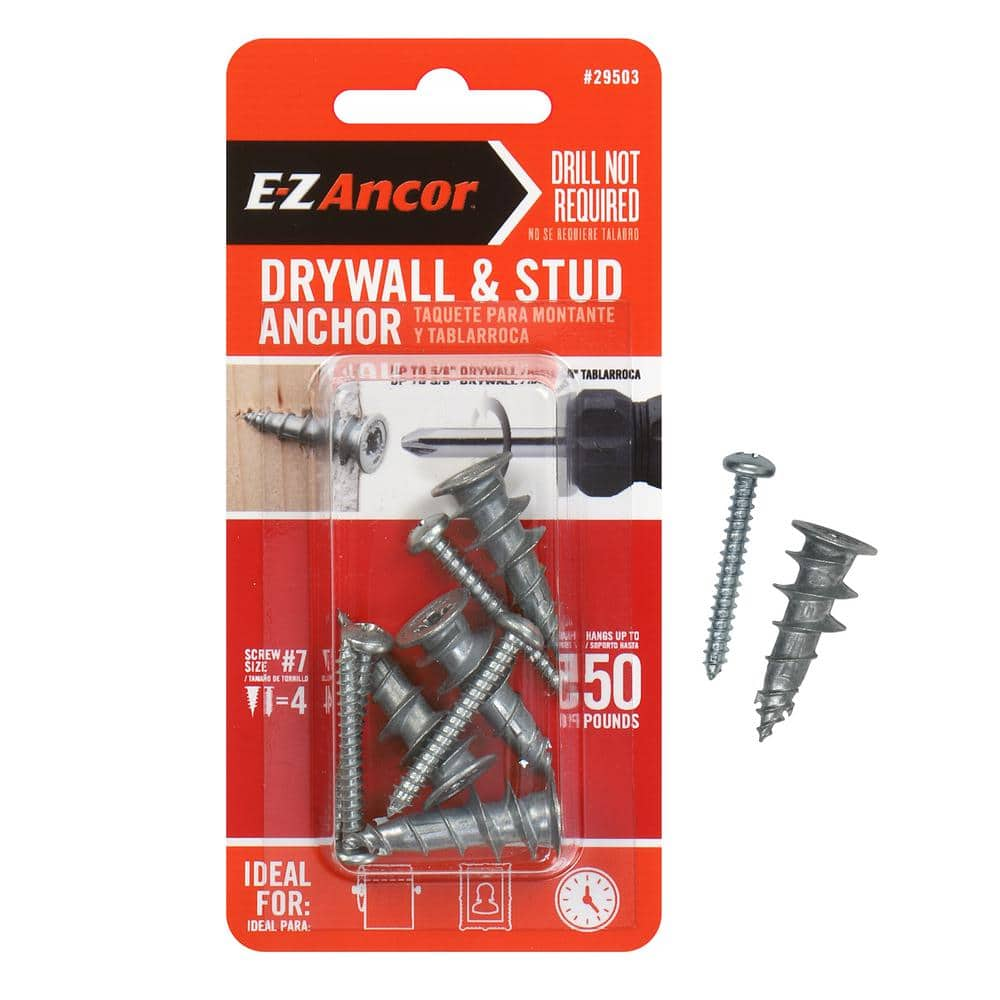
Drill pilot holes at your marked spots. For drywall, insert anchors rated for 10 to 15 pounds each. Toggle bolts with 50-pound capacity are recommended for heavier loads.
For wood studs, screws alone may suffice, but pre-drilling prevents splitting.
Hang and Test
Drape the mesh over ceiling hooks screwed into the anchors. Ensure it sits evenly and doesn’t tilt. Gradually add weight to test stability before loading it fully.
A fully loaded rack can weigh 20 pounds or more, so anchor strength is critical.
Load Smartly and Safely
Use S-Hooks for Easy Access
Attach different S-hook sizes based on tool weight. Small 1-inch hooks work for spoons, whisks, and spatulas. Medium 2-inch hooks fit tongs, ladles, and peelers. Large 3-inch or larger hooks hold colanders and lightweight skillets.
Avoid Common Mistakes
Do not hang cast iron pans because they exceed safe load limits. Place heavy items only at wire intersections where strength is highest. Distribute weight evenly to prevent bending.
Mesh can support 15 to 50 pounds total depending on anchor strength and mesh gauge.
Maintain and Extend Lifespan
Monthly Checks Prevent Failures
Inspect for rust spots, especially at cut edges. Check for loose hooks or wobbly anchors. Look for mesh deformation under heavy loads.
Touch Up as Needed
Light rust requires sanding the area, then reapplying primer and epoxy paint. Faded color can be spot-painted to restore appearance. Dust accumulation wipes away with a damp cloth monthly.
With proper care, your rack lasts 5 to 10 years or more indoors.
Customize Your Design
Add Functional Upgrades
Install LED backlighting under the rack for ambiance and visibility. Mount a magnetic strip behind the rack for holding knives or spice tins. Add a floating wood shelf above the rack for oils, recipes, or decorative items.
Expand the Layout
Create a multi-tier setup by stacking two racks vertically with spacers. Cut mesh into a 12-inch by 36-inch strip for narrow walls. Use marine-grade stainless mesh for outdoor versions to store garden tools.
The modular 6-inch grids allow endless sizing options.
Safety First During Construction and Use
During Build
Wear safety glasses when cutting or grinding. Use cut-resistant gloves to handle sharp wire ends. Work in a well-ventilated area when using primers, paints, or rust removers. Clamp mesh securely before cutting to avoid kickback.
During Use
Never exceed anchor weight ratings. Keep oven racks clear, ensuring foil does not touch heating elements. Keep children away from sharp wire edges during construction.
Compare Both Methods

This comparison helps you choose the right approach for your needs.
| Feature | Foil Baking Rack | Permanent Utensil Rack |
|---|---|---|
| Cost | $0 (uses existing foil) | $28 to $38 |
| Durability | Single-use | 5 to 10+ years |
| Tools Needed | None | Wire cutters, drill, safety gear |
| Installation Time | Under 5 minutes | 2 to 4 hours (includes drying) |
| Load Capacity | About 8 oz (bacon only) | 15 to 50 lbs |
| Space Use | Horizontal (on pan) | Vertical (wall-mounted) |
| Best For | Quick cooking tasks | Daily kitchen organization |
Troubleshoot Common Issues
Rack Sags or Bends
Overloading or weak anchors causes this problem. Reduce weight and add more ceiling hooks. Upgrade to toggle bolts for stronger support.
Hooks Pull from Wall
Poor drywall anchoring is the usual cause. Replace standard anchors with toggle bolts or mount directly into studs for better hold.
Rust Appears
Incomplete priming or moisture exposure creates rust. Sand the affected area, re-prime, and apply fresh epoxy paint.
Foil Rack Collapses
Thin foil or overly wide folds cause collapse. Use double-thick foil and increase fold frequency to 1-inch intervals.
Misaligned Mounting
Skipping the level during installation causes misalignment. Remove and reinstall using a laser level for precision.
Frequently Asked Questions About Making a Wire Rack
Can I use regular foil for a baking rack, or does it need to be heavy-duty?
Heavy-duty aluminum foil works best because it holds its shape better under heat. Regular foil may tear or collapse, especially when supporting food weight. Double-layering regular foil before folding adds strength if heavy-duty isn’t available.
How much weight can a wall-mounted wire utensil rack hold?
A properly mounted rack holds 15 to 50 pounds total, depending on your anchor type and mesh gauge. Toggle bolts support up to 50 pounds per anchor, while standard plastic anchors handle 25 pounds each. Always mount into studs when possible for maximum strength.
Do I need to prime the wire mesh before painting?
Yes, priming raw steel is essential for longevity. Bare metal primer prevents oxidation and helps paint adhere properly. Without primer, rust forms quickly, especially at cut edges. This step directly impacts whether your rack lasts 5 years or 5 months.
What’s the easiest wire rack method for beginners?
The foil baking rack requires zero tools and takes under 5 minutes to make. It’s perfect for beginners or anyone needing a quick solution for one-time cooking. The permanent wall-mounted rack requires more tools and time but offers long-term value.
Can I use the foil baking rack method for foods other than bacon?
Yes, this method works for roasted vegetables, lean meats, and fish. The elevated surface allows fat to drain and air to circulate, creating crispier results. Avoid heavy items like whole chickens or roasts that may collapse the foil structure.
How do I prevent rust on my permanent wire rack?
Clean the mesh thoroughly before priming, then apply two coats of rust-inhibiting primer followed by appliance epoxy paint. Inspect monthly for scratches or rust spots and touch up immediately. Keeping the rack indoors away from moisture extends its life significantly.
Key Takeaways for Building Your Own Wire Rack
Making a wire rack isn’t just about saving money. It’s about designing a kitchen that works for your specific needs. The foil baking rack method gives you restaurant-quality crispness for bacon and vegetables with zero cost and zero tools. The permanent wall-mounted version transforms your kitchen workflow by keeping daily utensils within arm’s reach while freeing up drawer space.
Both projects require careful attention to material selection, safety, and load management. For the permanent rack, proper surface preparation with cleaning, priming, and painting determines how long your creation lasts. Invest in quality anchors rated for your expected load, and always distribute weight evenly across the mesh intersections.
Start with the foil method to test your needs, then graduate to the permanent version if you want long-term organization. With the right materials, attention to safety, and a few smart upgrades, your DIY wire rack becomes a permanent asset that enhances both function and aesthetics in your home.


