
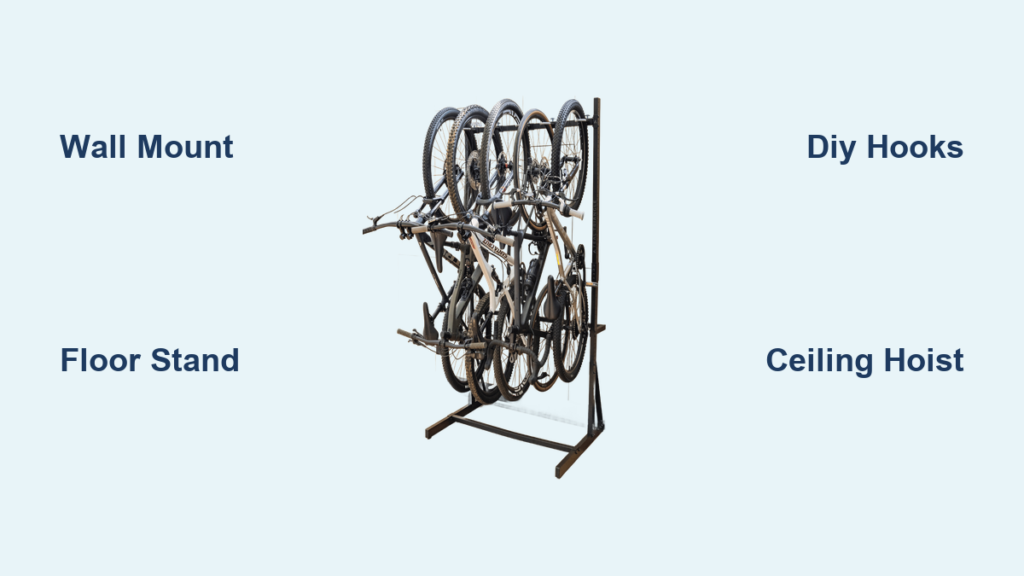
Storing a bike rack properly is more important than most people realize. When left on the garage floor, a hitch-mounted bike rack becomes a tripping hazard, takes up valuable space, and risks damage from moisture, dirt, or accidental impact. Many users report the same frustration: it just falls over and gets in the way. Without a dedicated storage solution, your rack can deteriorate faster, lose its finish, or even become unsafe due to bent components.
The good news is there are smart, effective ways to store your bike rack whether you are tight on space, on a budget, or want a mobile all-in-one system. This guide breaks down the best methods, compares their pros and cons, and helps you choose the ideal option based on your garage setup, budget, and usage needs.
Wall-Mounted Storage Solutions for Bike Racks
Wall-mounted storage is ideal for keeping your garage floor clear while protecting your bike rack from damage. These systems mount directly into wall studs and hold the rack vertically, flush against the wall.
Installing the Rack Stash Bracket

The Rack Stash is a popular steel wall bracket designed specifically for 1¼-inch and 2-inch hitch bike racks. It supports up to 90 pounds, plenty for heavy-duty models like the Thule T2 or Kuat NV 2.0.
Tools needed for installation include a drill, ¼-inch drill bit, ratchet with 9/16-inch socket, marker, and a speed level.
Follow these steps to mount the unit:
- Locate wall studs using a stud finder.
- Dry-fit the rack into the bracket to determine optimal height.
- Level the unit and mark drill points through the mounting holes.
- Pre-drill with a ¼-inch bit to 2¼ inches deep.
- Secure with ¾-inch by ¼-inch lag bolts using a ratchet.
- Slide the hitch rack fully into the receiver.
Pro Tip: Mount at waist to shoulder height for easy loading and to avoid head-level interference.
Switching Between 1¼-Inch and 2-Inch Sizes
The Rack Stash adapts to both common hitch sizes. Remove two bolts per side, flip the internal steel inserts 180 degrees, and reinstall the bolts. This means you do not need to buy a second unit if you upgrade your rack.
Securing the Rack Against Theft
Use multiple locking methods for enhanced security. Insert a locking hitch pin through the receiver hole. Engage the cam system to clamp the shank tightly. Add a cable lock through the accessory holes and around a fixed post. This multi-layer defense is perfect for shared or unsecured garages.
Storing Small Accessories
The bracket includes three built-in holes for organization. One 2-inch hole stores ball hitches or extension bars. Two 1-inch holes hold U-locks, cables, or electrical connectors. Keep all your hitch gear organized in one place.
Using the Bracket as a Temporary Bike Stand
With its 90-pound capacity, the Rack Stash can hold a bike vertically for tire changes, chain cleaning, or quick repairs. Simply insert the bike frame into the hitch receiver. It is not for heavy maintenance, but great for light tasks.
Floor-Based Mobile Storage Options
If you need flexibility or lack wall access, a floor stand offers a stable movable alternative. The Garage Shed Stand turns your 2-inch hitch rack into a rolling garage workstation.
Assembling the Garage Shed Stand
This modular steel stand comes with two-piece legs, four locking casters, top and bottom steel plates, and a back brace for stability.
Follow these assembly steps:
- Connect leg sections with 2 bolts per side, 4 total.
- Attach top and bottom plates using 3 bolts per side, 6 total.
- Install wheels and back brace.
- Tighten only until snug. Overtightening can strip threads.
Warning: Use torque control. Damaged threads reduce long-term durability.
Mounting Vertical or Horizontal Racks
The stand works with any 2-inch hitch rack. Vertical racks like the JB Racks 5 insert directly and lock. Horizontal racks like the Kuat NV store upright or flip down for low-profile use. Load bikes just like on a vehicle hitch.
Moving the Rack with Ease
Thanks to locking casters, you can unlock wheels to roll the rack and bikes across the garage. Lock them in place when parked. This is perfect for seasonal storage or reconfiguring workspace.
Limitations to Consider
Floor surface matters significantly. Avoid gravel, carpet, or uneven concrete. The stand is not outdoor-rated unless placed on a paved level pad. Bolt length varies, so check fit during assembly. This option works best indoors on smooth flooring like epoxy-coated concrete.
DIY and Budget-Friendly Storage Methods
If commercial options do not fit your budget or space, several DIY methods can work, though they require extra care.
Building Reinforced Wall Hooks with Lumber
A low-cost solution uses two heavy-duty bike hooks mounted into a 4×4 or plywood backing. Secure the lumber to wall studs and hang the rack by its arms or frame.
Key risks include hooks bending over time, reported after 5 or more years of use. Use ¼-inch lag bolts and inspect annually. One user confirmed it held 200 pounds with proper installation.
Trying the Swagman Wall Mount Rack
This budget-friendly alternative costs around $40 to $50. It is a steel wall bracket for 2-inch receivers with rubber padding to protect the rack finish. It is simpler than the Rack Stash but less adjustable.
Installing a Ceiling Hoist or Pulley System
To maximize overhead space, suspend the rack from ceiling joists using pulleys or ropes. This saves floor and wall space.
The downsides include high installation effort and risk of accidental drop if ropes fray. This requires consistent maintenance and is not ideal for frequent access.
Building a DIY Metal or Wood Frame
Create a custom upright stand using steel pipe or wood to make a vertical cradle. Add braces or casters for stability. This is fully customizable to your rack dimensions. Great for tinkerers, but test under load before full use.
Comparing the Best Bike Rack Storage Systems
| Feature | Rack Stash | Garage Shed Stand | DIY Wall Hooks | Ceiling Hoist |
|---|---|---|---|---|
| Mount Type | Wall | Floor | Wall | Ceiling |
| Hitch Sizes | 1¼-inch and 2-inch | 2-inch only | Varies | Varies |
| Weight Limit | 90 lb | Full rack plus bikes | ~200 lb tested | Depends |
| Mobility | None | High | None | None |
| Install Effort | Moderate | Low | Low | High |
| Floor Use | None | Moderate | None | None |
| Bike Storage | No | Yes | No | No |
| Security | High | Medium | Low | Medium |
| Price | $60 | $200 | Under $20 | $30 to $150 |
| Durability | High | High | Medium | Medium |
| Best For | Small garages | Mobile storage | Budget builds | High ceilings |
Choosing the Right Storage for Your Needs
Small Garage, Maximize Space
Choose the Rack Stash. It is wall-mounted, space-saving, and secure. Install two side-by-side for multiple racks.
Move Rack Often or Store Bikes
Choose the Garage Shed Stand. It is mobile and holds rack and bikes together. Use on smooth floors only and lock wheels when parked.
On a Tight Budget
Choose DIY wall hooks with 4×4 backing. It costs under $20 and is customizable. Use ¼-inch lag bolts and inspect for bending yearly.
Own Multiple Racks
Choose two Rack Stash units. Store 1¼-inch and 2-inch racks separately. Label each bracket with compatible size.
Want Full Garage Organization
Choose Garage Shed Stand plus wall pegboard. This gives you mobile rack storage plus tool storage. Add a tray for locks, keys, and cleaning supplies.
Final Tips for Long-Term Bike Rack Storage
Keep your rack off the floor to prevent scratches, rust, and tripping. Clean before storing by wiping down the hitch shank and arms to remove road grime. Inspect regularly, checking bolts, welds, and mounting points every 6 months. Test DIY builds under load before relying on them. One user used 200 pounds of weight to confirm safety, so do the same. Use locking pins to prevent theft or accidental detachment. Store in dry areas and avoid damp basements or uncovered outdoor spaces.
Frequently Asked Questions About Bike Rack Storage
What is the best way to store a hitch-mounted bike rack?
The best way depends on your space and budget. Wall-mounted options like the Rack Stash keep racks off the floor and maximize garage space. Floor stands like the Garage Shed Stand offer mobility and can store bikes alongside the rack.
Can I store my bike rack outside?
It is not recommended. Outdoor storage exposes the rack to moisture, dirt, and temperature fluctuations, which accelerates corrosion and damage. Store in a dry garage, shed, or covered area.
How much does a dedicated bike rack storage solution cost?
Prices range widely. DIY wall hooks cost under $20. The Rack Stash runs approximately $60. The Garage Shed Stand costs around $200. Ceiling hoist systems range from $30 to $150 depending on complexity.
Can I use a bike rack storage system for multiple rack sizes?
The Rack Stash adapts to both 1¼-inch and 2-inch hitch sizes by flipping internal inserts. The Garage Shed Stand works only with 2-inch racks. DIY solutions vary based on your design.
Does bike rack storage affect the warranty?
Generally no, as long as you are not modifying the rack itself. However, improper storage that leads to damage could affect condition if you ever resell or claim on related warranties.
Key Takeaways for Storing Your Bike Rack

How you store your bike rack affects safety, space, and equipment life. The Rack Stash is the top pick for compact secure wall storage at $60. For full mobility and integrated bike storage, the Garage Shed Stand at $200 delivers unmatched versatility. DIY options work on a budget but require careful setup and ongoing checks.
Investing in the right storage is not just about convenience. It protects your gear, organizes your garage, and makes every ride easier to prepare for. Choose the solution that fits your space, budget, and usage pattern, and your bike rack will stay in great condition for years to come.


