
Rusted dishwasher racks are more than an eyesore. They are a ticking time bomb for your dishes, dishwasher, and hygiene. When the protective coating on your rack wears off, moisture and heat trigger rust on the tines and frame, leading to flaking metal, sharp edges, and potential damage to your dishwasher’s pump or tub. But before you spend $80 to $200 on a replacement, know this: a proper dish rack rust repair can restore function, prevent contamination, and extend rack life by 2 to 5 years for less than $20.
This guide delivers a complete, step-by-step plan to fix rusted dishwasher racks using proven methods, tested products, and real user insights. You will learn how to remove rust, apply durable coatings, install tine caps, and prevent future damage with tools and materials you can get online or at any hardware store.
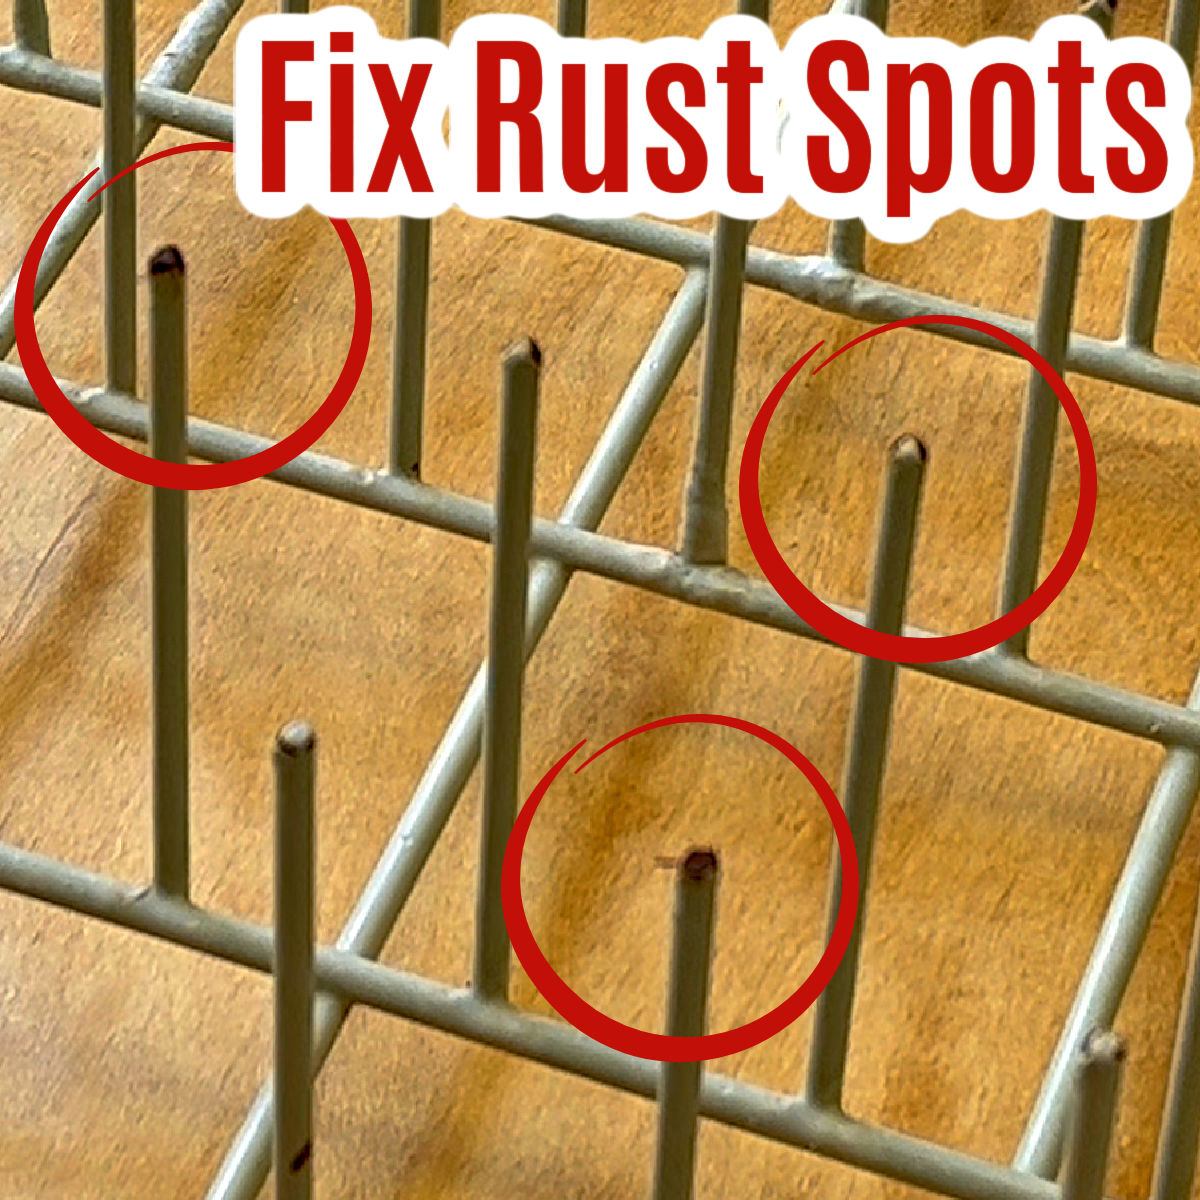
Identify Rust Severity Early
Spot the Warning Signs
Rust does not happen overnight. Catch it early, and you can stop it before structural damage sets in. Look for red-brown spots on tines or frame edges. Look for black or gray flakes on dishes or in the filter. Look for bare metal where plastic coating has chipped. Look for peeling or bubbling on rack surfaces. Look for sharp, jagged tine tips that scratch glassware.
If rust is flaking into your dishes or clogging the drain, repair is urgent. Small spots can be fixed now to avoid replacement later.
Assess Damage Level
Not all rust is repairable. Use this quick guide to determine your next steps.
| Damage Level | Action |
|---|---|
| Minor (surface rust, no pitting) | Clean, sand, coat |
| Moderate (exposed metal, flaking) | Sand, coat, install tine caps |
| Severe (3+ broken tines, deep pits) | Replace rack |
Racks with warped frames or multiple broken tines will not benefit from coating. Replacement is the only safe option in these cases.
Remove Rust Completely
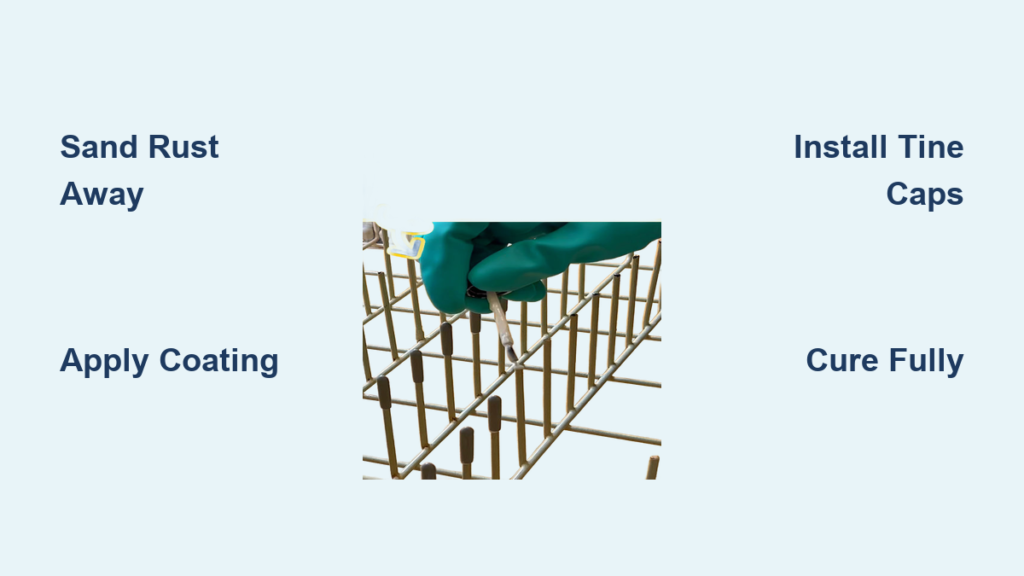
Sand Away Corrosion
Sanding is the most reliable way to eliminate rust and prepare the surface for coating.
Tools you will need include 100-grit sandpaper for heavy rust, 220-grit sandpaper for smoothing, a hand wire brush or drill-mounted brush, nitrile gloves, and safety goggles.
Follow these steps to sand properly. Remove the rack from the dishwasher. Use 100-grit paper to scrub rusted areas until bare metal is exposed. Switch to 220-grit to smooth the surface. Focus on tine tips, corners, and areas under peeling coating. Brush off all dust with a wire brush or compressed air.
A drill with a wire brush attachment cuts sanding time by 70%. Use light pressure to avoid gouging the metal.
Try Chemical Rust Removers
For light rust, chemical treatments can work, but they require careful handling.
Safe options include CLR or Iron Out, which are appliance-safe, and white vinegar soak for minor discoloration. Avoid muriatic acid because it is too aggressive and can etch the metal.
The process involves applying the cleaner with a soft brush, waiting 5 to 15 minutes per product instructions, scrubbing gently, rinsing thoroughly, and drying completely. Run an empty dishwasher cycle to flush residue.
After chemical treatment, always sand lightly to ensure coating adhesion.
Clean With Rubbing Alcohol
Before applying any coating, wipe all sanded areas with 70% isopropyl alcohol. This removes oils, dust, and moisture that could block adhesion. Let the rack air dry for at least 30 minutes.
Apply a Durable Protective Coating
Use the Whirlpool Repair Kit
The Whirlpool Dishwasher Rack Repair Kit is the most trusted solution, designed specifically for coated wire racks.
The kit includes 1 oz of black vinyl-based compound, 20 tine caps, and an applicator stick or brush. Application steps are straightforward. Shake the bottle for 30 seconds. Apply the compound using the included brush, a popsicle stick, or a gloved finger for precision. Cover all sanded areas with a thick, even layer slightly thicker than the original coating. Seal all edges to block moisture. Avoid drips that could interfere with rack movement.
This coating resists heat up to 180°F, which is perfect for dishwasher conditions.
Upgrade With Uber Goop
For longer-lasting results, use Uber Goop, a high-strength anti-corrosive sealant.
This product lasts 3 to 5 years compared to 1 to 2 years for standard vinyl. It bonds stronger to metal and caps and resists cracking under stress.
To apply, clean the surface with alcohol first. Apply 2 to 3 thin coats, letting each dry fully. Allow up to 24 hours to cure completely.
Combine Uber Goop with tine caps for the most durable repair.
Avoid These Coating Mistakes
Spray paint is not dishwasher-safe and will flake and contaminate food. Plasti Dip has poor heat resistance and peels quickly. Generic vinyl paints have low adhesion and fail within a year. Stick to appliance-rated products only.
Install Tine Caps for Full Protection

Why Tine Caps Matter
Tine tips are rust magnets. Water pools at the ends, and the coating wears fastest there. Caps seal vulnerable tips. Caps cover sharp, broken edges. Caps prevent future corrosion.
Choose the Right Caps
Select caps made of flexible thermoplastic or rubberized polymer. Black color matches most racks. You will need 100 caps for full rack coverage. Cost is under $30 for a full set.
Caps from Whirlpool kits may not cover all tines. Buy a 100-cap pack for complete protection.
Install Caps Correctly
Warm the caps in your hands or under hot water for 15 to 30 seconds to make them pliable. Coat the tine tip with Uber Goop or repair compound as adhesive. Slide the cap on with downward pressure and a slight twist. If tight, cut the cap lengthwise to open it up, then press it closed after installation. Trim slightly if needed for a snug fit.
Install caps on all tines, even those without rust. Preventive protection is key.
Cure and Reinstall the Rack
Let the Coating Cure Fully
Rushing this step causes failure. Follow these rules. Minimum cure time is 8 hours. Full cure is 12 to 24 hours. The environment should be dry and room temperature, 68 to 77°F, and undisturbed. Do not use fans or heat because they can cause cracking.
Work on the rack outdoors or in a garage to avoid fumes indoors.
Reassemble and Test
Reattach any side gliders or retention clips. Slide the rack back into the dishwasher rails. Ensure it moves smoothly and aligns properly. Run one empty wash cycle with detergent and heat.
This final step removes any residual odor or particles and confirms coating adhesion.
Choose the Right Repair Strategy
Compare Repair vs. Replacement
| Option | Cost | Lifespan | Labor | Best For |
|---|---|---|---|---|
| Whirlpool Kit | $12–$18 | 2–5 years | 2–3 hrs | Minor to moderate rust |
| Uber Goop + Caps | $30–$50 | 3–5 years | 2–3 hrs | Long-term durability |
| Aftermarket Rack | $40–$100 | 5–7 years | 15 mins | Severe damage |
| OEM Rack | $80–$200 | 7–10 years | 15 mins | Perfect fit, like-new |
| No Action | $0 | Degrades fast | None | Not advised |
Repair saves 70% to 90% compared to replacement and works for most racks under 10 years old.
Prevent Future Rust
Inspect Every 6 Months
Check for coating wear, early rust spots, and loose or broken tines. Catch issues early and touch up chips with repair compound before rust starts.
Optimize Loading Habits
Do not stack heavy pots directly on tines. Use upper racks and flatware baskets to reduce stress. Load dishes gently to avoid scraping.
Maintain Water Quality
Use rinse aid to improve drying and reduce spotting. Check dishwasher salt levels monthly if you have a softener. Run a monthly empty cycle with vinegar or dishwasher cleaner.
Clean Safely
Never use steel wool or abrasive pads because they scratch the coating. Wipe with mild soap and a soft cloth. Remove food debris and mineral buildup promptly.
Know What Is Compatible
The Whirlpool Repair Kit works with Whirlpool, Maytag, KitchenAid, Amana, Jenn-Air, Admiral, and Magic Chef.
Not compatible with Bosch, Miele, Siemens, or drawer-style models. These use different rack designs. Verify fit before buying.
Follow Safety Precautions
Work in a well-ventilated area because fumes from repair compounds are strong. Wear nitrile gloves, goggles, and a dust mask during sanding and application. Keep products away from children and pets because they are toxic if ingested. Use plastic sheeting to protect floors from rust dust and drips. Never use the dishwasher until the coating is fully cured.
Maximize Repair Longevity
Real-World Performance
Repaired racks withstand 1,000 or more wash cycles. Bottom racks last longer because top racks face more handling stress. In hard water areas, rust returns faster. Use rinse aid and vinegar rinses.
Why Repairs Fail
Incomplete rust removal causes failure. Skipping alcohol cleaning causes failure. Poor edge sealing causes failure. Not using adhesive on tine caps causes failure. Using the rack before full cure causes failure.
Fix all these, and your repair will last years.
Final Repair Checklist
Remove rack and inspect damage. Sand rust with 100 to 220 grit paper. Clean with rubbing alcohol. Apply 2 to 3 coats of Whirlpool compound or Uber Goop. Cure 12 to 24 hours in a dry area. Warm and install tine caps with adhesive. Reinstall rack and run one empty cycle.
For the toughest, longest-lasting fix, use Uber Goop as your coating and adhesive and cap every tine.
Frequently Asked Questions About Dish Rack Rust Repair
Can I repair a rusted dishwasher rack myself, or do I need a professional?
You can absolutely repair it yourself. The process is straightforward and requires only basic tools like sandpaper, a wire brush, and the repair kit. Most homeowners complete the repair in 2 to 3 hours with no professional help needed.
How long does a dish rack rust repair actually last?
A properly executed repair using the Whirlpool kit lasts 2 to 5 years. If you use Uber Goop with tine caps, expect 3 to 5 years of additional service. Some users report their repaired racks lasting beyond 1,000 wash cycles.
Is the rust on my dishwasher rack harmful?
According to EPA guidelines, incidental ingestion of small amounts of rust is generally not harmful, but it is not ideal for hygiene. Rust flakes can contaminate dishes and affect the taste of food. Removing rust promptly protects your health and your dishwasher.
What is the best product for repairing dishwasher rack rust?
The Whirlpool Dishwasher Rack Repair Kit is the most recommended and manufacturer-endorsed solution. For longer durability, users report excellent results with Uber Goop combined with tine caps. Both options cost under $50 and work for most standard wire racks.
How do I know if my rack needs replacing instead of repairing?
Replace the rack if you have 3 or more broken tines, deep pitting across large areas, or a warped frame. In these cases, repair is not cost-effective. Minor to moderate rust with intact structure responds well to the repair methods described in this guide.
Will repairing my rack void my dishwasher warranty?
DIY rack repair typically does not void the dishwasher warranty unless the repair itself causes damage. However, if your dishwasher is still under manufacturer’s warranty, check the terms before proceeding. Most warranties cover the rack itself for a limited time.
Key Takeaways for Dish Rack Rust Repair
Dish rack rust repair is a practical, cost-effective solution that can extend the life of your dishwasher by 2 to 5 years for less than $50. The process involves removing rust through sanding, applying a durable protective coating like the Whirlpool repair kit or Uber Goop, and installing tine caps on all tines for complete protection. Safety matters throughout the process, so work in a ventilated area, wear protective gear, and allow full curing time before using your dishwasher again. With proper maintenance, including regular inspections every 6 months and careful loading habits, your repaired rack will continue serving your household reliably for years to come.