
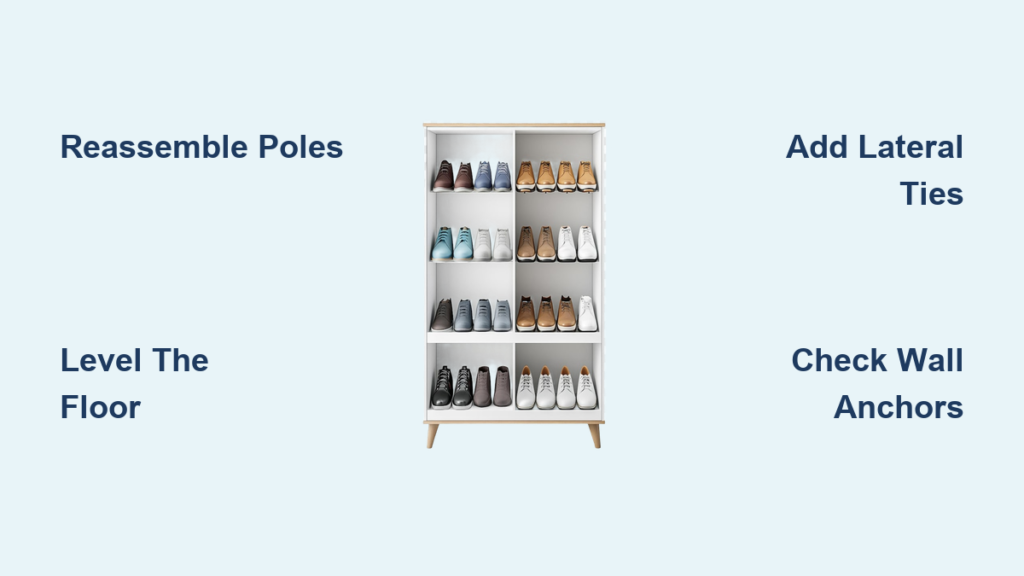
A wobbly or poorly assembled shoe rack doesn’t just look unsteady. It can damage your shoes, take up more space than needed, and even tip over with regular use. Whether you’re dealing with a freestanding modular rack that’s come loose or a wall-mounted cabinet that’s sagging, knowing how to fix shoe rack problems is often simpler and more affordable than replacing it.
This guide walks you through diagnosing common issues, securing loose joints, mounting cabinets safely, and optimizing long-term stability so your shoe rack stays secure, organized, and reliable.
Reassemble a Modular Shoe Rack Correctly
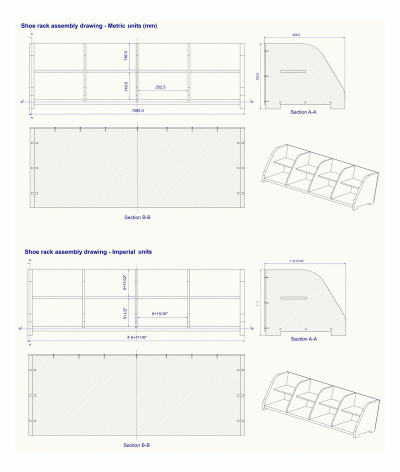
Modular shoe racks rely on friction-fit poles and plastic connectors. Over time, these joints loosen from movement or improper initial assembly. You’ll learn how to reassemble tiered racks properly, secure every connection, and prevent future wobbling.
Build a Solid Base Foundation
The foundation determines overall stability. Take two plastic holders and position them so the four pipe openings face away from each other. Insert four long poles into one holder until fully seated with no gaps. Slide the second holder onto the exposed ends and press down firmly or tap lightly with a rubber mallet to lock it in place.
The base should sit flat with no legs floating. If one corner lifts, recheck pole alignment before proceeding to upper tiers.
Seat All Pole Connections Properly
Start checking every joint from bottom to top. Grasp each pole near the plastic holder and wiggle gently. If there’s play or clicking, disassemble that section and wipe poles and connector holes clean because dust reduces grip. Reinsert poles fully until they click into place.
Apply slight twisting pressure as you push poles in. This helps them seat deeper without cracking plastic. After reassembly, use a rubber mallet or the back of a screwdriver to tap each connection diagonally across corners to compress the frame evenly.
Replace Cracked Plastic Holders
Inspect all connectors for hairline cracks, warping, or split openings. Damaged holders compromise the entire structure. Contact the manufacturer for replacement parts because most brands offer free or low-cost spares under warranty.
Stabilize a Wobbly Freestanding Rack
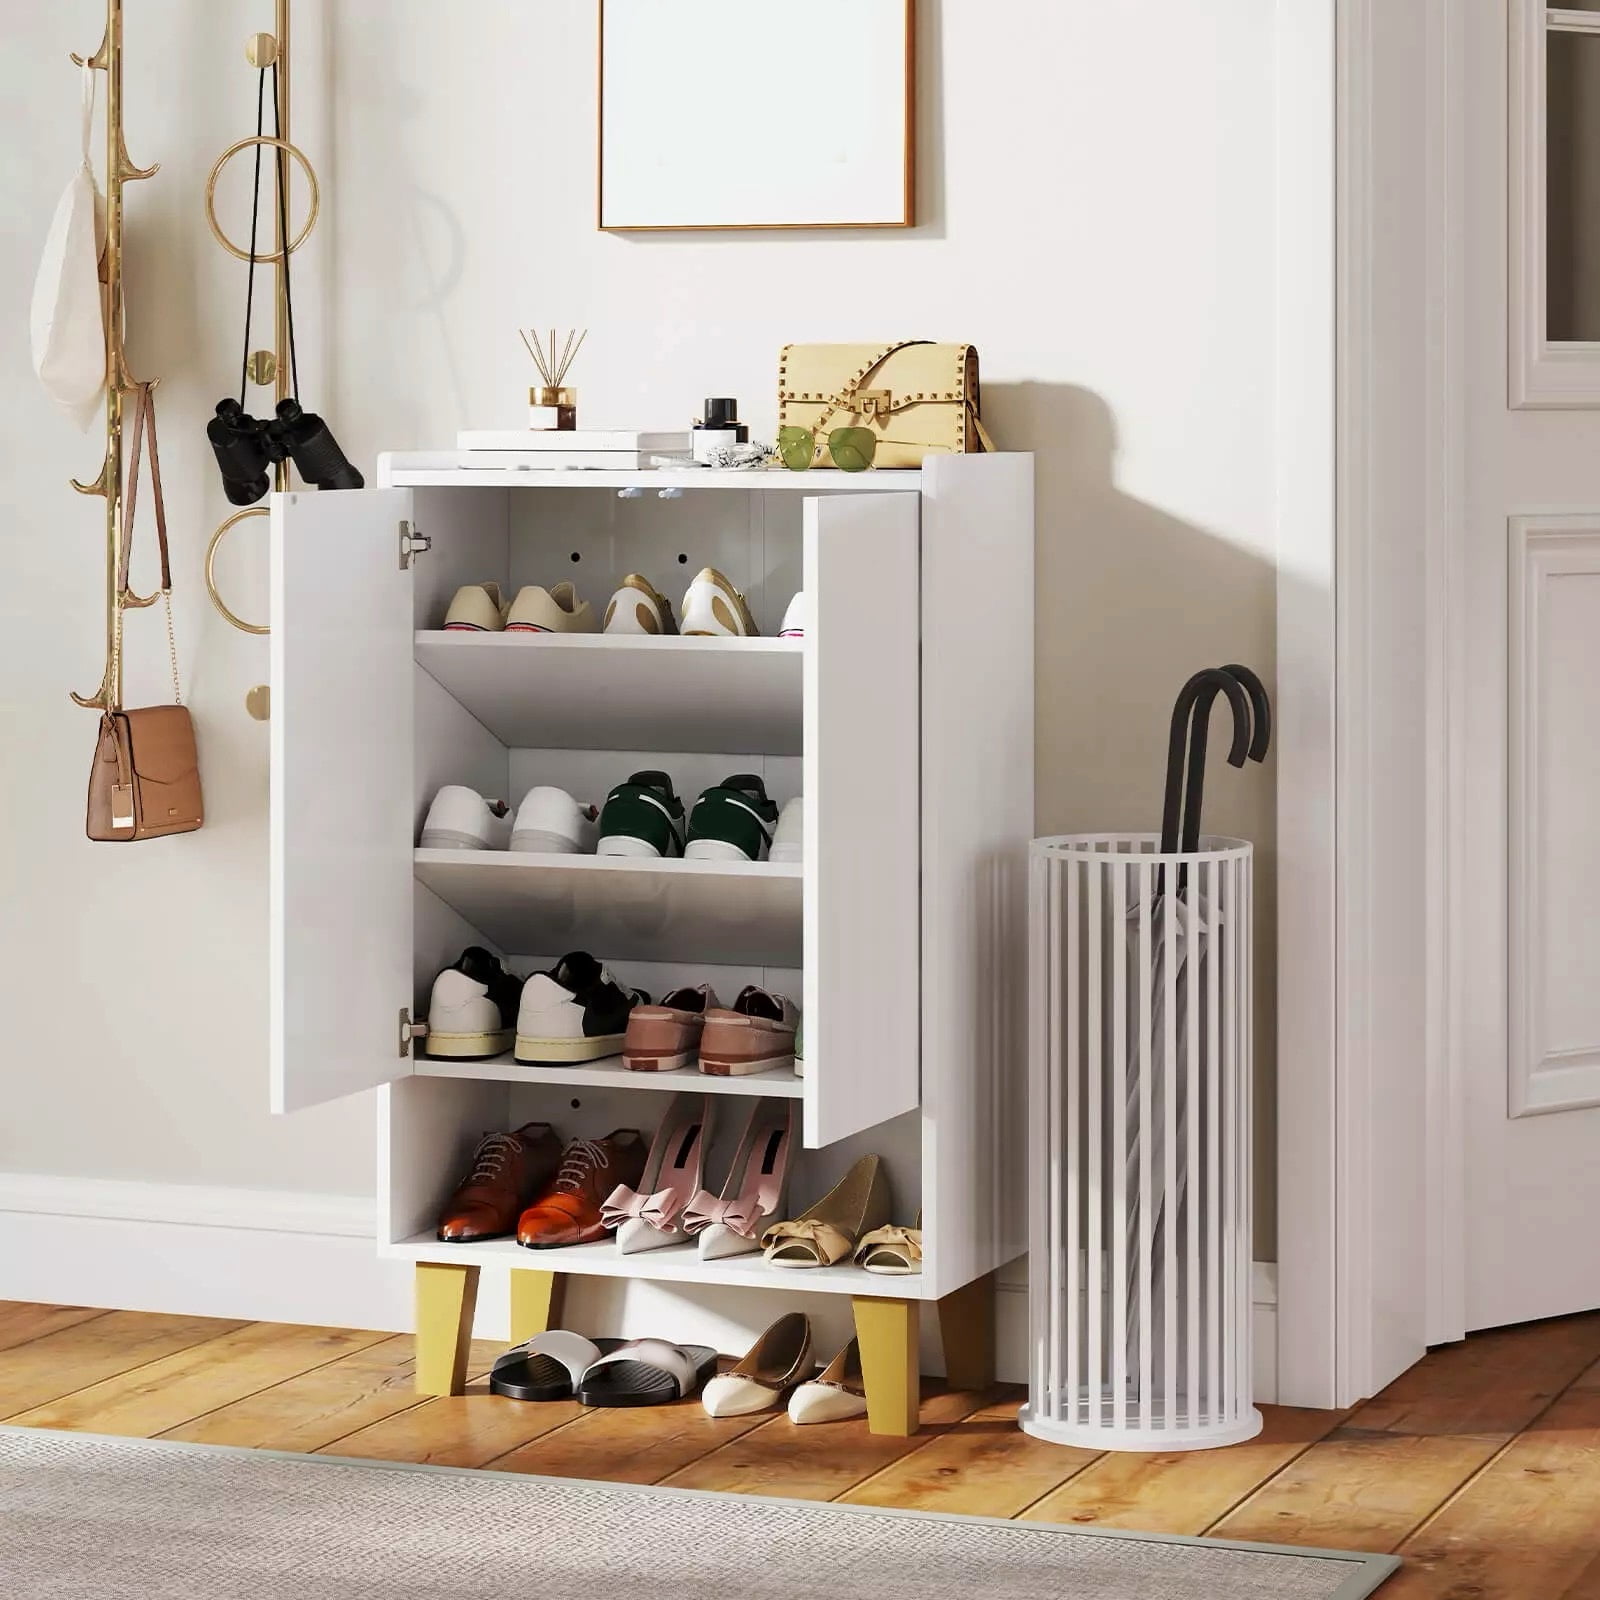
Even well-assembled racks become unstable on uneven floors or under heavy loads. Focus on floor flatness, lateral reinforcement, and load distribution to fix a shoe rack that shakes when touched.
Check and Level the Floor Surface
Place the rack on a hard, level surface. Use a bubble level across the top shelf. If it tilts, place felt pads or rubber shims under short legs. Avoid carpet because soft flooring increases instability.
Add Lateral Reinforcement
For permanent stability, install heavy-duty zip ties across diagonal corners. Loop them through adjacent poles and pull tight, then trim excess. This creates a braced frame that resists side-to-side sway without requiring tools.
Distribute Weight Properly
Never overload upper shelves. Store lighter shoes like sandals and flats on top. Place heavier boots and sneakers on lower tiers. Check your manual for maximum safe load, typically 20 to 30 pounds per shelf.
Mount a Shoe Cabinet to the Wall
For slim hallways or small entryways, mounting a shoe cabinet eliminates floor clutter and boosts safety. Proper wall anchoring makes the difference between a secure installation and a dangerous failure.
Identify Your Wall Type First
Your anchor choice depends on wall material. Use toggle bolts or snap-toggle anchors rated for 50 pounds or more on drywall. Screw directly into wood studs for the strongest option. Use hammer drill and concrete screws on concrete or masonry.
Always use a stud finder and cable detector before drilling to avoid live wires and pipes.
Install at the Correct Height
Install the cabinet 8 to 10 inches above the floor. This allows room for baseboards and robot vacuums. It prevents door swing interference and keeps shoes accessible without bending. Mark bracket positions with pencil before drilling.
Hang and Level the Cabinet
Drill pilot holes at marked points and insert anchors if not hitting studs. Screw in mounting brackets and ensure they’re level horizontally and vertically. Lift the cabinet and hook it onto the brackets, then use built-in adjusters to fine-tune tilt and depth.
Test Rack Stability Before Use
After mounting or reassembly, test strength gradually to ensure your fix holds. Add 1 to 2 pairs of light shoes first and wait 10 minutes watching for creaking or shifting. Add more weight in stages up to full capacity.
Final check involves pushing gently on the top shelf with no movement occurring. If the unit flexes, tighten all screws, upgrade to heavier-duty anchors, or add a center support bracket midway.
Organize Shoes to Prevent Damage
Proper storage extends shoe life and improves rack stability. Sort items strategically to maximize space and protect your footwear investment.
Store Boots with Proper Support
Use boot shapers, cardboard tubes, or pool noodles cut to size inside tall boots. This prevents slouching and maintains shaft shape. Allow space between pairs for airflow to prevent mold and odors.
Use Dividers for Small Shoes
Keep sneakers, loafers, and sandals from sliding by adding vertical plastic dividers or small bins. Group by color or frequency of use for quick access.
Control Odors and Maintain Cleanliness
A smelly rack ruins your entryway experience. Prevent buildup with simple monthly habits.
Clean Monthly
Remove all shoes and wipe shelves with a damp cloth and mild soap. Dry completely before restocking. Vacuum dust from corners and base. Avoid bleach or ammonia because they damage finishes.
Neutralize Odors Naturally
Place an open box of baking soda inside to absorb moisture and smells. Add cedar blocks to repel moths and mildew. Place a cotton ball with 2 drops of tea tree oil for fresh scent and antibacterial properties.
Choose Between Freestanding and Wall-Mounted
Pick the right type based on space and stability needs.
| Feature | Wall-Mounted | Freestanding |
|---|---|---|
| Floor Space | None | Requires footprint |
| Stability | High if anchored | Moderate |
| Assembly | Requires drilling | Usually tool-free |
| Best For | Narrow hallways | Closets, garages |
In tight spaces, wall-mounted is superior. In high-traffic homes, reinforced freestanding works best.
Troubleshoot Common Shoe Rack Problems
Rack shakes when you touch it. This usually means loose joints or uneven floor. Re-seat all poles, tap with mallet, and add shims to fix this issue.
Cabinet tilts after mounting. Brackets are not level or anchors are weak. Re-level, switch to toggle bolts, and add a center bracket.
Doors won’t close properly. The cabinet shifted during hanging. Use adjusters to realign and tighten mounting screws.
Plastic connectors keep cracking. This happens from over-tightening or low-quality materials. Replace with OEM parts and handle gently during assembly.
Maintain Long-Term Performance
Prevent future issues with routine care. Weekly, dust surfaces and check for loose poles or screws. Monthly, inspect all joints and clean the interior.
Every six months, tighten all connections and replace damaged components. Annually, reassess wall mount security and consider full disassembly and reassembly.
Frequently Asked Questions About Fixing a Shoe Rack
How do I fix a shoe rack that wobbles when touched?
The wobble typically comes from loose pole connections or an uneven floor. Re-seat all poles in their plastic holders, tap joints with a rubber mallet to compress them tighter, and add felt pads or shims under legs if the floor is uneven.
Can I repair cracked plastic connectors on my shoe rack?
Yes. Inspect all connectors for hairline cracks or warping. Contact the manufacturer for replacement parts because most offer free or low-cost spares under warranty. Do not continue using cracked connectors.
What is the best way to anchor a shoe cabinet to drywall?
Use toggle bolts or snap-toggle anchors rated for at least 50 pounds. Anchor into wood studs whenever possible for maximum load capacity. Always use a stud finder first to locate solid wood behind the drywall.
How much weight can a shoe rack hold?
Most shoe racks support 20 to 30 pounds per shelf, but this varies by model. Check your manual for specific limits. Never overload upper shelves with heavy boots because this increases tipping risk.
How often should I maintain my shoe rack?
Perform light weekly dusting and monthly joint inspections. Tighten connections and clean thoroughly every six months. Reassess wall mount security annually to ensure continued safety.
Key Takeaways for Fixing Your Shoe Rack

Fixing a shoe rack starts with proper assembly. Ensure all poles seat fully into plastic holders and tap connections with a rubber mallet for maximum stability. Keep all holders oriented in the same direction across every tier.
For wall-mounted units, match your anchors to the wall type and always anchor into studs when possible. Perform a progressive load test before filling the rack completely. Regular maintenance including monthly cleaning and biannual joint inspections keeps your rack stable for years.


