
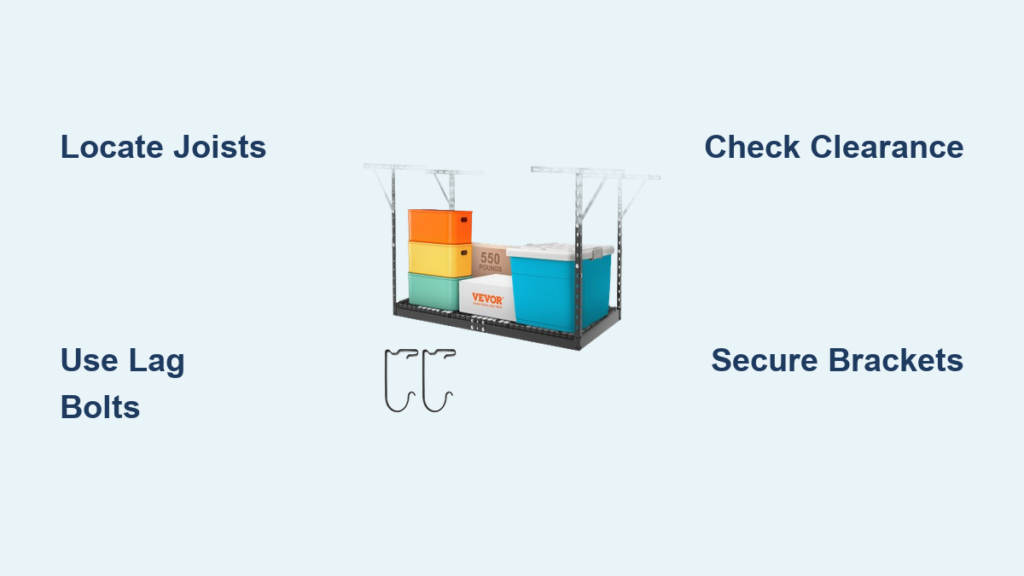
A cluttered garage makes it hard to park your car, find tools, or move around safely. Installing a ceiling rack gives you hundreds of pounds of overhead storage without sacrificing floor space. Whether you store holiday decorations, sports gear, or heavy tires, lifting items above eye level is the most effective way to reclaim your garage. This guide covers both DIY wooden platforms and pre-engineered lift systems like Fleximounts and VersaRac, with step-by-step instructions for each type.
Proper installation is critical. A ceiling rack anchored only into drywall will fail under weight, potentially causing injury or damage. By following these steps, you will locate structural joists accurately, plan for proper clearance, and install a secure storage system that supports 300 to 600 pounds safely for years.
Locate Ceiling Joists Accurately
Before purchasing materials or mounting any hardware, you must find and verify ceiling joists. These wooden beams run across your ceiling and carry the entire load. Drywall alone cannot support weight.
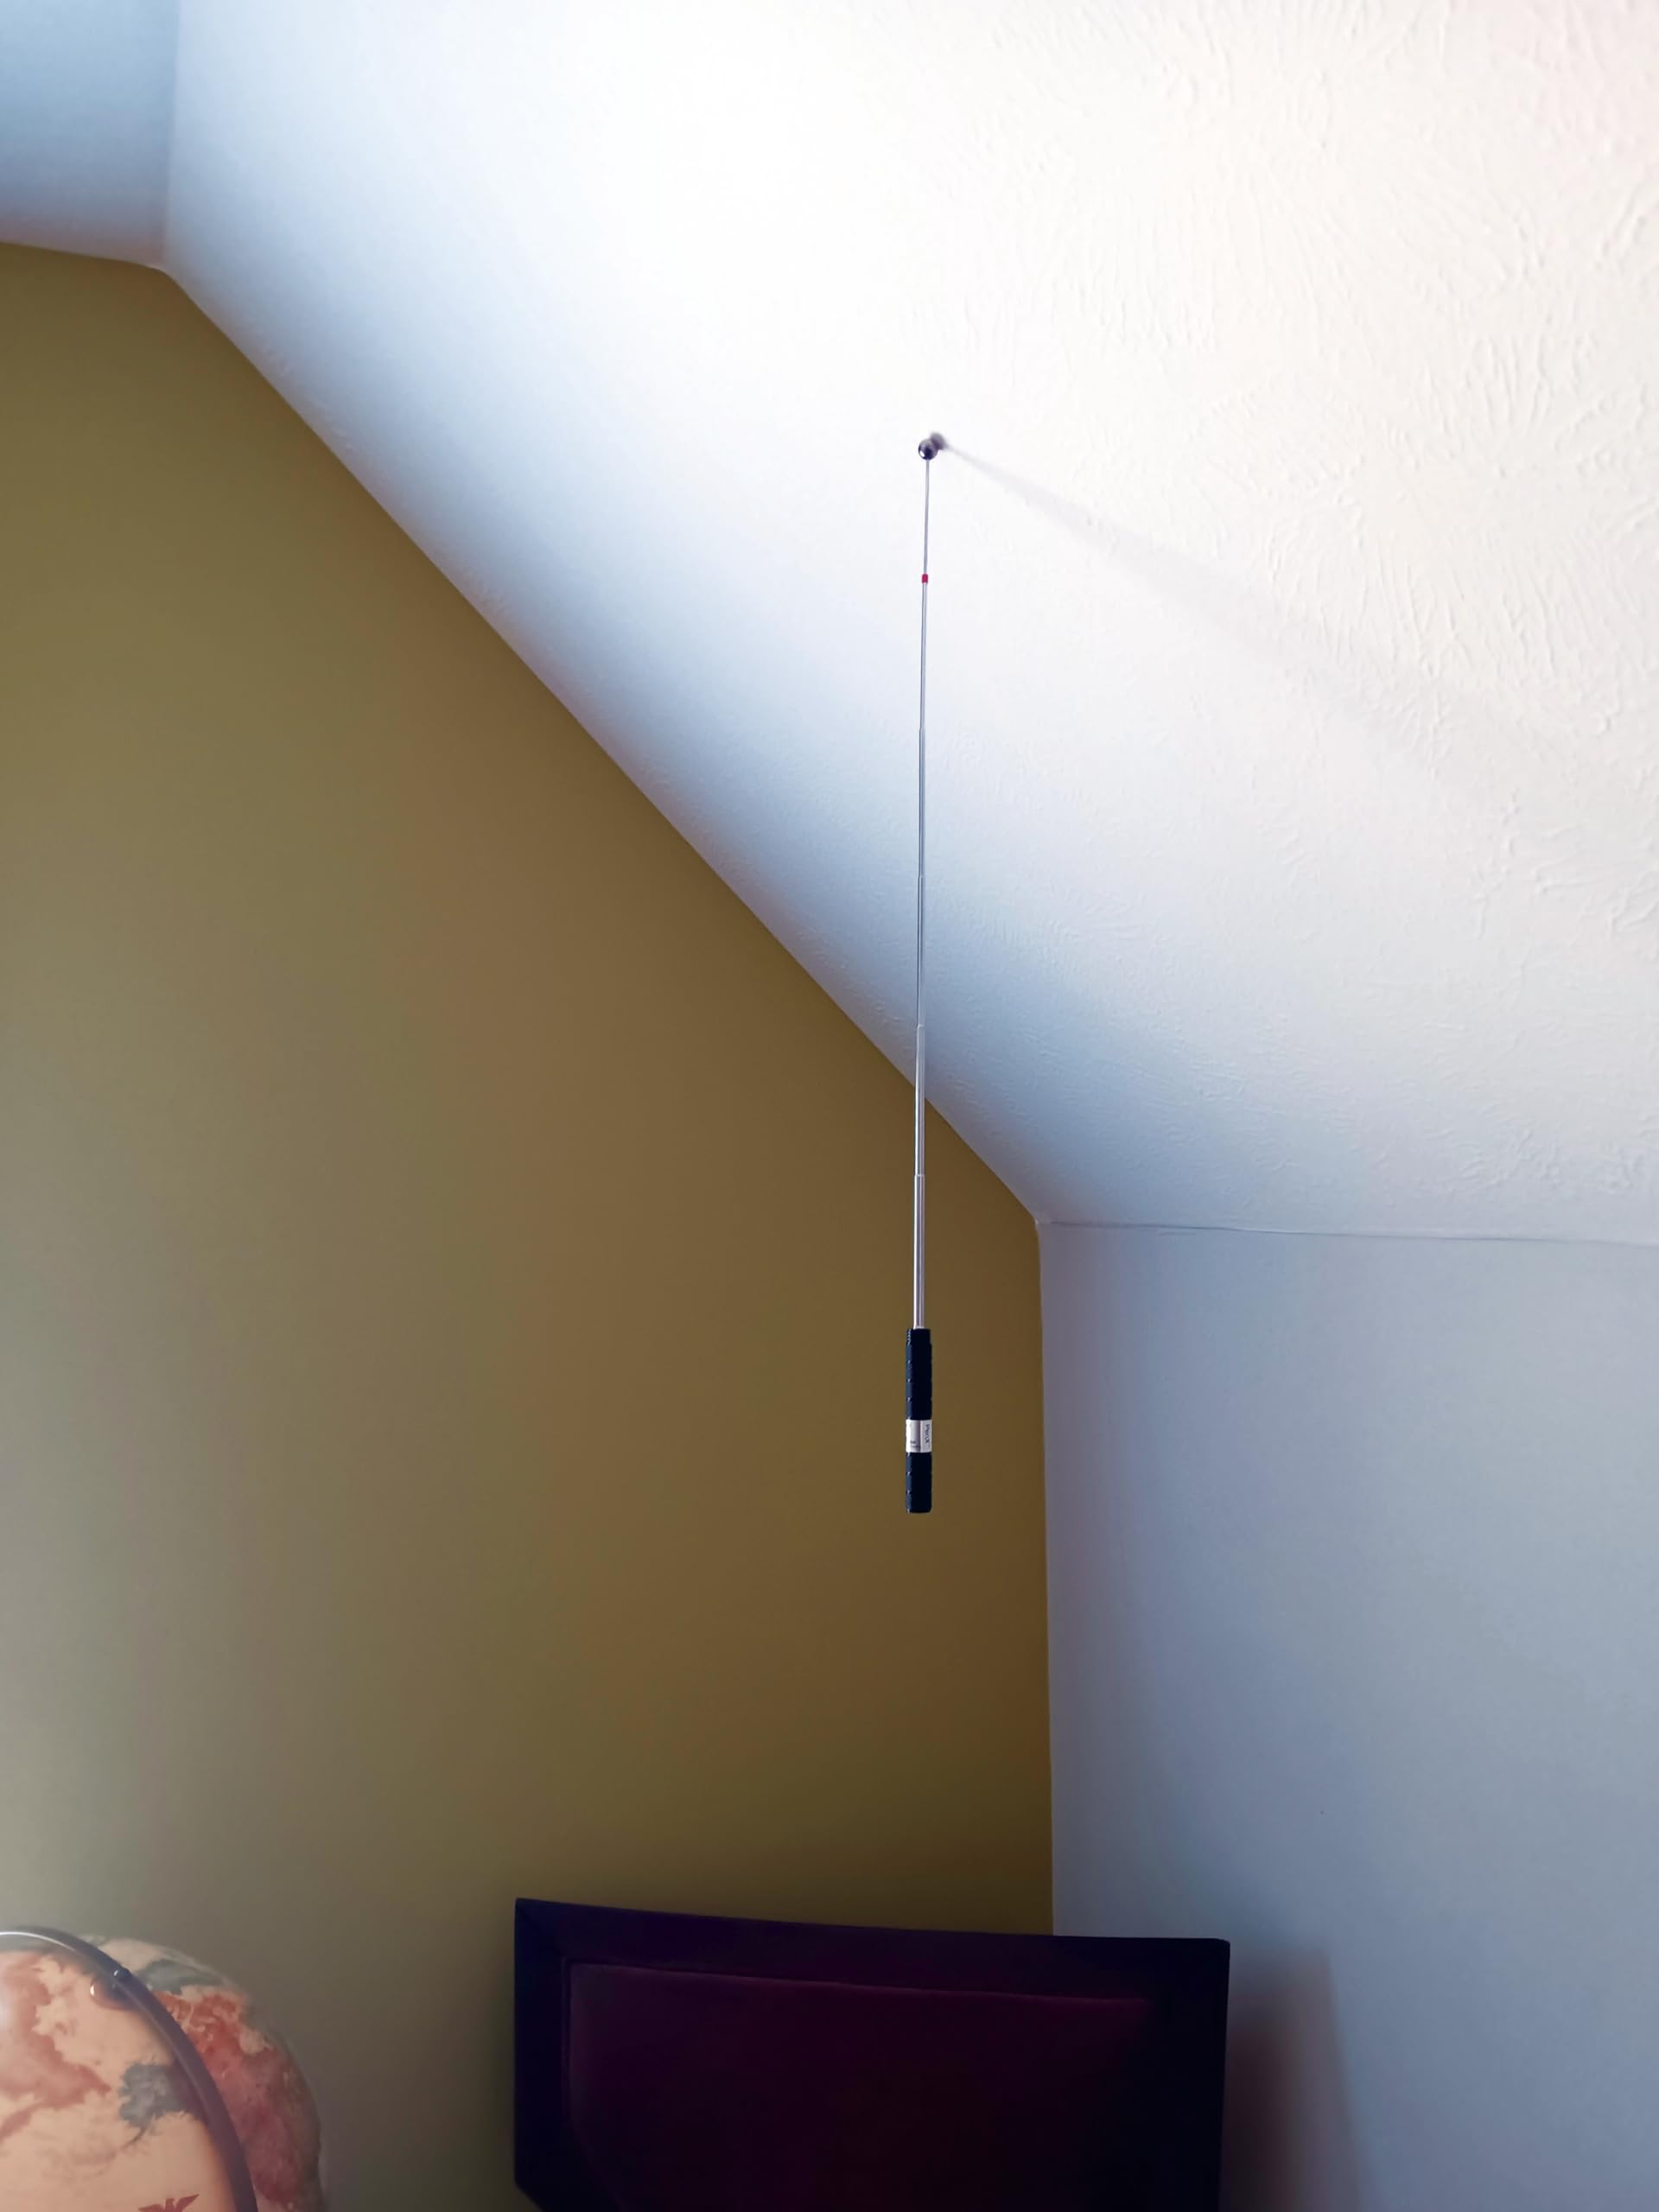
Use a Stud Finder and Confirm with a Probe
Start with an electronic or magnetic stud finder. Scan the area where the rack will sit, typically above the garage door or workbench. Mark each joist location with a pencil. However, ceiling irregularities, insulation, or wiring can throw off sensors, so never trust the reading alone.
Always confirm with a physical test. Use a monkey hook (a bent wire clothes hanger) to gently poke through the drywall near your mark. If it hits solid wood, you have found a joist. If it passes through empty space, keep searching. Alternatively, drill a small pilot hole and insert a bent wire to feel for wood. Joists are only 1.5 inches wide, so precision matters.
Mark Joist Centers and Transfer Wall Studs
Once located, mark the center of each joist. If your garage walls are unfinished, look for vertical nail lines that often align with joists above. Use a plumb bob or laser level to transfer stud positions from the wall up to the ceiling for accurate alignment. Mark every 16 or 24 inches on center, which is standard joist spacing.
Plan Rack Dimensions and Clearance
Proper planning prevents costly mistakes. Measure twice, cut once, and install only after confirming headroom, load needs, and access.
Choose Standard Rack Size
Most systems work best with 4-foot by 8-foot or 4-foot by 4-foot footprints. These sizes fit between common joist spans and match standard plywood sheets. If building a DIY platform, stick to these dimensions for simplicity and strength. Leave 1/8 inch extra in your cleat layout to make plywood insertion easier.
Check Minimum Ceiling Height
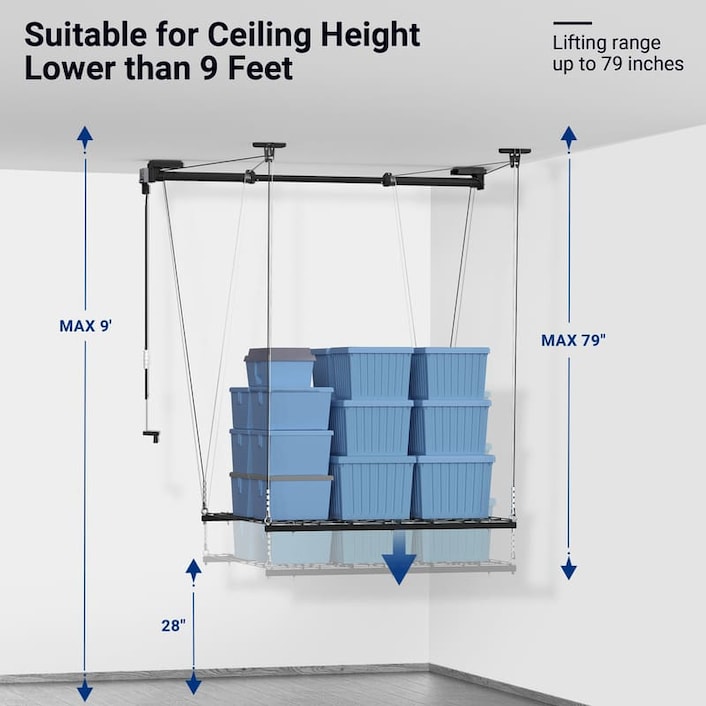
Your garage should have at least 7 feet of clear ceiling height. This ensures safe operation, especially for lift racks that lower for access. If you park vehicles, add 6 to 12 inches above the tallest point to avoid collisions when the rack is lowered. Also maintain at least 6 inches between the lowered rack and the ceiling.
Allow Front Access Space
Leave 36 or more inches of front clearance for loading and unloading. This gives you room to reach in safely, especially when the rack is at its lowest position. Avoid placing the rack directly over the garage door opener motor, as this limits access and risks interference.
Select the Right Rack Type
Two main types dominate: fixed wooden platforms and adjustable lift systems. Your choice depends on how often you access stored items and how much weight you need to lift.
Build a Fixed Overhead Platform
Ideal for infrequently used, medium-weight items like holiday decorations or camping gear. Constructed from 2×4 framing and 3/4-inch plywood, this DIY option mounts permanently between wall ledgers and ceiling joists. Load capacity reaches 200 to 300 pounds. Tools needed include a circular saw, drill, level, and joist hangers. The platform stays in place once installed, offering cost-effective static storage.
Install an Adjustable Lift Rack
For frequent access and heavier loads, choose a factory-built lift system like Fleximounts or VersaRac 4159. These use steel frames with crank, drill-powered, or pulley mechanisms to raise and lower the rack. Load capacity ranges from 300 to 600 pounds. Adjustable height spans 22 to 40 inches from the ceiling. These kits include all hardware, brackets, wires, and instructions, making installation faster than DIY builds.
Gather Tools and Safety Gear
Having the right tools on hand prevents delays and ensures precision. Work safely with protective equipment and stable access.
Essential Tools List
• Stud finder (magnetic preferred)
• Laser or 48-inch level
• Framing square
• Chalk line
• Measuring tape
• Drill/driver
• Socket wrench (for lag bolts)
• Hammer
• Circular or miter saw (for DIY frames)
• Extension ladder or platform ladder
Safety Equipment
Wear safety goggles to protect eyes from dust and debris. Use work gloves to improve grip and prevent cuts. If cutting wood or drilling into old structures, wear a dust mask. Always turn off power to the garage before drilling if you suspect nearby wiring.
Install Wall Ledger for Fixed Racks
The ledger board anchors one edge of a DIY platform to the wall. It must be level and secured into wall studs.
Mark and Level the Ledger Line
Use a 48-inch level to draw a straight, horizontal line along the wall, 30 inches below the ceiling. This marks the bottom edge of the ledger board (a 2×4). Ensure the line is perfectly level, as any slope transfers to the entire rack.
Find and Mark Wall Studs
Scan the ledger line with a stud finder. Mark each stud center. If the wall is unpainted, look for vertical rows of nails that often indicate stud locations.
Attach the Ledger Board
Hold the 2×4 flush with the layout line, X marks facing left. Temporarily secure one end with a 2.5-inch screw. Check level, then fasten the other end. Once aligned, pre-drill through the ledger into each stud to prevent splitting. Install lag screws with washers using a socket wrench for maximum torque. Where a screw aligns with an X mark, counterbore the hole with a 3/4-inch spade bit to avoid interference with joist seating.
Mount Ceiling Cleat for Support
The ceiling cleat supports the opposite edge of the platform. It must be anchored directly into joists or cross-cleats.
Transfer Ledger Position to Ceiling
Use a plumb bob or level to mark vertical lines from each end of the ledger up to the ceiling. These define where the cleat starts and ends.
Draw Perpendicular Layout Line
At each plumb mark, use a framing square to draw a line perpendicular to the wall. Extend it 48-1/8 inches into the ceiling (extra 1/8 inch allows for plywood fit). Snap a chalk line between the two extended marks for your cleat alignment.
Mark Joist Crossings
Use the stud finder to locate where joists intersect the chalk line. Mark each center. If joists run parallel to the cleat (not perpendicular), you must install five 2×4 cross-cleats spanning two joists. Secure with 3-inch lag screws, then attach the ceiling cleat to these cross-cleats.
Install the Cleat
Position the 2×4 cleat so its inside edge aligns with the chalk line. X marks face right when facing the wall. Temporarily screw one end, check alignment, then pre-drill and install one lag screw per joist. Do not fully tighten yet, allowing for final adjustment.
Build and Attach Hanger Boards
Hanger boards support the joists from below, transferring load from the platform to the cleat.
Cut and Position Hanger Boards
Cut five 2×4 hanger boards to length. Place them along the cleat layout line, covering the X marks, and butting against the ceiling. Attach each end to the cleat with a 2.5-inch screw. Check for plumb, then add a second screw.
Reinforce with L-Angles
Install L-angle brackets using 1.25-inch screws to connect the back face of each hanger board to the bottom of the ceiling cleat. This prevents twisting and adds lateral stability.
Install Joist Hangers and Frame
The joists form the floor structure. They must be level, evenly spaced, and securely fastened.
Set Joist Hangers on Ledger
Install three joist hangers on the ledger and three on the front joist. Position them so the joist ends will cover the X marks at 23-1/4 inches, 47-1/4 inches, and 71-1/4 inches. Use 1.5-inch joist hanger nails driven at angles. Use a scrap 2×4 as a spacer to ensure consistent depth. Do this before securing the front joist.
Attach Front Joist
With a helper, lift the front joist into position, aligning both ends with the bottom outside edges of the outermost hanger boards. Clamp in place, check for level, then secure with four 2.5-inch screws per side.
Install Inner and Outer Joists
Cut five joists to 45-1/8 inches. Slip the three inner joists into the hangers on the ledger and front joist. Fasten with 1.5-inch hanger nails. Place the two outer joists against the L-angles at the ends and secure with 1.25-inch screws.
Add Final L-Angle Braces
Install L-angles along both sides of every hanger board, connecting them to the front joist. This locks the frame in place and prevents racking.
Install Plywood Decking
The final floor surface must be secure and flush.
Lay and Fasten Plywood
Place a 4-foot by 8-foot, 3/4-inch exterior-grade plywood sheet on top of the joists. Ensure it sits flat and aligned. Snap lines below to locate joists at 24 inches, 48 inches, and 72 inches for easy screw placement. Fasten with 1.25-inch screws every 12 inches into the ledger, front joist, and all five joists. Ensure no screws protrude below the structure. Use bungee cords to hold the plywood in place while you work.
Mount Adjustable Lift Rack Brackets
For pre-fabricated systems like Fleximounts or VersaRac, skip the framing and go straight to bracket installation.
Align Installation Template
Most kits include a template to ensure even bracket spacing. Align it with your planned rack position. Verify joist locations underneath. The template helps space six ceiling brackets correctly for a 4-by-8-foot system.
Install Ceiling Brackets
Insert kit-supplied lag bolts with washers through each bracket into joist centers. Predrill holes to prevent wood splitting and ensure clean alignment. Tighten with a socket wrench, but leave slightly loose for final adjustment after the rack is connected. Never use drywall anchors. All load transfers through joists only.
Assemble and Connect Lift Mechanism
The lifting system makes stored items accessible with minimal effort.
Install Support Rod and Axle
Slide the metal support rod into the larger brackets. Ensure the axle-connection side faces left. Extend the rod to the opposite bracket, insert bolts, and tighten two screws per bracket to lock it in place.
Thread Wires and Attach Hooks
Cut zip ties securing the steel wires. Untangle the rope and feed the longer sections through back clips. Identify the “Install this Side Up” tape on the rack to ensure correct orientation. Attach three hooks per side using lug nuts and washers.
Connect Rack to Wires
Thread steel hooks through the corner slots on the rack frame. Confirm the rope is untangled. Attach the axle and crank hook to the support rod. Optional: use a cordless drill instead of the crank for loads over 150 pounds.
Operate and Maintain the Rack
Proper use ensures longevity and safety.
Pre-Load Before First Use
Add 50 to 100 pounds of weight before the first raise. This prevents wire twisting and ensures smooth operation.
Raise and Lower Safely
Turn axle counter-clockwise to raise and clockwise to lower. When rack reaches ceiling, remove axle and tap rod to engage lock. To lower, unlock, reconnect hook, and rotate clockwise. Small deviations are normal; the rack can flex slightly under load.
Perform Routine Inspections
Check wires, ropes, bolts, and locking mechanism monthly for lift systems. Annually for all racks, tighten all connections, inspect for sagging, and clean debris. Avoid damp garages unless rack is protected from moisture.
Frequently Asked Questions About Installing Garage Ceiling Racks
Can I install a ceiling rack in a garage with no attic access?
Yes. You can install ceiling racks in garages with no attic access by mounting directly to exposed ceiling joists. Use a stud finder to locate joists accurately, then attach brackets or ledger boards directly to the structural members. For drywall ceilings, always verify joist location before mounting.
How much weight can a garage ceiling rack hold?
Fixed DIY wooden platforms typically hold 200 to 300 pounds. Pre-engineered lift systems like Fleximounts and VersaRac support 300 to 600 pounds, depending on the model and proper installation. Always respect manufacturer ratings and distribute weight evenly across the rack.
Can I install a ceiling rack myself, or do I need help?
You need at least one helper for most installations. Lifting the front joist, positioning plywood sheets, and aligning bracket systems requires two people for safety and accuracy. Attempting to install heavy components alone risks injury and improper alignment.
What happens if I mount into drywall instead of joists?
Drywall cannot support weight. Mounting into drywall alone causes the rack to fail under load, potentially dropping hundreds of pounds suddenly. This creates serious injury risk and damages stored items. Always locate and anchor into ceiling joists.
How high should my garage ceiling be for a ceiling rack?
A minimum of 7 feet of clear ceiling height is recommended for safe operation. If parking vehicles, add 6 to 12 inches above the tallest vehicle to avoid collisions when lowering the rack. Maintain at least 6 inches between the lowered rack and ceiling for smooth operation.
Key Takeaways for Installing Your Garage Ceiling Rack
Installing a garage ceiling rack transforms cluttered floor space into functional overhead storage. Whether you build a fixed wooden platform or install a branded lift system, success depends on accurate joist location, secure fastening into structural members only, and even load distribution. Never mount into drywall alone. Use lag bolts that penetrate joists by at least 3 inches, and always verify joist centers with a physical test after using a stud finder.
Pre-load lift racks with 50 to 100 pounds before first use to prevent wire twisting. Allow proper clearance for vehicle access and front loading space. Inspect all connections monthly for lift systems and annually for all rack types. With the right approach, your overhead rack safely supports hundreds of pounds for years, keeping your garage clear, organized, and ready for anything.


