
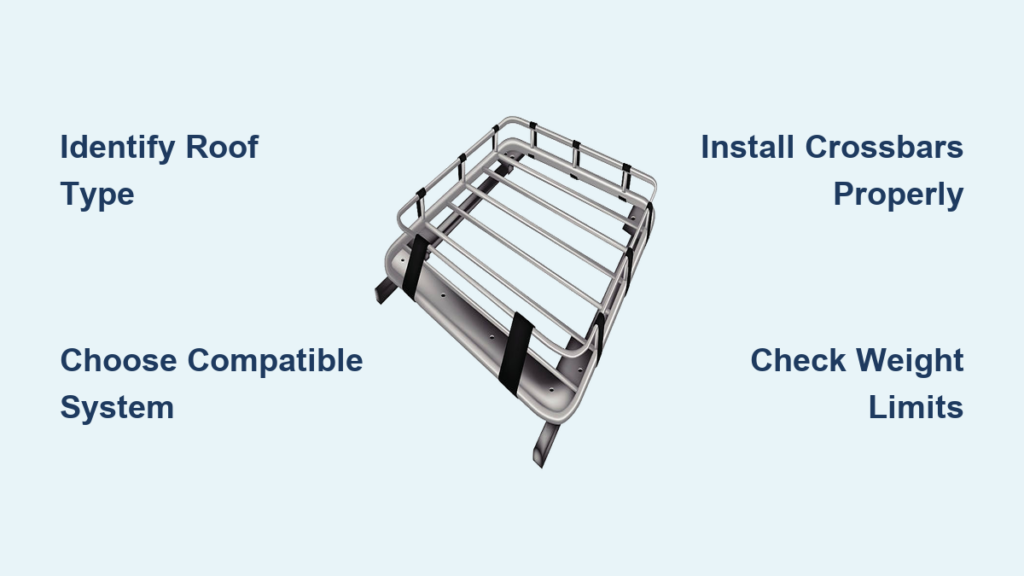
If you have ever packed a car to the brim and still had gear left over, you know the frustration of limited cargo space. A roof rack solves that problem by turning your vehicle roof into a secure transport platform for bikes, kayaks, skis, cargo boxes, and more. Installing a roof rack might seem daunting, but with the right tools and steps, most DIYers can complete the job in under an hour. Whether your vehicle has raised rails, flush rails, or no rails at all, this guide walks you through every stage safely and efficiently.
Identify Your Roof Type
Before buying or installing a roof rack, determine your vehicle roof configuration. The installation method depends entirely on whether you have raised rails, flush rails, or no rails at all.
Raised Rails: Easy Clamp-On Fit
Raised rails sit above the roofline and offer the simplest installation. They allow direct attachment of crossbars using adjustable clamps. These rails typically support up to 90 kg (200 lb), let you keep sunroof functionality, and provide a stable base for heavy loads like cargo boxes or multiple bikes.
Flush Rails: Sleek but Sunroof-Limiting
Flush rails are embedded into the roof surface and give a clean look. However, they often block sunroof use when a rack is installed. They support around 75 kg (165 lb) and require precise jaw alignment during installation. Though less aerodynamic than raised systems, they are widely compatible with aftermarket racks.
No Roof Rails: Adapter Kits Required
Vehicles without factory rails need foot packs or clamping systems that grip the door frame or roof edge. These kits are vehicle-specific and must be installed carefully to avoid damaging seals or body panels. Always follow manufacturer instructions and never over-tighten bolts.
Choose the Right Roof Rack System
Selecting the correct roof rack ensures safety, performance, and accessory compatibility.
Aluminum vs. Plastic Crossbars
Aluminum crossbars are stronger, more durable, and ideal for heavy or frequent use. Priced between $200 and $300, they work with most carriers and resist corrosion. Plastic composite bars are cheaper ($80 to $150) but weaker, and are best for light loads only.
Check Vehicle Compatibility
Not all racks fit all cars. Confirm compatibility using your vehicle make, model, and year, roof width (typically 47 to 51 inches), presence of factory rails, and availability of adapter kits. Brands like Menabo, Rhino-Rack, and AR Sen offer custom-fit solutions. Always verify fit before purchase.
Match Accessories to Your Needs
Ensure your rack works with the gear you plan to carry. Common accessories include bike carriers, ski and snowboard mounts, kayak cradles, and cargo boxes or baskets. Some brands (e.g., Menabo, Rhino-Rack) offer integrated ecosystems, so using their crossbars and accessories together avoids compatibility issues.
Prepare for Installation
Gather tools and inspect components before starting.
Clean the Roof Rails
Wipe down both sides of the roof rails with mild soap and water. Dry thoroughly with a microfiber cloth. Removing dirt and debris ensures a secure clamp and prevents scratches or slippage during installation.
Inspect All Parts
Check that your kit includes crossbars, clamps or foot packs, Allen keys, rubber profile strips, end caps, bolts, washers, lock washers, and anti-theft keys. Missing parts mean you should contact the manufacturer before proceeding.
Gather Required Tools
You will typically need a 4 mm or 5 mm Allen key (included), a screwdriver (for some models), and a torque wrench (recommended for consistent tightness). Having these ready saves time and prevents mid-installation delays.
Install on Raised Roof Rails
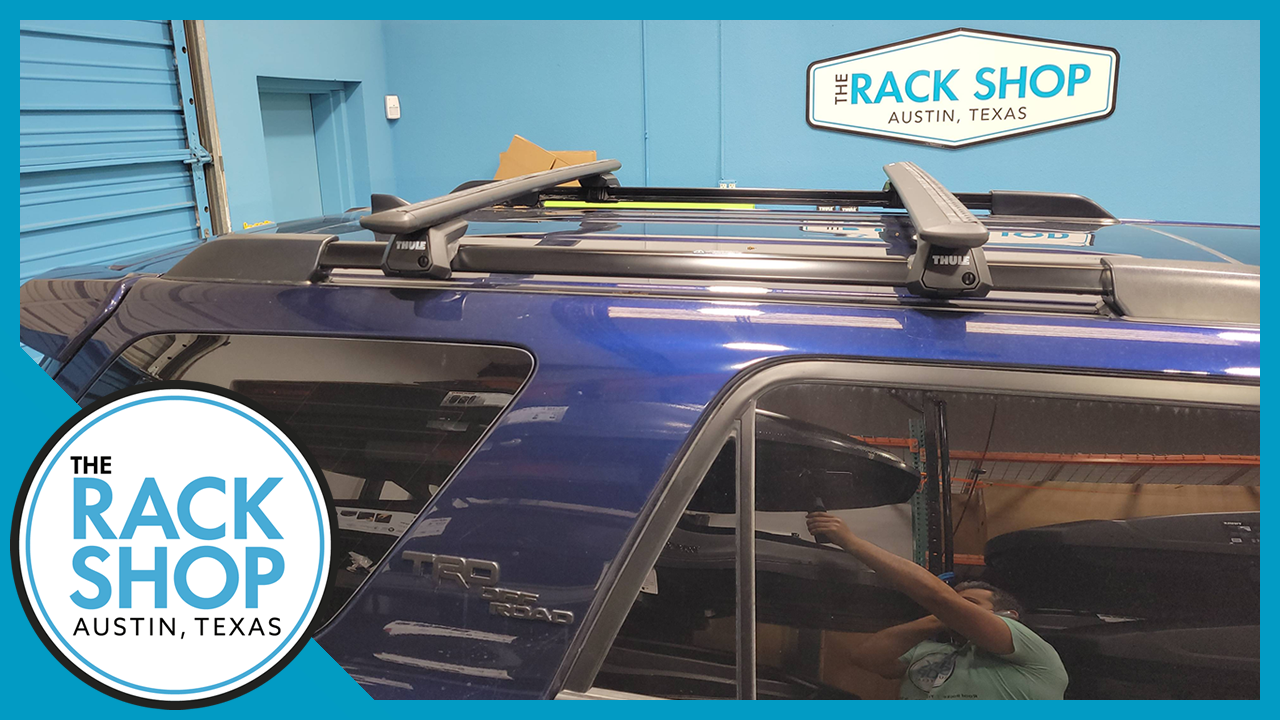
This method is fastest and most common for SUVs and crossovers.
Fill Crossbar Grooves with Rubber Strips
Cut three rubber profile strips to fit the lower groove of each crossbar. Insert them to seal gaps and prevent wind whistling. You can do this step before or after mounting, whichever gives better access.
Expand the Clamping Jaws
Insert the Allen key into the front of each clamp. Turn counterclockwise to open the jaws wide enough to slide over the raised rail.
Position Front and Rear Crossbars
Place the front crossbar at the front end of both rails. Center it side-to-side by measuring equal distance from each end to the windshield. Repeat for the rear bar, ensuring at least 70 cm (27.5 in) between bars.
Tighten the Clamps Evenly
Use the Allen key to turn clockwise and close the jaws around the rail. Apply even pressure on both sides to keep the bar straight. Repeat for the rear bar.
Engage the Anti-Theft Lock
Insert the provided key into the lock mechanism. Turn clockwise until it clicks into place. Remove the key. The crossbar is now secured against theft.
Verify Jaw Alignment
The edge of the rail should press against the outer side of the jaw. If misaligned, unlock, reposition, and retighten before driving.
Test Stability Before Driving
Push and pull each crossbar in all directions. There should be no movement. If loose, repeat tightening steps. Finalize rubber strip installation if not already done.
Install on Flush Roof Rails
Flush rail installation requires careful spacing and alignment.
Seal Crossbar Slots First
As with raised rails, insert rubber strips into the lower grooves of the crossbars to reduce wind noise.
Adjust Jaw Width to Fit Rails
Set the clamp width to match the distance between your flush rails. Use a tape measure if needed for accuracy.
Position Bars with Proper Spacing
Slide the front crossbar onto the rails at the front edge. Center it and visually confirm alignment from front and rear views. Install the rear bar with minimum 70 cm (27.5 in) between bars.
Tighten Jaws Alternately
Start tightening one side, then the other, alternating until both are fully secure. This ensures even pressure and keeps the bar perpendicular to the rails.
Attach End Caps Correctly
Snap end caps onto both sides of the clamps. Make sure the key slot faces horizontally before locking.
Lock with Anti-Theft Key
Insert the key and turn clockwise until vertical (locked). This secures both end caps simultaneously. Remove the key when done.
Confirm No Movement
Gently shake each bar. Any play means re-tightening is needed. Complete sealing of remaining grooves to eliminate wind noise.
Install Without Roof Rails (Adapter Kits)
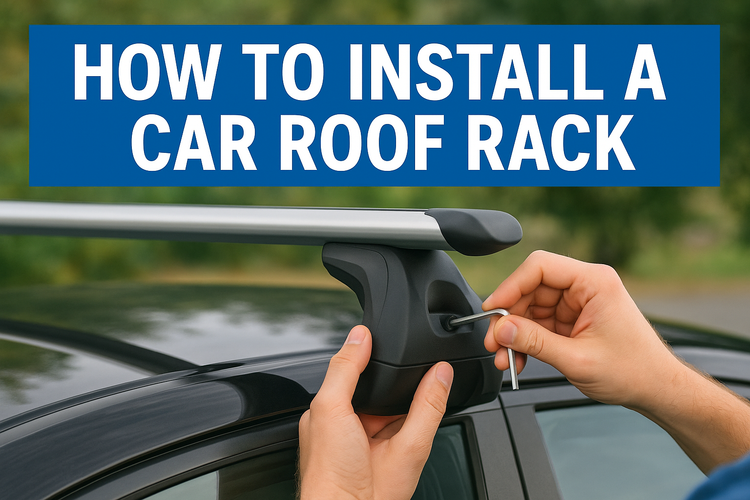
This method works for sedans, hatchbacks, or older models without factory rails.
Use Vehicle-Specific Foot Packs
These kits use rubber-padded clamps that grip the door frame or roof edges. Some systems thread bolts through the door jamb. Always use the correct model-specific pack for your vehicle.
Follow Manufacturer Instructions Precisely
Installation varies by brand and vehicle. Some require opening doors to position clamps, while others attach from inside the roof lining. Never improvise with the installation process.
Avoid Over-Tightening
Excessive force can damage roof seals or dent body panels. Tighten just enough to prevent movement, usually 7 to 10 Nm torque.
Allow 45 to 60 Minutes for Setup
This process takes longer than rail-mounted installations. Work slowly and double-check alignment at every step.
Special Case: 2009 Honda Odyssey Installation
The 2009 Honda Odyssey has factory roof rails, making it compatible with third-party cross members.
Remove Rear Brackets Only
Locate the brackets at both ends of the rails. Insert a screwdriver into the small release hole to press the internal tab. Push the bracket inward to disengage, unscrew, and remove. Slide it back into place and let it click.
Install Cross Members
Insert bolts through the cross members into the rail channels. Use this washer order: lock washer, regular washer, bolt. Snug but do not fully tighten yet. This allows adjustment during the process.
Mount Roof Rack Frame
Position the frame onto the cross members. Identify the front by the air dam (aerodynamic shield). It must face forward. Assemble clamps on the roof for easier alignment.
Secure with Clamps
Pinch the clamp around the rail bar and tighten the bolt from underneath. Adjust until the rack is level and solid.
Test Drive for Stability
Take a short drive around the block. Listen for rattling or shifting. If everything feels secure, your installation is complete. The total cost runs approximately $230, with cross members at $70 and the roof rack frame at $150.
Reduce Wind Noise After Installation
Whistling is common but easily fixable.
Slide Bars Slightly Rearward
Unlock the anti-theft mechanism by turning the key counterclockwise. Loosen clamps with the Allen key. Slide both crossbars a few inches toward the rear. Keep at least 70 cm (27.5 in) between bars. Re-tighten and lock. Test drive to confirm noise reduction. This small shift alters airflow and often eliminates whistling completely.
Maintain Roof Rack Long-Term
A well-maintained rack lasts years.
Inspect Clamps Every Few Months
Check for looseness, especially after long trips or rough roads. Retighten if needed to maintain secure attachment.
Clean Bars Regularly
Wash off dirt, salt, and road grime. This prevents corrosion and helps accessories slide on smoothly when mounting gear.
Lubricate Locks Annually
Apply silicone-based lubricant to clamps and anti-theft mechanisms. Never use oil because it attracts dust and debris.
Store Accessories Off-Rack
Remove carriers when not in use. This reduces wind resistance, noise, and wear on the mounting system.
Replace Worn Parts Promptly
UV exposure degrades rubber seals and plastic end caps. Swap them out before they fail during use.
Know the Weight Limits
Exceeding load capacity risks damage and accidents.
Vehicle Limit vs. Rack Rating
Always follow the lower of the roof rack manufacturer max load or your vehicle roof weight limit (check owner manual). Raised rail systems support up to 90 kg (200 lb), flush rail systems up to 75 kg (165 lb), and plastic racks often under 50 kg (110 lb).
Distribute Weight Evenly
Place cargo between the two crossbars. Keep heavy items centered and low. Secure with straps rated for dynamic loads to prevent shifting during travel.
Choose Based on Use Case
Pick a system that matches your lifestyle.
Families: Carry Luggage and Gear
Use cargo boxes for strollers, suitcases, and camping supplies. This keeps interior space free and protects items from weather.
Outdoor Enthusiasts: Haul Bikes and Skis
Mount bike carriers or ski racks directly to crossbars. This is ideal for weekend adventures and recreational activities.
Overlanders: Build a Mobile Base
Rhino-Rack and Menabo systems support roof tents, awnings, ladders, and storage bins. This is perfect for off-grid travel.
Photographers and Hunters: Secure Specialty Equipment
Mount tripods, camera cases, or hunting blinds safely overhead without cluttering the cabin.
Compare Top Roof Rack Types
Aluminum raised rail systems offer the best balance of strength, durability, and versatility. They support up to 90 kg (200 lb), take 30 to 45 minutes to install, allow sunroof use, and cost $200 to $300. Aluminum flush rail systems support 75 kg (165 lb), take 30 to 45 minutes, often block sunroofs, and cost $200 to $300. Plastic systems support under 50 kg (110 lb), take 20 to 30 minutes, vary on sunroof use, and cost $80 to $150. Truck bed-mounted systems support 90 kg (200 lb), take 45 to 60 minutes, and cost $250 to $500.
Trust Brand Ecosystems
Stick with integrated systems when possible.
Menabo: Secure and Stylish
Italian-designed aluminum racks with anti-theft locks. They pair seamlessly with their bike, ski, and cargo carriers.
Rhino-Rack: Rugged and Modular
Offers RVP, RCH/RCL, and Pioneer platforms. Supports awnings, ladders, and C-channel accessories. Favored by overlanders for versatility.
AR Sen: Budget-Friendly Option
Functional and affordable. Proven on vehicles like the Honda Odyssey with third-party parts.
Final Tips for Success
Watch installation videos from brands like Rhino-Rack on YouTube for visual guidance. Never exceed weight limits because safety comes first. Recheck tightness after the first 50 miles of driving. Remove the rack in winter if storing long-term to avoid salt buildup.
Frequently Asked Questions About Roof Rack Installation
What tools do I need to install a roof rack?
You will typically need a 4 mm or 5 mm Allen key (usually included), a screwdriver for some models, and a torque wrench (recommended for consistent tightness). Having these ready before starting saves time during the installation process.
Can I install a roof rack on a car without roof rails?
Yes. Vehicles without factory rails can accommodate roof racks using adapter kits or foot packs. These vehicle-specific systems clamp to the door frame or roof edge. Follow manufacturer instructions carefully and avoid over-tightening to prevent damage.
How much weight can a roof rack hold?
Weight limits vary by rail type. Raised rail systems support up to 90 kg (200 lb), flush rail systems support around 75 kg (165 lb), and plastic systems typically support under 50 kg (110 lb). Always follow the lower of the rack rating or your vehicle roof limit.
How do I stop my roof rack from making wind noise?
Wind whistling is common and usually solved by sliding the crossbars slightly toward the rear of the roof. Maintain at least 70 cm (27.5 in) between bars, re-tighten the clamps, and test drive to confirm the noise is eliminated.
How long does it take to install a roof rack?
Installation time ranges from 20 to 60 minutes depending on your roof type and system. Raised and flush rail installations typically take 30 to 45 minutes. Adapter kit installations for vehicles without rails take longer, around 45 to 60 minutes.
Key Takeaways for Installing Your Roof Rack
Proper installation begins with identifying your roof type (raised rails, flush rails, or no rails) and choosing a compatible system. Aluminum crossbars offer the best strength and durability for most users. Follow the step-by-step process for your specific roof type, maintain minimum 70 cm spacing between crossbars, and always respect weight limits. With correct installation and periodic maintenance, your roof rack becomes a reliable extension of your vehicle, opening doors to adventure and utility on the road.


