

Imagine a sleek, modern shelf that appears to defy gravity, gliding effortlessly from the wall with no visible supports. That is the magic of a floating shelf without brackets. Unlike traditional shelves held up by metal L-brackets or exposed hardware, these designs use hidden mounting systems to create a clean, minimalist look. Whether you are upgrading your living room, bathroom, or kitchen, building a bracket-free shelf is easier than you think and incredibly rewarding.
The key to success lies in one non-negotiable rule: anchor into wall studs. Drywall alone cannot support weight, and skipping this step risks collapse. But when done right using concealed screws, cleats, dowels, or joinery, your shelf will be both strong and stunning. This guide walks you through five proven methods, each eliminating visible brackets while maximizing strength and style.
Choose the Best Bracket-Free Method for Your Project

Not every floating shelf method works in every room. Your choice depends on load needs, wall layout, tools available, and desired aesthetic. Here are the top five techniques that deliver true floating results.
Pocket Hole Mounting for Long Shelves
This method uses angled screws driven through pocket holes in the back of the shelf, securing it directly into wall studs. The screws pull the shelf tight against the wall, making the support nearly invisible from the front.
This technique works best for wide, continuous shelves spanning 8 to 14 feet, modern interiors with clean lines, and DIYers who want speed and strength. Each screw anchored into a stud can hold over 50 pounds, so multiple fasteners create a rock-solid hold. The pocket holes are hidden and can be plugged and stained to disappear.
You will need a Kreg Jig set for your wood thickness, coarse-thread wood screws, a solid wood board 1 to 2 inches thick, a stud finder, level, and drill. For long shelves, cut the board slightly longer than the wall span and sand down one edge for a clean fit. Stain the shelf before mounting to avoid messy touch-ups on the wall.
Wooden Dowel Support for Rustic Style
Instead of metal brackets, use wooden dowels as hidden arms that support the shelf from behind. The shelf slides over the dowels, creating a seamless, organic look perfect for farmhouse or reclaimed wood designs.
This method works best for small to medium shelves 6 to 20 inches deep, decorative displays not holding heavy books or electronics, and projects where rustic charm is the goal. Three-quarter-inch diameter dowels are glued and screwed into wall studs. The shelf has matching holes drilled into its back and slips over the dowels. Once installed, only a thin seam is visible.
Never rely on glue alone. Each dowel must be screwed into a stud for safety. Drill 4-inch deep holes in the shelf back, mount dowels level and aligned, then slide the shelf into place and touch up any seams.
Hidden Cleat System for Plywood Shelves
A French cleat is a simple but powerful system. One beveled wood strip mounts to the wall, and a mating piece attaches to the shelf. When locked together, they form a secure, invisible support ideal for box-style shelves made from three-quarter-inch plywood.
This works best for multi-shelf installations like bookcases and paint-grade modern spaces. Use at least two screws per stud along the cleat. A 48-inch shelf should engage 3 to 4 studs for stability. Add LED strip lighting under the shelf for a high-end glow.
Tenon and Toggle Bolt Method for Heavy Loads
For shelves holding books, records, or audio equipment, this professional-grade method combines structural joinery with deep wall anchoring. Boards are joined with loose tenons using a Festool Domino or pocket screws. A long back panel is mounted to the wall using 5-inch toggle bolts through studs. Front boards attach to the tenons, hiding the support system entirely.
This method has extremely high load capacity, ideal for heavy-duty use. Test-fit all joints before final glue-up. If walls are not square, adjust shelf angles slightly to ensure a flush fit.
End-to-Wall Support for Tight Spaces
When two walls face each other, like in a bathroom or alcove, you can build a shelf that spans the gap, supported by cleats or dowels on both ends. Square wooden pillows or cleats are mounted to each wall. The shelf rests on or is nailed to these supports, leaving no brackets visible from the front.
Measure wall distance at multiple points because walls are rarely parallel. Cut shelf ends at a slight angle if needed for a snug fit. Use 1-by-12 oak boards for durability and a classic look.
Gather Tools and Find Wall Studs for Secure Mounting
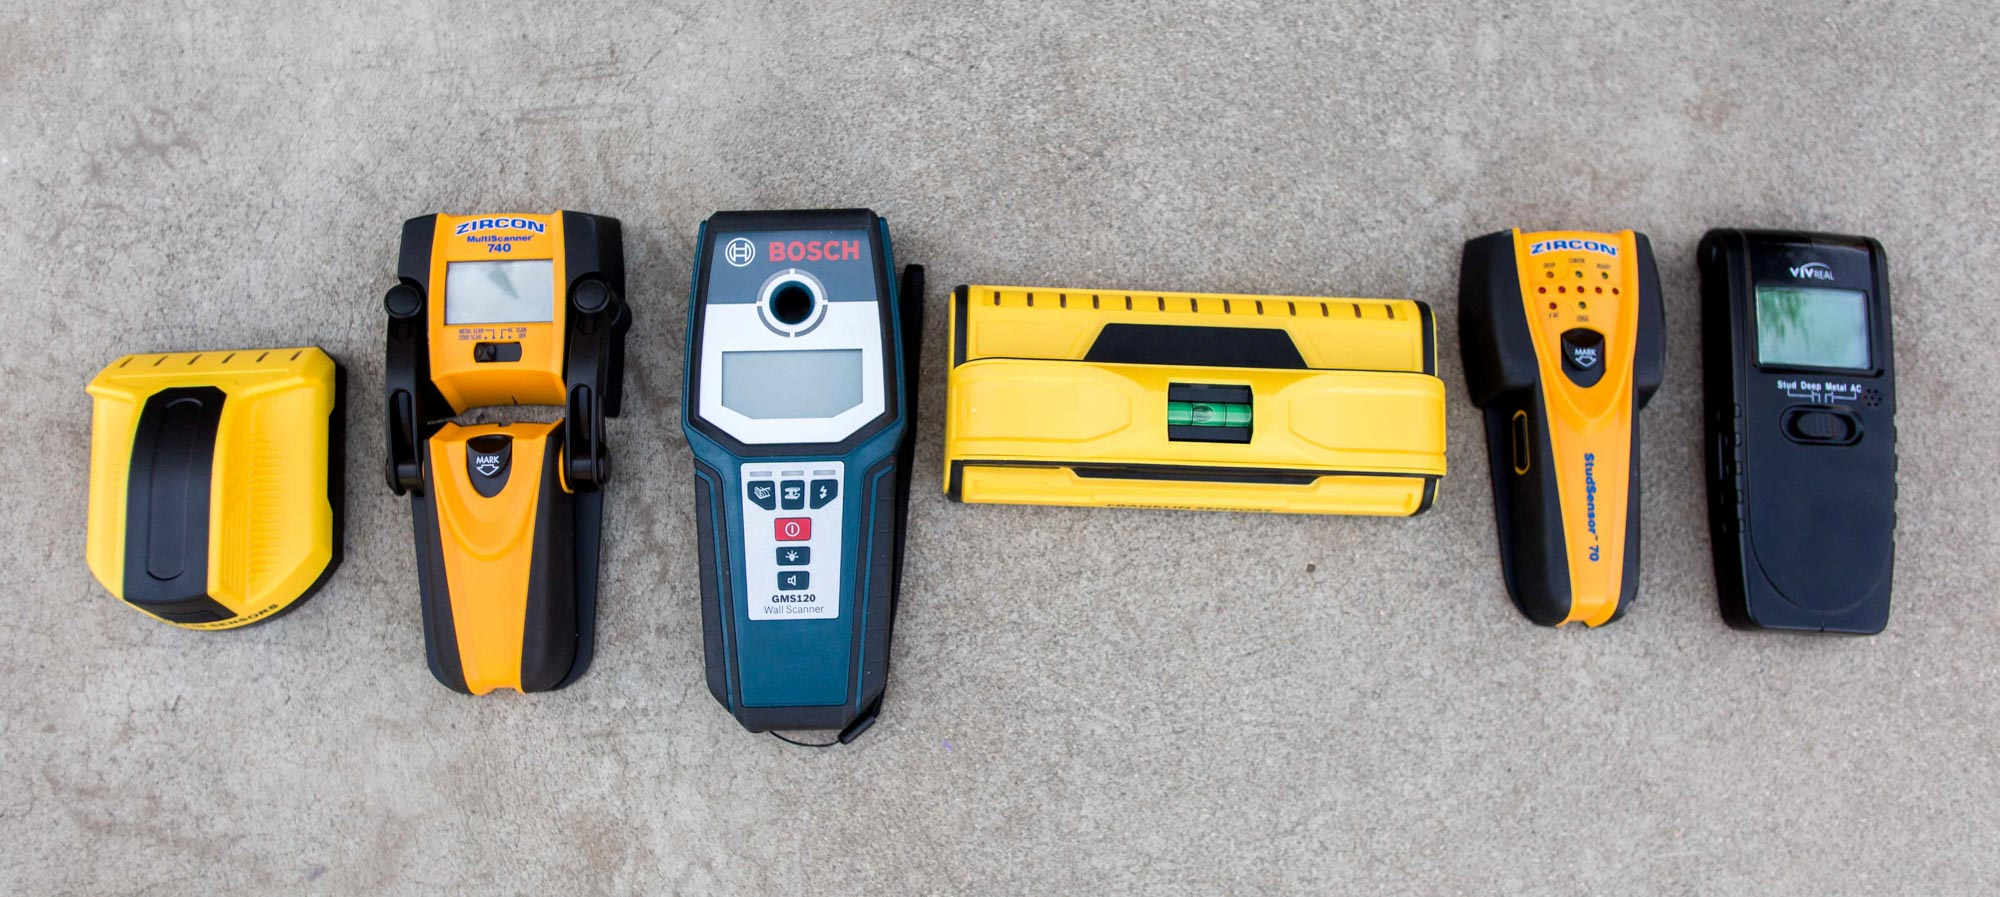
Before cutting wood or drilling holes, get your setup right. The success of any bracket-free shelf depends on preparation and accurate stud finding.
Locate and Mark Wall Studs Correctly
Never mount into drywall only. Always anchor into wood studs, typically spaced 16 inches on center, but verify with a stud finder or rare-earth magnet. Use a stud finder to locate each stud, mark both edges, then find the center. Transfer marks to the shelf or mounting component.
Label each stud center with painter is tape. This keeps your layout visible during installation. If a screw spins freely, you missed the stud. Stop and re-drill. Use a rare-earth magnet to find nails near studs, which indicates stud location, then reposition the hole slightly and try again.
Select the Right Wood for Your Shelf
Pine boards work well for budget-friendly, long shelves. Sand well because they may warp over time. Oak boards offer a heavy-duty, high-end look but cost more. Plywood works great for modern, boxy designs. Seal edges with banding. Reclaimed wood provides rustic charm but may need planing or de-nailing.
For thickness, use 1 to 2 inches thick for solid wood shelves and three-quarter-inch for plywood box shelves. Thicker wood looks more substantial and resists sagging.
Essential Tools by Method
A Kreg Jig is essential for pocket hole mounting. Every method requires a drill and bits, a level or laser level, an orbital sander, and clamps. A router helps with edge banding and cleat channels. A finish nailer works well for end-to-wall shelves. Wear eye protection, a dust mask, and work in a ventilated area.
Cut, Sand, and Finish Your Shelf Before Installing
Always finish the wood before installation. It is easier, safer, and prevents wall damage.
Sand in the Right Sequence
Start with 80-grit sandpaper to remove mill marks. Move to 120-grit for smoothness. Finish with 240-grit for a silky surface. Lightly round corners and front edges with sandpaper for a soft, professional look.
Apply Stain or Paint Correctly
Test stain on scrap wood first. Wipe on with a cloth, wipe off excess, and let dry fully before handling. For paint, prime first, especially on pine or plywood. Use thin, even coats. Sand lightly between coats with 220-grit.
For plywood, apply iron-on banding to hide raw edges. Trim flush with a utility knife.
Mount Your Floating Shelf Without Visible Brackets
This is where most DIYers go wrong. A beautiful shelf fails if it is not mounted correctly.
Use a Level at Every Stage
Even a 1/8-inch slope is visible over 3 feet or more. Always mark level lines on the wall, check shelf alignment during installation, and use a laser level for long spans. Tape a level to the shelf for hands-free checking.
Pre-Drill All Screw Holes
This prevents splitting, especially in hardwoods and plywood. Use a pilot bit slightly smaller than the screw shaft. Use a clearance bit for the top layer, allowing the screw to slide smoothly. For pocket holes, set your Kreg Jig to match board thickness.
Confirm Solid Stud Engagement
If a screw spins freely, you missed the stud. Use a rare-earth magnet to find nails indicating stud location. Reposition the hole slightly and try again. Never use drywall anchors for heavy shelves. Even if one screw misses, others may hold, but it is risky. Always hit the stud.
Hide Seams and Add the Perfect Finishing Touches
The difference between amateur and pro work shows in the details.
Close the Back Edge Gap
After mounting, there is often a small gap between the shelf back and wall. Cut off the back edge, about three-quarter-inch, with a circular saw. This creates a clean, tight seam against the wall. Paint or stain the new edge to match. Alternatively, use painter is caulk in the seam, then paint over it.
Fill and Finish Screw Holes
Use wood filler that matches your stain or paint. Sand smooth once dry. Apply a final coat of finish. For pocket holes, insert wood plugs, sand flush, then stain to blend.
Keep Touch-Up Supplies Handy
Store extra stain, paint, and finish in a labeled jar. You will need it later for scuffs or dents.
Steer Clear of These DIY Mistakes
Even experienced DIYers make these errors. Do not let them ruin your project.
Mounting into drywall only is the biggest mistake. Drywall anchors fail under load. Always anchor into studs, no exceptions.
Skipping wood glue is another common error. Glue doubles joint strength. Use it on dowel joints, cleat attachments, and box shelf seams. Clamp for 30 minutes or more for best results.
Not sanding between coats leads to rough finish. You probably skipped sanding between paint or stain layers. Always use 220-grit lightly between coats.
Overloading the shelf causes failure. Even strong methods have limits. Never exceed 75% of maximum load capacity. Pocket hole method supports 50 pounds per stud. Dowels support 20 to 30 pounds per dowel. Derate by 30% for safety.
Key Takeaways for Building Strong, Clean-Looking Floating Shelves
You now have everything you need to build a true floating shelf without brackets, no clutter, no compromise. Whether you choose pocket holes for speed, dowels for charm, or a cleat for modern flair, the principles remain the same.
Always anchor into studs. Finish before installing. Level every step. Hide every seams. With precision and patience, your shelf will not just hold books or decor. It will become a statement piece. And when guests ask how it is staying up, you can smile and say it is a secret.
Frequently Asked Questions About Making Floating Shelves Without Brackets
Can I install a floating shelf without finding studs?
No. Drywall alone cannot support meaningful weight. You must anchor into wall studs for safety. If studs do not align with your desired shelf position, adjust the shelf placement or use a continuous backing board that spans multiple studs.
What is the strongest method for bracket-free floating shelves?
The tenon and toggle bolt method offers the highest load capacity, followed by pocket hole mounting into studs. Both can support 50 pounds or more per fastener point when properly installed.
Do floating shelves without brackets hold weight?
Yes, when mounted correctly into wall studs. Each stud screw can hold over 50 pounds. The key is proper stud location, correct fastener length, and adequate fastening points.
Can I use a Kreg Jig for floating shelf installation?
Yes. The Kreg Jig creates pocket holes for the pocket hole mounting method. This is one of the fastest and strongest ways to mount a floating shelf without visible brackets.
How do I hide the gap between my floating shelf and the wall?
Cut off the back edge of the shelf, about three-quarter-inch, with a circular saw. This creates a tight seam against the wall. Apply paint or stain to the new edge to match the rest of the shelf.


