

If you are tired of leaning barbells against walls, tripping over loose weights, or worrying about damaged floors and scratched barbell finishes, a DIY barbell rack solves all these problems. A well-built wall-mounted rack keeps your home gym organized, protects your equipment, and costs a fraction of commercial options. You can build a durable storage system for under $70, saving 50 to 90 percent compared to store-bought holders that range from $30 to $200. This guide walks you through three proven designs: notched 2×4 racks, PVC cup systems, and reinforced 4×4 bolted frames. Each method uses basic tools and common lumber while offering unique advantages for different spaces and bar collections.
You will learn exact dimensions, hardware specifications, and step-by-step assembly techniques that work for beginners and experienced builders alike. Whether you need to store Olympic bars, specialty bars like Swiss or cambered models, or a growing collection of training bars, there is a design here that fits your needs. By the end, you will know how to securely mount your rack, protect your bars from damage, and create a system that expands as your collection grows.
Choose the Right Barbell Rack Design for Your Space
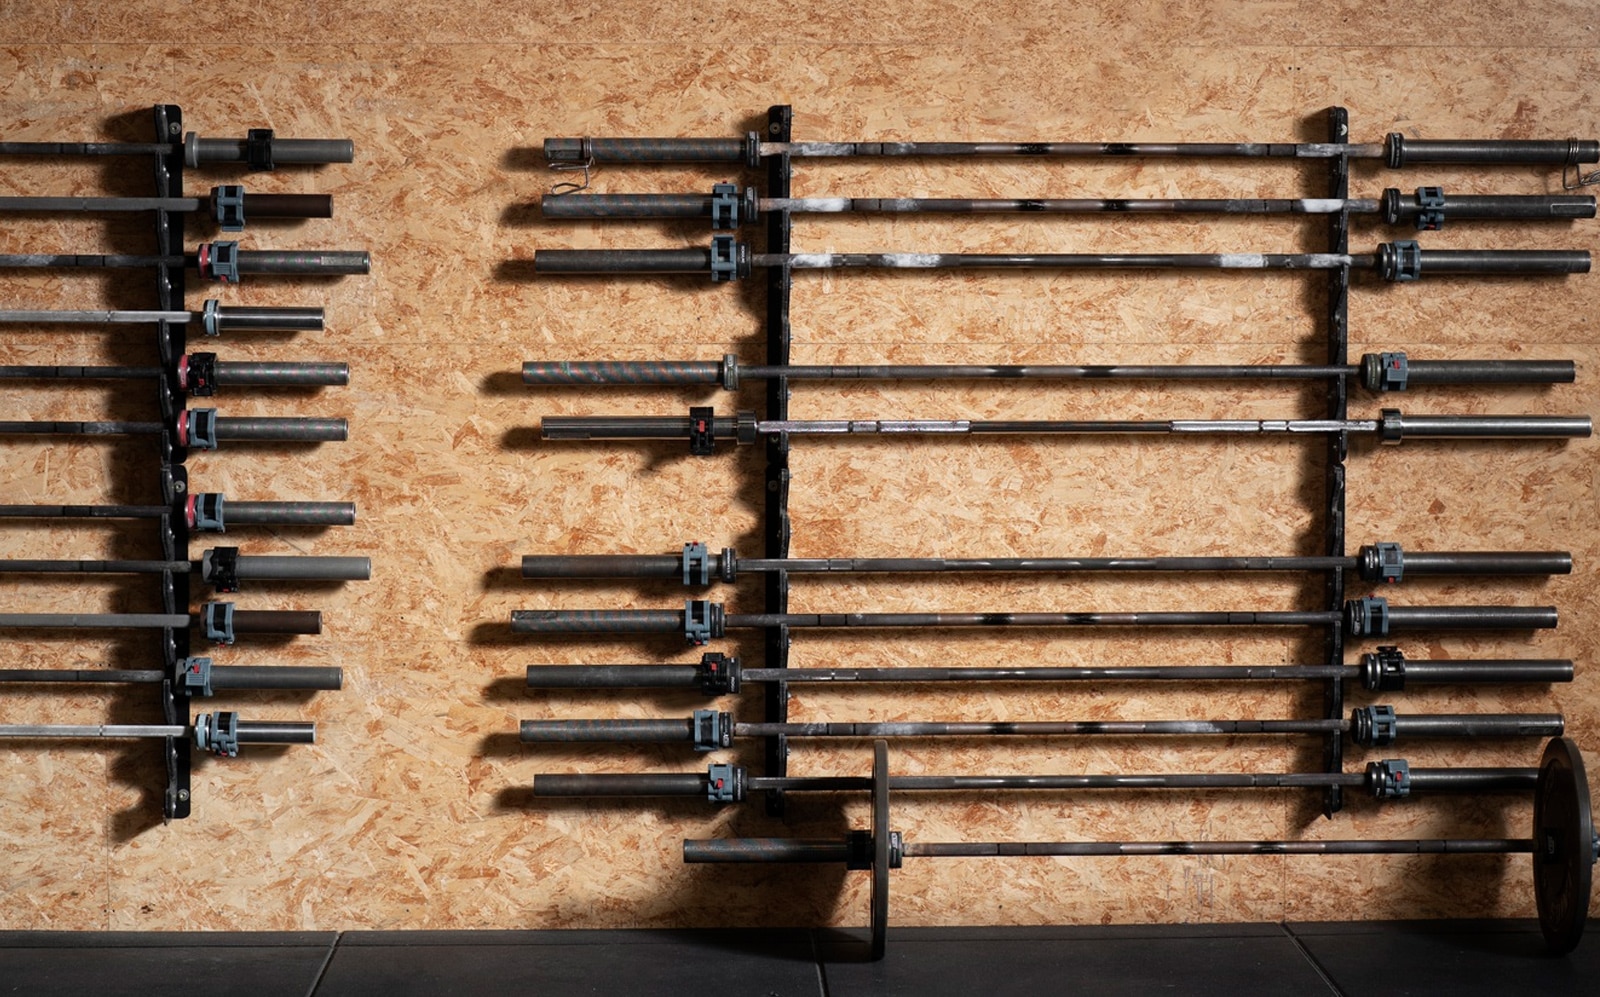
Before purchasing materials, select a design that matches your available space, bar collection, and skill level. Three main types dominate DIY builds, each with distinct strengths and trade-offs.
Vertical vs Horizontal Storage Options
Vertical racks let bars stand upright with one end in a wall-mounted holder and the other resting on a base plate. This orientation maximizes floor space and makes bars easy to see and grab. Horizontal gun-rack styles hold bars diagonally across wall supports, loading quickly but requiring more wall width and careful securing. For long-term use and safety, vertical designs are strongly recommended, especially when storing heavier Olympic bars or longer specialty bars.
Notched 2×4 Rack: Simple and Strong
The notched 2×4 design uses two parallel rails with angled support blocks that cradle barbell shafts. This is the easiest and most affordable build, requiring only standard framing lumber and basic fasteners. The diamond-shaped blocks prevent bars from rolling sideways while holding up to 12 barbells depending on rail length. An 80-inch rail comfortably holds six Olympic bars with room to expand. When mounted into wall studs with the bottom touching the floor, this design handles 45-pound bars without issue.
PVC Cup Rack: Ideal for Mixed Bar Collections
When storing bars with different sleeve diameters, a PVC cup system accommodates Olympic bars, curl bars, Swiss bars, and safety squat bars without modification. The 2-inch diameter PVC segments snugly fit around barbell sleeves while protecting knurling and chrome finishes. One user reported minor vibration when their garage door closed, easily fixed by adding rubber foam weatherseal tape inside each cup. This upgrade ensures silent operation and extra protection for your equipment.
Reinforced 4×4 Bolted Rack: Maximum Durability
For heavy-use gyms or permanent installations, the 4×4 bolted rack delivers industrial strength. Thick 4×4 blocks mount to a 2×4 top plate using 3/8-inch bolts, creating superior lateral stability that resists wobble and prevents tipping. The top plate acts as a stabilizer bar, distributing load evenly across wall studs. Though slightly more expensive due to larger lumber, this build delivers unmatched rigidity for those prioritizing safety and longevity.
Gather Materials and Tools for Your Build
Every successful project starts with the right supplies. The following checklists cover all three designs with model-specific adjustments noted.
Lumber and Hardware Checklist
You will need these materials for the notched 2×4 rack:
- 2×4 SPF pine side rails, 40 to 80 inches long
- 2×4 or 4×4 support blocks, 2.5 or 5.5 inches tall
- 1×4 pine base plate, same length as rails
- Lag screws, 4 inches long, one per block
- Lag screws, 2.875 inches long, three per rail
- Wood screws, 1 inch, for base plate attachment
For the PVC cup rack, add these items:
- 1×3 cabinet-grade pine backboard, 26 to 30 inches
- 2-inch diameter Schedule 40 PVC pipe
-
6 flat head wood screws, 1 inch long
- 3-inch wide rubber foam weatherseal tape
- Stall mat section for base plate
- Mending plates for cup mounting
For the 4×4 bolted rack, include:
- 2×4 top plate, 40 inches minimum
- 4×4 blocks, 5.5 inches tall
- 3/8-inch diameter bolts with washers and nuts
- 1-inch and 2.5-inch Forstner bits
Essential Tools List
You do not need a full workshop to build a barbell rack. Most builders use these common tools:
- Stud finder for locating solid mounting points
- Circular saw or miter saw for cutting lumber
- Jigsaw or handsaw for PVC and rubber trimming
- Drill with pilot bits and countersink bits
- Forstner bits in 1-inch, 2.5-inch, 5/8-inch, and 1/2-inch sizes
- Rafter square for marking perpendicular lines
- Clamps for holding pieces during assembly
- Tape measure, level, and sandpaper
Build a Notched 2×4 Vertical Rack
This is the fastest and most affordable way to store multiple barbells securely. Using two long 2×4s and angled wood blocks, this rack supports bars vertically with minimal wall space.
Cut and Notch the Side Rails
Start with two 2×4s cut to your desired length. Eighty inches works well for most ceilings and allows floor contact to reduce stud stress. If your ceiling is lower, adjust to 40 to 72 inches.
To clear baseboards, place your baseboard against the bottom of the 2×4 and mark the depth, usually 3/4 inch. Set your circular saw blade depth so it just clears the line, then make parallel cuts every 1/4 inch across the width. Chisel or knock out the waste material. Optionally bevel the top ends at 45 degrees for a cleaner appearance.
Fabricate Angled Support Blocks
Cut 2.5-inch segments from scrap 2×4 lumber. Cut one end at 45 degrees, then flip the block and cut the opposite end at 45 degrees to form a diamond shape. Dull the sharp front edge by removing approximately 1/8 inch with a 90-degree cut using a guide block. This flat front improves contact with the bar and prevents rolling. Make 12 blocks for a six-bar starter setup with room to expand.
Attach Blocks to Rails
Clamp both 2×4 rails together and use a 3.5-inch spacer block to maintain even four-inch center-to-center spacing. Start with a three-inch margin from each end. Pre-drill holes to prevent splitting, then secure each block with a four-inch lag screw. Drill recessed holes using a 1/2-inch Forstner bit for lag screw heads, going 3/4 inch deep. Use a 5/8-inch Forstner bit for wall-mounting screw heads. Sand all surfaces to remove splinters.
Mount the Rack to Wall Studs
Use a stud finder to locate at least two wall studs. Hold the rack in place and mark screw positions. Pre-drill pilot holes into studs, then use 2.875-inch lag screws to mount each rail. Check with a level before tightening fully. Ensure the bottom of the rack touches the floor to reduce torque and increase stability.
Assemble a PVC Cup Wall Rack

Perfect for mixed bar collections, this system uses PVC cups mounted on a wooden backboard to cradle barbell sleeves without scratching finishes.
Cut and Smooth PVC Cups
Use 2-inch diameter Schedule 40 PVC pipe and cut 2.5-inch tall segments, matching standard 1×3 pine thickness. Use the first cut as a template for consistency. Sand the inside edges to create a rounded mouth, easing insertion and preventing finish damage. Never use a reciprocating saw for small PVC cuts; use a miter box or bench-mounted saw for safety and clean edges.
Prepare and Mark the Backboard
Use cabinet-grade 1×3 pine for a clean finish. Calculate length using the formula: number of bars times four inches plus six inches. For six bars, that equals 30 inches total. Mark cup positions starting three inches from the left edge, placing marks every four inches center-to-center, ending with a three-inch margin on the right.
Mount Board and Install Cups
Tape PVC cups to the board with electrical tape, allowing repositioning. Number each cup for consistency. Drill pilot holes through the tape, PVC, and wood, then remove cups and mount the board to wall studs using 2.875-inch screws. Reinstall cups with #6 flat head screws through mending plates. Hand-tighten only because over-tightening can split softwood.
Add Rubber Lining and Base Plate
Apply 3-inch wide rubber foam weatherseal tape inside each cup to stop rattling. Cut a matching 1×4 pine base plate and drill 54mm holes aligned with top cups. Position holes one inch from the wall edge to keep bars vertical. Attach a cut stall mat underneath with construction adhesive and countersunk screws with washers.
Construct a 4×4 Bolted Reinforced Rack
When strength and stability are non-negotiable, this industrial-style rack delivers superior performance.
Cut and Drill 4×4 Blocks
Cut multiple 5.5-inch tall 4×4 blocks using a stop block for uniformity. On each block, drill a 1-inch deep recess with a 1-inch Forstner bit for the bar shaft, then continue through the center with a 3/8-inch bit for bolt passage. On the 2×4 top plate, drill 1/2-inch deep, 2.5-inch diameter recesses with a Forstner bit. Drill shallow 1-inch holes on the rear to recess washers.
Assemble Frame with Bolts
Clamp two 2×4s together and mark centers with a rafter square. Attach 4×4 blocks using wood glue and 1-inch wood screws. Reinforce with 3/8-inch bolts, washers, and nuts, tightening securely. Sand all contact points smooth.
Mount Top Plate to Wall
Ensure the top plate spans at least two wall studs. Use 2.875-inch lag screws through pre-drilled holes. If the rack spans more than two studs, splice rails with overlapping 2×4s for longer spans. For horizontal layout, space blocks three inches apart using an 8.5-inch scrap 2×4 as a spacing guide.
Mount the Rack Safely and Securely
Improper installation compromises safety regardless of which design you choose. Follow these critical rules.
Always Mount Into Wall Studs
Never rely on drywall anchors because barbells add cumulative weight and dynamic stress. Use a stud finder to map all studs in the mounting area. For racks over 24 inches long, use at least two studs. If the rack spans more than two studs, use a continuous top rail or splice with overlapping wood.
Ensure Vertical Alignment
Use a level before and during mounting. Pre-drill all holes to prevent wood splitting. For tall racks of 72 inches or more, ensure the bottom touches the floor to act as a stabilizer and reduce torque on wall mounts.
Customize for Your Gym
Make your rack functional and visually cohesive with these upgrades.
Adjust for Mixed Bar Types
Olympic bars at seven feet and womens bars at 6.5 feet fit standard spacing. Shorter bars like Swiss bars at 5.5 feet may need height calibration, so test fit before final mounting. Use PVC cups for sleeves with varying diameters like safety squat bars.
Add Aesthetic Finishes
Stain or paint wood to match your gym color scheme. Use cabinet-grade pine for a natural wood look. Bevel rail ends at 45 degrees for a professional touch.
Reduce Noise and Vibration
Line PVC cups with rubber foam tape. Attach stall mat to base plate with adhesive and screws. Ensure all screws are snug but not over-tightened.
Maintain Safety and Durability
A well-built rack lasts for years with proper care.
Load Distribution Tips
Tall racks must contact the floor to reduce stud load. Evenly distribute bar weight, not clustering heavy bars on one side. Inspect lag screws annually for loosening.
Prevent Bar and Floor Damage
Sand all wood and PVC edges because sharp points scratch chrome and knurling. Use stall mats or rubber base plates to protect flooring. Avoid glue on serviceable parts because screws allow future repairs.
Expand Without Rebuilding
Design for six bars now and 12 later by leaving space between holders. Modular systems let you add blocks or cups as your collection grows.
Frequently Asked Questions About Making a Barbell Rack
How much does it cost to build a DIY barbell rack?
A notched 2×4 rack costs $30 to $50 in lumber and fasteners. A PVC cup rack runs $40 to $60 including PVC and specialty hardware. The 4×4 bolted version costs $50 to $70 due to larger lumber. This represents 50 to 90 percent savings compared to commercial holders priced at $30 to $200.
What tools do I need to build a barbell rack?
You need a stud finder, circular saw or miter saw, drill with bits, Forstner bits, rafter square, clamps, tape measure, level, and sandpaper. No specialty equipment is required, making this accessible for beginners.
Can I store different bar types on the same rack?
Yes, but design matters. The notched 2×4 works well for standard Olympic bars with consistent shaft diameters. The PVC cup system accommodates varying sleeve diameters and lengths, making it ideal for mixed collections including Swiss bars, curl bars, and safety squat bars.
How do I prevent my bars from rattling in the rack?
Add rubber foam weatherseal tape inside PVC cups or around wood blocks. Ensure screws are snug but not over-tightened. A stall mat attached to the base plate also dampens vibration and protects flooring.
Is it safe to mount a barbell rack to drywall only?
No. Never rely on drywall anchors for barbell storage. The cumulative weight of multiple bars plus dynamic stress during insertion requires mounting directly into wall studs. Use a stud finder to locate solid wood framing.
Key Takeaways for Building Your Own Barbell Rack
Building a DIY barbell rack is a smart, affordable upgrade for any home gym. The notched 2×4 design offers simplicity and cost savings, holding six to 12 bars with minimal tools. The PVC cup system accommodates mixed bar collections while protecting finishes. The 4×4 bolted version delivers industrial strength for heavy use and permanent installations. Regardless of design, always mount into wall studs, ensure the bottom contacts the floor for tall racks, and add rubber lining to prevent noise and damage. With proper planning and execution, your rack will keep bars organized, protected, and ready for your next workout. Start building today and reclaim your gym space one bar at a time.


