Nothing ruins a paddling trip faster than arriving at the put-in to find your canoe damaged or missing. Securing a canoe to a roof rack might seem straightforward, but improper loading leads to shifting, noise, roof damage, or even accidents on the highway. The key is not just strapping it down, it is doing it right. This guide shows you exactly how to attach a canoe to a roof rack safely, securely, and efficiently. You will learn the best equipment, correct strap routing, essential tie-downs, and critical safety checks so your canoe stays put mile after mile.
Choose the Right Roof Rack Setup

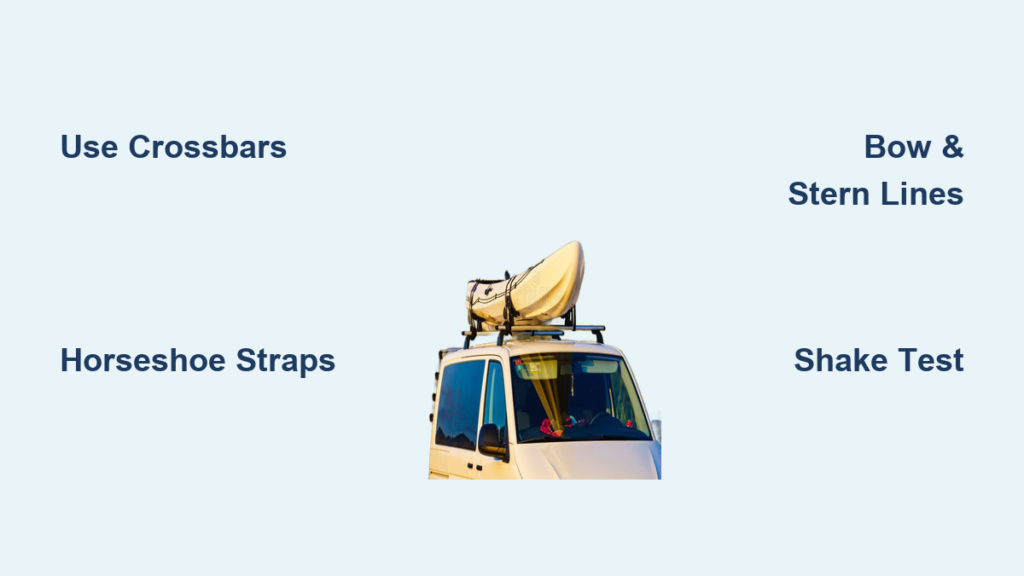
Using crossbars is the only safe way to transport a canoe long-term. They provide structural support, protect your vehicle roof, and prevent shifting during travel. Compatible systems include Thule, Yakima, and OEM crossbar kits. Avoid placing weight directly on roof rails without crossbars because this risks denting the roof and offers poor grip.
Use Crossbars for Stability
A roof rack with crossbars is essential for stable canoe transport. They distribute weight evenly across your vehicle roof and provide secure attachment points for straps. Thule and Yakima systems are popular choices, but any quality crossbar setup works. Never attempt to strap a canoe directly to roof rails without crossbars.
Add Canoe Carrier Blocks
Plastic canoe carrier blocks slide onto crossbars and cradle the canoe gunwales. These blocks prevent side-to-side movement, distribute pressure evenly, and protect both the canoe and roof finish. Position them symmetrically under the gunwales, aligned with the canoe balance points, typically near the yoke or center thwart.
Protect With Padding
Always place foam blocks or soft cloth between the canoe and the rack. This prevents scratches, dents, and abrasion, especially important for canoes with hollow aluminum gunwales. For extra protection, wrap rubber tubing over anchor points that touch paint.
Load the Canoe Correctly
Two people make lifting easier, but solo methods work if you use proper body mechanics. Never drag the hull across the roof because this causes damage. The goal is to get the canoe onto the rack without straining your back or scratching the hull.
Lift With a Partner
One person holds the bow while the other holds the stern. Lift overhead together and lower gently onto the rack. This method protects both you and the canoe from damage during the loading process.
Use a Solo Method When Necessary
Slide the canoe up from the rear of the vehicle using body leverage. This works best on lower vehicles. Avoid dragging the hull across any surface.
Position Upside Down and Centered
Place the canoe upside down on the rack. This lowers the center of gravity and protects seats and fittings. Center the canoe so the midpoint aligns with the vehicle centerline. On tandem canoes, position the yoke over the driver seat. Ensure equal front and rear overhang when possible. The widest part of the hull should sit between the crossbars.
Secure With Cam-Buckle Straps
Cam-buckle straps outperform ratchet straps for canoe transport. They prevent over-tightening, will not dent aluminum gunwales, do not snag or dig into gel coat, and allow smooth controlled tension. Avoid ratchet straps because they can apply too much force and loosen over time from vibration.
Why Cam Straps Beat Ratchets
Cam straps provide consistent tension without the sudden clicking that ratchet straps produce. They reduce the risk of damaging gel coat, fabric, or aluminum gunwales. The rubberized or nylon pad under the buckle protects your canoe finish.
Route Straps in a Horseshoe Pattern
Follow these steps to secure the canoe properly.
- Pass the strap under the crossbar, then over the canoe, and back down.
- Do not cross straps over the top. Keep them parallel and flat.
- Thread the tail up through the cam buckle.
- Pull snug with one hand while pressing the cam lever with your thumb.
- Apply firm, even tension. Never use body weight to tighten.
Never route straps under the canoe while it is on the rack. Always go over the hull and under the bar.
Achieve Happy Angles
After tightening, check the strap angle from hull to bar. Happy angles are vertical or near-vertical lines. Angry angles, which are diagonal pulls outward, mean the strap is misaligned or too tight. Loosen, reposition, and re-tighten until the canoe moves with the vehicle when shaken.
Lock the Strap With a Stopper Knot
Prevent slippage in wet or windy conditions. Tuck the tail under the tensioned webbing, form a figure-eight loop, and pull it through the tuck point. Wrap excess around the crossbar and tuck under itself. Leave less than a fist length free to avoid wind flapping.
Install Bow and Stern Tie-Downs
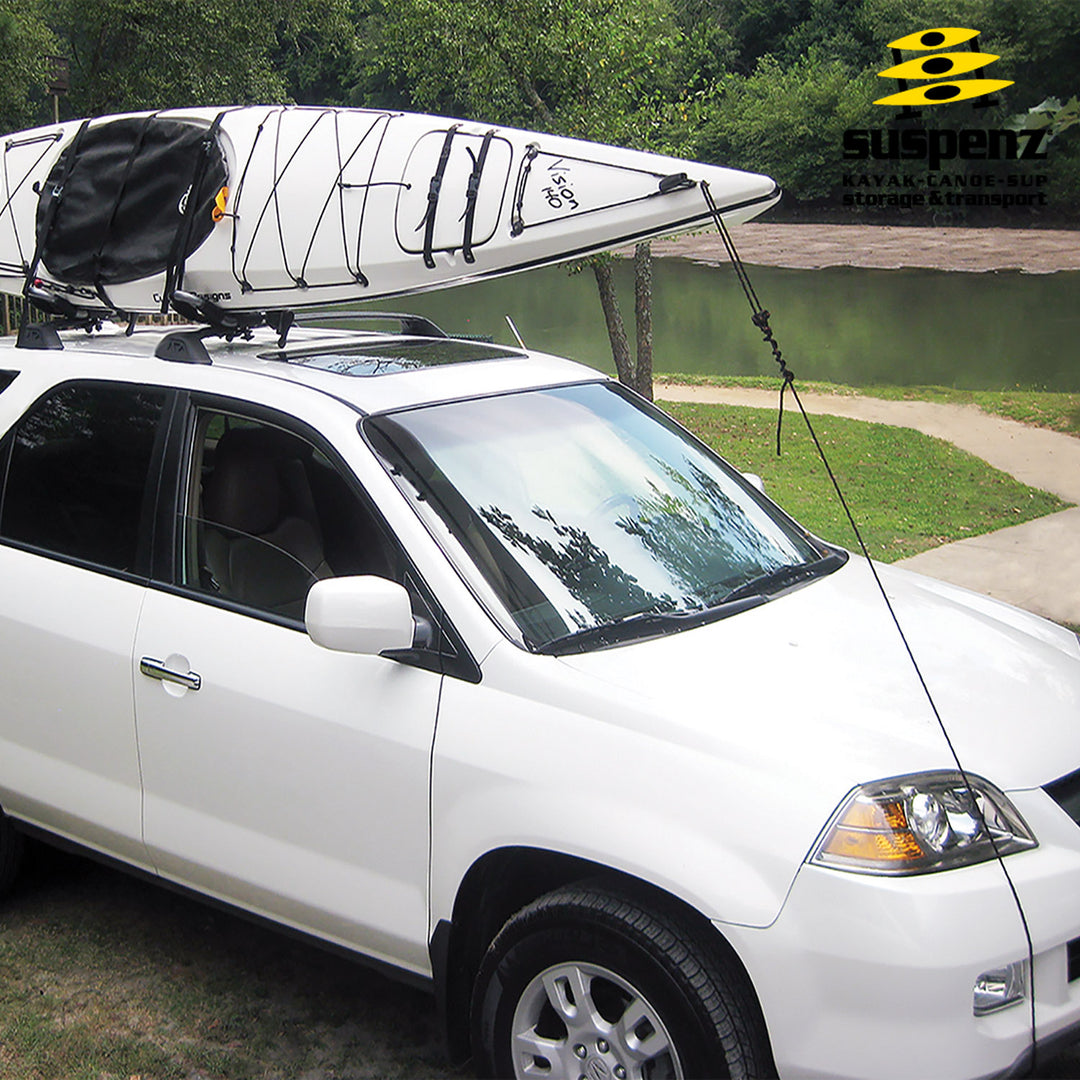
Main straps can loosen over time. Bow and stern tie-downs act as fail-safes, preventing forward or backward movement during sudden stops. They are required for highway travel and trips over 30 minutes.
Why Front and Back Lines Are Essential
Bow and stern lines provide critical backup security. If main straps fail, these lines prevent your canoe from sliding off the roof. They also counteract wind forces from passing trucks.
Use Non-Stretch Nylon Rope
Choose ¼ to ⅜ inch nylon rope, at least 20 feet total. Nylon resists stretching, handles tension well, and lasts longer than polypropylene. This material provides reliable, durable performance.
Anchor the Bow Properly
The best option is the hood loop, also called the Quickie Hood Loop. Insert the webbing under the hood near the windshield, then close the hood to lock it in place. This provides a rearward pull point critical for counter-tension. Alternatives include bolt-mounted loops threaded through the front fender bolt or front towing points if equipped. Never tie to windshield wipers because they can snap or damage the glass.
Secure the Stern Correctly
Anchor the stern to the trunk latch or hatchback edge, the hitch receiver for SUVs, or the quarter-panel bolt loop. Use S-hooks on sharp edges to prevent rope fraying.
Apply Opposite Pull Directions
The bow line must pull backward while the stern line pulls forward. This creates balanced tension that stops sliding. If both pull the same direction, the canoe shifts dangerously during braking.
Tie the Right Knots
Knots matter as much as the equipment. Using the right knot ensures your tie-downs stay secure mile after mile.
Double Trucker’s Hitch for Maximum Hold
This knot gives mechanical advantage for ultra-tight lines. Make a loop in the rope, pass the working end through the canoe bow or stern carry handle, pull the standing part through the loop to create a pulley effect, pull tight, and secure with two half-hitches. Use this on both ends for a rock-solid hold.
Bowline Knot for a Fixed Loop
The bowline forms a non-slipping loop at the end of the rope. It is ideal for bow lines where flapping could distract the driver. The bowline is reliable and easy to untie after use. Practice before hitting the road.
Avoid Common Knot Mistakes
Never pass a single rope through a carry handle without knots on both ends. This allows lateral swinging that can loosen main straps. Always tie off both sides.
Add Supplemental Anchors
Quickie Hood Loops are commercial, easy-to-use anchors. Slide under the hood, close it, and you are ready. For a DIY version, cut 1-inch nylon webbing to length with 3 inches protruding, melt a hole with a soldering iron to prevent fraying, and attach via the front fender bolt.
Protect Paint With Rubber Tubing
Slide old bicycle inner tube over anchor lines where they contact the vehicle. This prevents vibration scratches and chafing. This simple step saves your vehicle paint.
Use Plastic Tube Anchors With Caution
A plastic tab on a nylon loop can be inserted under hood corners. Closing the hood traps it. However, under high tension, it may slide or dent the hood. Use only as a backup.
Perform Final Safety Checks
The shake test confirms your work. Firmly shake the canoe side-to-side and front-to-back. It should move with the vehicle, not independently. If it shifts, re-tighten straps and check anchor points.
Do the Shake Test
Verify all cam buckles are locked, no strap twists exist, excess webbing is secured, and bow and stern lines are taut. The canoe must move with the vehicle when shaken.
Recheck After First 10 Miles
Stop after 5 to 10 miles. Vibration, wind, and temperature changes can loosen cam straps. Re-tighten if needed and re-secure stopper knots. This quick stop prevents bigger problems down the road.
Follow Legal Transport Rules
Front overhang is limited to a maximum of 3 feet. Rear overhang is typically limited to 4 feet, though you must check local laws. A red flag is required if overhang exceeds 4 feet. Attach a 12×12 inch red cloth to the stern via girth hitch using the painter line or a secure deck loop. Multiple canoes require extended crossbars or DIY 2×4 extensions. Never exceed mirror width.
Handle Special Situations
Large trucks create strong suction. Without side restraint, canoes can shift. Prevent this with canoe blocks, properly tensioned straps, bow and stern lines, and rope wrapped around thwarts for extra hold.
Transport Without a Roof Rack
If no crossbars exist, use foam blocks on the roof. Place blocks at balance points near the yoke and thwarts, lift the canoe on upside down, wrap cam straps under the roof bars, never through open windows, tie bow and stern lines to hood and trunk anchors, and perform the shake test. The vehicle and canoe must move as one.
Rope Versus Straps
Rope users prefer nylon with bowline and truckers hitch for mechanical advantage and reliability, but this requires knot skill. Strap users choose cam buckles for speed and combine with rope for bow and stern lines. Twist straps slightly to stop wind hum and secure all loose ends.
Key Takeaways for Attaching a Canoe to Roof Rack
Using crossbars is non-negotiable for safe canoe transport. Never haul directly on the roof without them. Center the canoe under the yoke or center thwart and place it upside down for stability and protection. Secure with two cam straps using the horseshoe pattern and achieve happy angles with vertical strap alignment. Add bow and stern lines with non-stretch nylon rope using opposite pull directions. Anchor to hood loops or bolts, never windshield wipers. Always perform the shake test and recheck after 10 miles. Fly a red flag if overhang exceeds 4 feet.
With the right gear and technique, attaching a canoe to a roof rack becomes quick, quiet, and completely secure. Practice at home, double-check every connection, and hit the road with confidence. Your canoe will arrive ready for adventure.
Frequently Asked Questions About Attaching a Canoe to Roof Rack
What is the best way to secure a canoe to a roof rack?
Use two cam-buckle straps routed in a horseshoe pattern. Pass each strap under the crossbar, over the canoe, and through the buckle. Tighten until the canoe moves with your vehicle during the shake test. Add bow and stern lines as fail-safes.
Can I use ratchet straps instead of cam straps?
Ratchet straps are not recommended. They can apply excessive force, dent aluminum gunwales, and loosen over time from vibration. Cam-buckle straps provide controlled tension and are safer for canoe transport.
Do I need bow and stern tie-downs?
Bow and stern tie-downs are essential for highway travel and trips over 30 minutes. They prevent forward or backward movement during sudden stops and serve as critical fail-safes if main straps loosen.
How do I anchor the bow line without a roof rack?
Use a hood loop by inserting webbing under the hood near the windshield and closing it to lock. Alternative options include bolt-mounted loops through the front fender bolt or front towing points if your vehicle has them.
When do I need a red flag for canoe transport?
A red flag is required when the canoe extends more than 4 feet beyond the rear of your vehicle. Attach a 12×12 inch red cloth to the stern using a girth hitch through the painter line or a secure deck loop.