

A wobbly, cracked, or yellowed plastic shoe rack can ruin your entryway’s look and function fast. But before you toss it, know this: most issues are fixable with simple tools and household supplies, and learning how to fix plastic shoe rack problems can bring it back to stable, usable condition.
Whether your rack is leaning, snapping apart, or stained from rubber soles, this guide gives you step-by-step solutions to restore stability, strength, and shine.
You’ll learn how to repair broken connectors, stop wobbling, reverse warping, and clean stubborn discoloration. Plus pro tips to make your rack last 3 to 6 years instead of just one. No tools? No problem. Most fixes are quick, low-cost, and require nothing more than baking soda, zip ties, or a wooden dowel.
Diagnose the Problem First
Before grabbing glue or tools, identify the exact issue. Plastic shoe racks fail in predictable ways, each with a targeted fix.
Check for Wobbling or Leaning
If your rack sways when touched or does not sit flat, instability is the main concern. Common causes include missing back panel, uneven floor, loose snap-fit joints, and no anti-slip feet.
Push gently on the top tier. If the entire unit shifts side-to-side, it lacks lateral support.
Look for Cracked Connectors or Joints
Broken plastic clips or split panel edges are the most common failure point. Inspect all corner joints and middle supports carefully.
A click that does not hold, or a shelf that sags under light weight, signals broken connectors.
Spot Warped or Sagging Shelves
Over time, shelves may bow downward, especially in the center. This happens when weight limits are exceeded.
Place a ruler across the shelf. If there is a gap between the ruler and shelf surface, warping has occurred.
Identify Yellowing or Stains
Sunlight and shoe rubber leave behind yellow streaks and dark marks. While not structural, this affects appearance and hygiene.
Yellowing means UV damage. Stains near heel areas mean rubber transfer from shoes.
Test Snap-Fit Connections
Press each joint firmly. If panels do not click or feel loose, debris, cold weather, or misalignment may be blocking full engagement.
Disassemble and reassemble one tier. If it holds better, the issue is improper seating.
Stop Wobbling with Five Quick Fixes
A shaky rack is not just annoying, it is unsafe. Use these proven methods to lock it down.
Install the Back Panel
The single most effective fix: snap in the full back sheet or use an F-35 large panel as a rear wall.
This prevents lateral movement and adds rigidity to the entire frame. It takes 30 seconds, just align and press firmly.
One user in Delhi eliminated wobble instantly after installing the optional back panel.
Add Rubber Feet or Foam Tape
Self-adhesive rubber feet pads or double-sided foam tape on base corners stop sliding on tiles, marble, or wood.
Choose clear or matching color and apply to all four corners. This ensures full floor contact and prevents movement.
Level the Surface
Place the rack on a hard, flat floor. Avoid thick carpets as they reduce stability.
If the floor is uneven, use plastic shims under shorter legs. Test levelness by placing a phone with a bubble level app on the top shelf.
Reinforce with Diagonal Bracing
For tall or frequently bumped racks, add nylon cord or bungee rope diagonally across the rear.
Secure from top front to bottom back corner. This keeps the rack from racking, which is parallelogram distortion.
Anchor to the Wall
For 4-tier models and taller, use L-brackets and screws to attach the top tier to the wall.
Drill pilot holes carefully into wall studs. Use plastic anchors for drywall. This prevents tipping, especially in homes with kids or pets.
Repair Broken Connectors and Panels
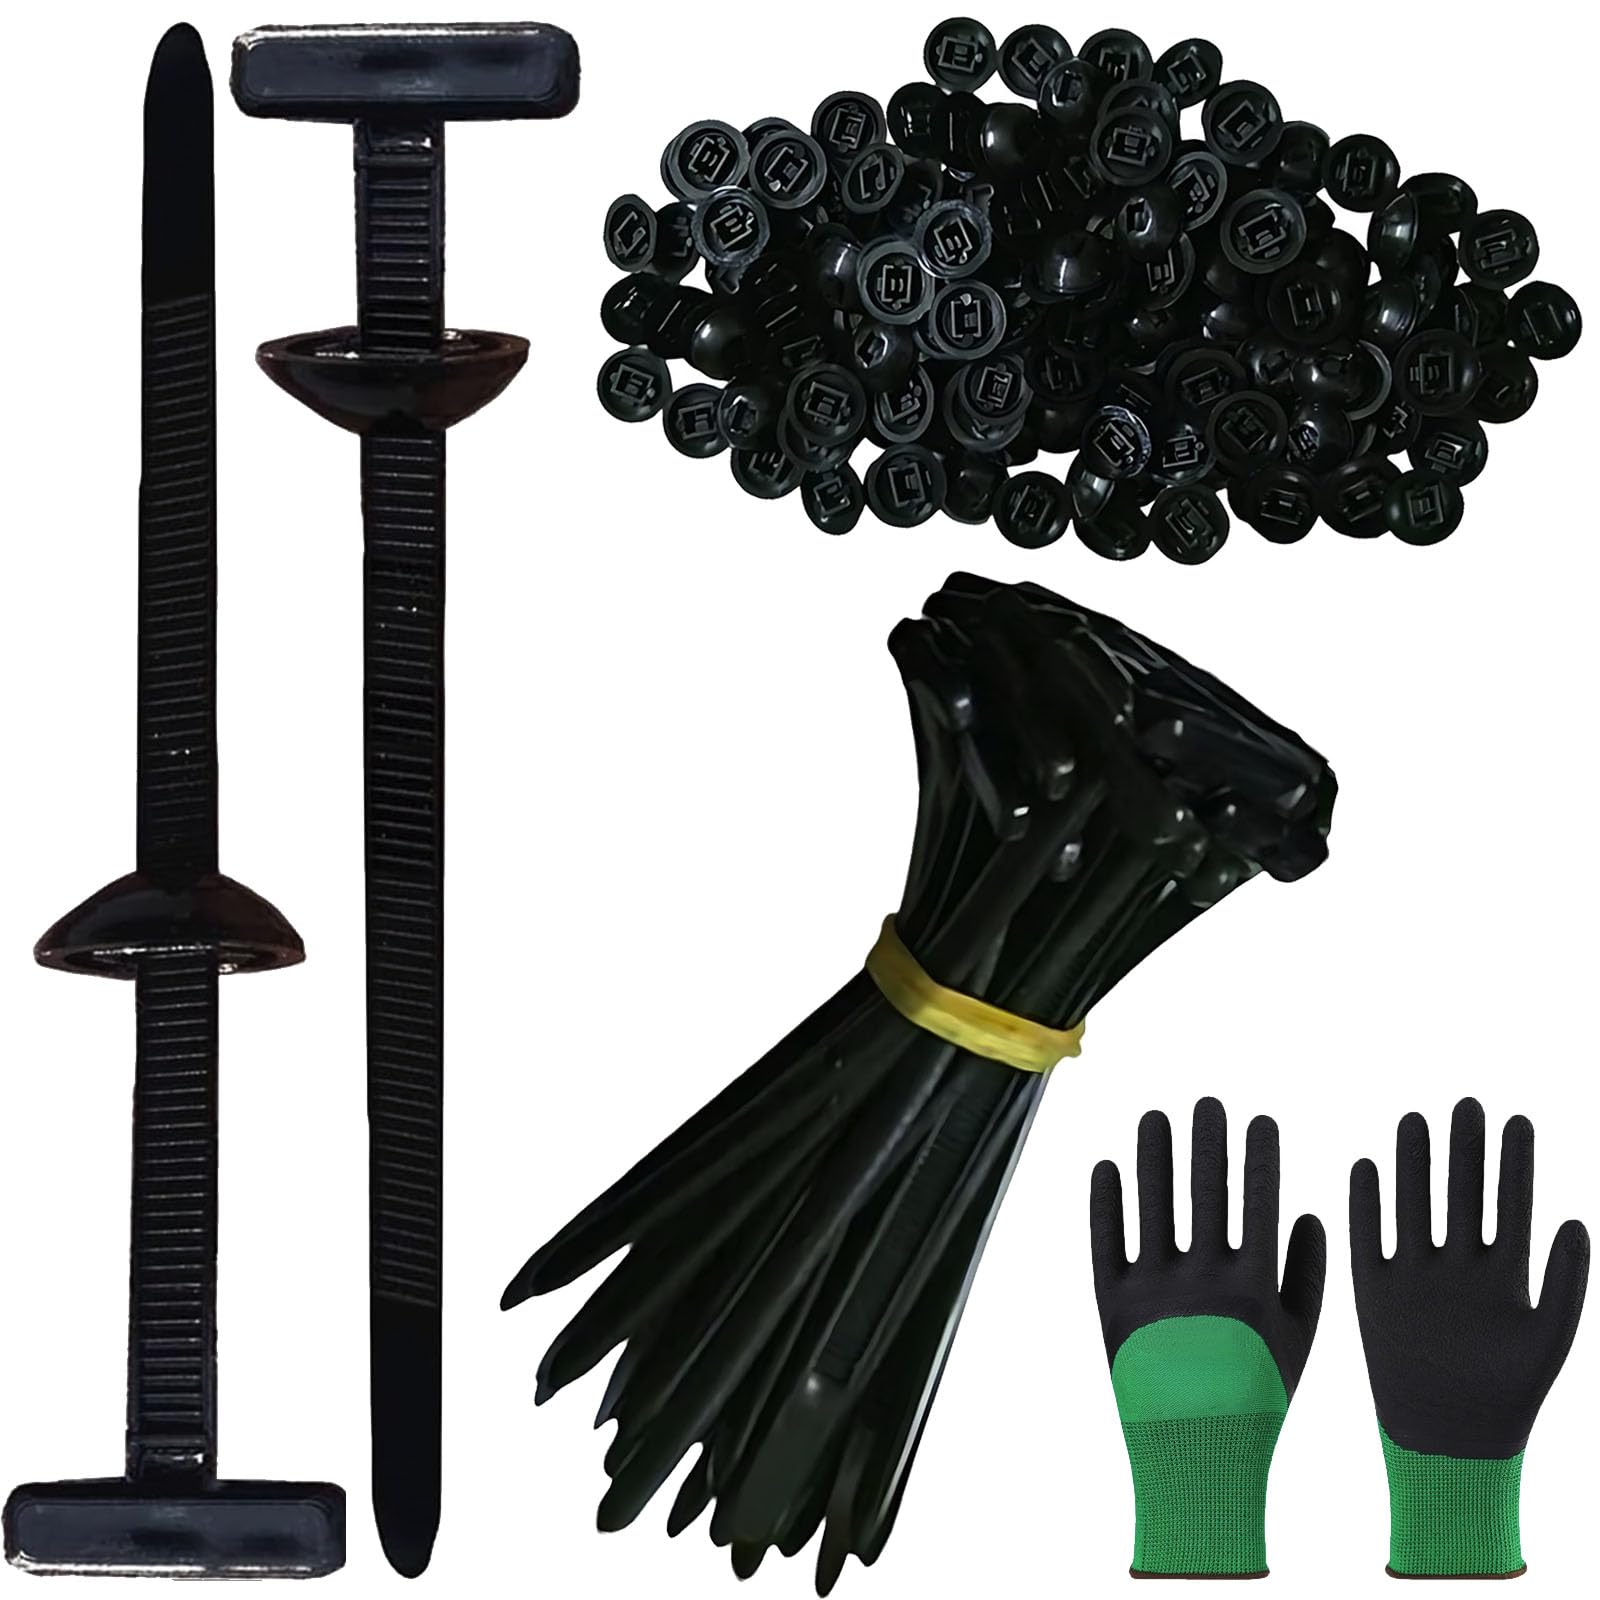
Cracked joints do not mean game over. You can fix them fast, often for free.
Use Spare Parts from the Kit
Most plastic shoe racks include 2 to 4 extra connectors and sometimes a spare panel.
Save all leftover parts after assembly. Swap out damaged clips in seconds when needed.
Store spares in a labeled ziplock bag taped under the bottom shelf for easy access.
Request Free Replacements from Seller
Cannot find a spare? Contact the seller via Amazon chat or WhatsApp.
Send a photo of the broken part and provide your order number. Most vendors ship replacements within 48 hours at no cost.
Some sellers offer free panels if requested within 7 days of delivery. Keep your packaging.
Reinforce with Zip Ties
No spare part? Eight to 12 inch zip ties are a strong, invisible fix.
Thread zip tie through adjacent channel holes. Pull tight and clip the excess. Use black or white to match your rack color.
This works great for loose side joints or broken corner clips.
Fix Cracks with Plastic Epoxy
For split panels or cracked beams, use plastic-compatible adhesives.
Recommended products include J-B Weld PlasticWeld, Loctite Plastics Bonding System, and Araldite.
Clean the area with isopropyl alcohol first. Mix and apply epoxy, then clamp with binder clips or rubber bands. Wait 6 to 24 hours, checking the product label for cure time.
Do not use super glue. It bonds poorly to polypropylene and will fail.
Fix Bent or Sagging Shelves

Warping happens when weight exceeds limits. But you can reverse it.
Remove All Shoes and Weight
Start with a completely unloaded rack. Let the plastic relax for a few hours before attempting repairs.
Apply Reverse Pressure
Gently bend the shelf upward in the center to counteract sag.
Do this slowly. Plastic can snap if forced too hard. This works best on slightly bent, not fully broken, shelves.
Insert a Support Bar
Slide a wooden dowel, PVC pipe, or aluminum rod inside the hollow frame.
Cut to match shelf width. This distributes load and prevents future bending.
A Bangalore owner restored full rigidity with a 1-inch wooden dowel. No visible modification was needed.
Redistribute Weight
Store heavier shoes like boots and heels on the bottom tier.
Keep upper shelves for flats, slippers, or sandals. Avoid stacking bags or books on any shelf.
Restore Yellowed or Stained Plastic
:max_bytes(150000):strip_icc()/SPR-how-to-clean-yellowed-plastic-8723968-HERO-b1f6efff591a42e29f16b1143a943327.jpg)
Sunlight and shoe rubber cause ugly discoloration. Here is how to bring it back.
Clean with Baking Soda Paste
Best natural method for stains and yellowing.
Mix 3 parts baking soda with 1 part water into a thick paste. Apply with a soft sponge. Wait 15 to 20 minutes for tough stains. Scrub in circles, then wipe clean with a damp cloth. Dry immediately.
Results show up to 80% improvement after one treatment. Repeat weekly for full restoration.
Use Vinegar Solution for Odor and Mild Stains
Equal parts white vinegar and water in a spray bottle works well.
Spray on surfaces, wait 10 minutes, then wipe with a microfiber cloth. Rinse with soapy water if the vinegar smell lingers.
This kills bacteria and removes light grime effectively.
Try Commercial Plastic Restorer
For severe yellowing, use Meguiar’s PlastX, 303 Aerospace Protectant, or Plastic Restorer Cream.
Test on a hidden area first. Avoid products with silicone if you plan to paint or glue later.
Never use bleach, ammonia, or steel wool. They degrade plastic and cause brittleness.
Fix Loose Snap-Fit Joints
When panels do not click into place, it is usually fixable.
Disassemble and Clean Connectors
Take apart the wobbly section.
Use a toothbrush or compressed air to remove dust, sand, or pebbles. Wipe slots with a dry cloth before reassembling.
Reassemble with Firm Pressure
Press panels together until you hear a clear click.
Wiggle test after. No movement means secure. Warm stiff connectors by rubbing with your hands. Cold plastic is less flexible and may not snap properly.
Tap Gently with a Cloth-Wrapped Mallet
If joints resist, use a rubber mallet wrapped in cloth to nudge them in.
Never use metal hammers. They crack plastic on impact.
Apply silicone lubricant to dry connectors. This helps them slide in without weakening bonds.
Prevent Future Damage
A well-maintained rack lasts 3 to 6 years. Follow these habits.
Stick to Weight Limits
Per shelf, maximum is 8 to 10 pairs, which is about 10 to 12 kg. Total load should stay under 40 to 50 kg for 3 to 4 tiers.
Distribute weight evenly. Avoid side-loading one area heavily.
Priya from Delhi switched to bottom-heavy loading. Her second rack lasted over 2 years as a result.
Keep It Out of Sunlight
UV rays cause yellowing and brittleness.
Place in shaded indoor areas. Move balcony racks inside during peak sun. Use covered entryways only.
Keep Shoes and Shelves Dry
Wet shoes mean mold, odor, and slippery surfaces.
Dry shoes before storing. Wipe spills immediately. Avoid using in humid, unventilated spaces.
Use Only for Shoes
Do not repurpose your rack as a bookshelf, plant stand, step stool, or bag rack.
These uses exceed design limits and increase failure risk significantly.
Weekly and Monthly Maintenance
Spend 10 minutes a week to avoid big repairs later.
10-Minute Weekly Routine
Remove shoes temporarily. Dust with a microfiber cloth. Wipe with mild soapy water like Sunlight Liquid. Dry thoroughly.
Neha from Bangalore kept her rack pristine for 3 years with this routine.
Monthly Deep Clean
Disassemble the entire rack. Soak parts in warm soapy water for 10 to 15 minutes. Scrub joints with an old toothbrush. Rinse and air dry, avoiding direct sun. Inspect for cracks or weak spots.
Best done seasonally, after monsoon, winter, or before moving.
Must-Have Repair and Cleaning Supplies
Keep these on hand for quick fixes.
Keep these items stocked. Most cost under ₹100 and last for years.
When to Repair vs. Replace
Save money by fixing only what is necessary.
Minor issues like loose joints cost nothing to fix with zip ties or reassembly. Small cracks need about ₹50 worth of epoxy. Slight warp requires around ₹100 for a dowel. Yellowing costs about ₹20 with baking soda. Missing connectors often come free from the seller.
Major structural bend means it is time to replace. Expect to pay ₹1,500 or more for a new rack.
Bottom line: repairs cost under ₹100 and extend life significantly. Replacement is rarely urgent.
Maximize Longevity: 10 Pro Tips
Clean weekly to prevent buildup and damage. Respect weight limits to avoid overloading. Install the back panel to stop wobbling. Use rubber feet to improve grip. Fix cracks early to prevent spreading. Store spares for future repairs. Avoid direct sun to prevent yellowing. Dry shoes first to reduce mold risk. Anchor tall units to prevent tipping. Contact the seller because free parts are often available.
Frequently Asked Questions About Fixing Plastic Shoe Racks
Why does my plastic shoe rack keep wobbling?
Wobbling usually happens because the back panel is missing, the floor is uneven, or connectors are loose. Installing the back panel is the single most effective fix. Add rubber feet pads and ensure the rack sits on a flat, hard surface.
Can I repair a cracked plastic shoe rack connector?
Yes. You can use spare connectors from the kit, request free replacements from the seller, or reinforce the joint with 8 to 12 inch zip ties. For split beams, use plastic-compatible epoxy like J-B Weld PlasticWeld.
How do I fix a sagging or warped shelf?
Remove all weight first. Apply gentle reverse pressure to bend it back. Insert a wooden dowel or PVC pipe inside the hollow frame to distribute weight. Store heavier shoes on the bottom tier to prevent future sagging.
Does baking soda really remove yellowing from plastic shoe racks?
Yes. Baking soda paste removes up to 80% of yellowing and stains after one treatment. Mix 3 parts baking soda with 1 part water, apply, wait 15 to 20 minutes, scrub gently, and wipe clean. Repeat weekly for full restoration.
How long does a plastic shoe rack last?
With proper care, a plastic shoe rack lasts 3 to 6 years. Without maintenance, it lasts only 6 to 12 months. Key factors are regular cleaning, respecting weight limits, keeping it out of sunlight, and fixing minor issues promptly.
Should I repair or replace my plastic shoe rack?
Repair if the issue is a loose joint, small crack, slight warp, or yellowing. These cost under ₹100 to fix. Replace only if there is major structural damage or multiple broken connectors. Most problems are worth repairing.
Final Thoughts on Fixing Your Plastic Shoe Rack
A plastic shoe rack is not disposable. With basic care and smart fixes, it can stay stable, clean, and functional for years. Address wobbles, cracks, and stains early using zip ties, dowels, baking soda, and free replacement parts from sellers.
Keep your rack dry, shaded, and properly loaded. Follow the weekly 10-minute wipe-down routine. Inspect monthly for damage. Contact sellers for free parts before buying new ones.
The best upgrade is not a new rack. It is maintenance. A little effort goes a long way in extending the life of your shoe storage.


