
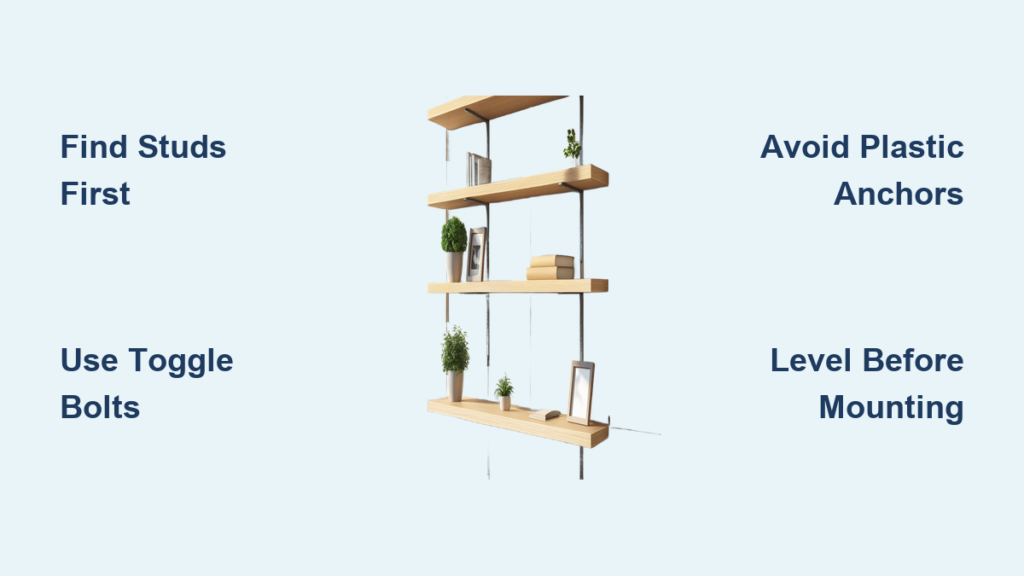
This guide cuts through the guesswork. You’ll learn exactly how to choose the best mounting method based on your shelf’s weight and position, avoid common installation errors, and pick the strongest anchors when studs aren’t an option. We walk you step-by-step through planning, leveling, drilling, and securing your shelf so it stays level, silent, and solid for years.
Find and Verify Wall Studs
Use a Stud Finder With Wire Detection
Start by scanning the wall with an electronic stud finder that includes AC wire detection. This prevents drilling into live electrical lines or plumbing. Slowly move the device horizontally across the wall. Most studs are spaced 16 or 24 inches apart. Mark both edges of each stud, then find the center for optimal screw placement. For accuracy, verify your findings by tapping the wall. Studs sound solid while drywall sounds hollow, or drill a small test hole to confirm.
Prioritize Stud-Based Mounting
When possible, attach shelf brackets directly into wall studs. Wood or metal studs provide the strongest support available for drywall mounting. Use #8 or #10 wood screws at least 2 inches long, driven so they penetrate the stud by a minimum of 1.25 inches. Each screw can typically support 50 pounds or more. If your shelf has multiple brackets, aim to secure at least one, ideally both ends, into studs for maximum stability.
Mark Bracket Positions on Studs
Hold the bracket against the wall at your desired height. Use a bubble or laser level to draw a straight reference line. Align the bracket’s screw holes with the stud center and mark each hole with a pencil. For floating shelves, trace the full outline with blue painter’s tape to visualize fit and alignment before drilling.
Choose the Right Anchor When No Studs Are Available
Avoid Plastic Anchors for Heavy Loads
Plastic expansion anchors, the kind often included with picture frames, are only suitable for light-duty use up to 25 pounds per anchor. They degrade over time, loosen under vibration, and are easily pulled through drywall. Do not use them for floating shelves, books, or any high-leverage application. They’re acceptable only for lightweight decor like photo frames and small wall art.
Use Steel Cavity Anchors for Medium-Duty Shelves
For loads between 25 and 50 pounds, steel cavity anchors like E-Z Ancor or GRK are ideal. These self-threading steel sleeves grip the drywall tightly and resist pull-out far better than plastic. They’re reusable, leave smaller repair holes, and handle shear stress well. Install by drilling a 3 to 4mm pilot hole, then screwing the anchor in until flush. Rated for up to 60 pounds per anchor.
Install Toggle Bolts for Heavy-Duty Support
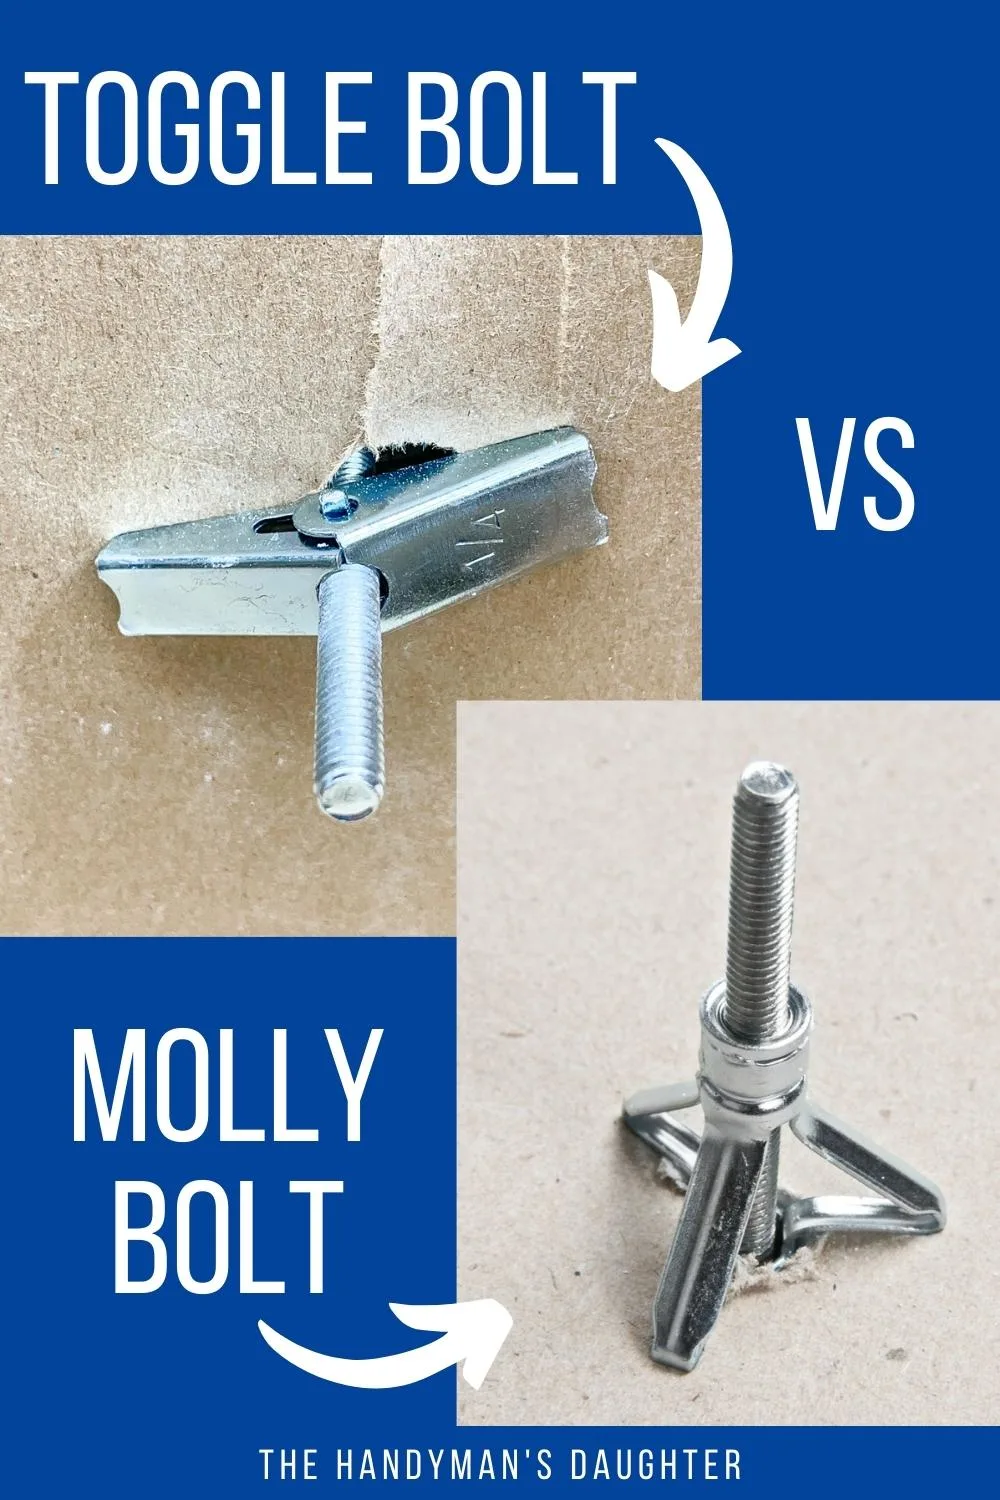
For shelves over 50 pounds, use toggle bolts. These include spring-loaded wings, also called butterfly toggles, or snap toggles like TOGGLER Snaptoggle that expand behind the drywall. Drill a 3/8 to 1/2 inch hole, insert the bolt through the bracket, and tighten until the toggle engages. Standard metal toggles support 50 to 100 pounds. Snaptoggles can hold up to 280 pounds. They’re the strongest option when studs aren’t accessible.
Drill Accurate Pilot Holes

Match Drill Bit Size to Anchor Type
Using the wrong drill bit can cause anchor failure. Follow these guidelines to ensure proper fit.
| Anchor Type | Recommended Drill Bit Size |
|---|---|
| Plastic Expansion | 1/8 to 3/16 inch (match anchor diameter) |
| Molly Bolt | 1/8, 3/16, or 1/4 inch (match bolt shaft) |
| Toggle Bolt | 3/8 to 1/2 inch (slightly larger than toggle) |
| Steel Cavity Anchor | 3 to 4mm (or self-piloting) |
Drill Straight and Clean Holes
Angle your drill perpendicular to the wall. Tilted holes reduce anchor grip and increase pull-through risk. Drill deep enough to fully seat the anchor. After drilling, vacuum or brush out drywall dust. Debris can prevent proper anchor seating and significantly weaken the hold.
Install Anchors Correctly
Tap or Screw Anchors Into Place
Different anchor types require different installation techniques. Plastic anchors should be pushed or tapped gently with a hammer until flush with the wall surface. Molly bolts need to be inserted, tapped lightly, then tightened to expand the sleeve behind the drywall. Toggle bolts require compressing the wings, inserting through the hole, letting them spring open, then tightening the screw. Steel cavity anchors screw directly into the pilot hole using a drill or screwdriver until flush.
Pro Tip: Never reuse plastic anchors. They deform during removal and will fail. Steel and toggle anchors can often be reused if removed carefully.
Mount Brackets With Precision
Align and Secure Brackets Gradually
Position the bracket over the anchors or studs. Insert screws and tighten just enough to hold the bracket in place. Don’t fully torque yet. This allows minor adjustments. Use a level to ensure the bracket is perfectly horizontal. Once aligned, tighten screws completely. For high-vibration areas, apply a drop of thread-locking compound to prevent loosening.
Combine Stud and Anchor Support
If one bracket lands on a stud and the other doesn’t, use a wood screw in the stud and a high-strength anchor like a toggle or steel cavity anchor in the drywall. This hybrid method maximizes stability. For floating shelves, consider modifying the bracket by drilling new holes to hit every available stud.
Attach the Shelf Safely
Set Standard Shelves on Brackets
For shelves that rest on L-brackets, simply place the board on top. If the shelf includes vertical screws, drive them down through the shelf into the bracket for added rigidity. Ensure even contact across both brackets to prevent wobbling.
Install Floating Shelves With Hidden Brackets
Slide the shelf onto the mounted rail or support arms. Lock it in place using set screws from below, or apply construction adhesive like Loctite PL Premium between the shelf back and bracket for extra strength. Final alignment may require micro-adjustments using a level.
Critical Step: After mounting, press down firmly on the front edge of the shelf to test for movement or noise. Any wiggle means the installation needs reinforcement.
Prevent Common Installation Mistakes
Don’t Over-Tighten Screws
Excessive force can crack drywall, strip anchors, or collapse plastic sleeves. Tighten screws until snug, then back off slightly before final tightening to allow for bracket alignment. This reduces stress on the wall surface and prevents damage.
Always Use a Level
An uneven shelf not only looks unprofessional, it can cause items to slide off and fall. Use a laser level for shelves over 24 inches long. Check level at multiple points during bracket installation and again after the shelf is mounted.
Account for Leverage and Torque
Floating shelves create torque at the mounting point. A 10-pound load at the front edge can exert much greater force on the bracket than the actual weight might suggest. Always anchor both ends securely. Use stud plus anchor combinations or dual toggle bolts to resist pivoting.
Test and Maintain Your Shelf
Perform a Stability Check
After installation, follow this testing sequence. First, visually inspect all screws and anchors for flushness. Second, gently shake the shelf side-to-side and up-and-down. Third, press down on the front edge with moderate force. Fourth, if there’s no movement, noise, or cracking, begin loading gradually.
Success Indicator: Shelf remains level, silent, and immovable under pressure.
Load Gradually Over 24 Hours
Add weight in stages. Start with lighter items, then increase over a day. This allows you to monitor for sagging, shifting, or wall compression. Inspect every six months for loose screws or developing cracks.
Remove and Patch Like a Pro
Patch Holes by Anchor Type
Plastic anchors leave small holes. Fill with spackle or joint compound, sand smooth, and repaint. Steel cavity anchors create moderate holes treated similarly. Toggle bolts leave large holes. Use a mesh drywall patch or foam insert, apply joint compound in layers, and sand between coats.
User Tip: The drywall anchors do leave a bit of a mess when screwing in, and a decent hole if you take the shelf down. But they’re pretty easy to patch and paint over.
Key Takeaways for Hanging Shelves on Sheetrock
Hanging a shelf on sheetrock is only as strong as your weakest anchor. Always prioritize studs. Use high-performance hardware for heavy loads. Never rely on plastic anchors beyond 25 pounds. With precise planning, the right tools, and attention to mechanical forces, your shelf will be both functional and durable, securely holding its contents without damaging your walls.
Frequently Asked Questions About Hanging Shelves on Sheetrock
Can I hang a floating shelf on sheetrock without hitting a stud?
Yes, you can hang a floating shelf on sheetrock without hitting a stud by using high-quality anchors like toggle bolts or steel cavity anchors. However, you should avoid plastic expansion anchors for anything beyond very light loads. Toggle bolts can support 50 to 100 pounds per anchor, while TOGGLER Snaptoggle anchors can hold up to 280 pounds in 1/2 inch drywall.
What is the strongest anchor for drywall?
Toggle bolts are the strongest anchors for drywall. Standard metal toggle bolts support 50 to 100 pounds, while TOGGLER Snaptoggle anchors can support up to 280 pounds in optimal conditions. Steel cavity anchors are the next strongest option, rated for 40 to 60 pounds per anchor.
How much weight can sheetrock hold with anchors?
Sheetrock alone cannot hold significant weight. With proper anchors, 1/2 inch drywall can support 25 pounds per plastic anchor, 50 to 60 pounds per steel cavity anchor, and 50 to 280 pounds per toggle bolt depending on the type. Always use hardware rated for at least twice your expected load for safety.
Should I always mount into studs when hanging a shelf?
Yes, you should always prioritize mounting into studs when possible. Studs provide the strongest and most secure attachment, supporting 50 pounds or more per screw. If your bracket positions don’t align with studs, use high-quality anchors as a backup, but never rely solely on plastic anchors for heavy loads.


