
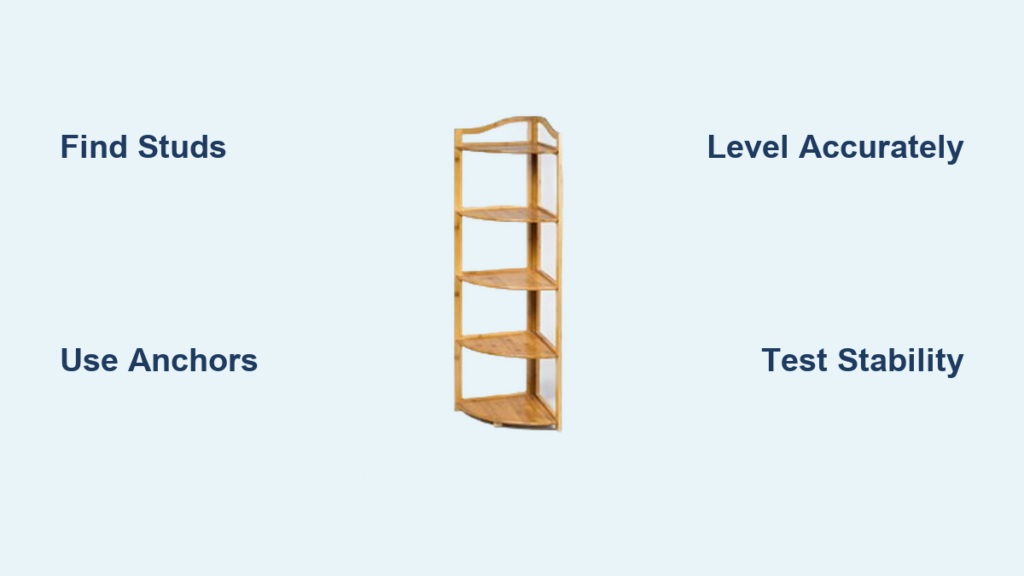
Hanging a corner shelf is one of the fastest ways to add storage and style to any room. Whether you’re organizing a cluttered kitchen, displaying decor in the living room, or maximizing space in a small bathroom, a well-installed corner shelf turns dead space into functional design.
The key to success lies in proper planning, using the right tools, and knowing how to hang corner shelf securely without risking wobble or failure. This guide walks you through exactly how to install it on drywall, plaster, or studs, supporting heavy loads safely while achieving a level, durable finish every time.
Choose the Right Shelf for Your Needs
Selecting the appropriate shelf sets the foundation for a successful installation. The right choice depends on your room, intended use, and weight requirements.
Match Material to Room and Use
Pick a shelf material based on where it will live and what you plan to store. Wood shelves offer warmth and strength, making them ideal for books or decor in living rooms and bedrooms. Metal shelves resist moisture and work exceptionally well in kitchens or bathrooms. Glass shelves provide a sleek, modern look perfect for displaying small items without overwhelming the space. MDF or engineered wood serves as a budget-friendly option that accepts paint easily, though it handles lightweight loads best.
Pick the Correct Size and Load Rating
Measure your corner before purchasing since not all corners are exactly 90 degrees. Standard corner shelves range from 8 to 16 inches wide, with depth staying within 8 to 12 inches from each wall for balance and easy access. For heavy items like cookbooks or electronics, choose a shelf rated for 30 pounds or more and plan for stud mounting or toggle bolts. Light-duty shelves under 15 pounds work fine for knickknacks, small plants, or lamps.
Pre-Fab vs. Custom Shelves
Pre-fabricated shelves typically come with brackets and hardware, making installation faster. Look for models with locking dowel pins or clip-on brackets for secure placement. Custom wooden shelves offer more design flexibility but require precise drilling and bracket alignment. Either way, always follow manufacturer specifications for screws and anchors.
Gather Essential Tools and Hardware

Having the right tools on hand prevents frustration and ensures accuracy throughout the installation process.
Must-Have Tools for Installation
You will need a cordless drill for speed and control, a Phillips head screwdriver, a torpedo level that fits easily in corners, a tape measure, a pencil for marking, a stud finder with AC detection to avoid wires, and safety glasses. Skipping any of these tools forces you into guesswork, which leads to mistakes.
Select the Correct Fasteners
Your wall type determines which anchors to use. For drywall, rely on plastic anchors for light loads and Toggler Snaptoggle bolts for 50 pounds or more. Plaster and lath require heavy-duty toggle bolts, but drill carefully to avoid cracking. Concrete or brick needs masonry anchors and a carbide-tipped drill bit. When mounting into wood studs, use #8 or #10 wood screws that are 1.5 to 2 inches long. Always pre-drill pilot holes using a 9/32-inch bit for standard metal brackets or a 1/4-inch bit for toggle bolts.
Identify Wall Type and Locate Studs
Understanding what lies behind your walls prevents costly errors and ensures your shelf stays secure.
Determine What Lies Behind the Wall
Most interior walls consist of drywall over wood or metal studs. Older homes may have plaster and lath, which is thicker and more fragile. Tap the wall to test it. A hollow sound indicates drywall, while a solid thud suggests a stud or masonry. Use a stud finder to confirm, and never mount heavy shelves on drywall alone without proper anchors.
Find Studs for Maximum Strength
Studs are typically spaced 16 or 24 inches apart. Scan horizontally near your desired shelf height using a stud finder. If possible, align at least one bracket with a stud, which doubles the stability. Mark the stud edges clearly with a pencil. Always check for electrical wires or pipes behind the wall using a stud finder with AC detection before drilling.
Pro Tip: If no stud aligns with your bracket, use Toggler Snaptoggles. They expand behind the wall and support up to 50 pounds.
Mark and Level Bracket Positions
Accurate marking prevents the most common installation problem: a crooked shelf.
Set the Ideal Shelf Height
Common placements vary by room. For living rooms and bedrooms, aim for 48 to 60 inches from the floor at eye level. In kitchens, position shelves 18 to 24 inches above the counter. For bathrooms, install above the sink or toilet at 42 to 50 inches high. Use a tape measure to mark your desired height on both walls forming the corner.
Draw a Level Reference Line
Place a torpedo level across both walls at your marked height. Draw a light pencil line extending from the corner outward. This ensures both bracket sides sit at the same height, and even an 1/8-inch difference can cause noticeable wobbling.
Mark Screw Hole Locations Accurately
Hold the bracket in place along the level line. Insert a screw partially through one hole and mark where the head touches the wall. Repeat for all holes. This mark-after-insertion method prevents misalignment. Double-check with the level before drilling.
Warning: Never skip this step. Misaligned holes are the top reason shelves end up crooked.
Drill Pilot Holes and Install Anchors

Proper drilling technique ensures your anchors hold securely.
Drill the Correct Hole Size and Depth
Use a 9/32-inch bit for light-duty brackets or a 1/4-inch bit for toggle bolts. Drill straight into the wall because angled holes weaken anchor grip. Depth should match screw length, usually 1 to 1.5 inches. For drywall, stop when the anchor will sit flush with the surface.
Install Anchors Based on Wall Type
For plastic anchors, tap them into the pilot hole with a hammer until flush. For toggle bolts, insert through the hole, let wings drop behind the wall, then pull back to lock. When mounting directly into studs, no anchor is needed. Simply screw directly into the wood.
Caution: Over-tightening can crack plaster or strip drywall. Stop when the anchor feels snug.
Mount Brackets and Reinforce for Stability
Secure mounting ensures your shelf handles weight without shifting.
Secure Brackets to the Wall
Align the bracket with pilot holes. Insert screws and tighten evenly. Recheck levelness and adjust slightly if needed before final tightening. For custom or wide shelves, add 4-inch corner braces between brackets for added rigidity.
Use Braces for Heavy or Custom Shelves
Longer shelves sag under weight over time. Install L-braces diagonally between the wall and bracket. Pre-drill holes in wood braces and secure with screws. This distributes the load and prevents twisting.
Pro Tip: Dry-fit all hardware first. Make sure brackets and braces align perfectly before final mounting.
Attach the Shelf to Brackets
The final mounting step varies depending on your shelf type.
Install Pre-Fab Shelf with Dowel Pins
Many corner shelves use clip-on brackets and locking dowel pins. Slide the shelf onto the mounted bracket. Insert the dowel pin under the shelf lip into the bracket notch until it clicks into place. Repeat on the other side. Gently press down to test stability.
Mount Custom Wooden Shelf with Screws
Place the shelf on brackets. From underneath, mark screw locations through bracket holes. Remove the shelf and pre-drill pilot holes in the wood. Reinstall and drive screws through brackets into the shelf. This prevents wood splitting and ensures a flush fit.
Pro Tip: Paint or seal wood shelves before installation. Touching up after mounting is messy and difficult.
Fix Common Installation Problems
Even careful installers encounter issues. Here is how to solve them.
Adjust for Non-90° Corners
Most corners are not perfectly square. Use adjustable brackets that let one arm slide to match the actual angle. Fit the fixed side to the flatter wall, then tweak the other side. Fill small gaps with painter’s caulk for a seamless look.
Correct Misaligned or Stripped Holes
If a hole is off-center, drill a new hole one anchor-width away and patch the old hole with spackle. For stripped drywall, replace the plastic anchor with a toggle bolt, or install a wall repair kit with a wood backing plate.
**Never reuse a stripped hole. It will not hold weight.
Test Stability and Load Capacity
Verification ensures your installation will last.
Perform a Safety Check
After mounting, press down firmly on the shelf. It should not wobble or shift. Use a level to confirm it is still horizontal. If it feels loose, re-tighten screws or add corner braces.
Follow Weight Limits
Under 15 pounds works for decor, candles, and small plants. Fifteen to 30 pounds handles books, kitchen jars, and electronics. Anything over 30 pounds requires stud mounting plus toggle bolts. Wait 24 hours, then re-tighten screws because materials settle slightly after installation.
Warning: Overloading causes sagging, wall damage, or shelf collapse.
Style and Maintain Your Corner Shelf
A well-styled shelf combines function with visual appeal.
Decorate with Balance and Function
Style like a pro by mixing heights, such as a tall vase paired with a short book stack. Vary textures using wood, ceramic, and metal. Use odd numbers of items, like 3 or 5, for visual appeal. Leave space between items and avoid overcrowding.
Room-Specific Styling Ideas
In the kitchen, display spices, olive oil, herbs, and mason jars. For bathrooms, use rolled towels, soap dispensers, and succulents. In living rooms, show off photo frames, small plants, and coffee table books. Bedrooms benefit from lamps, alarm clocks, and jewelry trays.
Goal: Combine usefulness with beauty by storing daily items while enhancing your décor.
Extend Shelf Life with Routine Care
Dust weekly with a microfiber cloth. Every 3 to 6 months, check for loose screws or wobbly anchors and tighten immediately. Small shifts worsen over time if ignored. Avoid placing water-heavy items like vases with water unless the shelf is sealed. In humid areas like bathrooms, use stainless steel screws and moisture-resistant wood.
Key Takeaways for Hanging Your Corner Shelf
Hanging a corner shelf is a simple DIY win when done correctly. Choosing the right shelf material and load rating for your intended use prevents future problems. Using proper anchors, whether plastic toggles for light loads or Toggler Snaptoggles for heavy items, ensures your shelf stays secure. Taking time to level carefully during the marking phase eliminates the frustration of a crooked final result. Testing stability after installation and adhering to weight limits keeps your shelf safe for years to come. Whether you are a first-time DIYer or a seasoned pro, this guide gives you everything needed to hang a corner shelf with confidence. No guesswork, no wobbles, just perfect results.
Frequently Asked Questions About Hanging Corner Shelves
What is the best way to find studs in a corner wall?
Use a stud finder with AC detection to scan horizontally across the wall near your desired height. Studs are typically spaced 16 or 24 inches apart. Mark the stud edges clearly before drilling, and always check for electrical wires or plumbing first.
Can I hang a corner shelf on drywall without finding studs?
Yes, but you must use the correct anchors. Plastic expansion anchors work for light loads under 10 pounds. For heavier items, use Toggler Snaptoggle bolts that expand behind the drywall and support 50 pounds or more.
How do I fix a wobbly corner shelf after installation?
First, check all screws and tighten any loose ones. If the wobble persists, install corner braces diagonally between the brackets and wall. For drywall installations, consider upgrading from plastic anchors to toggle bolts for better holding power.
What tools do I need to hang a corner shelf?
You will need a cordless drill, Phillips head screwdriver, torpedo level, tape measure, pencil, stud finder, and safety glasses. You also need the correct drill bits and fasteners based on your wall type and shelf weight rating.
How much weight can a typical corner shelf hold?
This depends on the shelf material and mounting method. Light-duty shelves hold 10 to 15 pounds. Medium-duty shelves handle 15 to 30 pounds. Heavy-duty shelves rated for 30 pounds or more require stud mounting or toggle bolts for safe support.


