
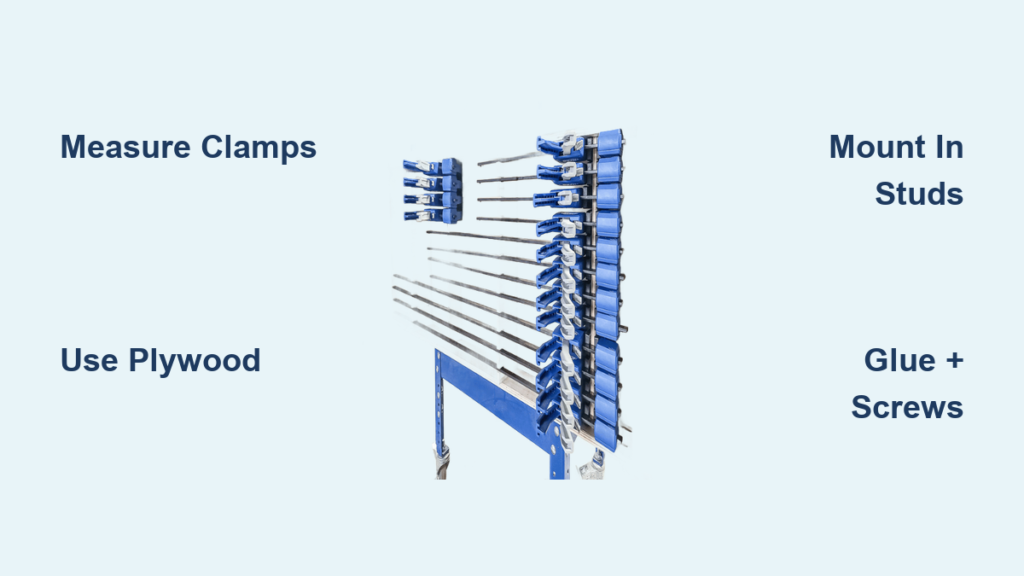
If your workshop clamps are scattered across workbenches or crammed into drawers, a clamp rack provides the organization solution you need. This guide shows you exactly how to make a clamp rack that stores your F-clamps, bar clamps, and parallel clamps efficiently while keeping them accessible and protected from damage. Whether you have a handful of clamps or a collection of 30+, the right rack design transforms your workshop workflow and protects your investment.
You will learn how to plan your layout based on your specific clamp sizes, select the right materials for your budget, and build one of five proven designs ranging from a simple $10 build to a heavy-duty French cleat system.
Plan Your Clamp Rack Layout

Before purchasing materials, measure your existing clamp collection to determine the correct dimensions for your rack. This prevents wasted materials and ensures your finished rack actually fits your tools.
Measure Your Clamp Collection
Lay out all clamps you plan to store and record these key measurements. The maximum width, typically the clamp head, determines how much spacing you need between support points. Bar diameter (common sizes include 3/8″, ½”, and 5/8″) affects the size of notches or grooves you must cut. Throat depth determines how far the clamp bar extends and affects the required rack depth. Identify your widest clamp model as this determines minimum spacing between supports. Standard F-clamps can fit at just over 1″ per clamp, while larger parallel clamps may need 2″ spacing.
Choose Rack Dimensions
Select dimensions that accommodate your current collection while allowing room for future expansion. Length is scalable based on clamp count: a 30.5″ rack holds approximately 30 F-clamps. Height typically ranges from 9″ to 11″. Depth should be 6″ to 11″, depending on how far clamp bars extend beyond the jaws. Build in 6″ or 12″ increments for easy expansion later.
Pick the Mounting Location
Choose a wall section with accessible studs, ideally near your workbench for convenient access. Position the rack at waist to chest height for easy insertion and removal. Avoid mounting above benches if overhead clearance is tight. Use a magnet or stud finder to locate stud edges, mark the centerline, and verify with a level before drilling.
Choose the Right Materials
Selecting appropriate materials ensures your rack handles the weight of your clamps and lasts for years of daily use.
Use ¾” Plywood for Strength
All durable clamp racks use ¾” plywood (birch, pine, or MDF core) for its strength and stability. You do not need a full sheet; many designs fit within a 30″ × 40″ scrap piece, keeping material costs under $10. Common components include a back panel (11″ × 52⅞”), side panels (6.5″ deep × 11″ high), shelf or top rail (6⅛” × 52⅞”), and vertical strips (3″ and 3.5″ wide).
Alternative Material Options
Consider these materials based on your specific needs. Pine boards (¾” or 1×6) work well for cleats and horizontal supports. Hardboard serves as stop strips or backer material. Solid hardwood is ideal for high-wear areas or visible edges. 2×4 lumber can be cut into blocks for heavy-duty clamp support.
Build a Single-File Horizontal Rack
This minimalist design works perfectly for F-style or bar clamps and requires only basic tools and skills.
Step-by-Step Construction
Cut two parallel strips from ¾” plywood. The front strip should be 3″ wide and the back strip 3.5″ wide, with length determined by your clamp count. Create spacing blocks from scrap wood measuring approximately 2.5″ × 3″. Apply wood glue to the block ends and position them between the front and back strips. Clamp the assembly firmly and reinforce with brad nails. Pre-drill and countersink mounting holes for 3″ screws, ensuring the front strip stands taller than the back to allow clamp jaws to clear the wall. Mount the rack to wall studs using six 3″ screws (two per stud) and verify the rack is level.
This design holds any F-clamp brand or size, uses just over 1″ per clamp, and builds with basic tools.
Build a Shelved Enclosed Rack
This cabinet-style design provides additional storage space while holding parallel clamps securely.
Construction Steps
Cut the main components: back panel (11″ × 52⅞”), shelf (6⅛” × 52⅞”), and sides (6.5″ deep × 11″ high). Cut a 3/8″ dado on the back panel, positioned ½” from the top edge, to accept the shelf. Fit the shelf into the dado and secure with glue and screws from behind. Optionally shape the side panels with curved notches on the front bottom edges for hand clearance. Assemble the box by attaching sides to back and shelf using glue and 2″ wood screws. Create an internal notched rail by laying clamps on the shelf, tracing bar positions, and cutting 1″ wide × 2″ long notches with a jigsaw. Mount the completed rack to wall studs through the back panel using 3″ screws.
The upper shelf stores glue, cauls, or small tools while the notched rail keeps parallel clamps aligned and secure.
Build a Block-Style Heavy-Duty Rack

This design uses 2×4 blocks with grooves to hold clamps and handles significant weight loads.
Block Specifications and Assembly
Rip 2×4s to 3″ width and cross-cut to 5¾” length. Remove ½” from the back to create a flush mounting surface. Cut a 1″ wide groove using a table saw or router to fit 3/8″ rods (use a narrower groove for F-clamps). Round the front edges with a sander or hand plane for safety and appearance.
Mounting Options
For direct-screw installation, attach a plywood backboard to wall studs and screw each block directly using three screws per block. For French cleat mounting (recommended for heavy loads), cut a 45° bevel on a 6″ pine board. Attach one half to the wall into studs with lag screws and the other to the rack back. Slide the rack onto the cleat and add secondary screws to prevent lifting.
This approach handles heavy I-beam clamps, allows rack removal and repositioning, and works well in garage or shared workshops.
Build a Spring Clamp Dowel Rack
This design organizes dozens of spring clamps quickly using angled hardwood dowels.
Construction Steps
Cut a ¾” plywood panel (approximately 12″ × 24″). Mark clamp positions in rows across the panel. Set your drill press table to 8° for a backward angle. Drill holes slightly larger than the clamp handles. Cut 6.5″ hardwood dowels and taper both ends using a belt sander. Apply glue to each hole and tap the dowel in with a mallet. The angled dowels prevent clamps from sliding off while tapered ends make insertion easier.
Mount using 2″ screws into picture hangers or directly into studs. This design holds 10 to 20 clamps in under 1 square foot.
Build the $10 Budget Rack
This high-capacity design stores up to 38 bar clamps for under $10 in materials.
Cut List and Assembly
Gather these materials: two side panels (30″ × 9″ × ¾”), one middle shelf (30″ × 6″ × ¾”), two support slats (29¼” × 4″ × ¾”), and two clamp blocks (4″ × 5.25″ × ¾”). Cut dados in the shelf and blocks for rigid joints. Cut ¼” slits into the slats to cradle clamp bars. Install support blocks under the middle shelf to prevent sagging. Assemble using glue and screws, then mount above your router table or workbench using 3″ screws into studs.
Use Proper Joinery and Fastening
Strong joints ensure your rack withstands years of heavy use.
Recommended Techniques
Never rely on nails alone. Always combine glue and screws for durability. Use dado joints for shelves and support rails to maximize surface area and rigidity. Pocket-hole joinery using a Kreg jig creates hidden, strong connections ideal for beginner builds. Pre-drill and counterbore all screw holes to prevent splitting, especially near edges.
Fastener Guide
Use 1.5″ brad nails for temporary assembly, 2″ wood screws for structural joints, 3″ wood screws for wall mounting, lag screws (3″+) for French cleat attachment, and 1.25″ to 2″ pocket screws for pocket-hole joints. Apply Titebond wood glue to all mating surfaces before screwing.
Mount the Rack Securely
Proper mounting ensures your rack handles the weight of loaded clamps safely.
Anchor Into Wall Studs
Use a stud finder or magnet to locate stud centers. Mark screw positions and drill pilot holes. Use 3″ screws for wall attachment, long enough to penetrate at least 1.5″ into the stud. For lightweight racks, heavy-duty picture hangers with 2″ screws may suffice.
Verify Clearance and Angle
Ensure clamp jaw pads clear the wall by angling the front of the rack slightly forward. Allow ½” to 1″ clearance behind the clamp head. Keep the rack level using a bubble level during mounting.
French Cleat Safety
Secure the wall cleat with at least three lag screws into studs. Add secondary screws through the rack back into the cleat to prevent upward lift. Test with full load before regular use.
Finish and Customize Your Rack
A proper finish protects your rack and extends its life.
Apply a Protective Finish
Amber shellac wipes on easily, enhances pine grain, and dries quickly. Polyurethane provides durable, moisture-resistant protection. Tung oil offers a natural look and easy touch-ups. Paint works optionally on back surfaces to hide wall flaws. Finish all components before assembly for complete coverage, then touch up after mounting.
Customization Ideas
Label clamp sizes on the front for quick identification. Build modular sections and connect multiple racks side by side. Add a hardboard stop strip to prevent clamps from sliding off. Combine systems, using dowels for spring clamps and notches for bar clamps. Explore fold-down or rotating designs for small shops.
Test and Maintain Your Rack
Load Test Before Full Use
Start with a few clamps to check stability. Ensure no wobbling or tilting occurs. Verify that clamps insert and remove smoothly without binding.
Long-Term Durability Tips
Dado joints and triangle bracing increase rigidity significantly. French cleats proven to support heavy tool cabinets work reliably. Use Titebond glue and pre-drilled screws for lasting strength.
Choose Your Build Based on Skill Level
For Beginners: $10 Budget Rack or Simple Strip Rack
These designs use basic cuts and screws with no complex joinery. Mount directly to studs. Build time is under 2 hours.
For Intermediate Builders: Shelved Rack with Bracing
Incorporate dado joints, triangle supports, and pocket screws. Add a French cleat for easy removal. Finish with shellac or polyurethane.
For Heavy-Duty Needs: Block-Style with French Cleat
Use solid pine or hardwood blocks. Secure with lag screws into studs. Ideal for I-beam or pipe clamps.
For Small Shops: Vertical or Fold-Down Design
Use wall height instead of floor space. Explore rotating or fold-down concepts to maximize accessibility in tight areas.
Frequently Asked Questions About Making a Clamp Rack
What is the cheapest way to make a clamp rack?
The $10 budget rack uses a single 30″ piece of ¾” plywood and holds up to 38 bar clamps. This design relies on dados and grooves cut into the material, requiring minimal specialized tools.
How much wall space does each clamp need?
Standard F-clamps require just over 1″ per clamp in a horizontal single-file arrangement. Parallel clamps typically need approximately 2″ per clamp due to their larger size and internal notching requirements.
Can I build a clamp rack without a table saw?
Yes. A circular saw with a guide rail or straightedge can cut all plywood components. A miter saw handles crosscuts effectively. The single-file horizontal rack requires only straight cuts and basic drilling.
Should I use French cleat mounting for my clamp rack?
French cleat mounting is recommended for heavy loads, such as I-beam clamps or multiple parallel clamps. It provides secure, removable mounting that resists upward lifting. For lighter F-clamp racks, direct stud mounting with 3″ screws works well.
How do I determine the correct depth for my clamp rack?
Measure the distance from your clamp jaw to the end of the bar when the clamp is fully closed. Add ½” to 1″ for clearance behind the clamp head. Standard depths range from 6″ to 11″ depending on clamp size.
Key Takeaways for Building Your Clamp Rack
A well-built clamp rack transforms workshop efficiency by keeping tools organized, accessible, and protected from damage. The most important steps are measuring your clamps first to determine correct spacing, anchoring all wall-mounted designs into studs for safety, and using glue combined with screws rather than nails alone for structural integrity. Choose your design based on your specific clamp types and skill level: the single-file horizontal rack for simplicity, the shelved enclosed rack for parallel clamps, the block-style rack for heavy-duty needs, or the $10 budget rack for maximum capacity at minimal cost. With scrap wood and basic tools, you can build a durable, space-saving solution in a single weekend. Start with a simple design, test it with your actual clamps, and expand or modify as your collection grows.


