

You just pulled a golden tray of cookies from the oven or finished roasting a juicy chicken, and now you need to cool it fast. But your wire cooling rack is missing, dirty, or never been bought. What do you do? Improvising a cooling rack works and works well if you know the right substitutes and how to use them safely. The key is not the rack itself, but airflow: lifting food off solid surfaces so heat and moisture can escape, keeping bottoms crisp and textures intact.
Luckily, nearly every kitchen has tools that can double as a cooling rack. From oven racks and muffin tins to aluminum foil rolls and air fryer baskets, you do not need to buy anything to cool food properly. This guide shows you how to make a cooling rack using only household items, ranks the best DIY solutions by effectiveness, and reveals pro tips for safe, fast, and sogginess-free cooling.
Use Your Oven Wire Rack
The best substitute for a cooling rack is already in your oven. Most standard ovens come with removable wire racks designed to handle high heat and circulate air, exactly what a cooling rack does.
Remove Before Preheating
Pull the rack out before turning on your oven. That way, it is cool and ready when your food comes out. Place it on a clean counter or inside a rimmed baking sheet to catch crumbs or drips.
Elevate for Clearance
If your counter has low clearance, raise the rack using:
• A small saucepan
• A frying pan
• Heat-safe jars or bowls
This creates space underneath for air to flow freely.
Prevent Falls with Parchment
For small items like cookies or macarons, line the rack with parchment paper. It is heat-safe up to 450°F, non-stick, and prevents food from slipping through gaps. Avoid wax paper with hot items since it melts above 200°F.
Pro Tip: Keep a spare oven rack dedicated to cooling. It is a $0 upgrade that pays off every time you bake.
Flip a Muffin Tin Upside Down
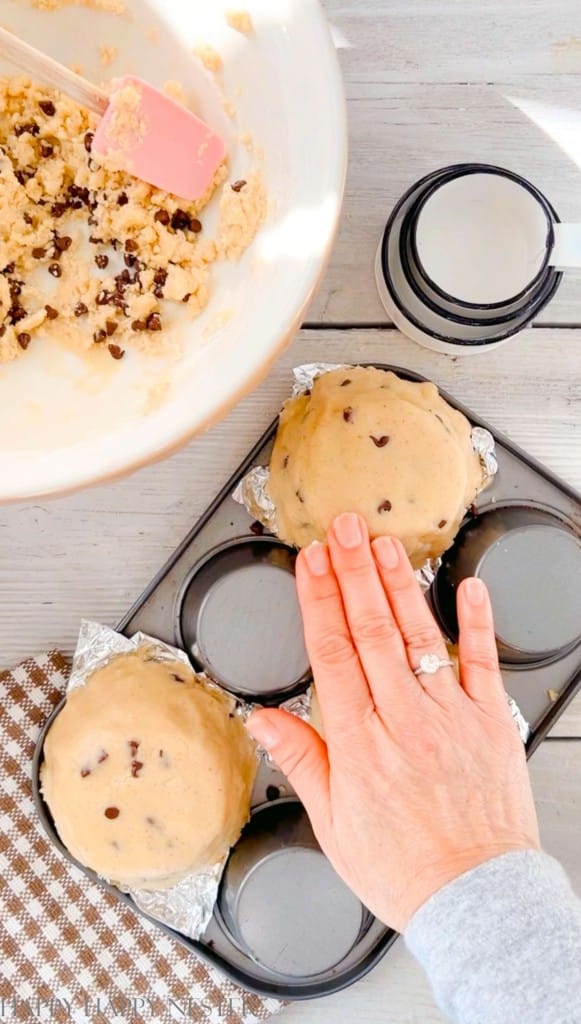
An upside-down muffin tin is one of the most stable, high-performing cooling rack alternatives, especially for large flat items.
How It Works
When inverted, the cup-shaped cavities elevate the flat outer rim, creating natural airflow underneath. The wide base supports full baking sheets, pies, or sheet cakes without tipping.
Choose the Right Tin
Use a standard 12-cup muffin tin with a flat, reinforced rim. Avoid warped or damaged tins. If non-stick, inspect for scratches since damaged coatings can leach chemicals.
Best Uses
• Double-crust pies (prevents soggy bottoms)
• Sheet cakes and brownies
• Cooling multiple cookie sheets at once
Real-World Test: Bakers report crisp-bottomed apple pies after using this method with no special equipment needed.
Repurpose a Gas Stove Grate
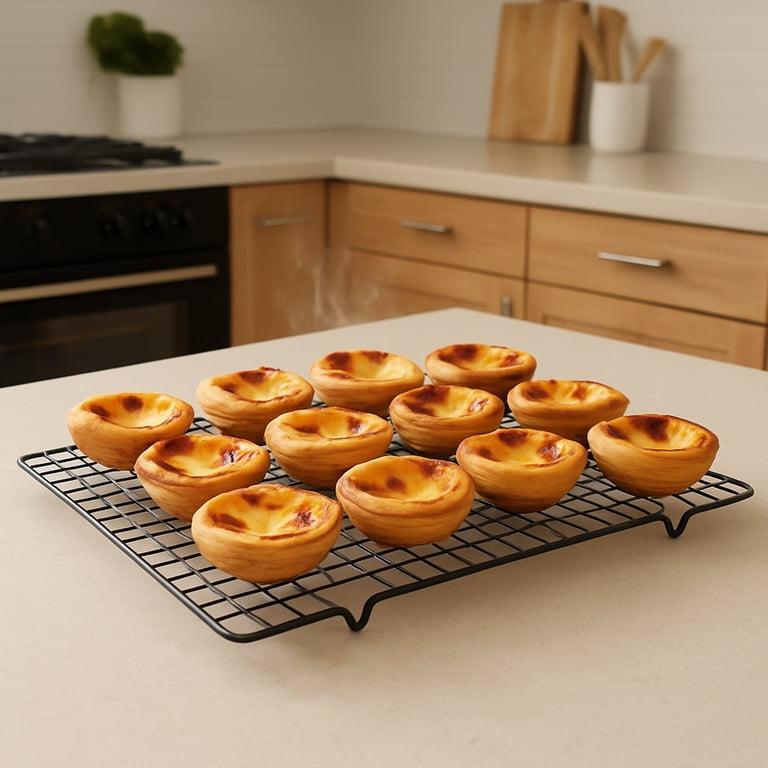
If you have a gas stove, the cast-iron or steel burner grates can double as a heavy-duty cooling rack.
Clean First, Then Use
- Remove the grate from the stove
- Scrub with dish soap and a brush to remove grease and carbon buildup
- Rinse and dry completely
- Place on the counter and set your baking sheet or pan on top
Why It Works
• Made from heat-resistant metal
• Open-grid design allows full under-airflow
• Naturally elevated for circulation
Safety Notes
Only use when completely cool. Never place food on a recently used grate since residual heat or combustion byproducts are not food-safe. Avoid if the grate has strong odors or stubborn grime.
Best For: Roasted meats, casseroles, or heavy baked goods that need sturdy support.
Build Foil Roll Supports

No wire rack? No problem. Heavy-duty aluminum foil can be rolled into sturdy cylinders that support a baking sheet for elevated cooling.
Make DIY Foil Cylinders
- Cut 3 to 6 sheets of heavy-duty foil (8 to 12 inches long)
- Roll each tightly into a cylinder about 2 inches long and 1 inch thick
- Place 3 to 4 rolls under the corners of a baking sheet
- Add a center roll for heavier items like sheet cakes
Maximize Stability
• Space rolls evenly
• Use more for weight distribution
• Replace if they start to flatten
Alternative: Use Chopsticks
Clean, heat-resistant chopsticks can replace foil rolls. Lay 2 to 3 parallel across the counter, place a baking sheet on top, and ensure ends extend past the pan for grip and balance.
User Hack: “I used six foil rolls under a jelly roll pan, held a full batch of cookies with zero sag.”
Flatten a Paper Bag for Airflow
A brown paper grocery bag might seem too simple, but it is a time-tested, eco-friendly cooling surface, especially for flat baked goods.
Prepare the Bag
Unfold a large paper bag by cutting the seams. Lay it flat on the counter or a tray. Place warm (not piping hot) cookies, bars, or pastries directly on top.
How It Helps
• Paper is porous, allowing steam to escape
• Prevents condensation that leads to sogginess
• Absorbs light grease from buttery baked goods
Limitations
• No elevation means limited airflow underneath
• Not for hot pans or very hot items since paper can scorch
• Single-use, dispose after cooling
Best For: Cooling cookies, biscotti, or granola bars when a rack is not available.
Arrange Metal Cookie Cutters as a Grid
Got a set of sturdy metal cookie cutters? Arrange them into a makeshift cooling grid.
Set It Up
Use rigid metal cutters (circles, squares, stars). Place them side-by-side, leaving small gaps for airflow. Ensure all are the same height for stability. Top with a flat baking sheet.
Transfer and Cool
Place large items like brownies or sheet cakes on the elevated pan.
Warnings
• Do not use with small items since they will fall through
• Avoid flexible or thin metal cutters since they bend under weight
• Wash cutters thoroughly before and after
Note: This is a creative hack, not a long-term solution. Stability is moderate at best.
Use a Cool Electric Stove Burner
If your electric stove is off and completely cooled, the burners can serve as a flat, stable cooling surface.
Safe Setup
- Confirm the stove is off and cold
- Wipe clean with a damp cloth
- Place a hot pan or food directly on the coils or glass
Add Parchment for Protection
Lay parchment paper on the burner first to prevent sticking, avoid food contact with residue, and make cleanup easier.
Airflow Reality
Coil burners allow some under-circulation. Flat glass tops offer less. Still better than leaving food in a hot pan.
Use Case: Emergency cooling when nothing else is available.
Transfer to a Cool Baking Sheet
Sometimes elevation is not possible, but you can still cool faster by transferring food to a room-temperature pan.
How It Works
Keep a second baking sheet unused and cool. As soon as food is done, move it from the hot pan to the cool one. This stops carryover cooking and reduces bottom moisture.
Boost with Paper Towels
Line the cool sheet with 1 to 2 paper towels to absorb excess oil or butter, prevent sticking, and wick away moisture.
Ideal For: Roasted vegetables, meats, or cookies that do not need full elevation.
Rest on a Room-Temperature Plate or Baking Stone
A large ceramic plate or pizza stone can act as a passive cooling base, especially for breads and flatbreads.
Choose the Right Surface
• Ceramic or glass plate: Large enough to hold the item with edge clearance
• Baking stone: Naturally porous, draws heat away efficiently
Cool Safely
Ensure the surface is room temperature, not cold. Thermal shock can crack stone or glass. Place food gently with a spatula. Add a paper towel underneath to absorb grease.
Do Not Stack
Never pile items on top of each other. Trapped steam causes sogginess and uneven cooling.
Best For: Final cooling stage after initial elevation.
Use an Air Fryer Basket
Most people forget: air fryer baskets are designed for maximum airflow, making them perfect mini cooling racks.
How to Use
- Remove the basket from the appliance
- Place it on the counter
- Set cooked items (chicken, nuggets, burgers) on top
Why It Works
• Legs elevate the basket
• Perforated walls and base allow 360-degree air circulation
• Non-stick and easy to clean
Limitations
• Small surface area
• Only for individual or small-batch items
User Favorite: “I rested roasted chicken in the air fryer basket, juices drained and skin stayed crisp.”
Build a Multi-Level Cooling Rack

For bakers, caterers, or holiday cooking marathons, a stackable cooling system saves counter space and boosts efficiency.
Design Options
• Stackable wire trays: Use spacers (glass jars, plastic feet) between levels
• Repurposed shelving: Stainless steel wire shelves with 2 to 3 inches between tiers
• DIY frame: Build from wood or metal and insert removable wire grids
Key Rules
• Minimum 2-inch gap between levels for heat to rise
• Use food-safe materials: stainless steel, chrome-plated wire
• Avoid galvanized metal since zinc coating can leach when heated
• Ensure a wide base to prevent tipping
Pro Enhancements
• Add casters (wheels) for mobility
• Use food-safe sealant on wooden frames
• Label levels for different foods (cookies, breads, meats)
Ideal For: Cottage food businesses or frequent bakers.
Know Material Limits and Safety
Using household items as cooling racks is safe if you know their limits.
Temperature Tolerance Guide
| Material | Max Safe Temp | Notes |
|---|---|---|
| Stainless steel | 500°F | Best for heat and durability |
| Chrome-plated rack | 450 to 500°F | Check label |
| Parchment paper | 420 to 450°F | Oven-safe and non-toxic |
| Wax paper | Under 200°F | Melts, use only for warm food |
| Aluminum foil | Moderate | Softens under prolonged heat |
| Ceramic plate | Varies | Risk of cracking from thermal shock |
Food Safety Musts
• Clean all surfaces before use
• Avoid rusty, greasy, or chemically coated items
• Never use galvanized wire or containers (toxic when heated)
• Do not let acidic foods (tomatoes, citrus) touch bare aluminum
Follow Best Cooling Practices
Even the best DIY rack fails if used wrong. Follow these rules for perfect results every time.
Cool Within 5 to 10 Minutes
Transfer food soon after baking to prevent overcooking from pan heat.
Maximize Airflow
Ensure at least 1 to 2 inches of clearance under the food. No airflow means soggy bottoms.
Never Trap Steam
Do not cover hot food with lids or foil. Let it breathe until fully cooled.
Use Absorbent Layers
Place paper towels under cool sheets or plates to catch grease and moisture.
Clean Immediately
Wash repurposed items (grates, racks, stones) after use to prevent odor buildup.
Do Not Stack Items
Always cool in a single layer. Stacking traps heat and creates condensation.
Final Recommendations
Best Overall: Oven Wire Rack
It is already designed for the job. Durable, safe, and effective, the top choice for any kitchen.
Best No-Tool Hack: Foil Rolls Plus Baking Sheet
Uses what you have. Fully customizable. Works for baking, roasting, and cooling.
Best for Pies and Cakes: Upside-Down Muffin Tin
Stable, elevated, and widely available. Doubles as a roasting rack.
Best Eco-Friendly Option: Flattened Paper Bag
Zero cost, compostable, and surprisingly effective for cookies and bars.
Best for Small Batches: Air Fryer Basket
Engineered for airflow. Perfect for resting meats or cooling small portions.
Pro Tip: Buy a Real Cooling Rack
While all these hacks work, a wire cooling rack costs $8 to $20 and lasts for years. Invest in one 10-by-15-inch rectangular rack for sheet pans and one 8 to 9-inch round rack for cakes or pies. Stainless steel models offer rust resistance and durability. Having even one rack eliminates the need to improvise and improves your baking results immediately.
Key Takeaways for Making a Cooling Rack
• Airflow prevents sogginess. Elevate food whenever possible.
• Stability matters. Ensure even support to avoid spills.
• Heat resistance keeps you safe. Use only materials rated for warm or hot food.
• Cleanability ensures food safety. Wash all repurposed items.
• Material choice is critical. Avoid toxic or reactive metals.
You do not need a store-bought rack to cool food properly. With a little creativity, you can make a cooling rack from items already in your kitchen and get the same crisp, even results. Try these tested methods, follow safety guidelines, and never let a missing rack ruin your bake again.
Frequently Asked Questions About Making a Cooling Rack
Can I use a cooling rack for something other than cookies?
Yes. Cooling racks work for breads, roasted meats, casseroles, and pies. Any food that benefits from airflow underneath can be placed on a rack or substitute.
What household item works best as a cooling rack?
The oven wire rack is the best substitute. It is already designed for airflow, heat-resistant, and available in most kitchens. Simply remove it before preheating.
Does a cooling rack keep food crispy?
Yes. Elevating food allows air to circulate underneath, preventing steam buildup that makes bottoms soggy. This keeps crusts crisp on cookies, pies, and breads.
Is parchment paper safe on hot cooling racks?
Parchment paper is safe up to 420 to 450°F. It works well for warm items but avoid placing it on extremely hot surfaces directly from the oven.
How do I make a cooling rack without buying anything?
Use an upside-down muffin tin, foil rolls under a baking sheet, or a flattened paper bag. Each method creates elevation and airflow using common household items.
Can I stack items on a cooling rack to save space?
No. Stacking traps heat and moisture between layers, causing uneven cooling and sogginess. Always cool food in a single layer.


