

Concrete shelves combine industrial strength with modern design, offering a durable and customizable storage solution for any space. Whether you’re crafting a minimalist floating shelf or a sculptural display unit, how to make a concrete shelf is a rewarding DIY project that turns raw materials into functional art. This guide walks you through every step, from mold construction to sealing, using proven methods from expert builders.
You will learn how to avoid cracks, achieve a smooth finish, and install your shelf securely while keeping costs low and creativity high.
Design Your Shelf Dimensions
Choose the Right Size and Shape
Before mixing concrete, plan your shelf dimensions based on its location and purpose. Most indoor shelves range from 1.5 to 3 inches thick and 8 to 12 inches deep. For spans longer than 36 inches, consider adding central support or reinforcing with rebar to prevent sagging.
Floating shelves benefit from a tapered design, thicker at the back and thinner at the front, to shift weight toward the wall and improve stability. This creates a sleek, cantilevered look without compromising strength.
Pick a Mounting Style
Decide how your shelf will be supported. Floating mounts use hidden anchors or embedded rebar for a clean, modern look. Bracket-mounted shelves feature exposed steel or iron brackets for industrial charm. A cleat system uses a wall-mounted rail that the shelf slides onto. Cast-in-place shelves are poured directly into a wall form for maximum strength.
Each style affects mold design and reinforcement needs. For drywall, use toggle bolts or hit studs; for masonry walls, chemical anchors work best.
Build a Leak-Proof Mold

Select Mold Materials
Your mold determines the final shape and surface quality. Use melamine-coated particleboard for smooth, reusable molds. MDF works for flat, sealed forms but avoid it in high-moisture environments. Cardboard with aluminum tape creates lightweight, disposable sculptural shapes. Silicone molds suit curved or organic designs. Timber beams work well for large in-place pours.
Ensure all materials are rigid and moisture-resistant. Laser-cut melamine boards offer precision, while cardboard allows creative freedom.
Assemble and Seal the Form
Cut pieces to size using a circular saw or jigsaw. For a floating shelf with a front lip, create an L-shaped mold with a 40mm shuttering strip at the front. Taper the back from 83mm to 43mm for visual balance. Use wood glue and screws to join corners, reinforcing with a carpenter’s square.
Seal all joints with neutral-cure silicone applied via mastic gun. Never use acetic acid types, which can damage molds. Line the interior with plastic sheeting or apply a release agent like petroleum jelly or cooking oil. Wipe off excess to avoid surface defects.
Dry-fit the mold first. Place it on a level pallet and check alignment with a laser level to ensure a perfectly flat shelf.
Reinforce for Strength and Durability
Use Rebar for Structural Shelves
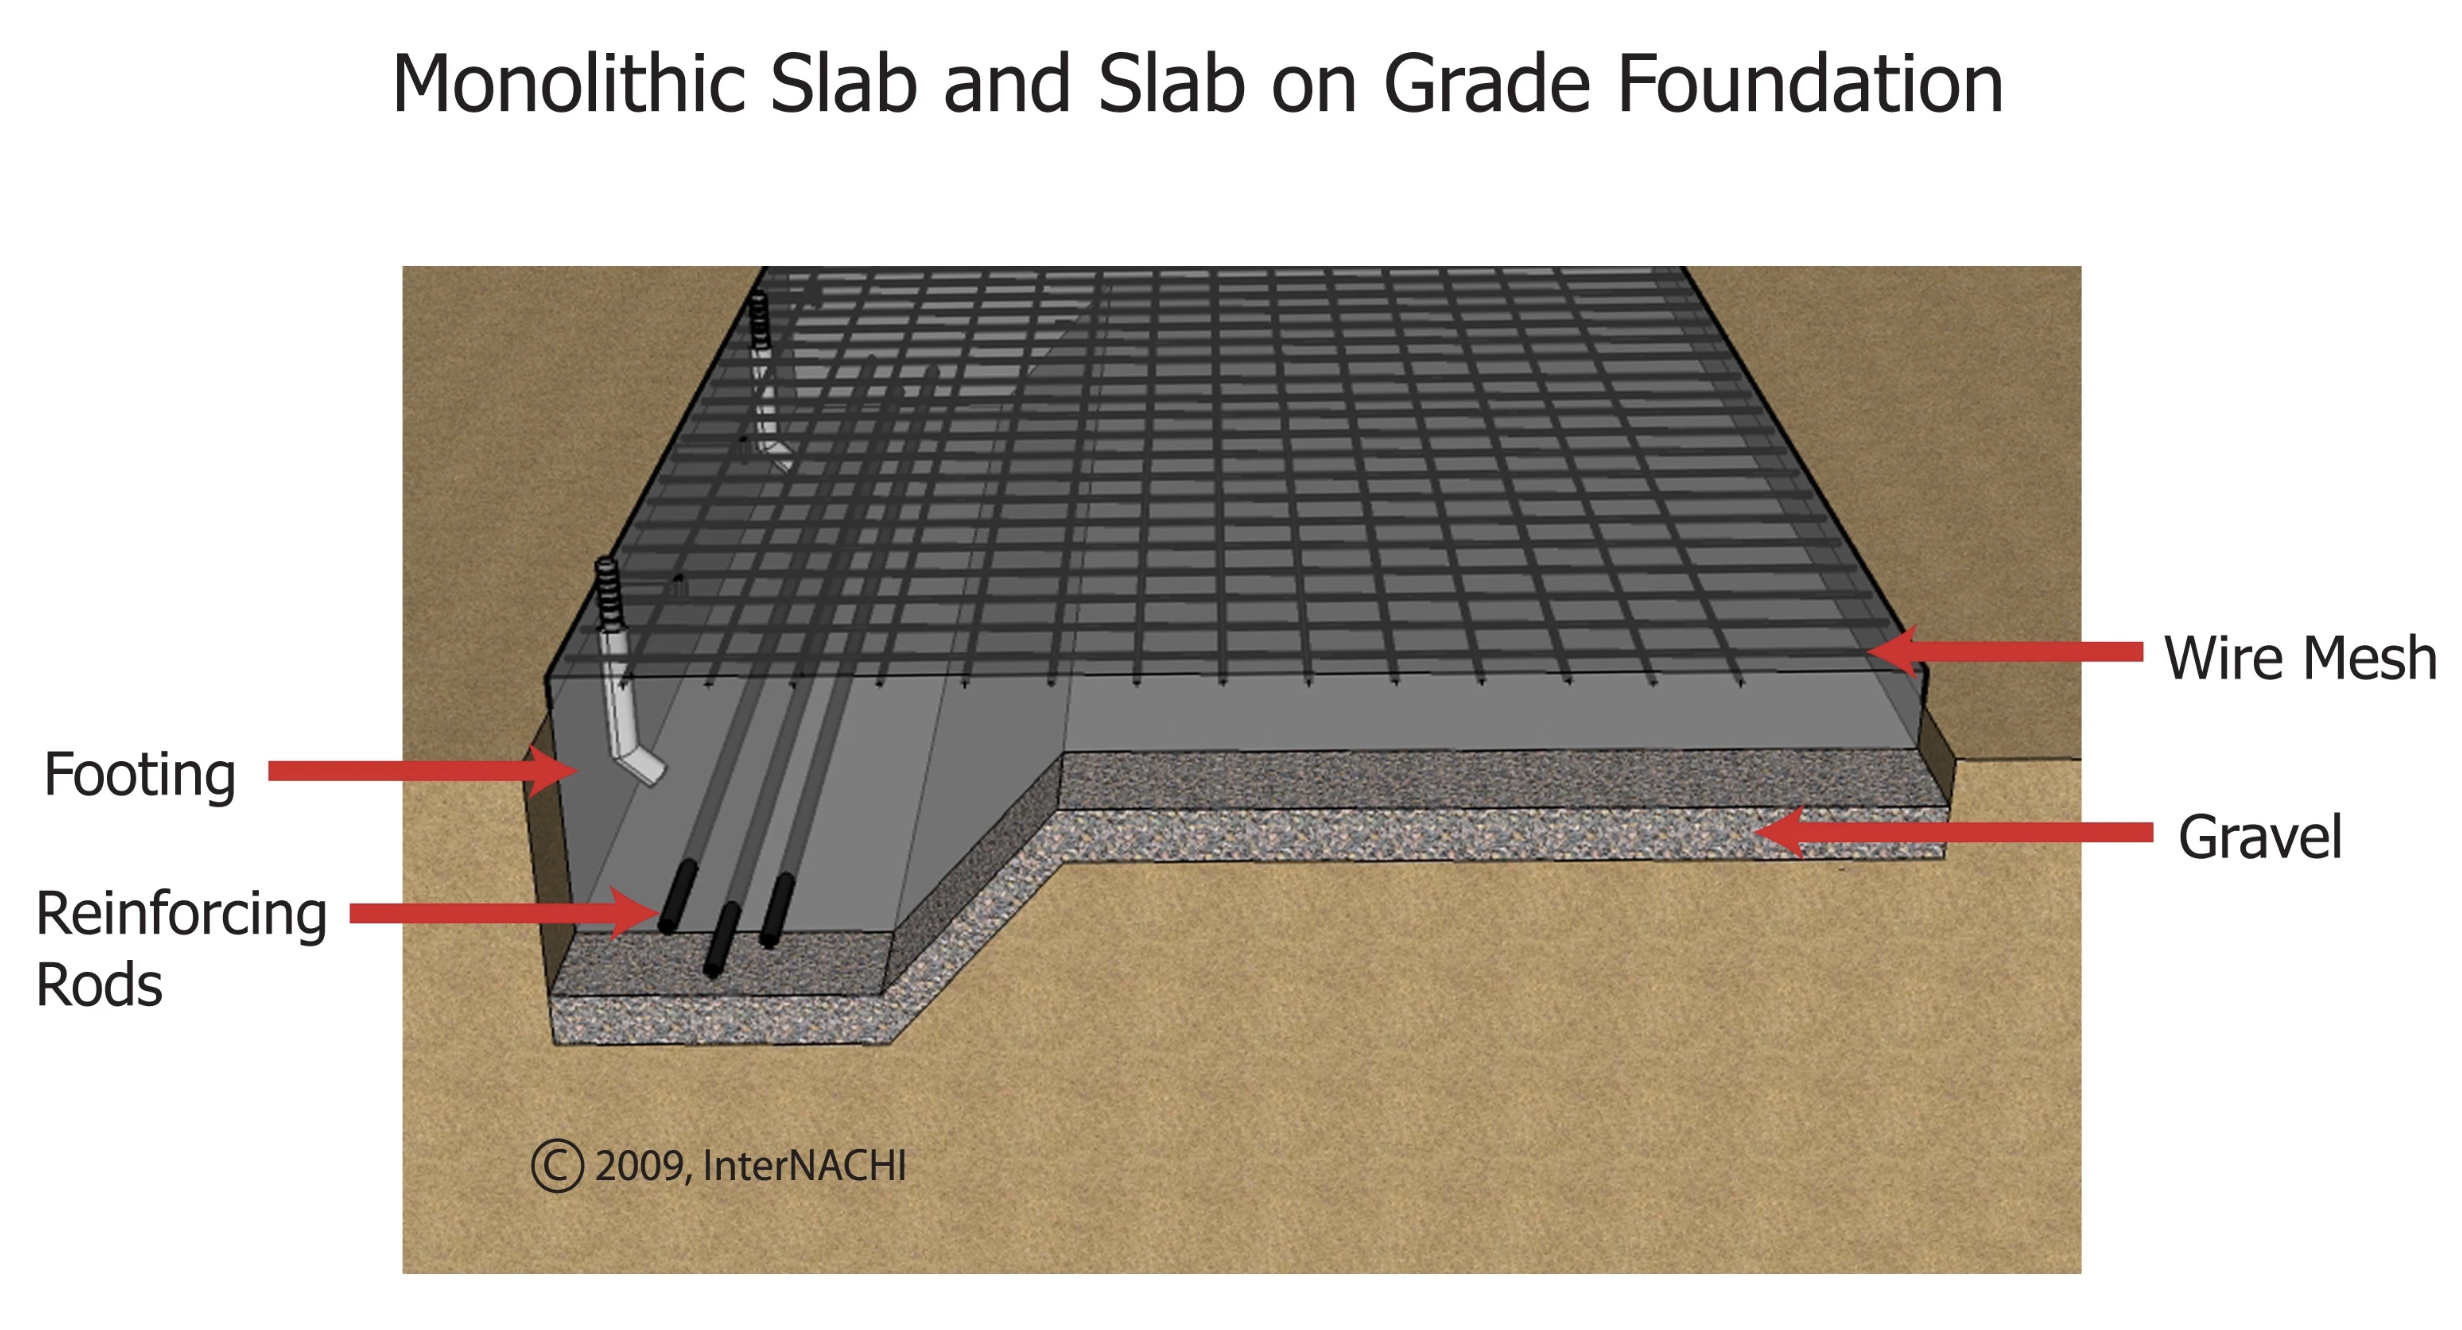
For long or heavy-duty shelves, embed a rebar grid. Drill 75mm pilot holes into the wall at 200mm intervals. Vacuum out dust, then inject two-chamber chem fix resin. Insert 8 to 10mm rebar at a slight backward angle to shift mass toward the wall. Wire a transom across the front to lock the cage in place.
This method is ideal for cast-in-place shelves where concrete bonds directly to masonry. It creates a true floating effect with no visible supports.
Add Mesh for Crack Resistance
For smaller shelves, place welded wire mesh or fiberglass mesh in the center of the pour. This controls cracking during curing and improves tensile strength. Ensure the mesh is fully encapsulated, never let it touch the mold surface.
Try Lightweight Mix for Decorative Shelves
If weight is a concern, use a vermiculite mix. Combine 2 parts pre-wetted vermiculite with 1 part cement. Add just enough water to form a ball that holds shape without crumbling. Avoid excess water to prevent shrinkage.
This mix is not load-bearing but perfect for displaying small items like crystals or photos.
Mix High-Quality Concrete
Choose the Right Base Mix
For best results, use a pre-mixed concrete designed for countertops, such as QUIKRETE Countertop Mix or Sakrete High-Strength Concrete Mix. Or make your own using 3 parts fine sand, 1 part Portland cement, and 0.5 parts water by volume. Add polymer fortifier to boost strength and reduce cracking.
For color, mix in concrete pigment at 4% of cement weight before adding water.
Add Workability Enhancers
Improve flow and finish with mortar plasticizer to enhance workability. Polymer fortifier increases durability and adhesion. Mix to a thick, oatmeal-like consistency, wet enough to vibrate but not so wet it pools.
Overwatering weakens concrete and increases shrinkage cracks. Mix thoroughly using a paddle mixer attached to a drill.
Pour and Consolidate the Concrete
Fill the Mold Evenly
Pour concrete in one session to avoid cold joints. Start from one corner and work across, filling to the top edge. For shelves with a front lip, pack the area firmly by hand to eliminate voids.
If embedding hardware such as threaded rods for brackets, position and secure it before pouring.
Remove Air Bubbles
Trapped air causes surface pitting and weak spots. Use a vibrating table for optimal results. A DIY setup with a car tire, melamine board, and electric motor costs about $60. Vibrate for 3 to 5 minutes until surface smooths.
Alternatively, tap mold sides with a rubber mallet for manual tamping, or use a handheld vibrator inserted briefly into concrete to settle the mix.
Let the surface settle slightly higher in the lip area to account for shrinkage during curing.
Cure and Demold Properly
Allow Time for Full Strength
Curing is critical. Follow this timeline. Initial set occurs in 4 to 5 hours when the surface turns matte. Demold after 24 to 48 hours for small molds, or 2 to 3 days for large or thick pours. Full cure takes 28 days for maximum strength.
Keep concrete moist during the first week. Mist with water or store in a humid environment. Cover with plastic sheeting to slow moisture loss and prevent cracking.
Remove the Mold Carefully
Start by removing the shuttering strip or front face. Unscrew all fasteners, then gently pry apart the mold with a chisel or putty knife. For cardboard molds, cut and peel away the taped strips.
Handle the shelf with care. Edges are still fragile. Place it on a soft surface to avoid chipping.
Finish and Polish the Surface
Grind for a Smooth Finish
Begin with a machine polisher and 40-grit pad to flatten the surface and align it with any backing material. Focus on leveling the top and lip, smoothing transitions between sections, and removing residual mold material.
Progress through grits: 80, 200, 400, 800, then 1200. Use wet sanding with a bucket of water to reduce dust and prevent overheating. For a luxury finish, use diamond pads ranging from 50 to 3000 grit for a glass-like polish.
Shape the Edges
Round or bevel edges with a hand sander using 120 to 400 grit for a refined look. Avoid sharp corners, which chip easily.
Choose a Texture
Leave a tamped texture for rustic appeal, or trowel smooth for a modern finish. For decorative effects, bush-hammer the surface with a textured hammer for a pitted look. Alternatively, wash the surface lightly to expose aggregate.
Seal for Protection and Shine
Pick the Right Sealer
Sealing protects against stains, moisture, and wear. HCL concrete countertop sealer provides a matte, food-safe, penetrative finish. Silane/siloxane offers deep penetration, ideal for bathrooms. Epoxy or polyurethane creates a glossy, abrasion-resistant topical layer. For kitchen shelves, use FDA-compliant sealers.
Apply in Thin Coats
Wait 3 to 4 hours after polishing for the surface to dry. Clean with a damp cloth, then apply 2 to 3 even coats with a brush or roller. Allow full drying between layers per manufacturer instructions.
Reapply every 12 to 24 months, especially in kitchens or bathrooms. Avoid abrasive cleaners. Use mild soap and water instead.
Install with Confidence
Mount Floating Shelves Securely
For true floating shelves, use chemically bonded rebar embedded in the wall. Ensure the wall is masonry or concrete, not drywall alone. Taper the shelf to transfer load efficiently.
For concealed cleats, install a wooden or metal rail into wall studs. Route a groove in the back of the shelf, then slide it onto the rail for hidden support.
Use Brackets for Visible Support
Attach steel or iron brackets rated for the shelf total load, which includes the shelf weight plus items. Anchor into studs or masonry using heavy-duty screws or toggle bolts.
For drywall without studs, use snap-toggle anchors rated for 100 pounds or more.
Customize for Your Space
Adapt for Different Uses
Concrete shelves work in living rooms to display art, books, and plants. Kitchens benefit from open shelving for dishes and spices. Bathrooms accommodate waterproof vanity or niche shelves. Fireplaces become modern mantels. Offices gain minimalist desk extensions.
Match Your Aesthetic
For an industrial look, choose smooth, tapered designs with matte seal. Boho style uses organic shapes, hand-formed molds, and textured finishes. Sculptural approaches create multi-compartment, asymmetrical designs. Luxury aesthetics feature high-gloss polish and beveled edges.
Scale projects to your skill level. Start with a small cardboard mold, then advance to cast-in-place builds.
Tools You Will Need
Several essential tools make this project manageable. A circular saw or jigsaw cuts mold pieces. A drill with paddle mixer blends concrete. A laser level ensures flatness. A mastic gun applies silicone. A vibrating table or hand vibrator removes air. A machine polisher grinds and polishes. Trowels, sanders, and chisels handle shaping and demolding. Safety gear including gloves, goggles, and an N95 mask protects you throughout the process.
Keep a bucket of water nearby for wet sanding and cleanup.
Avoid Common Mistakes
Many DIYers make predictable errors that compromise results. Using too much water creates weak, cracked concrete. Skipping vibration leaves air pockets and causes pitting. Demolding too soon damages edges. Poor mold sealing leads to leaks and uneven edges. Inadequate curing reduces strength. Forgoing reinforcement causes sagging on long spans.
Pre-seal wooden molds with shellac to prevent surface pitting. Always dry-fit before pouring.
Final Tips for Longevity
Inspect mounts annually for wall-mounted shelves. Repair small cracks with epoxy-based concrete filler. Re-seal every 1 to 2 years in high-use areas. Keep shelves indoors unless using weatherproof sealer. Avoid thermal shock by not placing hot pans directly on unsealed concrete.
Frequently Asked Questions About How to Make a Concrete Shelf
How long does it take to make a concrete shelf?
The actual pouring and molding takes 1 to 2 days. However, you must wait 24 to 48 hours before demolding and 28 days for full cure. Plan for a 1-month project from start to installation.
Can I make a concrete shelf without special tools?
Yes. Simple cardboard molds, a drill with paddle mixer, and hand tools suffice for basic shelves. A vibrating table and machine polisher improve results but are not mandatory for beginners.
How much weight can a concrete shelf hold?
A 1.5-inch thick shelf supported at both ends holds 50 to 100 pounds depending on span and reinforcement. Thicker shelves with rebar support heavier loads.
Do concrete shelves crack easily?
Properly reinforced and cured concrete resists cracking. Use mesh or rebar, avoid overwatering the mix, and cure in moist conditions for the first week.
Can I mount a concrete shelf on drywall?
Yes, but use toggle bolts or hit wall studs for secure anchoring. Limit shelf length and load accordingly. For heavy shelves, reinforce the wall or choose a different location.
Key Takeaways for Building a Concrete Shelf
Building a concrete shelf requires careful planning, quality materials, and patience. Design your shelf dimensions based on location and load requirements. Build a precise, leak-proof mold using melamine or cardboard. Reinforce with rebar or mesh appropriate to your shelf size. Mix concrete to a thick, oatmeal consistency and vibrate thoroughly to remove air bubbles. Cure properly for 28 days before heavy use. Finish with grinding and sealing for a durable, beautiful result.
Start with a small project to master the process, then advance to floating shelves and sculptural designs. Your first shelf will not be perfect, but each build improves your skills. The durability and customizability of concrete shelves make the effort worthwhile. Begin your project today and enjoy a functional piece of art that lasts decades.


