

You’ve seen them in boutiques and high-end home stores: sleek round shelves that float on the wall, add modern flair to corners, or create eye-catching displays. But you don’t need to spend $40 to $300 per shelf to get the look. With the right method, you can make a round shelf yourself, strong, stylish, and custom-fit to your space, for a fraction of the cost.
This guide reveals four battle-tested DIY methods to build round shelves, each suited to different skill levels, tools, and design goals. Whether you are a beginner with a jigsaw or an advanced woodworker with a router, you will find a way to craft a beautiful, durable shelf using techniques refined by real builders and tested against common pitfalls.
Build a Segmented Circle Shelf from Mitered Wood

This method creates furniture-grade round shelves with a seamless circular look. It requires precise cuts and multiple layers but produces a professional result that rivals retail prices of $300 or more.
Cut 16 Trapezoids with 11.25 Degree Miters
You need 16 trapezoids per layer to form a 16-sided polygon that reads as a perfect circle. Use 1×4 pine or 5/4×4 hardwood ripped to 1¼ inches thick.
Set your miter saw to 11.25 degrees. This angle comes from dividing 360 degrees by 16 segments, which equals 22.5 degrees per joint, so you need 11.25 degrees per side. Cut each trapezoid with a 4½ inch long leg. Use a stop block to maintain consistent length across all pieces. Always test-cut one piece first to verify the angle before cutting all 16. Label each piece to maintain orientation during assembly.
Glue and Clamp the Ring with a Ratchet Strap
Apply a thin, even bead of wood glue to one face of each trapezoid. Assemble them sequentially into a 16-sided ring. Wrap a ratchet strap tightly around the assembled ring to apply even pressure without leaving clamp marks. Wipe excess glue immediately with a damp cloth to prevent sanding problems later. Let the ring cure for 20 minutes before removing the strap.
Laminate Four Layers for Maximum Strength
Build four identical rings using 64 trapezoids total. Stack and align them precisely, then apply liberal wood glue between each layer. Clamp with bar clamps or pipe clamps and let cure for 24 hours for maximum bond strength. This creates a solid 1 inch thick laminated disk ready for shaping.
Route to a Perfect Circle Edge
Create a circular routing jig from extra trapezoid pieces or scrap wood. Screw pieces to a base board in a full circle matching your shelf outer diameter. Add a center pin to align the jig. Use a plunge router with a straight bit to route the outer edge first, then adjust depth to hollow the inner cavity if desired. Finish with 220-grit sandpaper for a smooth edge.
No router? Use an orbital sander starting with 80-grit, then move to 220-grit. You will get slight flat spots, but this works fine for rustic or painted finishes.
Add Half-Lap Shelves to the Ring
To add top or bottom shelves, mark where the shelf meets the ring. Cut a half-lap joint using a table saw or chisel, notching each piece halfway. Glue and insert the shelf into the ring. Secure with brad nails from an air-strike nail gun for invisible fastening. The lap joint hides the seam while brad nails prevent splitting.
Make a Hula-Hoop Shelf in Under an Hour
This beginner method uses repurposed hula hoops as a structural base. It is fast, cheap, and perfect for lightweight decorative displays.
Join Two Hula Hoops with Superglue
Use two identical hula hoops. Remove all stickers and decorative beads first. Align the hoops face-to-face and bond with Starbond superglue, which cures fast and bonds plastic securely. Clamp lightly or tape in place until set. Epoxy does not work as well on smooth plastic surfaces.
Cut and Insert Wooden Boards
Measure the inner diameter of the hoop. Cut thin wood like plywood or craft board to fit inside. Score with a box cutter, then snap along the line for a clean break. Avoid power tools on thin boards as they can splinter easily.
Secure Boards with Screws and Scrap Wood
Tested attachment methods that failed include zip ties through punched holes, which allowed boards to rotate freely, and dowels inserted into the hoop, which were too short to support any load.
The working method involves cutting small scrap wood blocks to fit inside the hoop. Place these blocks under each shelf board and screw upward through the hoop into the wood block. This anchors the board securely.
Paint the screws and visible hoop sections black to hide hardware and create a modern look. This shelf holds 2 to 3 pounds maximum, making it ideal for succulents, small photos, or crystals in boho or minimalist rooms.
Use Pre-Cut Wooden Disks for Fast Results
Skip complex circular cutting by starting with store-bought wooden circles. This method is easy and fast, perfect for beginners.
Source Ready-to-Use Wooden Circles
Buy 12 to 16 inch wooden disks from craft stores. These are typically ¾ inch thick, pre-sanded, and ready to use. They may have a center hole from the manufacturing process, which is no problem if covered by the support bracket.
Cut the Disk in Half for Two Shelves
Mark midpoints on opposite sides, avoiding the center hole. Draw a straight line through the center. Cut with a jigsaw, table saw, or hand saw. Sand cut edges with 80 to 220 grit for smooth wall contact.
Attach Internal Support Brackets
Place one cut half-circle on the back of the full disk. Trace its outline to guide screw placement. Drill two pilot holes within the traced area and screw the half-circle in place as a wall mount bracket. This is a two-person job to hold the support while drilling.
Hang with Command Strips for Rental-Friendly Installation
Use heavy-duty Command Strips rated for 3 to 4 pounds per strip. Clean the wall thoroughly before applying. Press and hold for 30 seconds. This method works only for lightweight items and causes no wall damage.
Build a Floating Corner Shelf from 2×12 Lumber
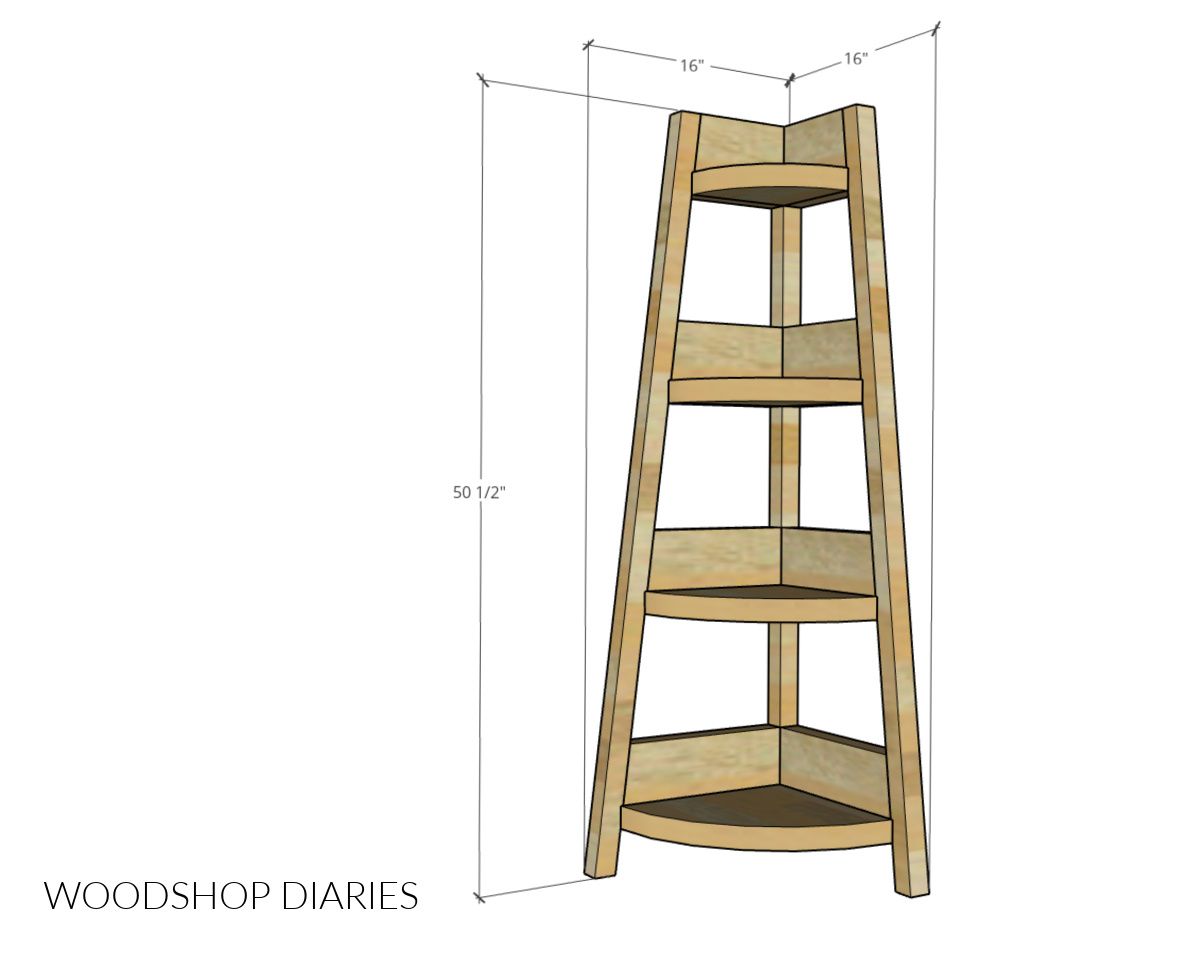
Turn awkward corners into useful floating storage with this functional method. The shelf appears to float while supporting moderate weight.
Cut a Semi-Circle Using a String Compass
Use a 2×12 lumber, which provides an 11¼ inch radius that fits the board width. Make a string-and-pencil compass by tying string to a pencil and measuring 11¼ inches to the mark. Anchor the string at the corner and trace an arc. Cut with a jigsaw using a fine-tooth blade for clean curves. The arc should just touch both edges of the board for a perfect fit.
Install Corner Braces into Wall Studs
Use four metal corner braces per shelf. Mount two on each wall, positioned 2½ inches and 9 inches from the corner for an 11¼ inch radius shelf. Secure into wall studs for heavy loads or use drywall anchors for medium loads. Use a level to ensure alignment.
Mortise Braces for a True Floating Effect
Place the shelf on the installed braces and mark contact points on the underside. Score outlines with a utility knife. Chisel mortises approximately 1/8 inch deep to recess the braces. Sand and finish the shelf before final installation. Set the shelf into the mortises and screw up through braces into the shelf. Paint braces white or black to blend with your wall or shelf.
Finish Your Round Shelf Like a Pro
Proper finishing transforms DIY shelves into professional-looking pieces.
Sand in Progressive Stages
Start with 80 to 120 grit sandpaper to remove tool marks and blend joints. Move to 220 grit for final smoothness before staining or painting. Wipe the surface with tack cloth before applying any finish.
Choose the Right Finish for Your Space
Mohawk Ultra Stain in Perfect Brown offers fade resistance, no bleed, and fast drying. Watco Danish Oil in Dark Walnut provides moisture resistance, making it ideal for bathrooms or kitchens. White paint creates a modern, bright look that hides imperfections. Antique wax diluted with water brush on and wipe back for a translucent aged appearance.
Mounting Tips and Weight Limits
Different methods support different weights. The segmented 4-layer ring holds 5 to 8 pounds when mounted into studs. Hula-hoop shelves support 2 to 3 pounds with Command Strips. Pre-cut disks hold 3 to 5 pounds with Command Strips or anchors. The 2×12 corner shelf supports 8 to 12 pounds with stud-mounted braces.
Always find studs with a stud finder for heavy loads. Use a level during installation because crooked shelves ruin the entire look. Mortise braces for the floating illusion. Distribute weight evenly when hanging cluster arrangements.
Frequently Asked Questions About Making Round Shelves
What is the easiest way to make a round shelf for beginners?
The hula-hoop method is the easiest for beginners. It requires only basic tools like a box cutter and screwdriver. The pre-cut wooden disk method is also beginner-friendly since you skip complex circular cuts.
How much weight can a DIY round shelf hold?
Weight capacity depends on the construction method. Segmented circle shelves hold 5 to 8 pounds. Hula-hoop shelves hold 2 to 3 pounds. Corner shelves built from 2×12 lumber hold 8 to 12 pounds.
Do I need a router to make a round shelf?
No, a router is optional. An orbital sander can smooth edges for rustic or painted finishes. The results may have slight flat spots, but they are acceptable for many design styles.
Can I make a round shelf without a miter saw?
Yes. You can use a hand saw with a miter box for angle cuts. Alternatively, the hula-hoop and pre-cut disk methods require no miter cuts at all.
How much does it cost to make a round shelf yourself?
Material costs range from $15 to $50 depending on the method. This is significantly less than retail prices of $40 to $300 for similar shelves.
Choose Your Round Shelf Method and Start Building
You now have four proven ways to make a round shelf, each with clear steps, tested fixes, and professional insights. The segmented circle method gives you a strong, custom piece that rivals high-end retail options. The hula-hoop method provides a fast, budget-friendly solution for light display. The pre-cut disk method skips complex cutting for quick results. The corner shelf method transforms awkward spaces into functional storage.
Pick your method based on your skill level, available tools, and intended use. Gather your materials, follow the steps, and finish with a professional stain or paint. Your custom round shelf is just a few cuts and clamps away.


