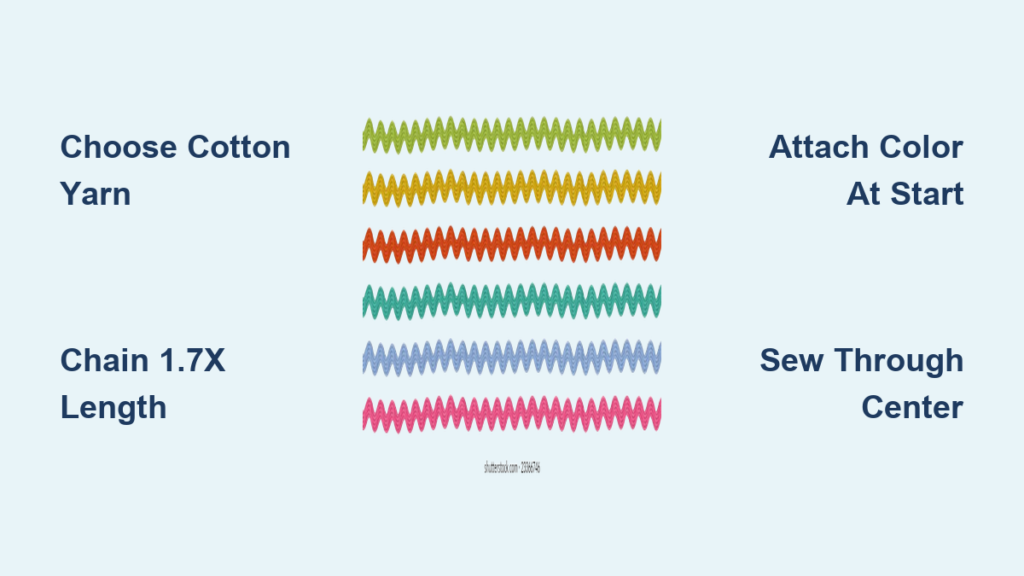
Rick rack isn’t just a nostalgic trim. It is a customizable, playful way to add zigzag flair to any fabric project. Whether you are crafting a retro dress, decorating a child’s tote, or making doll clothes, learning how to make rick rack gives you full control over color, width, and texture. This guide walks you through creating your own crochet rick rack from scratch, attaching it like a pro, and avoiding common mistakes.
By the end, you will know how to make rick rack that is durable, vibrant, and perfectly matched to your vision. No more hunting for the right color in stores.
Choose the Right Material for Your Rick Rack
Before making rick rack, pick a yarn or thread that fits your project’s needs. The material affects drape, washability, and heat resistance.
Cotton vs Polyester vs Nylon
Cotton rick rack is soft, iron-safe, and ideal for garments worn daily. It holds up well in the wash and can be pressed directly. This makes it perfect for children’s clothing or quilts.
Polyester is stiffer and cheaper but melts under high heat. Always use a pressing cloth if ironing. It works best for decorative projects that will not endure heavy wear.
Nylon is lightweight and often sold for scrapbooking. It is the most heat-sensitive and can scorch or release fumes when ironed. Test a scrap first.
Pro Tip: Unknown material? Press a hidden end with medium heat and a cloth. If it stiffens or smells, it is synthetic.
Chain the Foundation for Crochet Rick Rack
The foundation chain sets the length and flexibility of your rick rack. Get this step right to avoid running short later.
Chain 1.7x Your Desired Length
Because the zigzag pattern compresses the trim, your chain must be 70% longer than the final piece. For a 10-inch rick rack, chain 17 inches.
Always chain in multiples of 10 + 2 stitches such as 52, 62, or 72. This ensures the pattern repeats cleanly.
Use a 3mm crochet hook for standard rick rack. Go larger at 4 to 5mm for chunky versions, or smaller at 2.5mm for delicate trims.
Visual Cue: The chain should feel smooth and even, not too tight and not too loose.
Crochet the First Zigzag Row

This row forms the signature peaks and valleys of rick rack. Focus on tension and stitch placement.
Work Treble Crochets in Pattern
The sequence creates one full zigzag cycle. Keep tension consistent because tight stitches make the rick rack stiff while loose ones cause sagging.
- Tr (treble crochet) into the 3rd chain from hook.
- Tr into next chain.
- Repeat across:
Tr into next 3 chains,
Tr3tog (treble three together) over next 3 chains (creates valley),
Tr into next 3 chains,
3Tr into next chain (forms peak) - End with 2Tr in final chain.
- Bind off.
Common Mistake: Skipping the Tr3tog. This stitch is essential for the sharp valley. If missed, the trim loses its defined shape.
Add Colors to Your Rick Rack
Multi-colored rick rack adds instant charm. Think rainbows, ombre, or holiday palettes.
Attach New Color at Row Start
Never turn and work back. Instead, attach the next color at the beginning of each row so all stripes run parallel.
- Join new yarn with a slip stitch at the first stitch.
- Ch3 (counts as first Tr), then Tr into same stitch.
- Repeat the same pattern: Tr in 3, Tr3tog, Tr in 3, 3Tr in 1
- End with 2Tr in last stitch.
- Bind off.
This keeps the zigzag direction uniform and prevents a stair-step look.
Pro Tip: Use a tapestry needle to weave in ends as you go. This saves time later.
Adjust Length Before Finishing
Handmade rick rack can be too long. Luckily, you can shorten it without cutting.
Undo Bind-Off to Resize
- Pin the rick rack to your project.
- If it extends past the edge, undo the last bind-off.
- Gently pull out stitches until the trim fits.
- Re-bind off.
You can repeat this on earlier rows if needed. This flexibility is a major perk of handmade trim.
Warning: Do not cut the yarn too short when binding off. Leave a 6-inch tail for reworking.
Sew Rick Rack Into a Seam
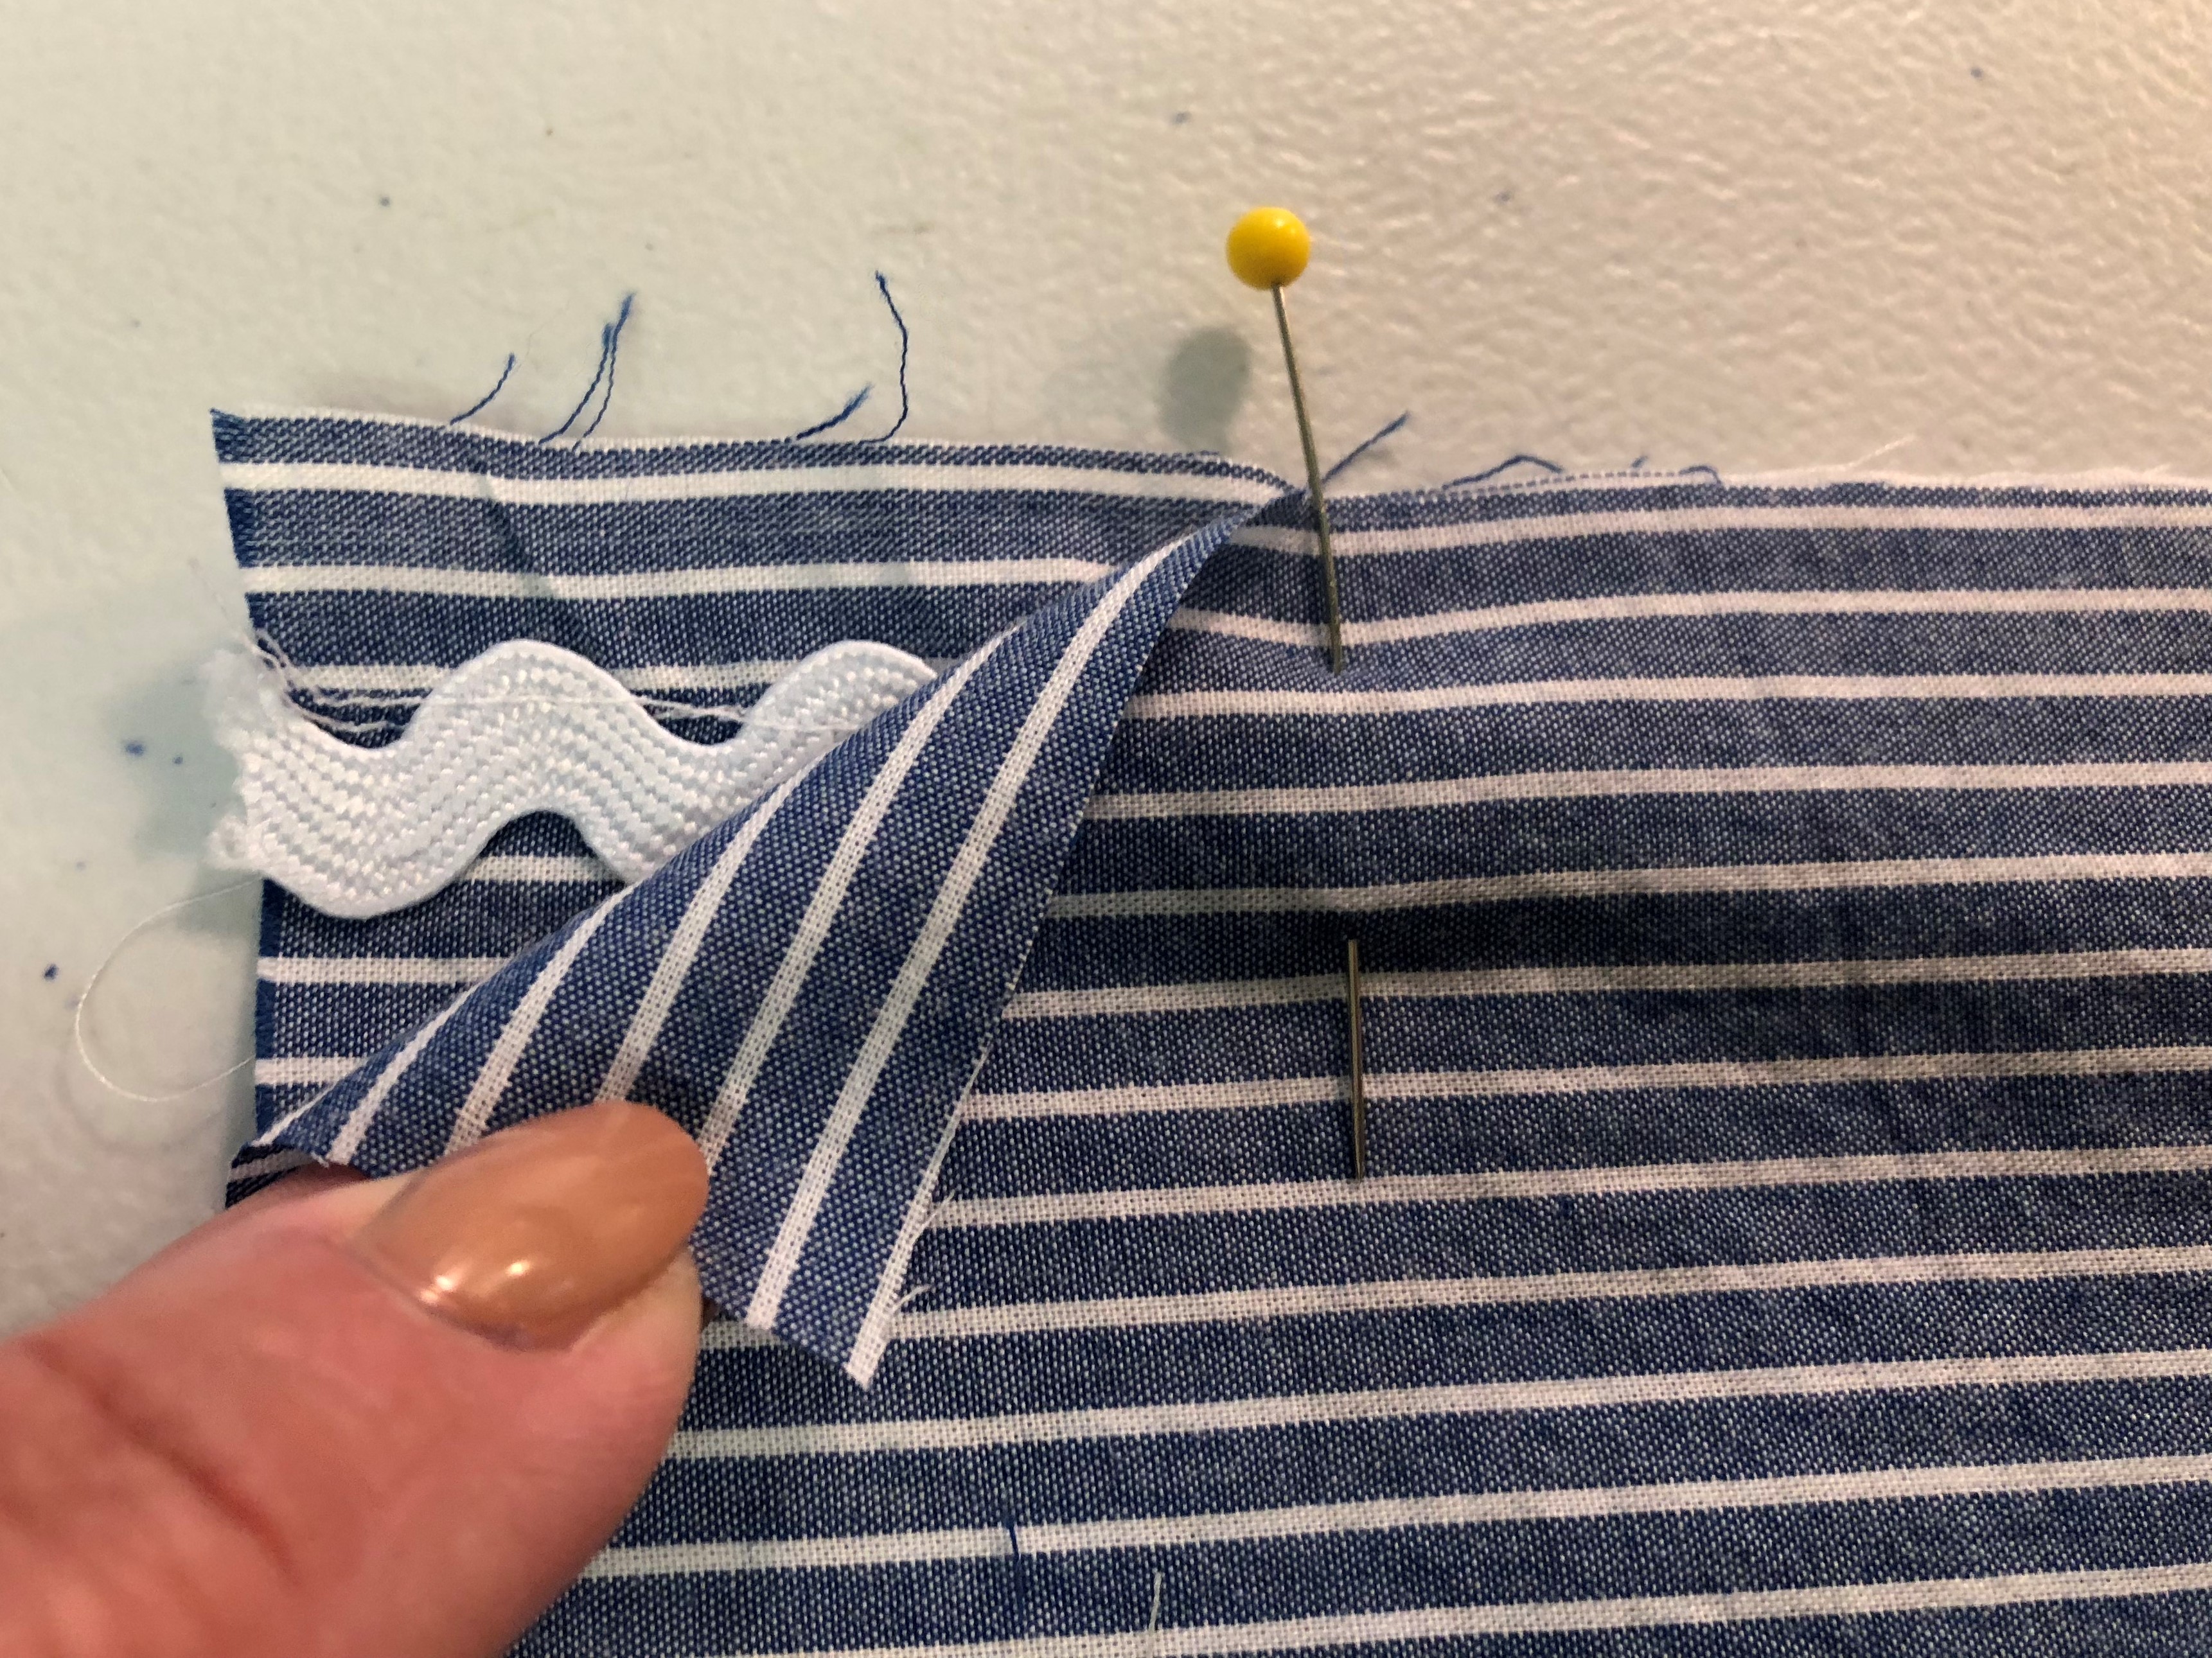
For a clean, embedded look, sew rick rack into a seam before closing it.
Mark 1/8 Inch Inside Seam Allowance
On the right side of fabric, mark a line 1/8 inch inside the seam edge. For example, for a 5/8 inch seam, mark at 1/2 inch from edge.
Use fabric chalk or a water-soluble pen. Alternatively, sew a basting stitch as your guide.
Align Valleys with Guide Line
Place the rick rack so the lowest points (valleys) sit just below your marked line.
Pin in place. Make sure the trim lies flat with no twists.
Stitch Along Guide Line
Use an open embroidery foot for clear visibility.
Sew straight down the guide line, catching the rick rack through its center.
Stitch Tip: Use thread that matches the rick rack. Bobbin thread should match the fabric. This keeps the backside neat.
Close the Seam
With right sides together, align fabric pieces over the rick rack.
Pin through all layers to prevent shifting.
Sew the full seam as usual. The rick rack will be enclosed.
Press seam open, then fold back so wrong sides face. This reveals the trim on the outside.
Apply Rick Rack to a Hem
Use this method to decorate finished edges like cuffs, hems, or quilt borders.
Position Trim at Hem Edge
After hemming, lay rick rack along the fold line or raw edge.
Align valleys with the hem’s edge. Pin every inch.
Sew Down the Center
Use a straight stitch and sew directly through the center of the trim.
Keep stitch length standard at 2.5mm. Maintain even tension.
With matching thread, front stitching disappears. Use fabric-colored bobbin thread to hide the backside.
Pro Tip: For reversible garments, this thread combo makes stitching invisible on both sides.
Layer or Mix Sizes
Try these combinations for different effects.
- Thin rick rack under wide for texture
- Rainbow stack of different widths
- Contrasting color for bold effect
Great for tote bags, napkins, or kids’ clothes.
Prevent Heat Damage When Ironing
Many rick rack disasters happen during ironing.
Iron Cotton Freely, Protect Synthetics
Cotton: Iron directly on medium-high heat.
Polyester: Always use a pressing cloth. No steam if unsure.
Nylon: Avoid ironing. If needed, use lowest heat and cloth. Test first.
Warning: Melting nylon can trigger smoke alarms and ruin your iron.
Fix Curling After Washing
Washing can cause rick rack to twist or curl.
Press Gently After Laundering
Lay fabric flat. Use a pressing cloth and medium heat.
Press from the back if possible. Smooth the trim with your fingers as you go.
Prevention: Add a color catcher sheet in the wash. Some dyes bleed, especially in bright reds or purples.
Use Rick Rick for Doll Clothes and Mini Projects
Rick rack scales beautifully for tiny creations.
Use 1/8 Inch Trim for Doll Clothes
Perfect for Blythe or 18-inch dolls.
Stitch through center with fine thread. Use a needle with a small eye.
Try Jumbo Trim on Small Items
A 3/4 inch rick rack on a doll dress creates a bold, modern look.
Contrast sizes add visual interest. Great for fabric art or accessories.
Try No-Sew Glue Applications
Not all rick rack needs stitching.
Glue for Crafts and Scrapbooking
Use fabric glue or hot glue at low temp to attach rick rack to these items.
- Photo mats
- Cardboard frames
- Cake tiers (use food-safe ribbon)
- Party bunting
Ideal for quick decorations or non-washable items.
Safety Note: Never glue near edges that touch food unless using edible or food-safe materials.
Match Thread for Invisible Stitching
Invisible stitching elevates your project.
Use Two-Tone Thread Strategy
Top thread: Match rick rack color.
Bobbin thread: Match fabric.
On sheer or lightweight fabric, this hides stitches completely on both sides.
Test on a scrap first, especially with dark trim on light fabric.
Troubleshoot Common Rick Rack Problems
Even simple trims can go wrong. Here is how to fix it.
Rick Rack Twists While Sewing
Stop and check alignment. The valleys should point down consistently.
Unpick a few stitches and re-pin. Use more pins for long runs.
Stitches Do Not Catch the Trim
Use a walking foot if fabric layers shift.
Or switch to a zigzag foot for better grip on textured trim.
Color Bleeds in Wash
Always use a laundry color catcher.
Wash dark and light trims separately the first time.
Soak handmade crochet rick rack in cold water with vinegar (1 tbsp per quart) to set dye.
Key Takeaways for Making Rick Rack
Knowing how to make rick rack opens a world of customization. From crochet basics to precision sewing, you now have the tools to create durable, vibrant trim for any project.
Use cotton for longevity. It withstands repeated washing and ironing. Protect synthetics from heat by always using a pressing cloth. Match thread for a professional finish.
Start small and experiment with color. Whether you are sewing garments, crafting for kids, or decorating at home, rick rack adds a touch of retro charm with modern flexibility. Let your creativity zigzag freely.
Frequently Asked Questions About Making Rick Rack
What is the best material for making rick rack?
Cotton is the best material for most projects. It is soft, washable, and can be ironed directly without damage. Polyester works for decorative items but requires a pressing cloth when ironing. Nylon is the most delicate and should only be used for non-washable crafts.
How much yarn do I need to make rick rack?
Chain your foundation at 1.7 times the desired final length. The zigzag pattern compresses the trim significantly. For example, if you want 12 inches of finished rick rack, chain approximately 20 inches.
Can I shorten handmade rick rack after crocheting?
Yes. Simply undo the bind-off of the last row and pull out stitches until you reach the desired length. Re-bind off the yarn. You can repeat this on earlier rows if more adjustment is needed.
Why does my rick rack curl after washing?
This happens most often with synthetic materials. Gently press the trim while damp using a pressing cloth. To prevent future curling, use cotton rick rack for washable items and add a color catcher sheet to the laundry load.
What is the easiest way to attach rick rack to fabric?
The simplest method is sewing straight down the center of the trim after positioning it along a hem edge or seam. Use thread that matches the rick rack for nearly invisible stitching. For a more embedded look, sew rick rack into the seam before closing it.