
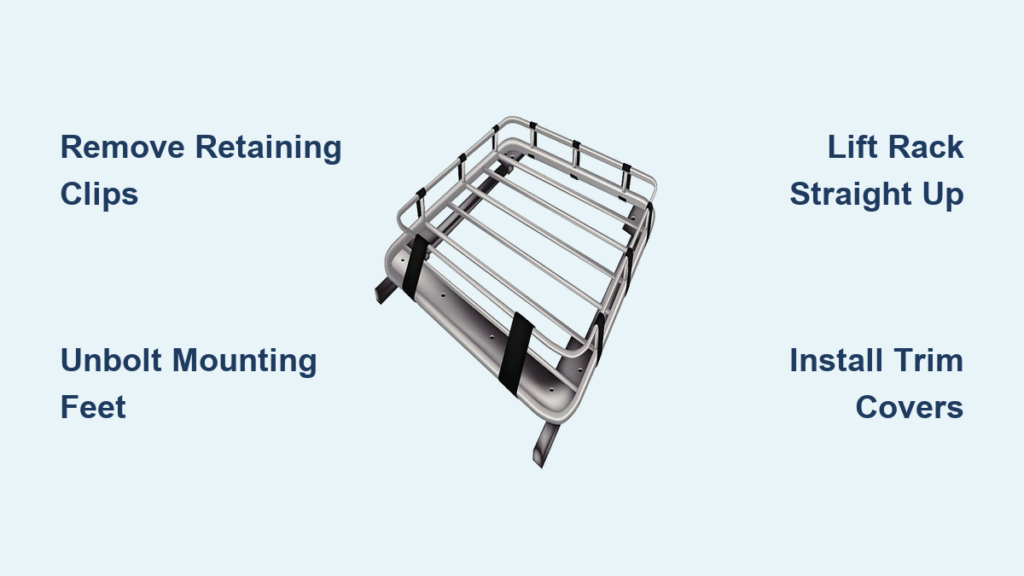
If you’re wondering how to remove a roof rack, you likely want to improve fuel efficiency, reduce wind noise, or store the rack for seasonal use. This guide covers proven, model-specific techniques for OEM and aftermarket systems across Toyota, Ford, and Thule platforms. You’ll learn the right tools to use, critical safety precautions, and how to avoid common mistakes that cause leaks or headliner damage.
Whether you drive a Toyota Land Cruiser, Ford Bronco, or use a Thule aftermarket system, these step-by-step instructions ensure a clean, professional result without costly errors.
Remove Thule Aftermarket Roof Rack
Thule racks use clamp-based systems designed for easy removal without permanent modifications. This makes them ideal for seasonal use or switching between vehicles.
Unlock and Release Retaining Clips
Locate the spring-loaded retaining clips underneath each mounting foot. Pull down gently to release tension. Some models use keyed locks, so ensure you have the key before starting.
Disengage Rubber Seal and Mounting Feet
Use a Phillips or flat-head screwdriver to loosen the screw securing the rubber seal to the rain gutter or roof rail. Push the tab outward to disconnect the foot from the seal mechanism.
Lift Rack Off Safely
Once all four mounting points are released, use both hands to lift the rack straight up. Avoid twisting or tilting, which can strain the clamps. If resistance is felt, recheck each foot.
Remove or Store Mounting Feet
Leave the feet attached if you plan to reinstall soon. Otherwise, use a hex key or Torx bit to remove them. Wipe down the feet and store all hardware in a labeled bag.
Remove Toyota Land Cruiser Roof Rack (200/300 Series)
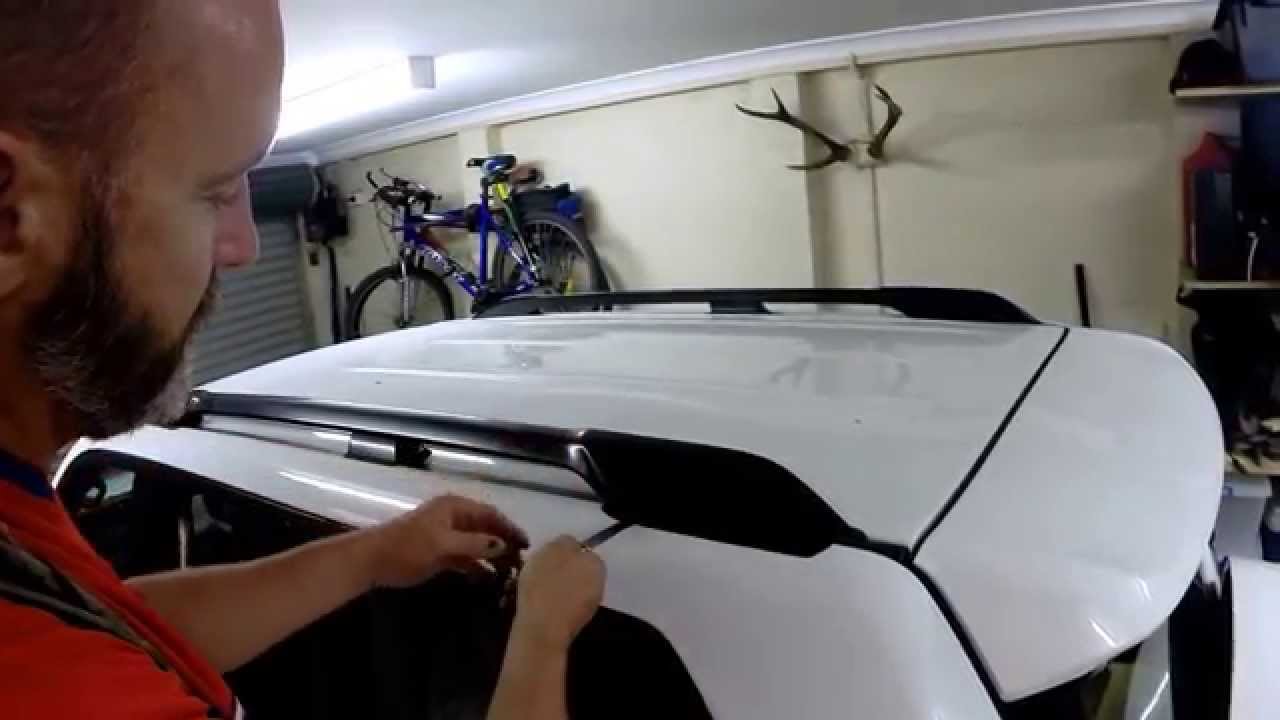
The Land Cruiser uses a bolted rail system requiring an OEM-style delete kit for a sealed, clean finish.
Remove Plastic Corner Covers
Use a plastic trim tool wrapped in microfiber cloth to gently pry off the four corner caps. These conceal 12 mm bolts. Work slowly, as older plastic can crack if forced.
Unbolt and Lift Factory Rack
Loosen the five 12 mm bolts per side holding the central rail. Remove the front and rear sections first, as they often pop off once bolts are loose. Then remove the center bolts and lift the rail away.
Expose and Remove Central Bracket
Peel back the rubber gasket in the roof’s center to access two additional 12 mm bolts. Remove them and extract the central bracket. Clean all old foam gaskets from mounting surfaces.
Install Delete Brackets Correctly
Place new brackets so the arrows face outward from the vehicle centerline. They come with integrated foam gaskets. Use the 10 mm bolts provided, which include rubber-sealed washers and thread sealant.
Tighten until resistance is felt, then give one slight additional turn. Over-tightening can strip threads or crack plastic.
Snap On New Covers
Install the new plastic caps, ensuring the dual arrows face forward. They should click securely into place. After rain or a car wash, inspect for leaks.
Remove Toyota 4Runner Roof Rack (2025+)
The 6th-gen 4Runner uses a plug-cover molding system for a flush roof finish with unique alignment details.
Remove All Corner Covers
Use a plastic pry tool wrapped in microfiber to lift the four corner caps. Expose the 12 mm bolts beneath. Work carefully to avoid scratching paint.
Loosen Bolts Evenly
Use a 12 mm socket to loosen each bolt. Alternate between front and back to prevent uneven stress. Keep bolts finger-tight until all are partially removed.
Lift Rack and Install Delete Brackets
Once bolts are removed, lift the rack straight up. Place new delete brackets with tabs facing upward toward the roof center. Use the smaller 10 mm bolts from the kit.
Tighten evenly from left to right until snug. Stop when the bolt no longer spins freely. Do not over-tighten.
Snap On Flush Cover
Hook the plastic end of the cover under the roof edge first. Then press down on the metal tab to lock it in place. Ensure arrows face forward for correct orientation.
Remove Ford Ranger Roof Rack (2022+)
The Ranger uses Torx fasteners and removable trim covers based on the owner’s manual specifications.
Remove Bolt Covers with Trim Tools
Insert two narrow trim tools simultaneously at the front and rear covers to disengage the clips. Remove both protective caps to expose the Torx T40 bolts.
Unscrew Front and Rear Fasteners
Use a Torx T40 bit with a ratchet to remove the bolts. Keep them safe, as these are specific to the rack system.
Slide and Lift Roof Rack
After loosening, slide the inner support brackets toward the center to release tension. Then lift the entire rack off the roof.
Remove Supports and Install Trim Cover
Detach the front and rear support brackets and rubber gaskets. This exposes the accessory mounting plate. Install a trim cover, which is sold separately, to seal the plate and maintain a clean look.
Remove Ford Bronco Roof Rack
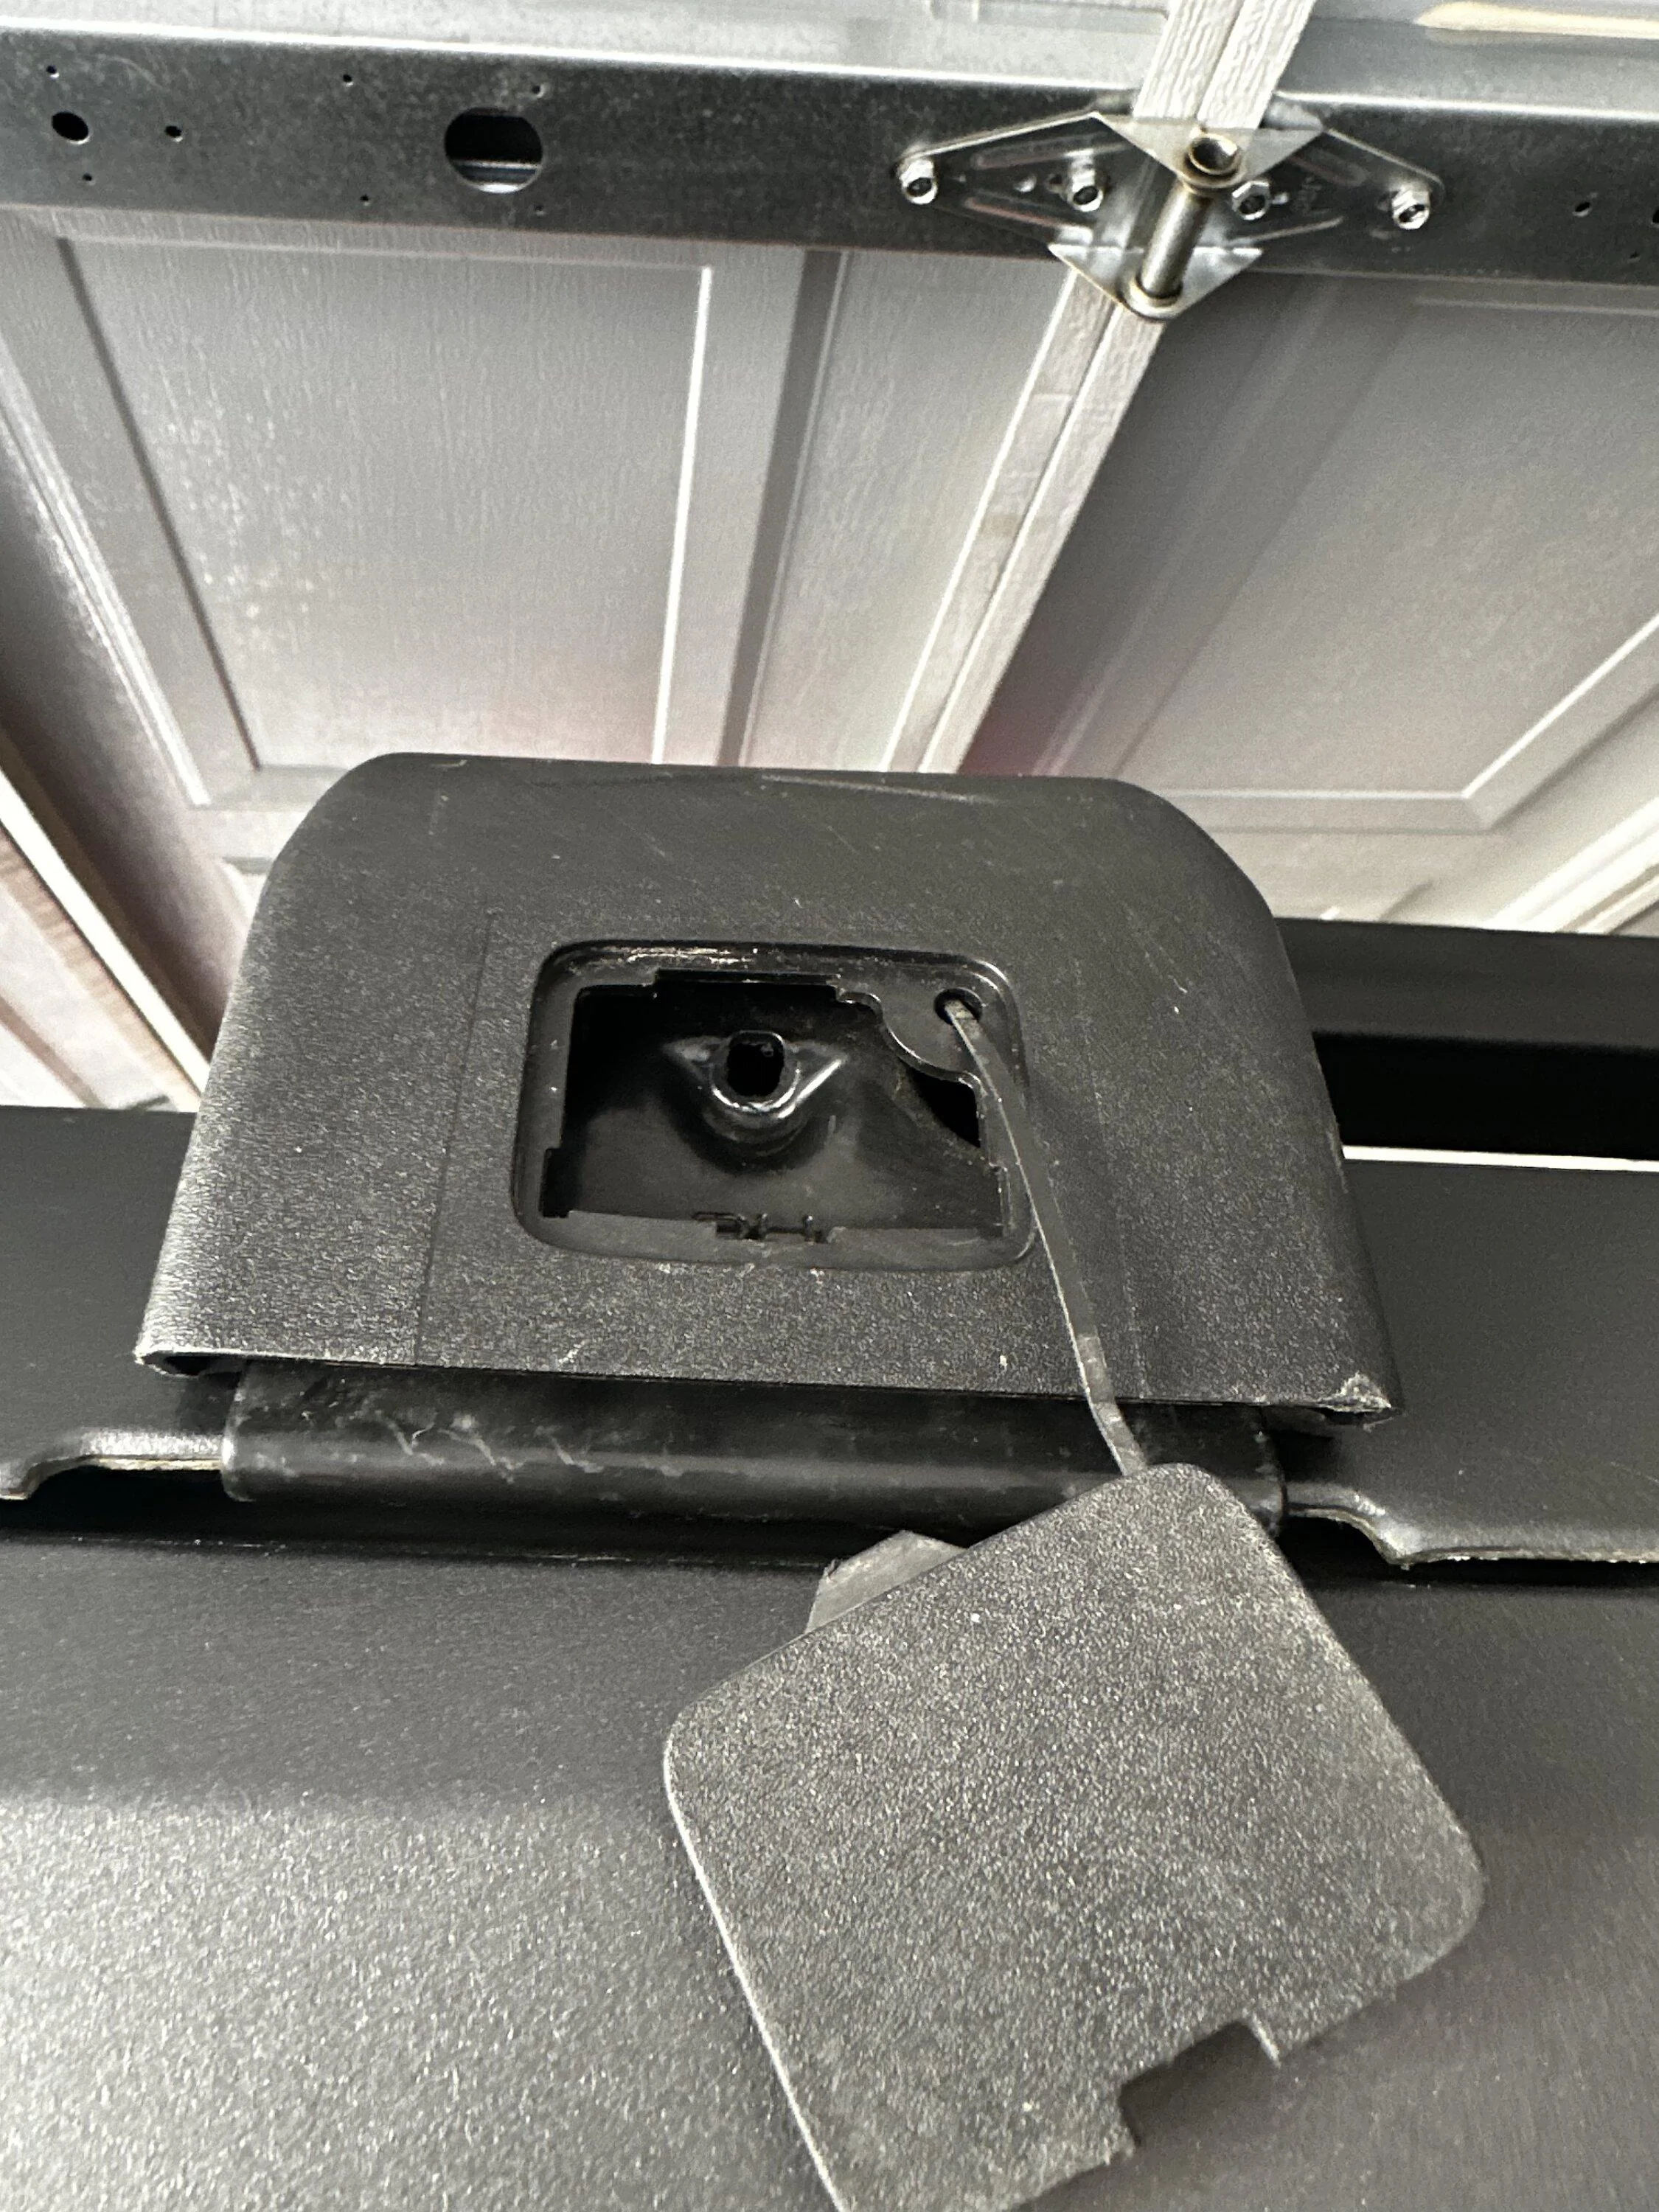
The Bronco uses a unique triangle bolt and barrel nut system. Forum users report stiffness on first removal that improves with repeated use.
Loosen Triangle Bolts Only
Use a Torx T30 or T27 bit to loosen but not fully remove the triangle bolts. They thread into barrel nuts inside the roof channels. Fully removing the bolt may cause the barrel nut to rotate or dislodge.
Disengage Rear Hooks with Shim
Once loosened, gently slide or lift the rack to release the rear hooks from the MIC notch. If clamps resist, insert a thin wooden shim under the hook to prevent re-latching.
Repeat at All Mounting Points
Work around the roof, repeating the process at each corner. Expect resistance on the first removal. The mechanism loosens with repeated use.
Remove Toyota RAV4 Roof Rails (2006–2012)
Older RAV4 models use simple rail systems that slide out laterally.
Pry Off Plastic Caps
Use a flat-head screwdriver to gently lift the caps on each rail end. Clean around the bolts if residue has built up over time.
Remove Fasteners
Use a 10 mm or 12 mm socket wrench to remove the bolts securing the rail to the roof’s mounting points.
Slide Rail Out Laterally
Once bolts are out, slide the rail sideways off the mounting studs. Repeat on the other side.
Remove Cross-Bar Brackets
Unbolt the two front brackets, then loosen the side bolts. Slide the crossmember out and remove the entire assembly.
Common Challenges and How to Avoid Them
Stiff Clamps on Ford Bronco
The clamps won’t release easily on first removal. Use a wooden shim to hold the hook open while sliding the rack free. The mechanism loosens with repeated use.
Misaligned MIC Notch
If the bolt is removed too early, the hook cannot disengage. Always loosen before removing. Keep the bolt partially threaded until the hook clears the notch.
Headliner Damage from Bolt Pressure
Pushing down on bolts forces plastic retainers into the headliner. Let bolts float freely during removal. Never apply downward pressure.
Lost Barrel Nuts
Over-loosening causes barrel nuts to spin or fall. Loosen gradually. If a nut drops, you may need interior access to reposition it.
Missing Trim Covers on Ford Ranger
The mounting plate remains exposed after removal. Purchase the trim cover kit separately to prevent water intrusion and UV damage.
Essential Safety Tips and Best Practices
• Never push down on bolts, as this risks headliner damage
• Avoid over-tightening, which can strip threads or compress seals unevenly
• Do not stack foam gaskets, as this increases leak risk due to uneven surfaces
• Use microfiber-covered pry tools to prevent scratches on paint and trim
• Work in dry, clean conditions where moisture or dust compromises seal integrity
• Go slow with old plastic covers, as brittle material cracks easily
Post-Removal Care and Storage
For Aftermarket Racks
Store the rack flat to prevent warping. Keep clips, screws, and seals in a labeled bag. Re-engage locking mechanisms to prevent accidental release during storage.
For OEM Hardware
Label parts by location, such as front left or rear right. Clean bolts and rails to prevent corrosion. Store in a dry, UV-protected area.
Benefits of Removing Your Roof Rack
Improved Fuel Efficiency
Removing the rack reduces drag. Drivers report a 1 to 3 percent increase in highway fuel economy, especially at speeds over 60 miles per hour.
Reduced Wind Noise
This eliminates high-pitched whistling or buffeting above 50 mph. Many users note a quieter cabin immediately after removal.
Cleaner Aesthetic
A flush, minimalist roof is preferred by urban drivers and overlanders alike. OEM delete kits offer factory-level finish.
Lower Damage Risk
Removing the rack avoids snagging on garage doors, tree branches, or drive-thru sensors.
Full Reversibility
All systems allow reinstallation. This is ideal for seasonal use or switching between gear-carrying and clean-roof modes.
Frequently Asked Questions About Removing Roof Racks
How long does it take to remove a roof rack?
Most removals take 30 to 60 minutes with basic skills and the correct tools. Thule aftermarket racks typically take less time since they use clamp systems rather than bolts.
Do I need special tools to remove a roof rack?
You need vehicle-specific tools. Thule racks require hex keys or Torx bits. Toyota models typically need 10 mm and 12 mm sockets. Ford Ranger and Bronco require Torx T40, T30, or T27 bits.
Will removing my roof rack cause leaks?
Properly installed delete kits with integrated foam gaskets prevent leaks. Never stack new foam gaskets over old ones. Test for leaks after rain or a car wash before finalizing the installation.
Can I reinstall the roof rack after removing it?
Yes, all systems discussed are fully reversible. Store all hardware, gaskets, and bolts in labeled bags to ensure easy reinstallation.
Do I need to purchase a trim cover after removal?
Ford Ranger owners must purchase trim covers separately. Toyota delete kits include covers. Thule systems typically do not require covers since they don’t modify the roof permanently.
Key Takeaways for Removing Your Roof Rack
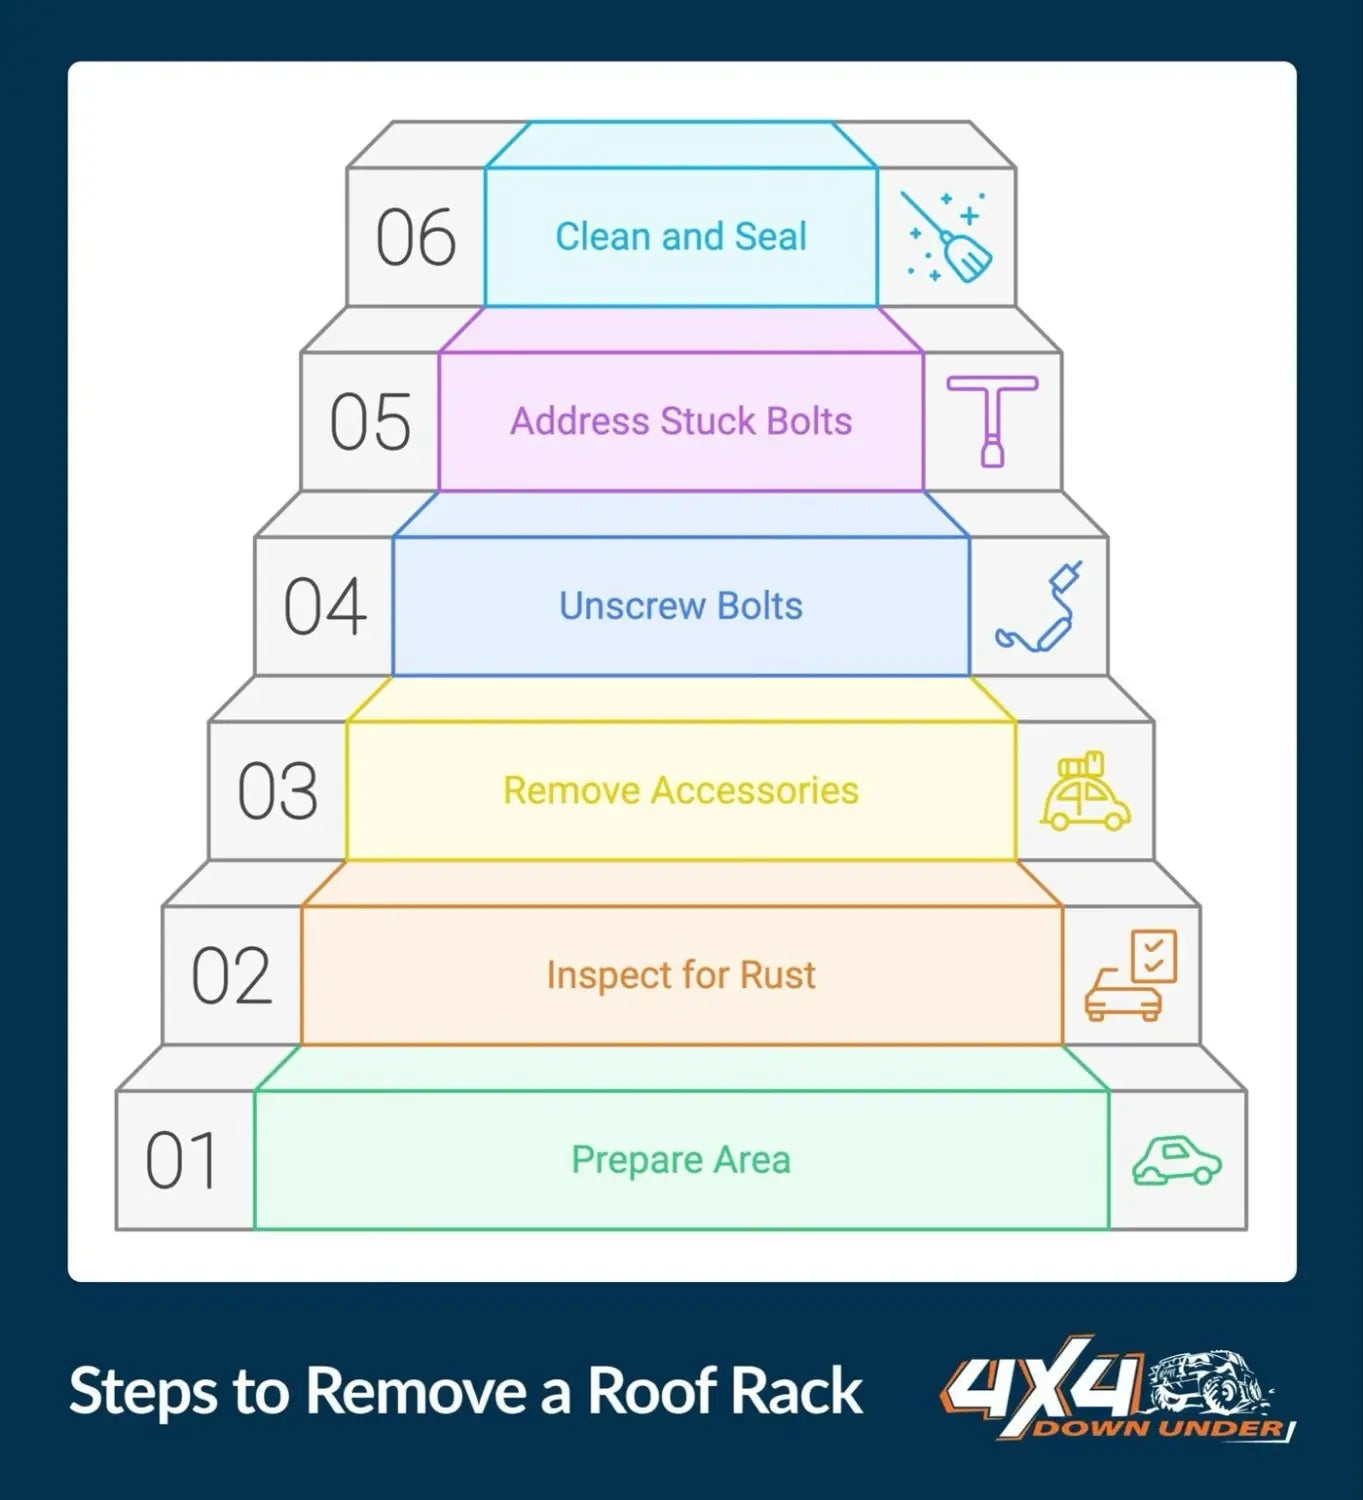
Removing a roof rack is a straightforward DIY task that improves your vehicle’s appearance, reduces wind noise, and can increase fuel efficiency by 1 to 3 percent on highways. The process varies significantly by manufacturer, so always identify your specific vehicle and rack type before starting.
Always use the correct tools, work slowly to avoid cracking brittle plastic covers, and never apply downward pressure on bolts, which forces retainers into the headliner. For permanent removal, purchase OEM delete kits that include proper sealing components. For seasonal use, aftermarket systems like Thule offer quick removal and reinstallation without modifications. Store all hardware in labeled bags to ensure easy reinstallation whenever needed.


