

Removing shelf brackets can seem simple, but doing it the wrong way risks ugly drywall tears and costly repairs. Whether you’re taking down wire shelving in a closet or removing side supports from a built-in unit, how to remove shelf brackets correctly is key to preserving your walls. Most systems use hidden plastic clips and metal pins that must be released in the right order. Pull too hard or skip steps, and you will end up with holes larger than a quarter.
This guide walks you through every step. You will learn to extract locking pins and plastic anchors, patch holes seamlessly, and restore your wall like a pro. Whether you are upgrading storage or prepping for a paint job, these techniques ensure damage-free removal every time.
Identify Bracket and Fastener Types
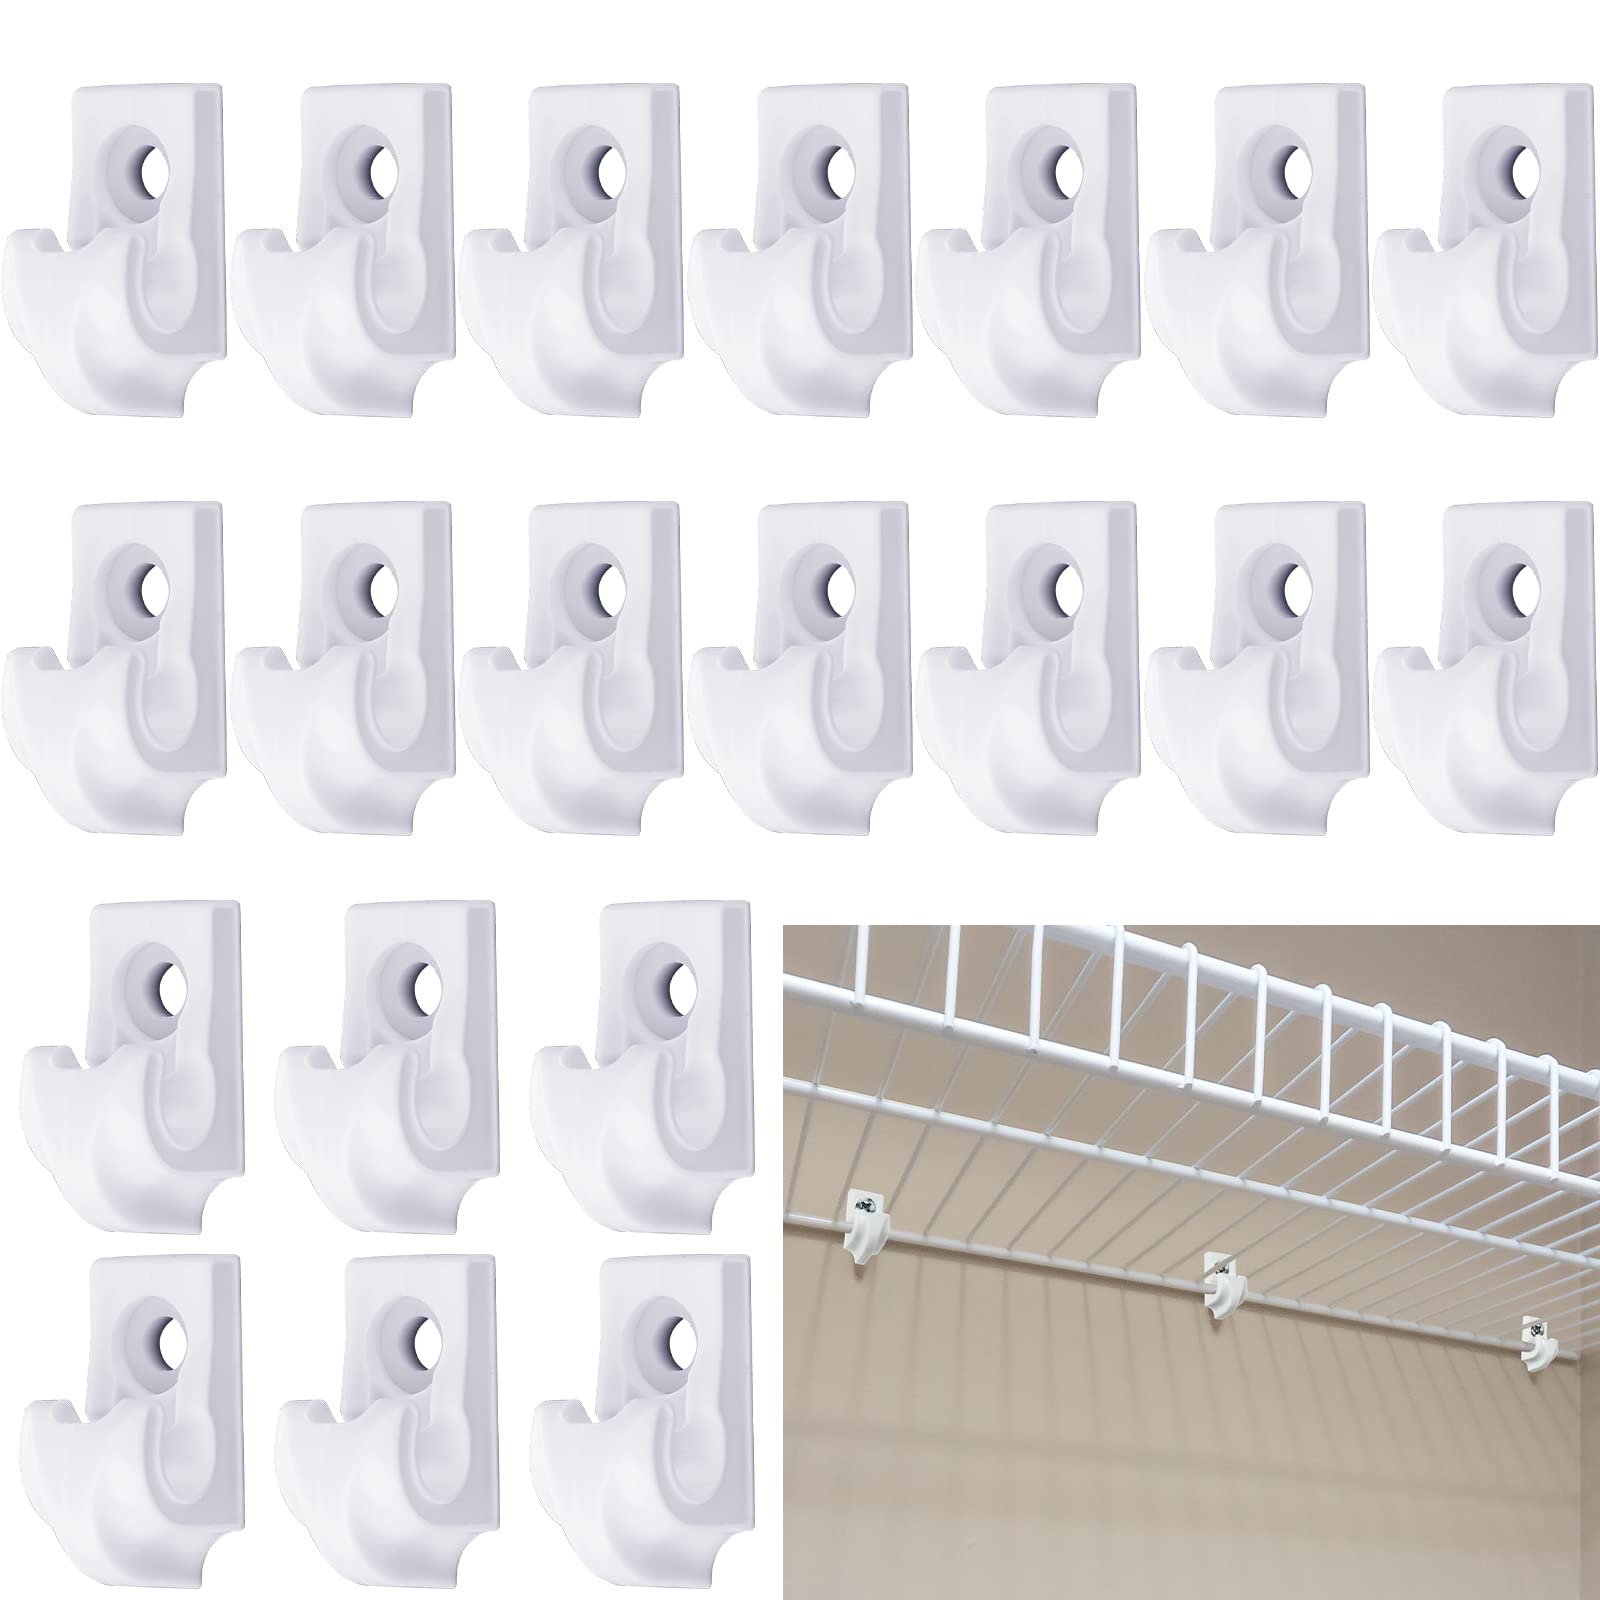
Before removing any hardware, inspect how your shelf brackets are secured. Most wire shelving systems use hidden fasteners that are not visible at first glance.
Check for Plastic Clips and Metal Pins
Look along the front and back edges of the shelf supports. You will likely see plastic wall clips snapped into bracket slots. These clips are white or beige and about half an inch wide. They are held in place by metal locking pins, which are small one-inch rods inserted through the bracket. If you spot these, you are dealing with a standard closet wire shelving system.
Determine Nail Type in Wall Anchors
Behind each clip, a fastener secures the anchor into the wall. The main types include:
- Smooth nail: No threading; relies entirely on clip expansion
- Screw-head nail: Slight threading under the head for added grip
- Metal pin with clip collar: Often used in angle support brackets
Knowing the type helps you anticipate resistance during removal. Smooth nails usually pull out easier, while screw-head versions may require more wiggling.
Locate All Support Points
Count the clips. Many full closet systems have up to 74 support points. Missing even one can leave a hidden anchor that damages the wall later. Start at one end and trace each bracket line to ensure no clips are overlooked.
Remove Locking Pins First
Never pull a bracket before removing the pins. This is the most common mistake and the top cause of drywall damage.
Use Needle-Nose Pliers for Precision
Grab the metal locking pin with needle-nose pliers. Position the tip firmly on the pin head. Apply gentle, steady pressure. Pull straight out, not at an angle. Twisting or yanking can bend the pin or crack surrounding drywall.
Pro Tip: If the pin is flush, grip the shaft just below the head. A slight twist helps break initial resistance without damaging the bracket.
Replace Bent or Broken Pins Immediately
If a pin bends during removal, do not force it. Extract it fully and set it aside. Reusing damaged pins during reinstallation causes instability. Keep a small container to store removed hardware for reuse or disposal.
Work One Bracket at a Time
Focus on one support point before moving to the next. This prevents accidental pressure on un-released clips. For long shelving runs, start at the left or right end and proceed systematically.
Extract Plastic Wall Clips Safely

Once the pin is out, the plastic clip is free, but it is still embedded in the wall anchor. Remove it carefully.
Pull Straight Back Never Angle
Grip the plastic clip firmly with needle-nose pliers. Pull directly backward, parallel to the wall. Angling the pliers increases leverage on the drywall, which can tear the paper layer and create a large hole.
Warning: If the clip resists, do not yank. Wiggle it slightly side-to-side to loosen the anchor instead.
Use a Pry Bar for Stubborn Clips
For clips stuck in dense drywall or older installations, follow these steps:
- Slide a small pry bar behind the clip
- Gently lever it outward while pulling with pliers
- Apply even pressure to avoid sudden pops that damage the wall
This method reduces hand fatigue and gives better control during full-system removals.
Remove Back Wall Clips Separately
Some shelves have rear flange clips that snap closed over the back edge. These are often tighter. Loosen by hand first. If they do not release, use pliers with a light twisting motion to open the clip before pulling.
Take Down the Shelf Unit Correctly
With all clips released, it is time to remove the shelf itself. Do this in stages to prevent accidental snagging.
Stand the Shelf Upright First
Tilt the unit vertically so the back edge disengages from rear supports. This reduces tension on any remaining connection points and gives you better access to front brackets.
Tap Gently to Release Front Supports
Use your hand or a soft mallet to tap one end of the shelf. This nudges it free from front clips. Work slowly. Sudden force can catch an unremoved pin or clip.
Angle Away Only After Full Release
Never twist or pull the shelf sideways until the back edge is completely free. Once disengaged, you can safely angle it away from the wall and set it down.
Remove All Remaining Support Clips
Even after the shelf is down, plastic clips and nails may still be in the wall. Leaving them in invites problems during painting or reinstallation.
Clear Each Wall Anchor Point
Go back to every support location:
- Remove any remaining metal pins
- Extract plastic clips with pliers
- If a nail is still embedded, use the screwdriver tip to flick it out
Visual Cue: After removal, each hole should be clean and about one-eighth inch wide, with no jagged edges or peeling drywall paper.
Label or Bag Hardware for Reuse
If you plan to reinstall or repurpose the system, store pins and clips in a labeled bag. Keeping them organized saves time later.
Repair Wall Holes Like a Pro
Once brackets are gone, patch holes properly to avoid visible blemishes after painting.
Patch Small Nail Holes with Caulk
For tiny punctures under one-eighth inch, follow these steps:
- Squeeze caulk directly into the hole
- Overfill slightly because caulk shrinks as it dries
- Smooth with a fingertip or putty knife edge
Why caulk? It blends with wall texture better than spackle, which dries flat and catches light. Avoid paste or spackle for small holes because they often look worse than the original damage.
Fix Larger or Multiple Holes with Patching Compound
For clusters of holes or damaged anchors:
- Clean debris with a 2-inch putty knife
- Apply Drydex patching compound using a 4-inch knife
- Work at angles to force compound deep into the hole
Apply Two Thin Coats for Best Results
- Let the first coat dry completely, usually two to four hours
- Sand lightly, then apply a second thin layer
- Round the patch edges with the knife butt to match natural wall contours
Pro Move: Feather the edges so the repair blends with no raised spots.
Prevent Damage During Removal
Most wall damage happens from rushing or using wrong techniques. Follow these rules to keep drywall intact.
Never Pull Brackets with Nails Still in Place
This is the number one cause of large holes. The nail acts like a lever, tearing drywall as the bracket pivots. Always remove pins and clips first.
Avoid Hammering or Excessive Force
Even light taps can crack plaster or weaken drywall around anchors. Use hand tools only. Pliers, screwdrivers, and pry bars with controlled pressure are all you need.
Protect Surrounding Wall Surface
Lay a drop cloth to catch debris. Wear work gloves and a dust mask when patching. These small steps prevent mess and health risks.
Save and Reuse Hardware
Do not toss removed parts. Many are reusable.
Store Pins and Clips Together
Place all metal pins and plastic clips in a ziplock bag. Label it with the shelf type and date. This helps if you reinstall or sell the unit.
Repurpose Old Wire Shelves
Got no use for the shelf? Try these ideas:
- Turn into a portable dog pen
- Use as a garage workshop rack
- Paint and mount outdoors for garden tool storage
Metal wire shelves are durable. Do not landfill them.
Essential Tools and Supplies Checklist
Having the right tools makes removal faster and safer.
Must-Have Removal Tools
- Flat-blade screwdriver: For popping clips and flicking out nails
- Needle-nose pliers: Critical for pin and clip extraction
- Small pry bar: Helps with stubborn anchors
Wall Repair Supplies
- Caulk: For small, clean holes
- Drydex patching compound: Ideal for larger patches
- 2-inch and 4-inch putty knives: For cleaning and spreading
Optional but Helpful
- Sandpaper (120 to 220 grit) for smoothing dried patches
- Touch-up paint to blend repaired areas
Time Estimate: Full closet system removal takes 20 to 45 minutes with proper tools.
Final Tips for Flawless Results
Follow these expert-backed habits to ensure a clean, professional outcome.
Work Systematically from One End
Start at the left or right and move in order. Skipping around increases the chance of missing a clip.
Patch Holes Immediately
Open anchors collect dust and can weaken over time. Patch right after removal for best results.
Test Wall Type Before Starting
Drywall is forgiving, but plaster walls crack easily. If you are unsure, test removal on one bracket first.
Consider Future Installations
If you plan to add shelves later, use screw-mounted brackets or adjustable tracks. These are easier to remove and cause less damage over time.
Know When to Call a Pro
If you see signs of deep wall damage, stop and consult a contractor. Large holes, crumbling drywall, or water stains require more than DIY compound.
Frequently Asked Questions About Removing Shelf Brackets
How do I remove shelf brackets without damaging drywall?
Always remove the locking pins and plastic clips before pulling the bracket. Pull straight back, never at an angle. Use needle-nose pliers for pins and clips, and work systematically from one end to avoid missing any fasteners.
What tools do I need to remove closet shelving brackets?
You need a flat-blade screwdriver, needle-nose pliers, and a small pry bar. For wall repair, have caulk, Drydex patching compound, and putty knives ready. Work gloves and a dust mask are recommended for safety.
Can I reuse the shelf brackets after removal?
Yes. Store metal locking pins and plastic clips in a labeled bag. They can be reused if you reinstall the same shelving system or repurpose them for other projects.
What is the fastest way to remove wire shelf brackets?
Remove all locking pins first using needle-nose pliers. Then extract plastic clips by pulling straight back. Work from one end of the system to the other. Full closet systems typically take 20 to 45 minutes.
How do I fix holes left by shelf bracket removal?
For small holes under one-eighth inch, squeeze caulk directly into the hole and smooth it. For larger or multiple holes, clean debris, apply Drydex patching compound with a four-inch knife, and sand between two thin coats.
Do I need to patch holes immediately after removing brackets?
Yes. Open anchor holes collect dust and can weaken over time. Patching immediately after removal gives you the cleanest results and prevents further wall deterioration.
Key Takeaways for Removing Shelf Brackets
Removing shelf brackets does not have to mean ruined walls. With the right approach, you can achieve fast, damage-free removal every time.
The most important steps are removing locking pins first and pulling plastic clips straight back, never at an angle. This prevents the tears and large holes that happen when nails act as levers against drywall. Work systematically from one end of the system to ensure no clips are missed.
For wall repair, use caulk for small holes and patching compound for larger ones. Apply two thin coats, feathering edges to blend with the existing wall. Store all removed hardware if you plan to reinstall or repurpose the shelving.
Whether you are refreshing a closet or prepping for a renovation, these techniques ensure your walls stay intact and ready for whatever comes next.


