
Is your dishwasher leaving rust stains on your clean dishes? Are metal tines poking through worn coating and scratching your cookware? You’re not alone. Over half of homeowners with dishwashers more than five years old face peeling vinyl coating and exposed steel wires that lead to rust, stains, and even cuts. The good news: you can repair dishwasher rack coating for under forty dollars and extend your rack’s life by three to five years.
This guide walks you through every step of the repair process using proven products like ReRACK, Uber Goop, and Whirlpool OEM kits. You’ll learn how to remove rust safely, apply durable coatings, seal tine ends properly, and prevent future damage with basic tools and minimal experience.
Spot Coating Damage Before It Spreads
Recognizing the Warning Signs
Catching coating failure early prevents rust from spreading and saves you from buying expensive replacement racks. Watch for these indicators.
Flaking or bubbling vinyl on wires and joints signals the coating is breaking down. Rust spots at corners and tine ends mean moisture has reached the bare metal. Bare metal exposed through worn areas creates immediate corrosion risk. Dishes coming out with scratches or rust marks indicate your rack needs attention. Sharp or broken tines can cut your hands during loading.
Why Repair Beats Replacement Every Time
A new dishwasher rack costs sixty to two hundred fifty dollars depending on your model. Repairing your existing rack costs eighteen to forty dollars and takes a few hours of your time. For dishwashers five to seven years old, repair makes far more financial sense than replacement.
Select the Right Repair Product
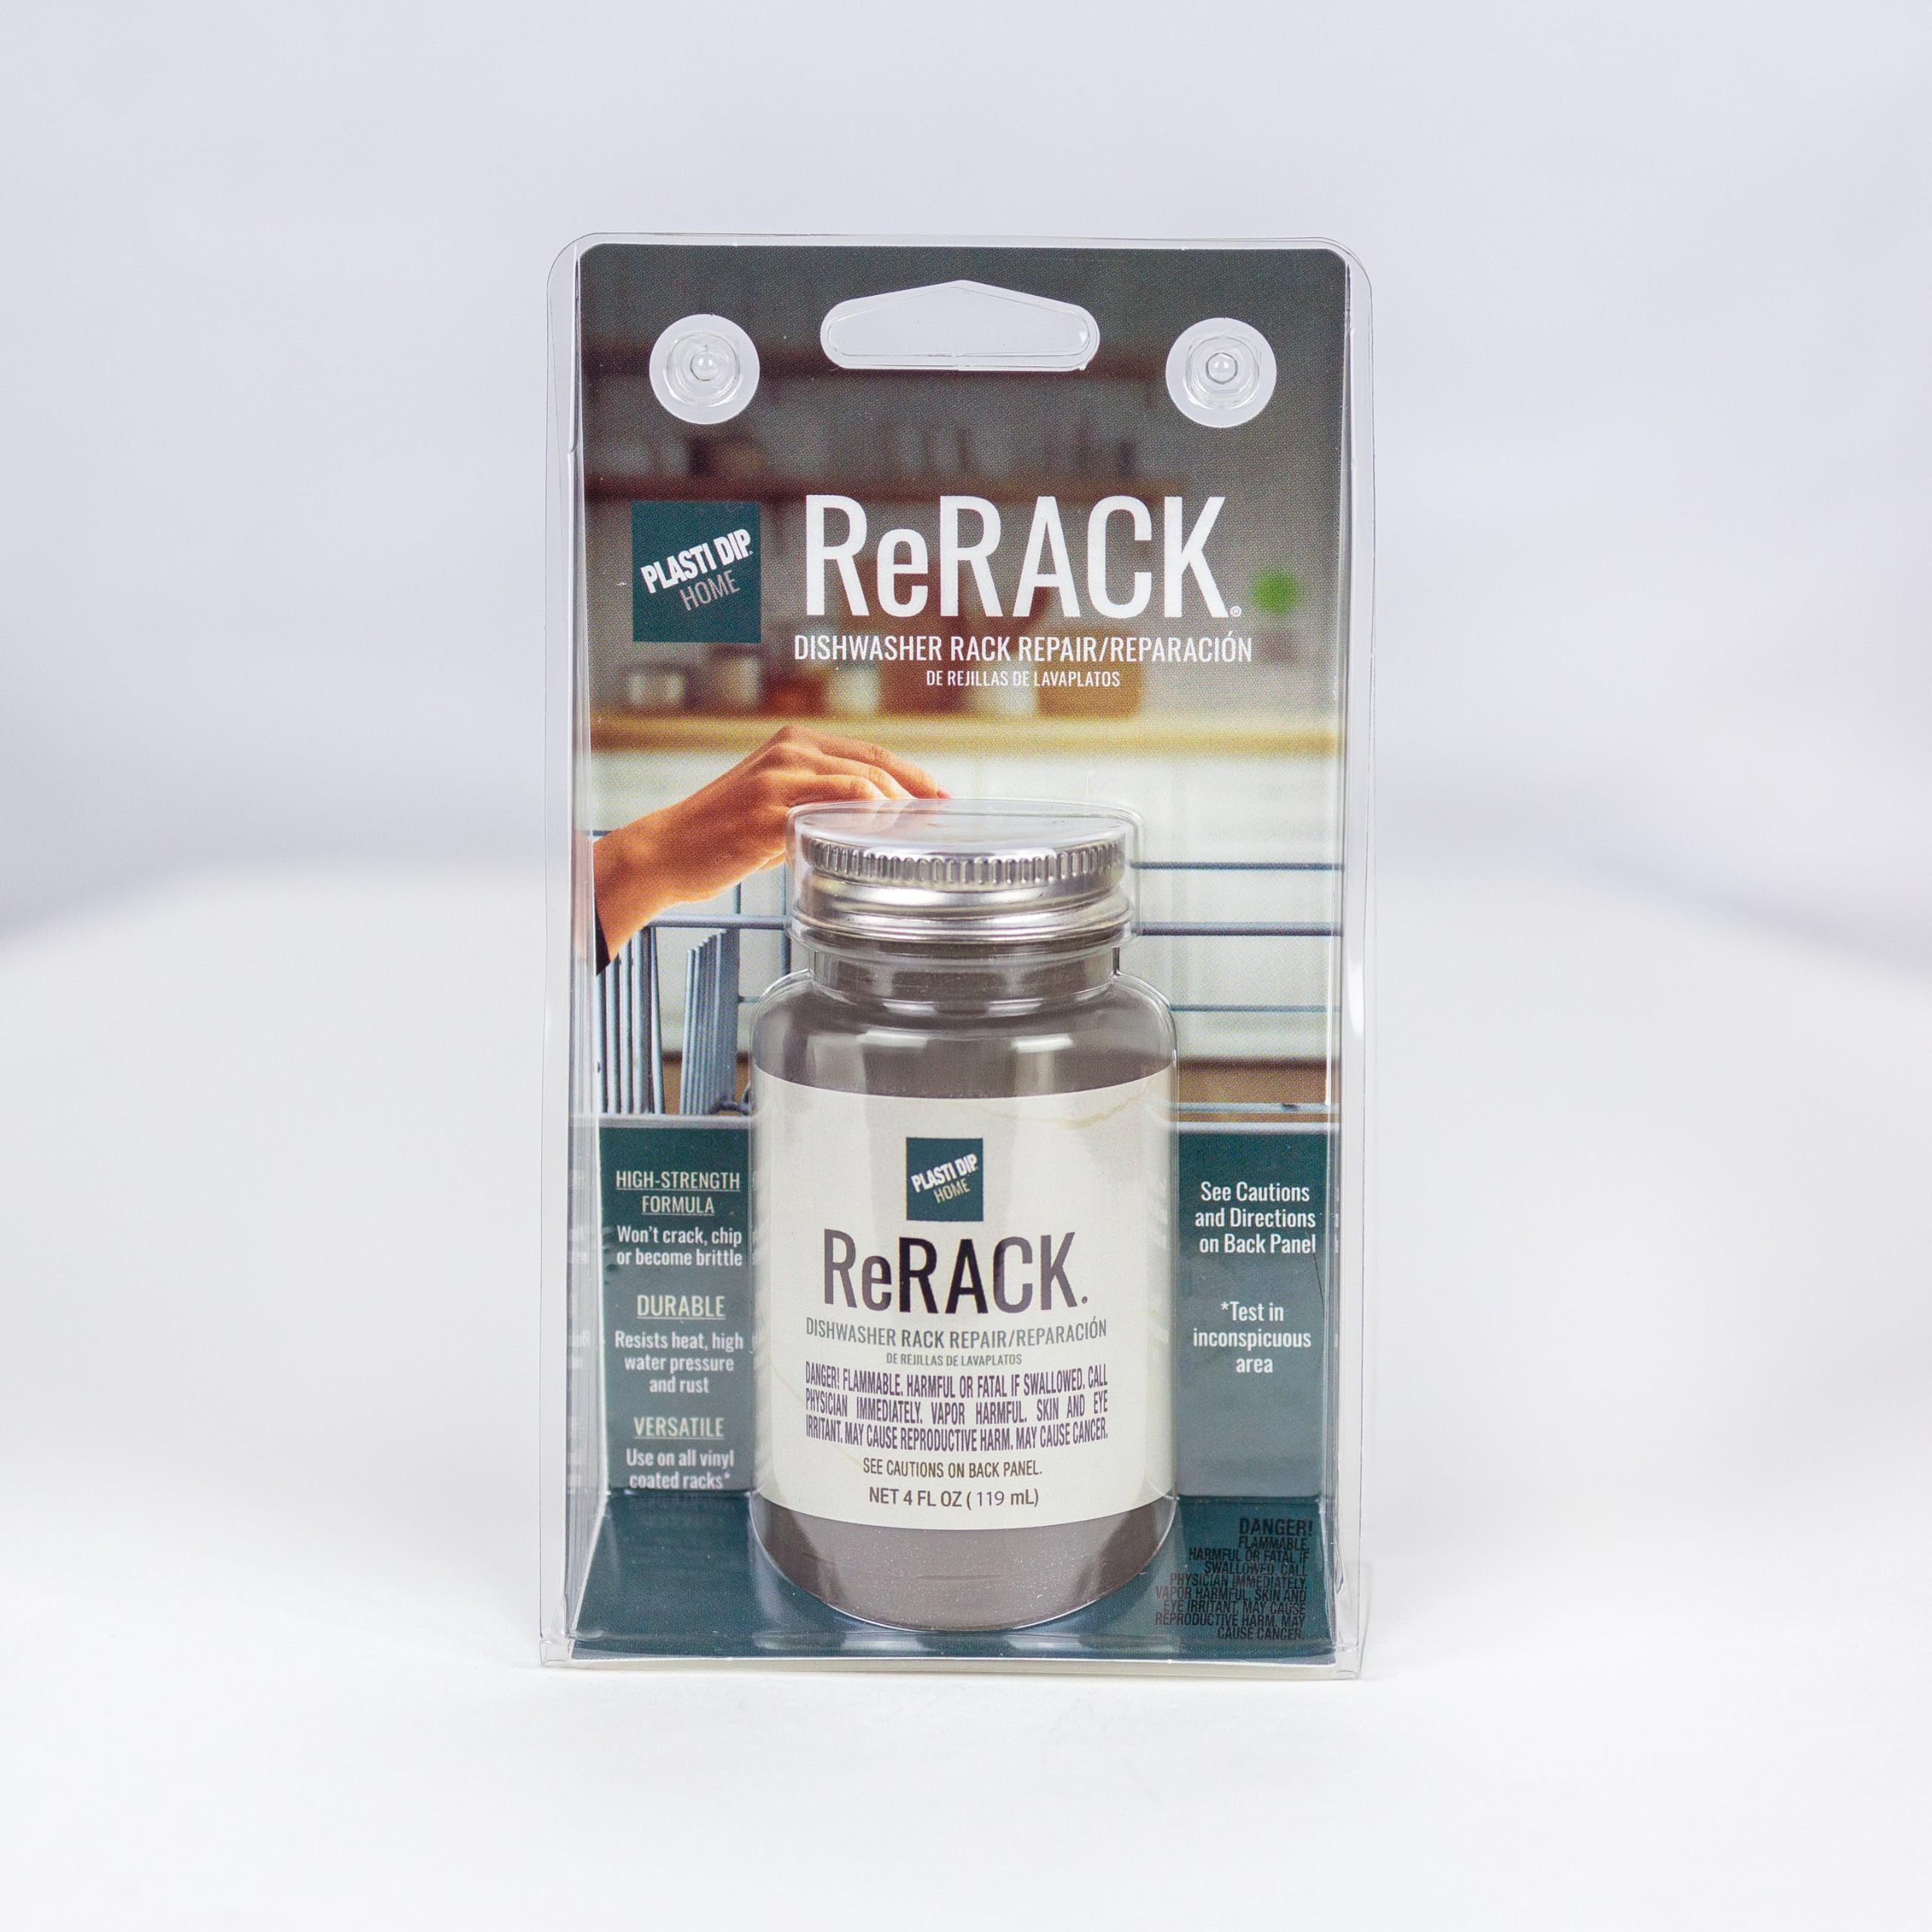
ReRACK: The Top Choice for Durability
ReRACK by Plasti Dip International outperforms generic coatings because manufacturers designed it specifically for dishwasher environments.
This rubberized coating resists temperatures up to two hundred degrees Fahrenheit, withstands detergent exposure, and remains flexible without cracking. It bonds to both bare metal and existing vinyl, creating a watertight seal. You can peel it off later if you need to replace the rack entirely.
ReRACK comes in spray cans holding eleven ounces or liquid dip containers holding fourteen and a half ounces. White and metallic gray options match most rack colors. Apply four to five thin spray coats or two full dips to achieve the recommended ten to twelve mils thickness.
Uber Goop: Fast Fix for Small Areas
Uber Goop works well for quick repairs on exposed tine ends and welded joints. The kit includes half an ounce of white liquid vinyl, twenty-five white tine caps, and a thirty-day money-back guarantee.
This product dries in just two hours, letting you use your dishwasher the same day. Brush it around joints and welds, applying two coats one hour apart. For tines, dip the end about one quarter inch and immediately slide on the caps. Always glue the caps in place. Friction alone will not hold them through wash cycles.
Whirlpool OEM Kit: Factory Quality for Major Brands
Whirlpool, Maytag, and KitchenAid owners benefit from this OEM kit designed for exact compatibility. It includes oyster gray vinyl paint, flexible tine caps, repair compound, and replacement clips.
Apply the paint to rusted areas, extending onto good coating by about one quarter inch. Use the repair compound to glue caps onto damaged tine ends with a twisting motion. Plan for eight or more hours of curing time before running your dishwasher.
Remove and Disassemble the Racks
Taking Out Racks Safely
Pull the bottom rack straight out from the dishwasher. For the top rack, flip out the end tabs first, then slide it out carefully. Set both racks on a clean, dry surface in a well-ventilated area, preferably outdoors or in your garage.
Removing Clips and Supports
Unclip plastic brackets, end caps, and roller wheels to access welded joints, corner reinforcements, and hard-to-reach tines. Disassembly ensures you can completely remove rust and apply coating evenly without overspray on moving parts.
Strip Rust and Old Coating Thoroughly
Tools You Need
Gather a wire brush, steel wool grade zero-zero-zero-zero, sandpaper in eighty to one twenty grit for coarse work and two twenty grit for smoothing, a file or Gator Micro Zip sander, and chemical rust remover like Evapo-Rust.
Step-by-Step Rust Removal
Start by removing all loose rust and flaking coating with your wire brush. Sand until you expose bare metal on every damaged area. Use one twenty-grit paper to roughen the edges of remaining vinyl about one quarter inch around each repair zone. This creates better adhesion for the new coating.
For stubborn rust, apply chemical rust remover and let it sit for ten to thirty minutes. Wipe the area clean and inspect carefully. No red rust should remain before you proceed.
Apply Rust Converter for Extra Protection
Stopping Creeping Corrosion
Even after sanding, microscopic rust remains hidden in surface pores. A rust converter chemically transforms iron oxide into stable black iron tannate, acting as a primer for your new coating.
Brush on a product like Must for Rust and let it cure for two to twenty-four hours depending on the product label. Do not rinse it off. This step proves especially important in humid climates or homes with hard water where rust returns quickly.
Clean and Degrease Before Coating
Wipe With the Right Solvents
After sanding, clean every wire with seventy percent or higher isopropyl alcohol or acetone tested on a small area first. This removes dust, oil, and residue from rust remover.
Avoid cotton pads because they leave lint that interferes with adhesion. Let the rack dry completely before applying any coating. Moisture trapped under the new coating causes bubbling and peeling.
Mask Areas You Don’t Want Coated
Protecting Wheels and Moving Parts
Use painter’s tape to cover roller wheels, plastic end caps, adjustable tines, and any part that should not receive coating. Press tape edges tightly to prevent bleed-through during spraying or dipping.
Apply the Repair Coating Correctly
General Rules for Success
Work in a dust-free area at approximately seventy degrees Fahrenheit with low humidity. Apply thin, even coats rather than thick layers. Overlap new coating onto intact vinyl by one quarter inch for a watertight seal. Allow fifteen to thirty minutes between coats and build thickness gradually.
ReRACK Spray Application
Shake the can for one to two minutes. Hold it eight to twelve inches from the surface and spray in light, even passes. Let each coat dry for fifteen to thirty minutes. Apply four to five coats total, rotating the rack frequently for even coverage on all sides.
ReRACK Dip Method
Turn the rack upside down and submerge the tines slowly, one inch every five seconds to avoid trapping air bubbles. Withdraw slowly and hang to drip-dry. Apply a second coat after thirty minutes. This method works best for lower racks with dense tine patterns.
Uber Goop Brush Technique
Stir the liquid well and brush it around joints and welds, encircling the wire completely. Apply two coats one hour apart. For tines, dip about one quarter inch and immediately slide on the caps. Work in small sections because the coating hardens quickly.
Whirlpool Kit Application
Shake the vinyl paint well and brush it over rusted areas, extending onto good coating. Use repair compound to glue caps onto damaged tine ends with a twisting motion. Let everything cure for eight or more hours.
Let the Coating Cure Completely
Waiting Ensures Durability
ReRACK needs a minimum of twenty-four hours to dry and seventy-two hours for full cure. Uber Goop dries in two hours and your dishwasher is ready after that. Whirlpool kit requires eight or more hours.
During curing, keep racks undisturbed and avoid touching coated areas. Store them in a ventilated area to off-gas any odors. Running the dishwasher too soon risks coating failure and chemical leaching into your dishes.
Reassemble and Reinstall the Racks
Putting Everything Back Together
Slide on any tine caps you did not apply during coating. Reinstall all clips, brackets, and wheels. Ensure all parts move smoothly without binding. Align the rack to its original configuration before sliding it back into the dishwasher.
Test With an Empty Cycle
Final Safety Check
Before loading dishes, run the dishwasher empty on a full cycle. This ensures no loose particles remain, no odor transfers to your dishware, and the coating is fully set. Whirlpool recommends this step and it prevents contamination of your clean dishes.
Keep Your Repaired Rack Lasting Longer
Use Tine Caps on All Cut Ends
Tine caps block moisture from entering cut wire ends where rust typically starts. Always glue caps in place using repair compound or Uber Goop adhesive. Friction-fit caps pop off during wash cycles.
Ongoing Maintenance Tips
Avoid dragging heavy pots across the rack. Do not use abrasive scrubbers on repaired areas. Use rinse aid to reduce mineral buildup. Inspect the rack every six to twelve months for chips or rust. Touch up small spots immediately with ReRACK or matching paint.
Fix Common Problems After Repair
Coating Peeling After Drying
Poor surface preparation causes this issue. Residual rust, grease, or moisture under the coating breaks the bond. Strip the area, resand thoroughly, clean with acetone, and reapply.
Caps Falling Off During Washing
Caps stay on only with adhesive. Friction alone never works. Always glue caps in place with repair compound.
Sticky or Hazy Finish
Incomplete curing or high humidity causes this problem. Extend cure time. In humid areas, add five to ten percent naphtha to ReRACK to prevent hazing.
Bubbling or Uneven Texture
Trapped air or moisture during application creates bubbles. Sand the area smooth, clean thoroughly, and reapply in dry conditions.
Know When to Replace Instead of Repair
When Replacement Makes Sense
Replace the rack if wires are bent or broken beyond repair, more than fifty percent of the coating is gone, the rack sags or won’t slide smoothly, rust has weakened structural joints, or replacement racks are inexpensive and easy to find. For newer models under warranty, check with the manufacturer first.
Avoid These DIY Mistakes
Don’t Use Regular Paint or Epoxy
Standard paints chip, peel, and leach chemicals when exposed to heat and dishwasher detergents. Only use coatings rated specifically for dishwasher use.
Skip the Vinyl Tape Fix
Wrapping tines with electrical or vinyl tape provides a temporary patch that degrades in weeks. It doesn’t protect against rust and creates a mess.
Never Skip Rust Treatment
Painting over rust leads to blistering and complete failure within months. Always remove rust completely or convert it with a rust converter first.
Key Takeaways for Repairing Your Dishwasher Rack
Repairing dishwasher rack coating costs up to two hundred thirty dollars less than replacement and takes just a few hours. ReRACK stands as the top choice because manufacturers specifically designed it for dishwasher environments, and it outperforms generic alternatives.
Proper surface preparation determines your success. Remove all rust, apply rust converter in humid conditions, clean with alcohol or acetone, and let everything dry completely. Build up coating thickness gradually with four to five spray coats or two dips, overlapping onto intact vinyl by one quarter inch for a watertight seal.
Glue all tine caps in place and allow full cure time before running your dishwasher. With these steps, your repaired rack will last three to five years or longer, protecting your dishes and saving you money.
Frequently Asked Questions About Dishwasher Rack Coating Repair
How long does dishwasher rack coating repair last?
A properly executed repair using ReRACK or similar industrial-grade products lasts three to five years or longer. Longevity depends on water hardness, detergent type, and how carefully you load dishes.
Can I use regular paint to repair my dishwasher rack?
No. Regular paint chips, peels, and leaches chemicals when exposed to dishwasher heat and detergents. Only use coatings specifically rated for dishwasher environments like ReRACK, Uber Goop, or OEM kits.
Do I need to remove the racks to repair them?
Yes. Removing racks gives you access to all damaged areas and allows proper surface preparation. Place racks in a well-ventilated area, preferably outdoors or in a garage.
How long should I wait after repairing before using my dishwasher?
ReRACK requires seventy-two hours for full cure. Uber Goop is ready in two hours. Whirlpool kits need eight or more hours. Running the dishwasher too soon risks coating failure.
What causes dishwasher rack coating to peel?
Heat, moisture, detergents, and mechanical abrasion break down vinyl coating over five to seven years. Once the coating chips, exposed metal rusts rapidly and spreads under remaining coating.