
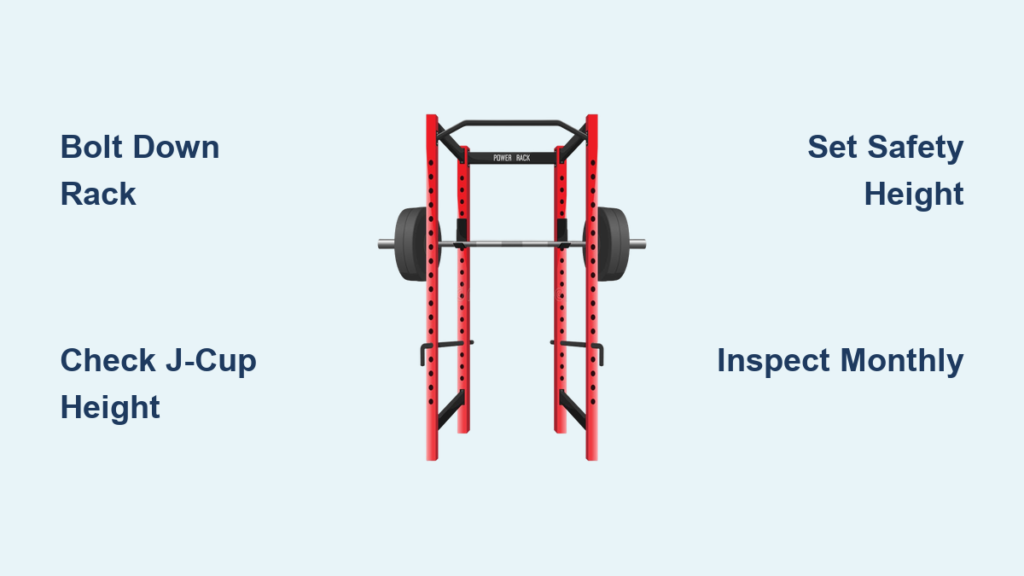
Squat rack safety is non-negotiable for anyone serious about strength training. Whether you’re setting up a home gym or using a commercial facility, a single misstep like misaligned safety bars or an unstable rack can lead to serious injury. Over 60% of weightlifting injuries involve improper equipment use, and squat racks are among the most frequently misused pieces of gear. The good news? Most risks are preventable with the right knowledge. This guide breaks down every aspect of squat rack safety, from choosing the right model to mastering bail-out techniques. You’ll learn how to set up J-cups correctly, select optimal safety accessories, and avoid the top mistakes that compromise stability. Whether you’re a beginner or experienced lifter, these actionable steps will keep you safe under heavy loads.
Choose the Right Rack Type

Power Rack vs Squat Stand
A power rack (or squat cage) is the gold standard for safety. Its enclosed 4-post design allows full-range squats inside the frame and supports add-ons like pull-up bars and spotter arms. It’s inherently more stable due to a wider footprint and greater mass. In contrast, squat stands (also called half racks) are lighter, narrower, and more prone to tipping, especially under dynamic loads. While ideal for small spaces, they lack the structural redundancy of full cages. If you plan to lift heavy or train solo, a power rack is the safer long-term investment.
Stability and Tipping Risks
Tipping is the biggest danger with any squat rack. Forces from re-racking, bouncing out of the bottom, or kipping pull-ups can shift the center of gravity. Squat stands are especially vulnerable unless bolted down or weighted. Power racks resist tipping better, but even they can fail on uneven floors or overloaded setups. To test stability, apply firm lateral pressure with an empty bar. If the rack rocks or lifts a leg, it needs securing. Always prioritize racks with anti-slip feet and reinforced bases.
When to Bolt Down Your Rack
Bolting your rack to the floor is the single most effective way to prevent movement. It’s essential for power racks when using spotter arms or doing kipping movements, and strongly advised for squat stands in high-traffic areas. Use anchor bolts rated for concrete or subfloor penetration. In apartments or leased spaces, consider heavy plate loading on rear storage pegs as a temporary stabilizer, though it’s less reliable than bolting.
Check Structural Integrity

Steel Gauge and Frame Strength
Look for 11-gauge steel or lower. The lower the number, the thicker the metal. 11-gauge (about 0.12 inches thick) is standard for commercial-grade racks and ensures long-term durability. Avoid racks that don’t disclose steel gauge. They likely use thinner, weaker materials. Thicker tubing (at least 3×3 inches) and reinforced welds at stress points like J-cup mounts further enhance safety. Inspect for clean, uninterrupted welds. Gaps or cracks mean poor construction.
Weight Capacity and Dynamic Loads
Most squat racks support 500 to 1,000 lbs, with high-end models like the XMARK rated at 1,000 lb static capacity. But static ratings don’t account for dynamic forces. Dropping a 300 lb bar creates impact forces exceeding 600 lbs. Always choose a rack rated for at least 1.5x your max lift to build in a safety margin. Never assume rated for 700 lbs means you can safely drop 700 lbs. Dynamic loads exceed static limits.
Inspect for Wear and Damage
Before every use, check for:
• Cracks in welds
• Loose bolts or pins
• Rust on uprights or joints
• Bent J-cups or safety arms
Even minor damage can compromise structural integrity. If you spot issues, stop using the rack immediately. Perform a full inspection monthly, and tighten all hardware regularly. Vibration from lifting can loosen bolts over time.
Set Up J-Cups Correctly
Optimal J-Cup Height
Set J-cups so the bar sits just below shoulder level when you’re standing upright. You should be able to unrack and re-rack the bar without rising onto your toes, even when fatigued. If training with a partner, set the height for the shorter person to ensure both can re-rack safely. Too high a setting forces tiptoeing, increasing ankle strain and instability.
How to Adjust J-Cups
- Pull the adjustment pin outward.
- Slide the J-cup to the desired height.
- Re-engage the pin fully.
- Confirm both sides are at the same hole number on the uprights.
Use a measuring tape or note the hole number to replicate setup across sessions. Misaligned J-cups cause bar tilt, leading to uneven loading and potential failure.
Avoid Common J-Cup Mistakes
Never assume J-cups are level after adjustment. Always double-check. Using worn or damaged J-cups increases bar roll risk. Some users place J-cups too high to reduce shoulder strain, but this sacrifices re-racking safety. If you struggle with shoulder mobility, address the root issue rather than compromising setup.
Install Safety Accessories
Safety Straps: Smoothest Catch
Reinforced nylon safety straps absorb impact and reduce bar bounce. Rated up to 1,000 lbs, they’re ideal for solo lifters. They’re quieter than metal pins and cause less bar damage. Attach them across the front and back uprights at 1 to 2 inches below your lowest squat point. While slightly slower to adjust, their soft catch makes them a top choice for heavy squats and front squats.
Safety Pins: Budget-Friendly Option
Metal safety pins (or pinpipe safeties) are cost-effective and sturdy. They span between uprights and stop the bar during failure. However, they create loud metal-on-metal contact and can cause the bar to bounce unpredictably. Over time, they may scratch or dent your barbell. Use only in full power racks, and ensure pins are fully seated to prevent sliding.
Spotter Arms: Best for Bench Press
Spotter arms attach to front uprights and extend outward. Perfect for bench press outside the rack. Set them so the bar touches your chest with full range of motion. Stagger the rear post two levels higher to prevent the bar from rolling into your ribs. They’re strong and often plastic-coated to protect the bar, but add forward leverage, increasing tipping risk if the rack isn’t bolted down.
Flip-Down Safeties: Durable but Bulky
Hinged flip-down safeties offer solid protection with plastic-coated arms. They’re durable and easy to deploy but heavy and expensive. The coating wears over time and should be inspected regularly. They can interfere with movement inside the rack, so retract them fully when not in use.
Position Safeties for Maximum Protection

Set Safety Height Accurately
Place safety attachments 1 to 2 inches below your full squat depth. Too high, and they block your range of motion. Too low, and they won’t catch the bar during failure. To find the right height:
1. Perform a full-depth squat with a PVC pipe or empty bar.
2. Pause at the bottom and note the bar position.
3. Set safeties just below that point.
4. Re-test with light weight to confirm clearance.
Test Your Bail-Out
After setup, simulate a failed lift. Lower the bar onto the safeties. Step forward and clear the bar safely. Ensure you can exit without hitting the uprights. If the bar hits the safeties too early, lower them gradually. As your squat depth improves, adjust accordingly to maintain protection.
Match Safeties to Your Lift
• Back squat: Use straps or pins inside the rack.
• Front squat: Straps preferred. Pins may interfere with elbow position.
• Overhead press: Set safeties slightly wider and lower to catch lateral bar drop.
• Bench press: Spotter arms outside the rack, staggered height.
Master Safe Squat Technique
Start with Proper Form
Weighted back squats are not beginner lifts. Master air squats first, then progress to dumbbell squats or PVC pipe drills. Focus on:
• Keeping chest up and core braced
• Eyes forward, not down
• Heels flat, knees tracking over toes
• Avoiding knee valgus (inward collapse)
Use a mirror or video to check form. Poor mechanics increase injury risk even with perfect rack setup.
Execute the Lift Safely
- Unrack: Take a deep breath, brace your core, stand up with the bar, and take 1 to 3 steps back.
- Lower: Control the descent, keeping torso tight and feet flat.
- Drive up: Push through the heels, maintaining upright posture.
- Re-rack: Step forward and place the bar back on the J-cups. Never on tiptoes.
Never hold your breath the entire rep. Use the Valsalva maneuver only during the concentric phase.
Avoid Overloading Too Soon
Progressive overload is key, but adding weight too fast compromises form and safety. Increase load by no more than 5 to 10% per week. If you can’t complete 3 sets of 5 with good form, you’re too heavy. Use safety bars as a backup, not a crutch for ego lifting.
Practice Safe Bail-Out Techniques
Bail Out Without Accessories
If you don’t have safeties, use bumper plates and an open space behind the rack. During failure, drop the bar backward. Step forward and away quickly. Keep your head up and chest forward. This relies on perfect timing and space. Never attempt without bumper plates or in crowded areas.
Bail Out With Safeties
If safeties are in place, continue lowering the bar under control. Let it rest on the straps, pins, or arms. Step forward and walk away. If range is limited, remove hands from the bar. Lift your head and chest to slide the bar off your back. Let it fall onto the safeties while hopping forward. Practice bail-outs with 50 to 60% of your max to build muscle memory.
Bench Press in the Rack Safely
Use Spotter Arms Correctly
For solo bench pressing, spotter arms are essential. Set them so the bar touches your chest with full ROM. The rear post should be two holes higher than the front to prevent rib cage contact. Arms should be plastic-coated to reduce noise and bar damage. Confirm both arms are locked in place before loading the bar.
Avoid Common Bench Mistakes
Never bench with only safety pins inside the rack. The bar can roll forward and trap you. Don’t use makeshift supports like stacked plates. Always unrack with control and re-rack smoothly. If you fail, lower the bar to the spotter arms and slide out from under it.
Maintain Your Rack Long-Term
Monthly Inspection Routine
Check the following monthly:
• Tightness of all bolts and pins
• Integrity of welds and joints
• Function of adjustment mechanisms
• Wear on safety straps or plastic coatings
Replace worn parts immediately. A frayed strap or loose pin can fail under load.
Clean and Lubricate Pins
Dirt and rust can jam adjustment pins. Clean upright holes and pins with a wire brush monthly. Apply dry lubricant (like silicone spray) to ensure smooth sliding. Avoid oil-based lubes. They attract dust.
Tighten Hardware Regularly
Vibration from lifting loosens bolts over time. Use a torque wrench to tighten base plates, J-cups, and safety mounts every 4 to 6 weeks. Follow manufacturer specs. Over-tightening can strip threads.
Final Safety Checklist
Before Every Workout
• Inspect rack for damage
• Confirm J-cups are level and secure
• Set safeties 1 to 2 inches below squat depth
• Load bar evenly and use collars
• Perform a dry run with empty bar
Training Best Practices
• Warm up with 5 to 10 minutes of cardio and dynamic stretches
• Start light and build volume gradually
• Rest 1 to 2 minutes between sets
• Cool down with light cardio and static stretching
• Never skip form for heavier weight
Long-Term Safety Habits
• Bolt down racks used for dynamic movements
• Replace worn straps or coatings before failure
• Choose 11-gauge steel or thicker for durability
• Prefer safety straps for quieter, smoother catches
• Practice bail-outs regularly
Frequently Asked Questions About Squat Rack Safety
What are the most important safety features to look for in a squat rack?
The most important safety features include 11-gauge steel construction, a stable base design (power rack preferred over squat stand), and included safety accessories like straps or spotter arms. Look for anti-slip feet, reinforced welds, and a weight capacity that exceeds your heaviest lifts by at least 50%.
How do I determine the correct safety bar height on my squat rack?
Set safety attachments 1 to 2 inches below your full squat depth. Perform a full-depth squat with an empty bar or PVC pipe, pause at the bottom, and position the safeties just below that point. Re-test with light weight to confirm you have full range of motion without the bar hitting the safeties prematurely.
Should I bolt down my home gym squat rack?
Bolting down your rack is strongly recommended, especially if you lift heavy, perform dynamic movements like kipping pull-ups, or use spotter arms. Even in apartments, bolting provides essential stability. If租lease prohibits drilling, load rear storage pegs with heavy plates to add downward mass and reduce tipping risk.
How often should I inspect my squat rack for safety?
Perform a quick visual inspection before every workout, checking for obvious damage or loose parts. Conduct a thorough monthly inspection including bolt tightness, weld integrity, and wear on safety straps or coatings. Tighten all hardware every 4 to 6 weeks since vibration from lifting loosens bolts over time.
What’s the difference between safety straps and safety pins?
Safety straps (made of reinforced nylon) offer a softer catch with less bar damage and quieter operation. Safety pins (metal crossbeams) are more budget-friendly but create loud metal-on-metal contact and can cause bar bounce. Straps are generally preferred for comfort and bar protection, while pins work well in budget setups.
Key Takeaways for Squat Rack Safety
Squat rack safety isn’t just about equipment. It’s about habits. From selecting a rack with proper weight capacity to practicing bail-outs, every step reduces risk. Invest in a full power rack with 11-gauge steel, use safety straps or spotter arms, and always set J-cups and safeties correctly. Never compromise on form or setup. With these practices, you’ll train harder, lift heavier, and stay injury-free. Take five minutes before your next workout to inspect your rack, check your safety heights, and run through a practice bail-out. Your body will thank you.


