

You’ve just finished drying your laundry, and now you’re staring at your drying rack wondering how to collapse it without forcing it or breaking the frame. Whether you live in a small apartment, dorm room, or RV, knowing how to Fold Drying Rack properly saves space, prevents damage, and keeps your rack working for years.
This guide covers every major folding method step-by-step, so you can collapse your rack safely and efficiently no matter the model.
Know Your Drying Rack Type Before Folding
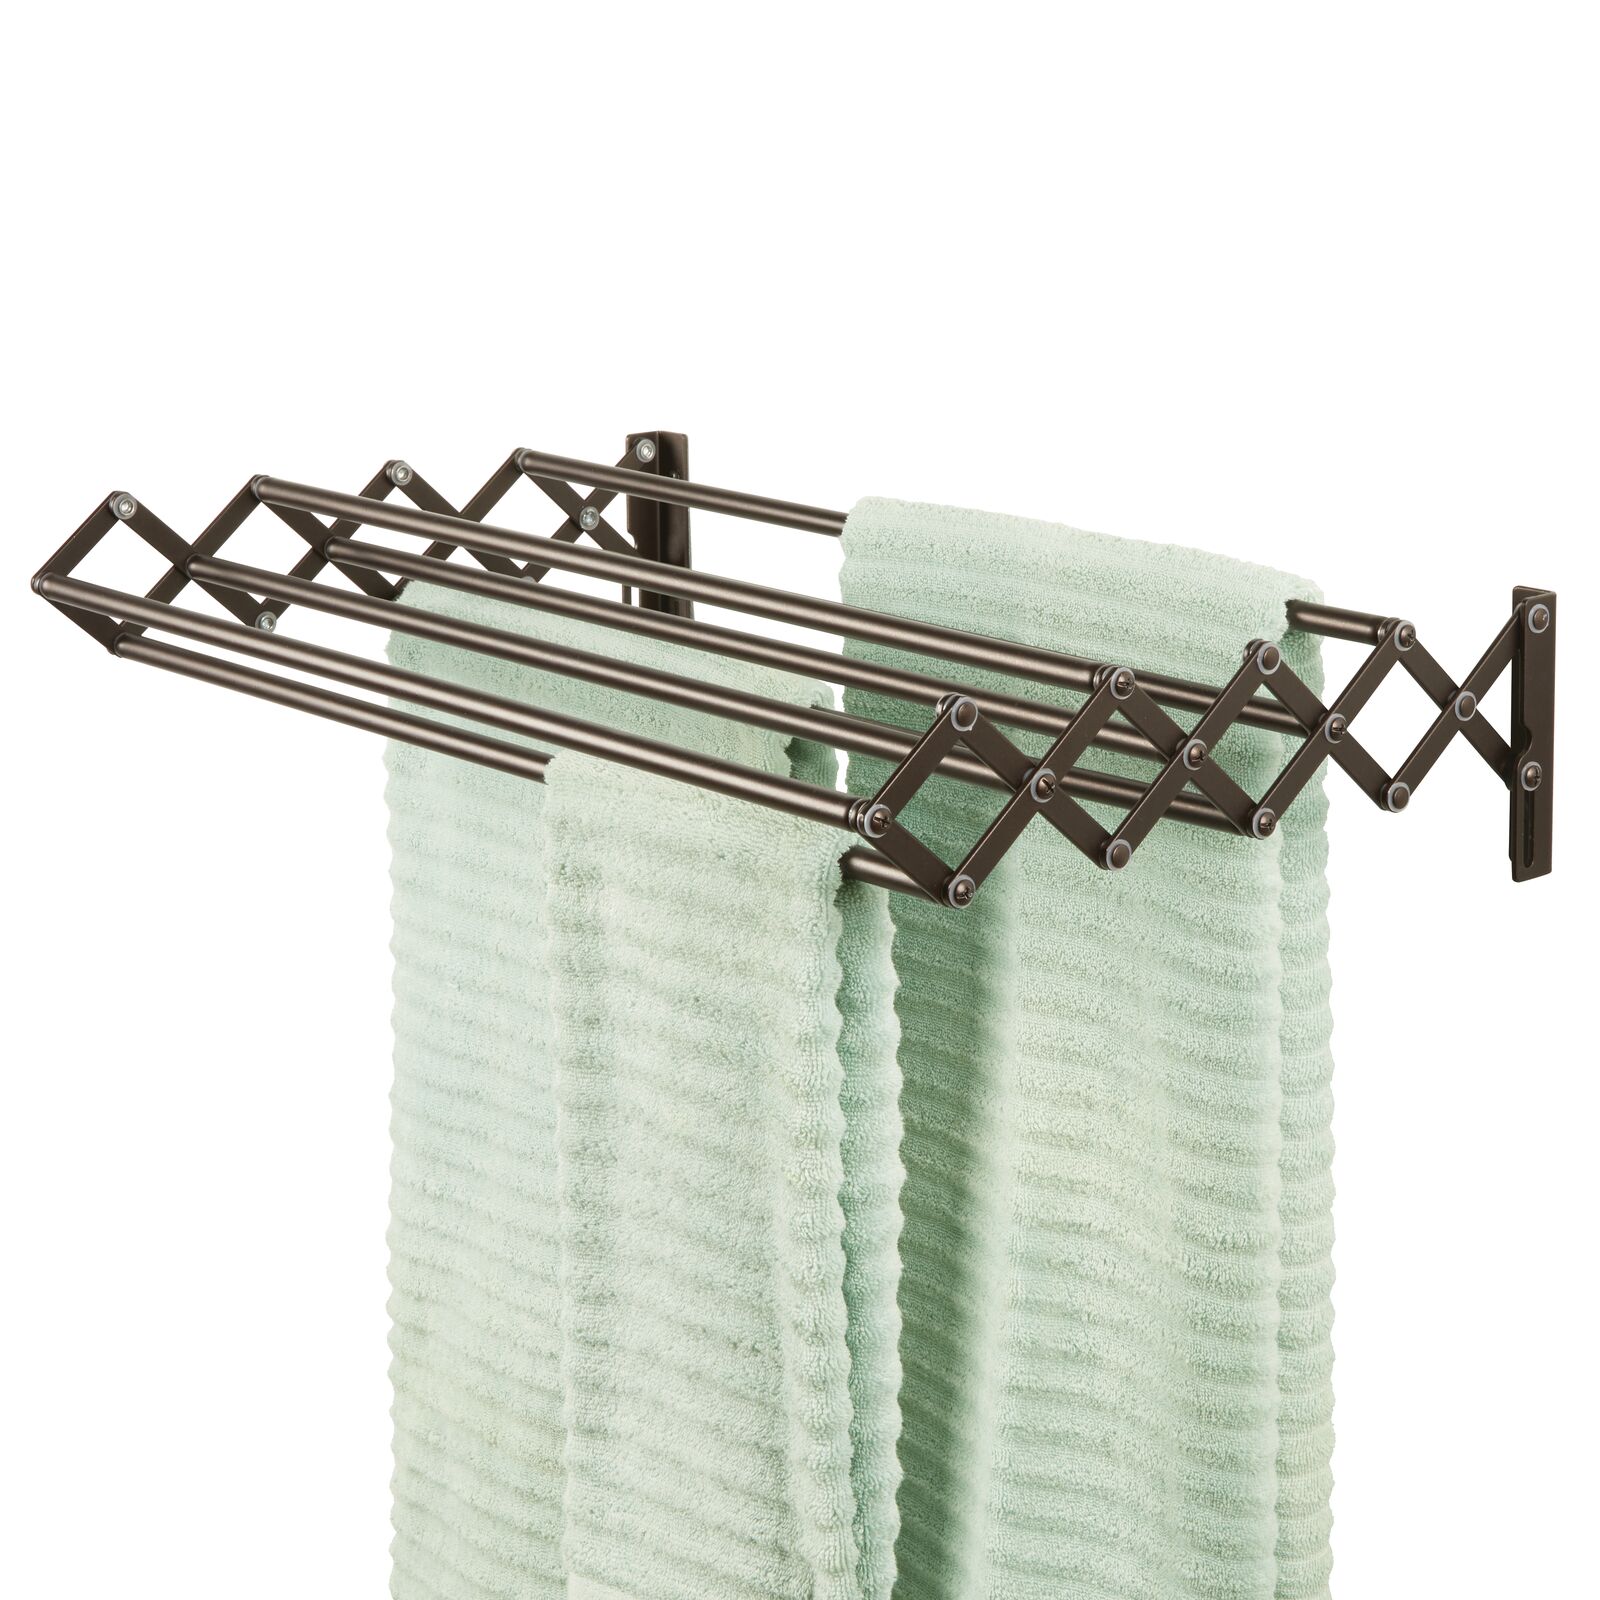
Before you attempt to fold your rack, you need to identify its design. Using the wrong technique can cause misalignment or broken connectors. Here are the three most common types.
Snap-Fit Frame racks feature a locking top bar that snaps into place when open. You must release this snap first or the frame won’t collapse.
Tap-Release Mechanism racks have no buttons or levers. A firm tap on each side of the horizontal rod disengages it from the bracket, allowing instant collapse.
Accordion-Style racks have side panels that fold inward like a concertina. You may need to remove vertical bars before folding, depending on your model.
How to Fold a Snap-Fit Drying Rack
Models like the Honey-Can-Do DRY-01306 use a snap-fit system that requires a specific release sequence.
Unsnap the Top Frame First
The top bar locks the entire structure. Attempting to fold without releasing it can bend support rods.
- Stand behind the rack and grip the top horizontal bar.
- Press upward slightly and pull outward to disengage the snap-fit connectors on both ends.
- Listen for a soft click as it releases. This is normal.
Warning: Never force the rack downward while the top is still locked. This is the number one cause of bent joints.
Lower the Frame Gradually
Once unlocked, lower the top section toward the base. The side panels will angle inward automatically. Continue lowering until both sides lie flat against each other.
Pro Tip: Hold the center of the top bar with one hand and support a side panel with the other to control the speed and prevent slamming.
Store Flat or Upright
When fully collapsed, the rack forms a slim vertical profile about 3 to 4 inches wide. Store it against a wall, under a bed, or in a closet. Consider wrapping it in a cloth to prevent dust buildup since no carry bag is included.
How to Fold a Tap-Release Drying Rack
Generic metal racks with tap-release mechanisms collapse in seconds once you know the trick.
Hold the Center Support Rod
Grip the main horizontal rod firmly with one hand. This stabilizes the frame and prevents wobbling during release.
Tap One Side Sharply
With your other hand, strike one end of the horizontal rod firmly. The impact dislodges the rod from its bracket on that side. You’ll feel it give slightly. Don’t worry, this is intentional.
Tap the Opposite Side
Repeat the tap on the other end. Once both sides release, the entire rack folds downward under its own weight.
Visual Cue: When fully released, the two side panels form an X shape lying flat.
Expert Note: First-time users often hesitate to tap hard enough. You need firm contact but no tools. A solid hand tap works every time.
Why This Works: The Hidden Spring Mechanism
These racks use spring-loaded brackets that hold the rod in place. The tap momentarily overcomes the spring tension, allowing disengagement. No buttons or levers are needed.
How to Fold an Accordion-Style Drying Rack
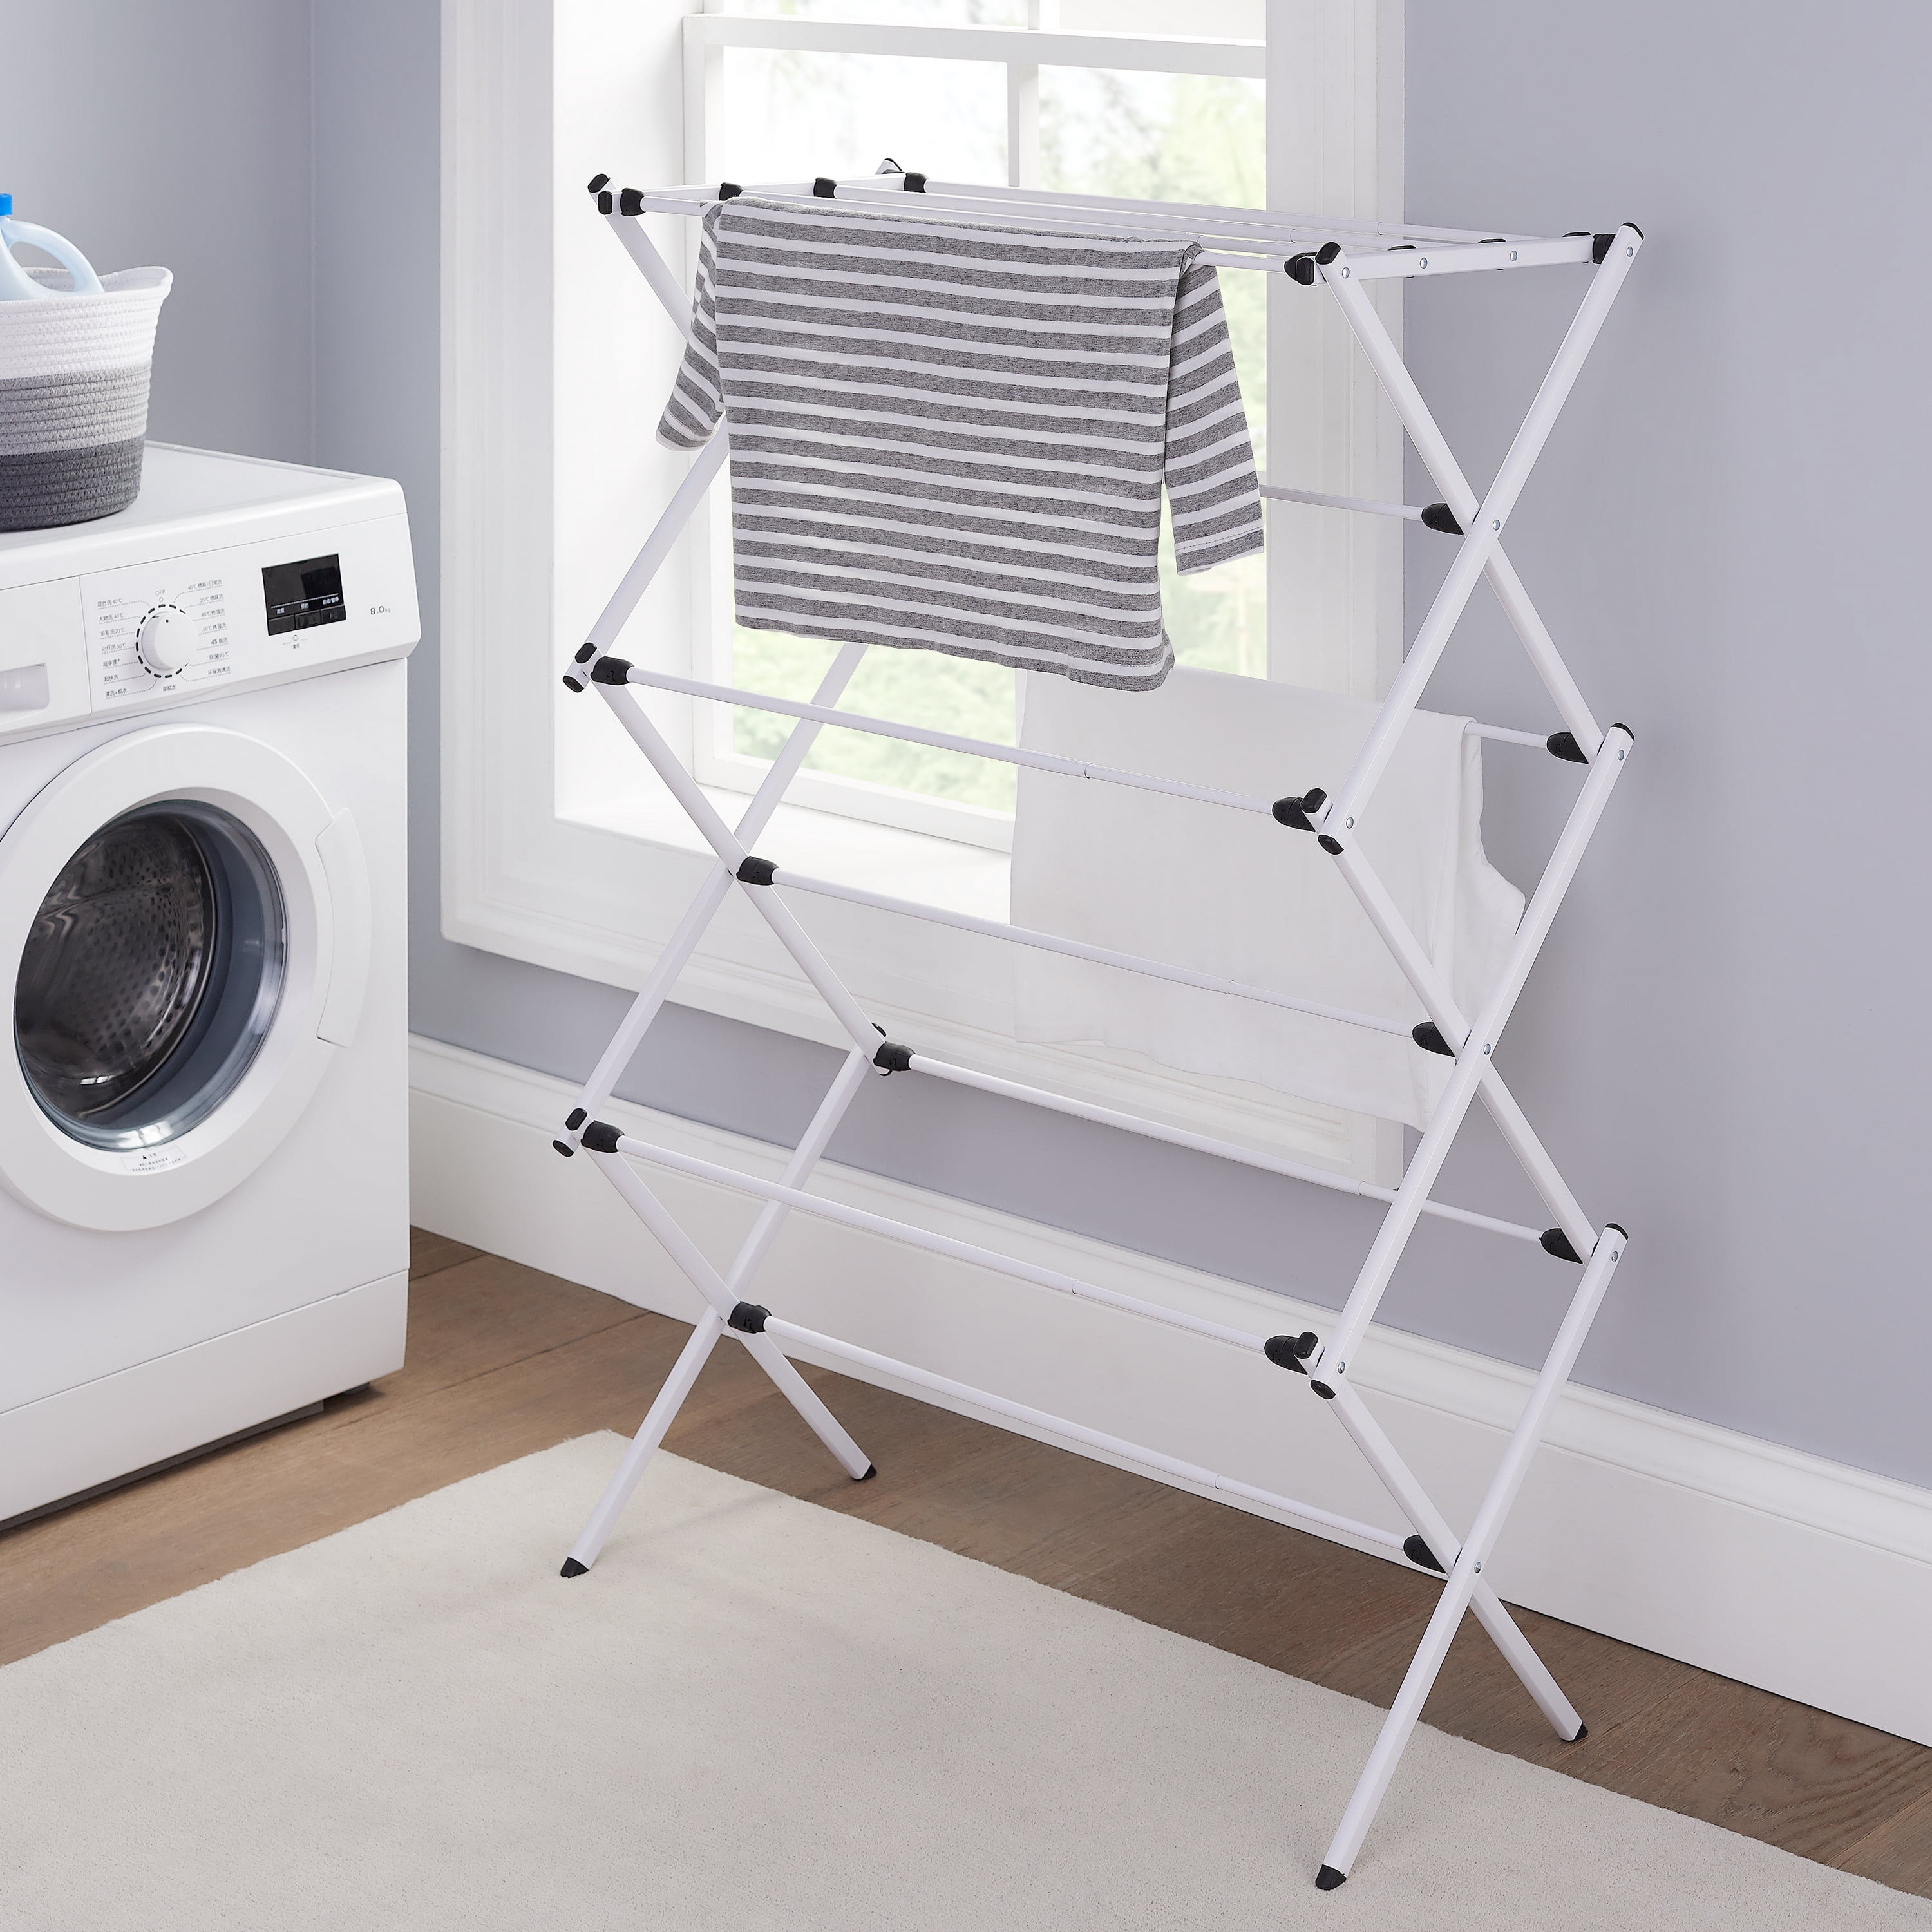
The Mainstays Expandable and similar racks use side panels that stretch and compress like an accordion.
Remove Vertical Support Bars First
Take out all vertical bars. Set them aside in a bundle and use a rubber band to keep them together.
Why? Leaving bars in place blocks the side panels from folding flush.
Push Sides Together Slowly
Stand on either side and gently push the left and right panels toward each other. The accordion joints compress inward smoothly.
Check for Resistance: If it sticks, double-check that all bars are removed and no debris is caught in the joints.
Lay Flat and Zip Into Carry Bag
Once fully compressed, lay the rack flat on the floor and slide it into the included carry bag. Zip it shut for dust protection and easy transport.
Storage Hack: Store the vertical bars inside the carry bag’s side pockets or wrap them in a towel to avoid scratching other items.
How to Assemble a Drying Rack First
You cannot fold a rack that isn’t assembled correctly. Here’s how to set it up the right way before you learn how to fold a drying rack.
Lay Out All Parts First
Unbox and sort all components on a clean flat surface. Group side panels, support bars, and locking discs separately.
Pro Tip: Match numbered slots if present or align curved edges uniformly.
Insert Support Bars Fully
Slide each bar into the slots on both side panels. Push until you feel firm resistance. A slight snap means it’s seated. Never leave bars partially inserted because this causes instability.
Common Mistake: Forcing a bar into the wrong slot. If it doesn’t fit smoothly, check the orientation.
Lock the Top Frame
Lift the rack upright. Align the top bar and press it into the end connectors. You should hear a clear snap on both sides.
Test Stability: Press down gently on the center bar. If it wobbles, recheck bar alignment.
Folding Safety and Common Mistakes to Avoid
Protect your rack and yourself by avoiding these errors.
Never Force the Fold
If the rack resists collapsing, stop immediately. Recheck for locked connectors or trapped bars. Forcing it can bend metal or crack plastic joints.
Remove All Clothes First
Always remove garments before folding. Weighted racks can snap shut unpredictably, pinching fingers or tearing fabric.
Avoid Dropping the Rack
Even lightweight models can warp if dropped on hard floors, especially at the joint points.
Maintenance Tips to Extend Your Rack’s Lifespan
A well-maintained rack lasts 3 to 5 years or more with regular use.
Clean Joints Monthly
Wipe down metal bars with a dry or slightly damp cloth. Remove dust and lint from joint slots using a soft brush if needed.
Why? Buildup interferes with smooth folding and bar insertion.
Inspect Before Every Use
Check for loose or bent bars, cracked locking discs, and worn snap connectors. Replace damaged parts promptly. Many manufacturers sell replacements online.
Store in a Dry Place
Moisture leads to rust, especially on coated steel racks. Avoid leaving your rack in damp basements or bathrooms for extended periods.
Best Placement for Efficient Drying
Where you place the rack affects drying speed and safety.
Position Near a Heat Source or Fan
Place the rack within 3 to 5 feet of a radiator, heater, or ceiling fan. Airflow cuts drying time by up to 50 percent.
Real-World Example: After a snowstorm, a rack placed near a fireplace dried soaked snow pants in under 3 hours.
Use a Non-Slip Surface
Use a rubber mat or old towel underneath to prevent floor scratches and sliding.
Distribute Weight Evenly
Hang heavier items like jeans or towels across the center and lower bars. Overloading one side warps the frame or causes collapse during use.
Space-Saving Storage Solutions for Small Spaces
Folding isn’t just about convenience. It’s about maximizing your living space.
Under-Bed Storage
Most folded racks are less than 6 inches thick. Slide them into under-bed storage bins for total invisibility.
Closet or Pantry Door Mount
Install over-the-door hooks to hang the folded rack vertically. This keeps it accessible but out of the way.
RV and Dorm-Friendly Options
These racks are lightweight and tool-free, making them ideal for college dorms, tiny homes, or campers. You can fold and store them in under a minute.
Troubleshooting: When Your Rack Won’t Fold
Stuck? Try these fixes.
Bars Won’t Release
Check if locking discs are still in place on Mainstays models. Remove them before attempting to fold.
Frame Feels Stuck
Lay the rack on its side. Gently wiggle the side panels while applying light pressure. Often, slight misalignment blocks the collapse.
No Snap or Click When Releasing
On snap-fit models, ensure you’re pressing upward and outward on the top bar. Angle matters. Too much downward pressure prevents release.
Frequently Asked Questions About Folding a Drying Rack
Can I fold my drying rack with clothes still on it?
No. Always remove all clothes before folding. Wet garments add weight that causes the rack to snap shut unpredictably, risking finger injuries or fabric damage.
How long does it take to fold a drying rack?
Most models fold in under 1 minute. Snap-fit and accordion styles take 45 seconds to 2 minutes depending on whether you need to remove bars first.
Why won’t my snap-fit rack collapse?
The top locking bar is likely still engaged. You must release both snap-fit connectors on the ends of the top bar before lowering the frame. Check that you’re pressing upward and outward, not downward.
Do I need tools to fold a drying rack?
No. All collapsible drying racks are designed for tool-free operation. The tap-release mechanism uses a simple hand tap, while snap-fit models release with gentle pressure.
Can I store my drying rack outside?
Storing racks outdoors is not recommended. Moisture causes rust on metal components, and weather exposure degrades plastic joints. Store in a dry interior space like a closet or under-bed area.
Key Takeaways for Folding Your Drying Rack
Folding a drying rack becomes simple once you understand your specific model type. Snap-fit racks require releasing the top bar first. Tap-release racks need a firm hand tap on each side of the horizontal rod. Accordion-style racks require removing vertical bars before compressing the panels.
Always remove clothes before folding, never force the mechanism, and store the rack in a dry place. With proper care, your drying rack remains a reliable space-saving essential for years to come. Keep this guide handy until the folding process becomes second nature.


