
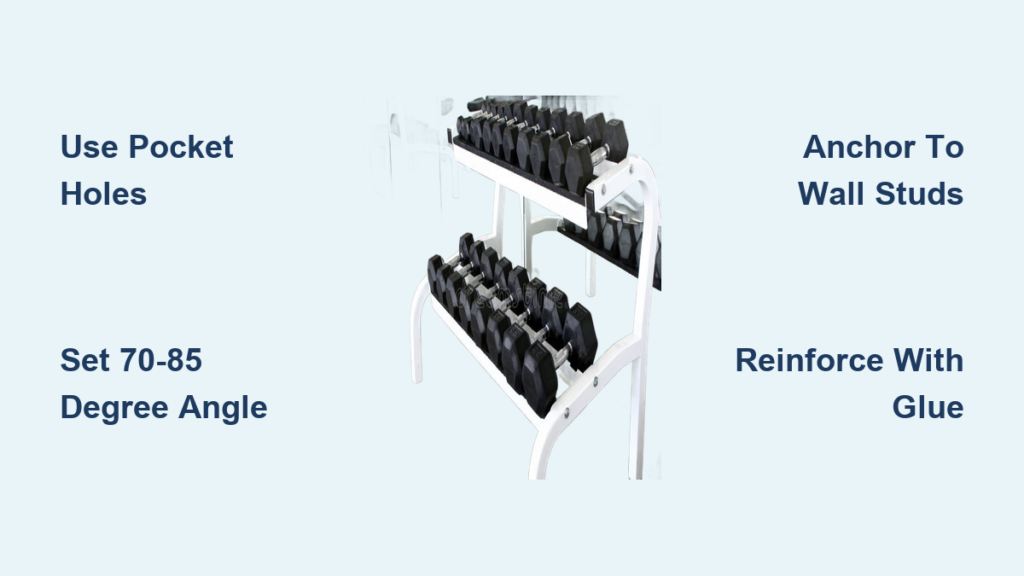
If your home gym looks like a battlefield with dumbbells scattered across the floor, a custom-built dumbbell rack is the solution you need. Learning how to make a dumbbell rack gives you complete control over size, capacity, and aesthetics while saving 50 to 75 percent compared to commercial options. Whether you prefer a simple wall-mounted 2×4 design or a heavy-duty steel frame with wheels, this guide walks you through every step from material selection to final assembly.
Choose Your Dumbbell Rack Design

Selecting the right design depends on your space, budget, and skill level. Each option offers different advantages for your home gym setup.
Wall-Mounted 2×4 L-Rack for Beginners
This minimalist design uses two horizontal 2x4s joined at a right angle to create a V-notch that allows easy hand access under any dumbbell. Mount it directly into wall studs using a vertical 2×4 brace. The lower shelf holds heavier dumbbells from 25 to 35 pounds while the upper shelf stores lighter pairs from 5 to 20 pounds. With a footprint of just 16 inches deep, it fits neatly under a power rack or window. Total materials cost under $20.
Angled Plywood Freestanding Rack for Intermediate Builders
This A-frame design uses ¾-inch plywood cut to optimized dimensions of 50¾ inches wide by 23¾ inches high from a single 4×8 sheet. Shelves are set at a 70 to 85 degree angle, balancing accessibility with anti-slip stability. Reinforced with 1x3s and 1x4s, it features pocket-hole joinery for strong, hidden connections. A middle support leg prevents sagging. This build takes 6 to 8 hours and costs $80 to $120.
Steel Dumbbell and Plate Rack for Advanced Builders
Built from RHS 65×25×3mm steel, this welded frame supports up to 300 kilograms and includes caster wheels for mobility. Angled shelves hold dumbbells while side arms store weight plates vertically. Tack-welded extensions allow future expansion. This option requires a welder, angle grinder, and acid bath to strip galvanization for strong joints.
Gather Materials and Tools
Wood Rack Materials
For a wooden rack, you need specific lumber and fasteners to ensure strength and durability.
• 2×4 lumber for load-bearing frames and wall mounting
• ¾-inch birch or maple plywood for side panels and shelves
• 1×3, 1×4, or 1×8 boards for shelf supports and reinforcement
• Exterior-grade wood glue for permanent bonds
• Kreg pocket hole screws (1.5-inch and 2.5-inch) for hidden joinery
• Wood filler for filling screw holes before finishing
• Minwax stain (Ebony or Driftwood) and Polycrylic Max satin topcoat
Steel Rack Materials
For the heavy-duty steel version, gather these components.
• RHS 65×25×3mm steel for vertical and horizontal members
• Angle iron 65×65×5mm for bracing shelf joints
• 5mm steel end plates for joint reinforcement
• Four 80kg-rated caster wheels (320kg total capacity)
• Acid bath solution for stripping galvanization before welding
Essential Tools
You will need a circular saw for cutting plywood, a mitre saw for precision crosscuts, and a Kreg pocket hole jig for creating strong hidden joints. A cordless drill drives screws and pre-drills holes while clamps hold glued pieces during assembly. Additional tools include a sander with 220-grit paper, tape measure, square, level, router with round-over bit, angle grinder, and welder for steel builds.
Cut and Prepare the Panels
Start with a 4×8 sheet of ¾-inch plywood. Cut three 15¾-inch-wide strips running the full 96-inch length. Use two full strips for side panels and laminate them together with wood glue and clamps if you need extra thickness. Halve the third strip into two 48-inch pieces for the top and bottom shelves. Trim edges after gluing to ensure flush alignment.
Pro Tip: Plywood is often slightly less than ¾-inch thick. Account for this when calculating joint fits to avoid gaps during assembly.
Assemble the Frame with Pocket Holes
Drill Pocket Holes for Strong Joints
Set your Kreg Jig to 1.5-inch thickness. Drill six pocket holes along each edge of the bottom shelf for extra support. Drill two holes per end on 1×3 and 1×4 support boards using the ¾-inch setting. Drill five holes along the long edge of supports to attach to upper shelves. Pocket holes let you assemble the frame quickly with hidden screws and maximum strength.
Install Bottom Shelf Support
Cut a 1×3 support board to match the shelf angle. Position its top edge approximately 10 inches from the front of the shelf so the largest dumbbell rests fully supported when pressed back. Test fit with your heaviest dumbbell before securing. Attach with wood glue and 1.5 to 2-inch nails (eight total) on the side without pocket holes to avoid interference.
Set the Ideal Shelf Angle
Mark Reference Points on Side Panels
Mark these reference points on your side panels to achieve the correct tilt.
• Front edge of shelf: 7.25 inches from bottom
• Back edge of shelf: 11.25 inches from bottom
This creates a near-vertical slant that prevents dumbbells from sliding while allowing easy pickup. The shelf’s front edge should be flush with the front of the side panel. Secure with wood glue and 2.5-inch Kreg screws.
Warning: If dumbbells slide off, the angle is too steep. Adjust to 70 to 80 degrees for better stability.
Reinforce and Stabilize the Structure
Add Middle Support Legs for Freestanding Builds
For racks over 50 inches wide, install a middle support leg under the bottom shelf. Use 2x4s cut to length and mitered at the ends for a flush fit. This prevents sagging and increases load capacity significantly.
Use Glue Plus Screws for Maximum Strength
Never rely on screws alone. Apply wood glue to all joints before screwing. Clamp pieces during assembly for tight alignment. Glue fills micro-gaps and creates a bond stronger than the wood itself.
Anchor Wall Units to Studs
For L-shaped or hybrid wall racks, attach a vertical 2×4 brace directly into wall studs using lag screws. This prevents tipping under load. Position the rack so there is clearance for hand access under dumbbells.
Finish for Durability and Style
Sand and Fill Before Staining
Progress through sandpaper grits: 60, then 120, then 220. Fill screw holes and imperfections with wood filler. Wipe away dust before finishing.
Apply Stain and Protective Topcoat
Apply a pre-stain conditioner, especially on maple, to prevent blotching. Use Minwax Ebony for a dark professional look or Driftwood for a light modern gray. Wipe off excess immediately with a clean rag. Apply two coats of Polycrylic Max (satin), lightly sanding between coats.
Pro Tip: Mix shellac and denatured alcohol (1:1) for a low-dust, splinter-resistant finish that protects your work for years.
Build the Steel Rack (Advanced)
Cut and Prep Steel Components
Cut RHS steel to final dimensions based on your dumbbell layout. Strip galvanization from joints using an acid bath. This ensures clean, strong welds. Dry thoroughly before welding.
Weld the Frame and Shelves
Use a MIG or stick welder to join vertical and horizontal members. Add angle iron braces at shelf joints and 5mm end plates for reinforcement. Test fit on wooden blocks before final welding.
Add Forward Tilt for Natural Hand Path
Angle shelves 10 degrees forward so your hand moves naturally when grabbing dumbbells. Keep the lip minimal, just enough to prevent slipping.
Install Caster Wheels
Attach four 80kg-rated casters (total 320kg capacity) to the base. Position swivel casters at the front and fixed at the back for stability. Lubricate wheels annually.
Add Plate Storage Arms
Weld vertical side arms to hold weight plates. Include small brackets for EZ-bars or resistance bands. Label arms for quick identification.
Safety First: Grind down sharp weld edges to prevent cuts during use.
Optimize Your Storage Layout
Organize your rack strategically to maximize efficiency during workouts.
Upper Row for Light to Medium Dumbbells
Store 5-pound to 25-pound pairs on the upper shelf. The angled design ensures they stay in place and are easy to grab between sets.
Lower Row for Heavy Weights
Place heavier dumbbells from 30 to 50 pounds on the lower shelf. If your rack is double-tiered, ensure the shelf is deep enough (16 inches or more) for full support.
Under-Shelf Space for Accessories
Leave the area beneath the rack open for kettlebells, slam balls, ab wheels, or mats. This eliminates wasted space in your gym.
Top Shelf for Small Gear
Add a top shelf for gloves, jump ropes, or resistance bands, but only if the frame is reinforced to handle extra load.
Test, Adjust, and Maintain Your Rack
Load-Test with Heaviest Dumbbell
Before finalizing, place your largest dumbbell on the shelf. If it slides, reduce the angle. The ideal tilt holds weights securely but allows fingertip access.
Check for Level and Alignment
Use a level and square during assembly. Misaligned cuts lead to wobbly shelves and poor fit.
Inspect Annually
Wood racks need inspection for cracks, warping, or splintering. Reapply finish every 6 to 12 months. Steel racks require checking welds for cracks and wheels for bearing wear. Store in a dry area to prevent rust.
Cost Comparison: DIY vs. Commercial
| Feature | DIY Wooden Rack | DIY Steel Rack | Commercial Rack |
|---|---|---|---|
| Cost | $20–$120 | $150–$250 | $200–$300+ |
| Durability | High (if glued/screwed) | Very High | High |
| Customization | Full | High | Limited |
| Assembly Time | 4–8 hours | 6–10 hours | 1–2 hours |
| Expandability | Easy | Tack-welded | Model-dependent |
Bottom Line: DIY saves 50 to 75 percent and offers better fit, aesthetics, and long-term value compared to buying pre-made.
Final Tips for Success
Start simple with a wall-mounted 2×4 rack if you are new to DIY projects. Invest in a Kreg Jig because pocket holes make assembly faster and stronger. Dry-fit everything before gluing or welding. Always anchor to wall studs, never skip this safety step. Plan for future weights by widening shelves or increasing height. Consider adding caster wheels if you use your space for multiple purposes. Label weights on the front edge to speed up workouts.
A well-built dumbbell rack transforms your home gym from cluttered to streamlined. Whether you choose wood or steel, the key is strong joints, proper angles, and secure mounting. With the right tools and this guide, you will have a functional, durable, and personalized storage solution in less than a weekend.
Frequently Asked Questions About Building a Dumbbell Rack
How much does it cost to build a DIY dumbbell rack?
A basic wooden rack costs $20 to $120 depending on materials. A steel rack runs $150 to $250. This saves 50 to 75 percent compared to commercial racks priced at $200 to $300 or more.
What is the best angle for dumbbell rack shelves?
The ideal shelf angle ranges from 70 to 85 degrees for wooden racks. This near-vertical tilt prevents dumbbells from sliding while still allowing easy fingertip access. Steel racks work best with a 10-degree forward tilt for natural hand movement.
Can I build a dumbbell rack without welding?
Yes. Wooden racks use pocket hole joinery, wood glue, and screws, requiring no welding. Steel racks require welding, so consider the wooden alternative if you lack welding equipment.
How do I prevent dumbbells from sliding off the rack?
Adjust your shelf angle to 70 to 80 degrees if weights slide off. Install a support stop approximately 10 inches from the front edge to hold dumbbells in place. Test with your heaviest weight before final assembly.
How long does it take to build a dumbbell rack?
A basic wall-mounted wooden rack takes 2 to 4 hours. A freestanding plywood rack takes 6 to 8 hours. A steel rack requires 6 to 10 hours including material preparation and welding time.
Do I need to anchor a wall-mounted rack to studs?
Yes. Always anchor wall-mounted racks directly into wall studs using lag screws. This prevents tipping under load and ensures safety during use. Never rely on drywall anchors alone for supporting heavy weights.
Key Takeaways for Building a Dumbbell Rack
Building your own dumbbell rack provides significant cost savings, complete customization, and the satisfaction of creating something functional for your home gym. The most important factors for success are using strong joinery (pocket holes plus wood glue), setting the correct shelf angle between 70 and 85 degrees, and anchoring wall-mounted units directly into studs. Choose materials based on your skill level: a simple 2×4 wall rack for beginners, plywood with pocket holes for intermediate builders, or welded steel with casters for advanced fabricators. Regardless of your choice, a well-built rack transforms cluttered weights into an organized, efficient workout space that lasts for years.


