
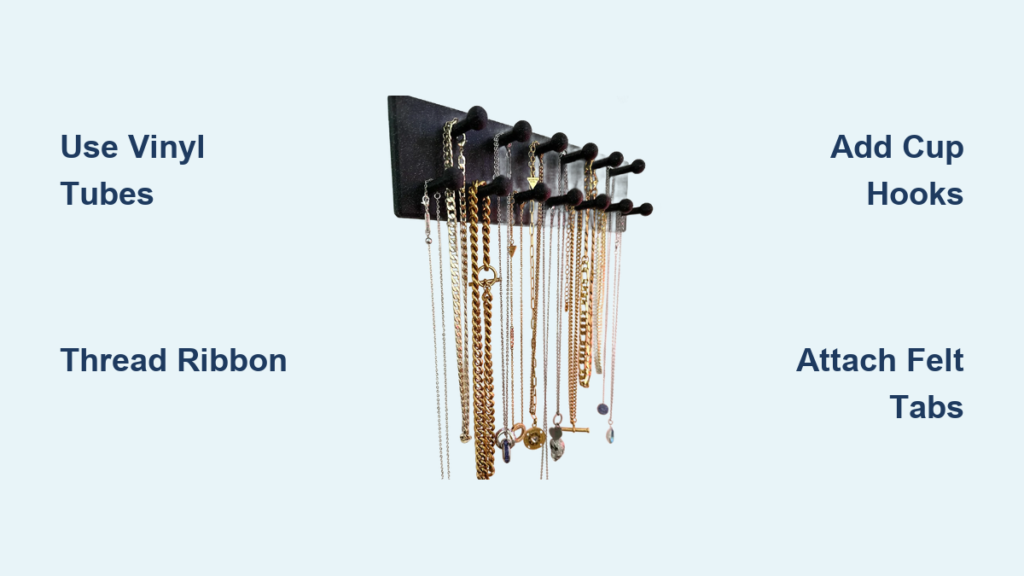
Tired of tangled necklaces piling up in a drawer? You’re not alone. Millions of jewelry lovers struggle with disorganized chains, lost pendants, and tarnished pieces because they lack a simple, effective storage solution. The good news? You can make a necklace rack in under an hour using affordable or repurposed materials. Whether you’re crafting for yourself or creating a thoughtful handmade gift, a DIY necklace rack combines practicality with personal style. This guide walks you through six proven designs so you can choose the perfect fit for your space, collection, and decor.
You’ll learn how to prevent tangling, protect delicate metals, and turn functional organization into eye-catching wall art. With options that cost under $5 and require only basic tools, making a necklace rack is easier than you think.
Choose Your Design Based on Your Needs
Match Rack Style to Your Space and Collection
Before grabbing glue or scissors, consider these factors:
• Collection size: Small (under 20), medium (20–50), or large (50+)
• Available space: Wall, door, vanity, or travel bag
• Decor style: Boho, minimalist, rustic, or modern
• Mobility needs: Permanent display or portable storage
Small space dwellers should try a copper pipe hanger. Frequent travelers benefit from a fabric roll-up. Those who love natural textures will enjoy a driftwood rack. Budget crafters can repurpose a Dollar Tree holder.
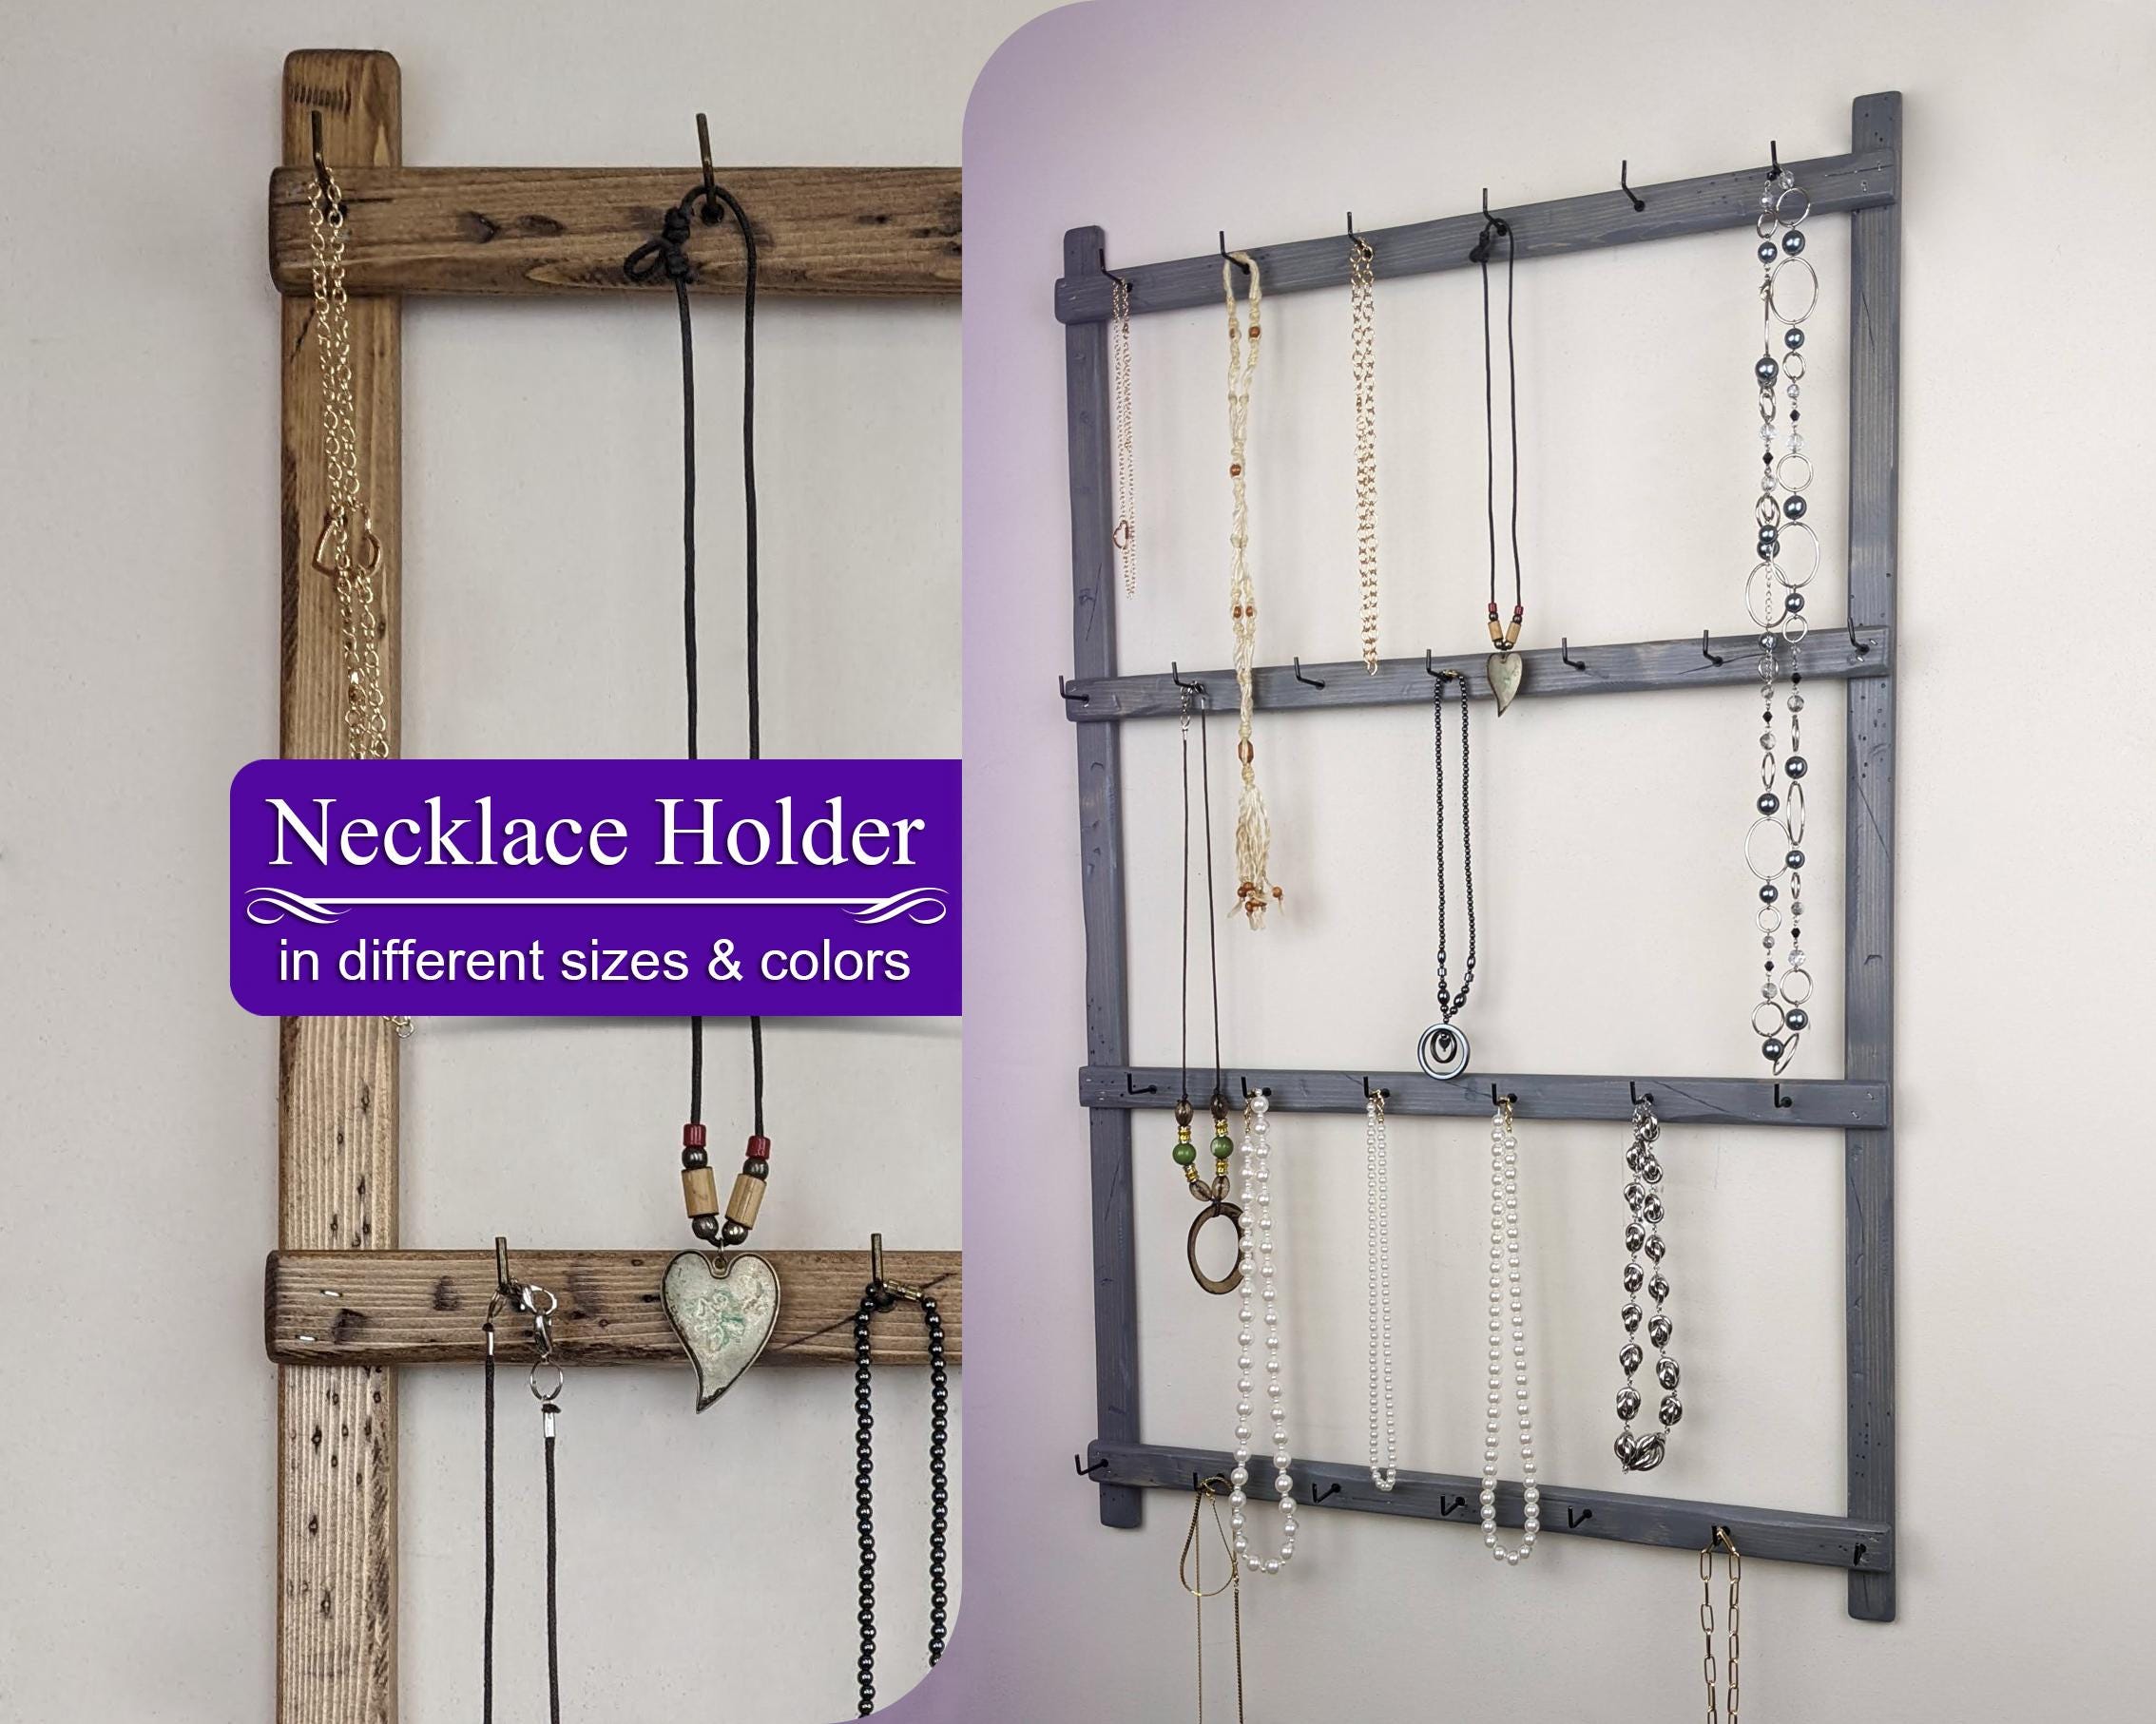
Compare Top Necklace Rack Types
| Feature | Best For | Skill Level | Cost |
|---|---|---|---|
| Dual-tube vinyl rack | Custom wall art | Beginner | Under $10 |
| Fabric roll-up | Travel, drawer storage | Beginner | Under $5 |
| Driftwood holder | Boho decor | Beginner–Intermediate | $10–$25 |
| Copper pipe hanger | Modern, narrow spaces | Beginner | Under $15 |
| Framed plaque | Minimalist display | Beginner | Under $10 |
| Dollar Tree conversion | Budget crafters | Beginner | Under $5 |
Each design prevents tangling and improves accessibility.
Build a Dual-Tube Necklace Rack
Prepare and Wrap Your Tubes
Start with two clean, dry cardboard or vinyl tubes. Toilet paper rolls or paper towel tubes work well. Choose vinyl for durability or cardboard for free recycling.
Wrap each tube in permanent vinyl following these steps:
- Measure the tube circumference and cut vinyl to match.
- Use double-sided tape to hold one edge in place.
- Slowly peel the backing and apply, smoothing carefully to avoid bubbles.
- Press the seam firmly and place the tube against the wall with the seam side down for flush mounting.
Pro tip: Match vinyl width to tube circumference for clean, professional-looking edges.
Thread and Secure the Ribbon
Use one long grosgrain or satin ribbon. It should be at least 24 inches to allow proper threading.
Thread the ribbon through both tubes from top to bottom. Once fully threaded:
• Pull both ends together and tie a tight knot above the first tube.
• Tuck the knot under the top tube so it stays hidden.
• Apply permanent glue on both sides of the knot to prevent slipping over time.
Add a 2-inch centering loop: Cut a short ribbon piece, form a loop, and glue it to the main ribbon just above the first tube. This keeps the rack balanced when hung.
Install Cup Hooks
Use 5/8-inch cup hooks in brass, antique, or black finish. These provide enough gap to hang most necklaces without jamming.
Mark hook positions on the front of each tube:
• 1 inch from each end
• Spaced 1.5 to 2 inches apart
• Use an even number of hooks for symmetry
Screw hooks in by hand. For sturdier hold, pre-drill pilot holes if working with vinyl and add a drop of glue to the base of each hook.
Glue felt tabs to the back edges of both tubes to protect your wall from scratches. Let all glued parts cure for at least 2 hours before hanging.
Create a Fabric Roll-Up Organizer
Pin and Roll for Travel
This portable rack takes minutes to assemble and works perfectly for trips or drawer storage.
Lay a fabric swatch flat. Linen, cotton, or felt all work well. Space necklaces 1.5 inches apart and secure each with a round-bottom safety pin. These won’t snag delicate chains.
Roll tightly from one end. Fold in half for compactness. Slide into a cotton drawstring pouch.
Optional upgrades include:
• Hemming edges to prevent fraying
• Sewing ribbon ties to keep the roll closed
• Lining with anti-tarnish fabric like Pacific Silvercloth to protect silver
• Embroidering your initials for a personal touch
Advantage: No tools required, no mess, and fully tangle-free.
Limitation: Necklaces aren’t visible until unrolled. This works best for off-season or backup storage.
Craft a Driftwood Wall Holder

Clean and Prepare Natural Wood
Find a sturdy piece of driftwood 12 to 24 inches long at the beach or craft store. Clean it properly:
- Wash with mild soap and water.
- Soak in a 1:1 vinegar-water solution for 1 to 2 hours to disinfect.
- Optional: Sanitize with diluted bleach (1:9), then rinse thoroughly.
- Dry for 24 to 48 hours in a well-ventilated area.
- Lightly sand any rough spots.
Seal with matte clear sealant if using indoors long-term.
Mount Hooks and Hang
Mark where to place 1/2-inch cup hooks. For symmetry, measure and space them 1.5 to 2 inches apart. For an organic look, place them by eye along thicker branches.
Drill pilot holes slightly smaller than the hook shaft to prevent splitting. Screw in hooks by hand without overtightening.
Attach a hanging cord using leather, sisal, or cotton rope. Cut 12 to 18 inches, tie securely to both ends, and trim excess. Hang on a wall hook or nail and distribute necklaces evenly to avoid tilting.
Pro tip: Add fairy lights or a small shelf for rings to boost visual appeal.
Install a Copper Pipe Hanger
Clean and Polish Metal
Buy a 12 to 24 inch section of 1/2-inch copper pipe from a hardware store. Clean it with ketchup:
- Rub ketchup onto the pipe with a cotton pad.
- Let sit for 1 to 2 minutes.
- Wipe clean with a soft cloth.
- Dry thoroughly.
Ketchup removes tarnish thanks to its mild acid content.
Hang and Use
Cut two 12-inch lengths of baker’s twine or cotton rope. Thread one end through the center of the pipe.
Tie a secure knot on each side. The pipe should hang horizontally.
Wrap twine around a wall nail twice to prevent sliding. Adjust so the pipe hangs level.
Space small S-hooks evenly along the pipe. Hang necklaces by the clasp.
Design perk: This lies flat against the wall, ideal beside mirrors, in closets, or narrow hallways.
Maintenance: Polish every 2 to 3 months to keep the shine.
Convert a Dollar Tree Holder
Repurpose for Jewelry
Buy a $1.25 paper towel holder from Dollar Tree. It should be wood or MDF with a central rod.
Remove the original rod if it’s meant for towels.
Wrap side panels with velvet ribbon or fabric. Cut to size, wrap around the panel thickness, and glue edges to the back.
Reinstall the rod or replace it with a decorative dowel.
Add extra cup hooks along the bottom edge for more hanging space.
Mount using pre-drilled holes with screws or heavy-duty adhesive strips for damage-free hanging.
Bonus: Pair with a Dollar Tree bracelet holder for a coordinated vanity setup.
Design a Framed Plaque Display
Cover and Customize Your Board
Use a flat wooden plaque or board from a craft store or Dollar Tree.
Stretch fabric or vinyl over the surface like a drumhead. Wrap excess around the edges and glue neatly to the back.
Materials that work best:
• Velvet: Luxe feel, hides staples
• Felt: No-fray, thick protection
• Patterned vinyl: Bold, wipeable finish
Attach hooks, knobs, or small nails along the bottom edge. Space them 1.5 to 2 inches apart. Use antique knobs for vintage flair.
Add a sawtooth hanger or D-rings to the back for secure mounting.
Optional: Paint the frame, add stenciled labels like “Daily Wear” or “Special Occasion,” or include a small mirror.
Optimize Hook Placement
Prevent Tangles and Damage
Spacing matters significantly:
• 1.5 to 2 inches apart prevents necklaces from touching
• 1 inch from edge ensures hooks are secure and visible
• Avoid overcrowding to leave room for easy access
Hook size matters too:
• 5/8-inch cup hooks fit most chains
• 1/2-inch for delicate pieces
• S-hooks work best for copper pipe systems
For heavy necklaces with pendants or chunky chains, use wood, driftwood, or copper. Avoid cardboard tubes.
Protect Walls and Materials
Add Felt Tabs and Backing
Always glue felt tabs to contact points:
• Back corners of tube racks
• Edges of plaques
• Any rough or glitter-coated surface
This prevents wall scratches, paint chipping, and rack wobbling.
Use pre-cut self-adhesive felt pads or cut your own from craft felt.
For roll-up organizers, line with anti-tarnish fabric and add a silica gel packet to absorb moisture.
Maintain Your Necklace Rack
Keep It Looking New
Monthly tasks:
• Wipe driftwood or wood racks with a dry cloth
• Check hooks for looseness and tighten or replace as needed
Every 2 to 3 months:
• Polish copper with ketchup or commercial cleaner
• Inspect glue points on ribbon knots and hooks
As needed:
• Hand-wash fabric rolls in cold water
• Air dry flat, never machine dry
Storage tips:
• Keep away from bathrooms where humidity causes tarnish
• Avoid direct sunlight which fades vinyl and fabric
• Store silver in anti-tarnish lining
Customize for Personal Style
Upgrade Any Design
Make your rack uniquely yours.
For driftwood: Carve or wood-burn initials, add LED fairy lights, or attach a small shelf for rings.
For copper pipe: Use colored twine, add tiny labeled tags to S-hooks, or stack multiple pipes at different heights.
For fabric rolls: Embroider a monogram, use satin lining, or upgrade the pouch with a zipper.
For tube or plaque racks: Mix velvet and patterned vinyl, add glitter with mod podge sealant, or use contrasting ribbon colors.
Crafters love combining materials. Try velvet side panels with vinyl-wrapped tubes for a unique look.
Final Tips for Success
Build Smart and Hang Right
• Mount heavy racks on wall studs or use anchors
• Distribute necklaces evenly to prevent tilting
• Allow full glue cure time of 2+ hours before use
• Use strong, non-stretch ribbon like grosgrain
• Pre-drill holes in hard materials to avoid splitting
Avoid common mistakes:
• Skipping wall protection with felt tabs
• Overcrowding hooks
• Using weak adhesives on knots
Choose the Best Rack for Your Needs
Quick Decision Guide
| If You Need… | Build This |
|---|---|
| Tangle-free travel storage | Fabric roll-up |
| Flat, modern wall display | Copper pipe hanger |
| Boho-chic room decor | Driftwood holder |
| Budget weekend project | Dollar Tree conversion |
| Custom wall art | Dual-tube vinyl rack |
| Minimalist look | Framed plaque |
Hybrid systems work best for large collections. Use a wall rack for daily wear and a roll-up for seasonal pieces.
Frequently Asked Questions About Making a Necklace Rack
What materials can I use to make a necklace rack?
You can use cardboard tubes, vinyl tubes, driftwood, copper pipe, wooden plaques, or repurposed items like Dollar Tree paper towel holders. The choice depends on your budget, skill level, and decor style.
How much does it cost to make a DIY necklace rack?
Most designs cost under $15. The fabric roll-up and Dollar Tree conversion are the cheapest at under $5. Driftwood holders range from $10 to $25 if you purchase the wood.
How do I prevent necklaces from tangling on my rack?
Space hooks 1.5 to 2 inches apart. Use individual hooks rather than a single bar. For travel, use a fabric roll-up with safety pins to keep each necklace separate.
What size hooks work best for necklace racks?
5/8-inch cup hooks work for most necklaces. Use 1/2-inch hooks for delicate pieces and S-hooks for copper pipe systems.
How do I maintain my necklace rack?
Wipe down wood and metal monthly. Check hooks for looseness. Polish copper every 2 to 3 months. Hand-wash fabric rolls as needed and air dry completely.
Key Takeaways for Making Your Own Necklace Rack
Making a necklace rack is an affordable way to solve jewelry organization problems while adding personalized decor to your space. Choose a design based on your collection size, available space, and style preferences. The dual-tube vinyl rack works well for custom wall art, while the fabric roll-up is perfect for travelers. Driftwood holders bring boho charm, and copper pipe hangers offer modern minimalism.
Regardless of which design you choose, proper hook spacing and wall protection ensure your rack lasts. Allow glue to cure fully before hanging necklaces, and distribute weight evenly to prevent tilting. With simple materials and basic tools, you can create a functional jewelry organizer in under an hour.
Start with one of the six designs outlined here, customize it to match your decor, and enjoy tangle-free necklaces from now on.


