

Nothing beats the frustration of digging through a cluttered desk for a pen that always seems to vanish. A DIY pen organizer solves that problem while adding style, creativity, and eco-conscious flair to your workspace. Whether you’re a student, artist, teacher, or remote worker, learning how to make a pen organizer from everyday materials is a simple, rewarding project. This guide walks you through every step from material prep to decoration with clear, actionable methods and pro tips for durability and design.
Choose Your Base Material

The first step in making a pen organizer is selecting a sturdy base. The right container determines stability, capacity, and visual appeal.
Tin Cans for Sturdy Holders
Tin cans like soup or coffee cans are strong, widely available, and ideal for heavy duty use. Their metal body resists crushing, making them perfect for holding thick markers and pens.
Pro Tip: Use a Pampered Chef style can opener to remove the lid without sharp edges especially important for kids crafts.
Before decorating, clean the can thoroughly. Soak in warm, soapy water to loosen the label. Peel off the label and scrub off adhesive residue. Wash inside and out and dry completely to avoid mold or glue failure.
Plastic Bottles for Lightweight Options
Shampoo, water, or soda bottles work well for clear, modern organizers. Cut the top quarter off with scissors or a craft knife. Smooth rough edges with fine sandpaper or a quick pass with a heat gun while using caution. Leave the bottle clear for visibility or paint the outside with acrylics.
Bonus: Attach Velcro strips to the back and mount on a wall to save desk space.
Cardboard Tubes for Eco-Friendly Designs
Toilet paper or paper towel rolls are perfect for lightweight pencil holders. Cut to desired height. Seal the bottom with a cardboard circle glued in place. Reinforce flimsy tubes with extra glue or layers of paper. For impact, cluster three to five tubes of varying heights and glue together on a base.
Prepare and Customize Your Container
Once your base is ready, it is time to personalize it. Decorating transforms a plain can into a statement piece.
Wrap With Paper or Fabric
Paper and fabric give a clean, polished look. Measure the height and circumference of your container. Cut scrapbook paper, cardstock, or fabric to size. Apply Mod Podge or hot glue to the back. Wrap smoothly around the can, pressing out air bubbles. Seal with another layer of glue or clear varnish for durability.
Design Hack: Use chalkboard paint on the surface to label contents like Pens, Markers, or To-Do List.
Use Twine or Raffia for Rustic Style
Twine wrapped cans add farmhouse charm. Apply hot glue to the bottom rim. Press the twine end into the glue. Wrap upward, adding glue in one inch sections to keep it tight. At the top, cut and secure the end with glue.
Upgrade: Combine with burlap strips or lace for a vintage look.
Cover With Popsicle Sticks
Popsicle sticks create a wooden textured finish, great for kids crafts or minimalist desks. Apply vertical glue lines around the can. Press sticks side by side, overlapping slightly. Check alignment by placing the can on a flat surface periodically. Let dry completely before handling.
Note: Use colored popsicle sticks for a rainbow effect.
Build Multi-Compartment Organizers
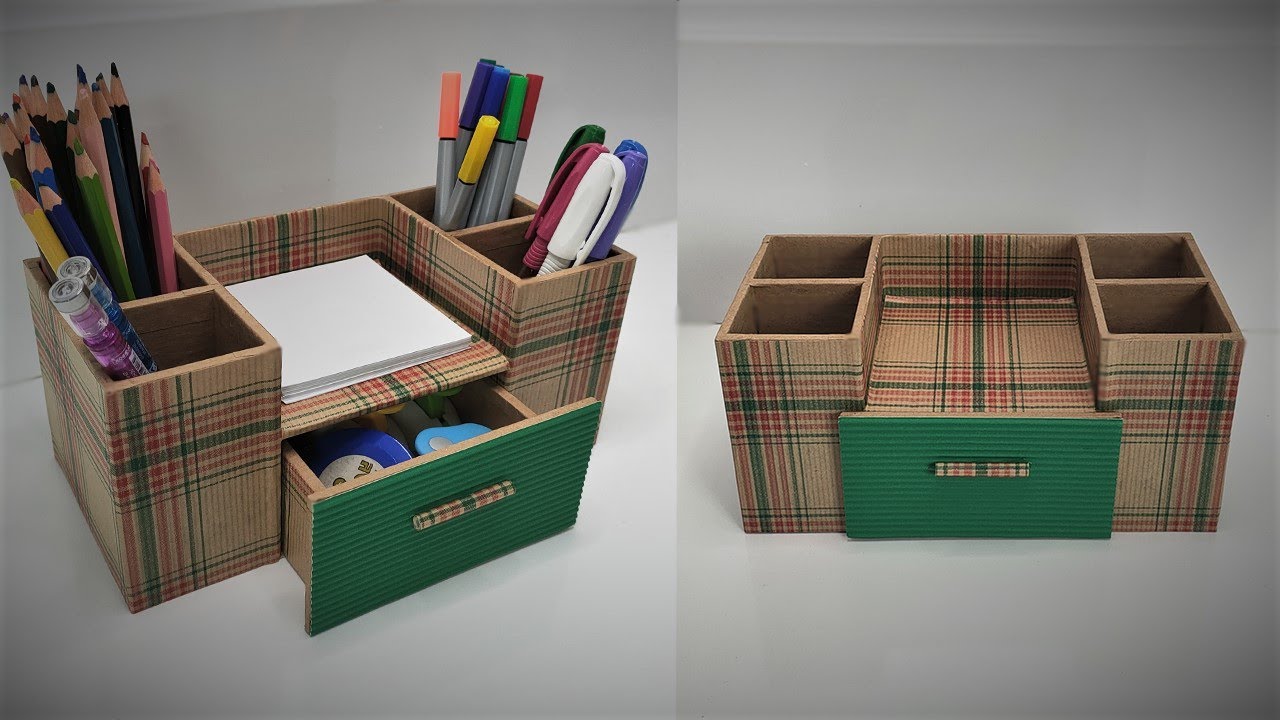
Single cans are useful, but grouped designs offer better organization.
Cluster Cardboard Tubes
Create a modular organizer using toilet paper rolls. Cut three to five tubes to different heights like three, four, five inches. Arrange in a circular or linear layout. Glue contact points where tubes touch. Attach the cluster to a thick cardboard or wooden base. Wrap the entire unit with twine or paper for cohesion.
Use Case: Assign each tube to a pen type, blue ink, red pens, pencils, brushes.
Group Tin Cans on a Tray
Unify multiple cans for a professional desk setup. Use two to three cans of varying sizes. Decorate them in matching colors or themes. Glue them onto a wooden board, tray, or thick cardboard base. Optionally, label each can with chalkboard paint or stickers.
Pro Tip: Spray paint all cans the same color for a store bought look.
Make a Hexagonal Paper Organizer
For a unique, low material design, try a modular paper pen holder.
Gather Materials
Six sheets of colored paper, 21 cm square each. One cardboard circle with diameter matching hexagon base. Glue like Tacky or white school glue.
Assemble the Walls
Fold or layer each paper sheet into a triangular or box like unit. Glue units together one by one, forming a six sided shape. Ensure edges align neatly for clean corners.
Attach the Base
Cut a circular piece from thick cardboard. Wrap the edge with matching paper and glue it. Glue the circle to the bottom of the hexagon for stability.
Best For: Light pens and pencils. Avoid heavy markers unless reinforced with extra glue layers.
Decorate With Personality
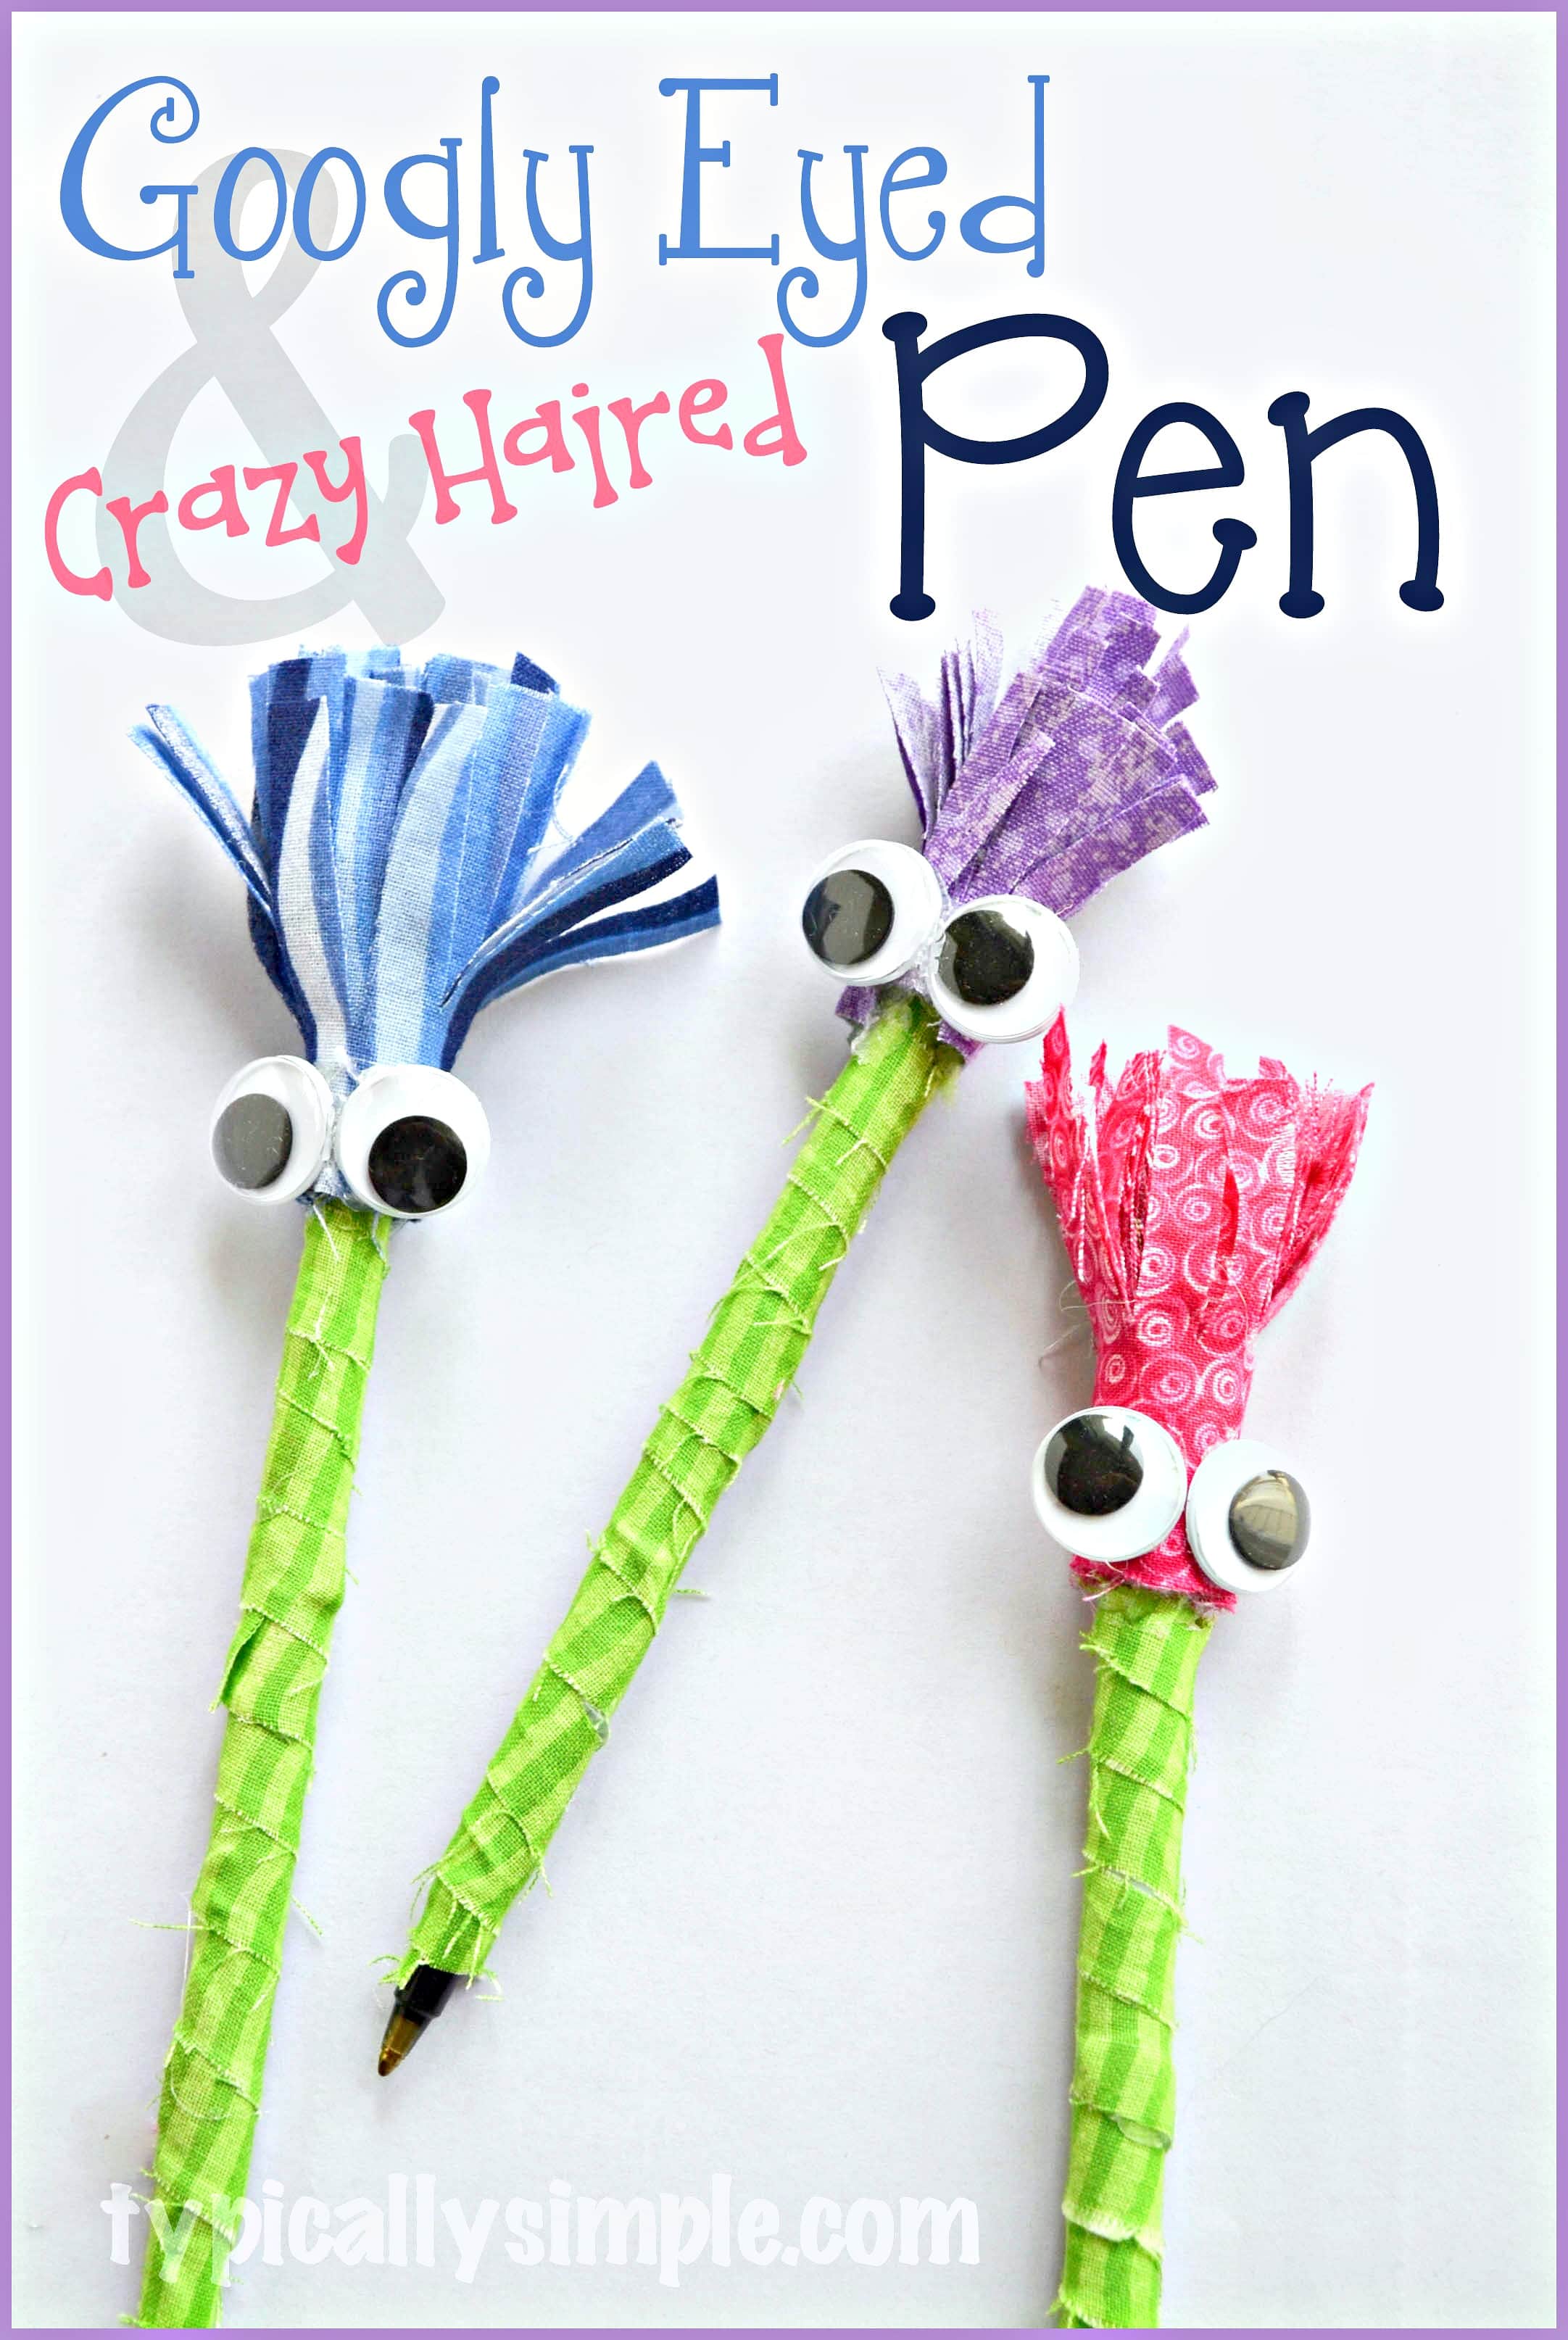
Your pen organizer should reflect your style. Use embellishments to make it stand out.
Add Themed Designs
Turn your holder into a fun character or scene. For animal faces, glue on googly eyes, felt ears, or pipe cleaner whiskers. Draw a mouth and nose with markers. Try a penguin, black and white, or lion, orange with yarn mane, or alien, green with antenna. For nature themes, wrap with twine and glue on small twigs or felt flowers. Use map cutouts for a travel inspired look. Paint like a carrot or mushroom for whimsy.
Use 3D Embellishments
Make it tactile and eye catching. Wine corks cut in half and glued to the side work as feet or pockets. Buttons or pom poms arranged in patterns create color contrast. Sprinkle glitter on wet glue or paint for sparkle.
Caution: Avoid heavy decorations that could tip the holder.
Enhance Functionality
A beautiful organizer should also be practical.
Mount on the Wall
Save desk space with vertical storage. Attach double sided Velcro strips or adhesive hooks to the back. Stick to a wall, cabinet, or inside a drawer. Ideal for craft rooms or small workspaces.
Use Case: Mount near a bulletin board for quick access to pens and sticky notes.
Label With Chalkboard Paint
Stay organized with changeable labels. Paint the front or top rim with chalkboard paint. Let dry for 24 hours. Season the surface by rubbing a chalk side over it. Write with chalk and update as needed.
Idea: Label with Urgent, In Use, or your name for shared spaces.
Safety and Durability Tips
Even simple crafts need care to last.
Handle Tools Safely
Use safety scissors or craft knives with adult supervision. Sand sharp plastic edges. Let kids use non toxic glue and washable paints.
Strengthen Weak Points
Reinforce cardboard bases with two to three glued layers. Seal paper wraps with Mod Podge to prevent peeling. Use hot glue for heavy materials like popsicle sticks or corks.
Longevity Tip: Avoid placing paper based organizers in humid areas like bathrooms.
Creative Variations and Gift Ideas
Turn your organizer into a personalized gift.
Match Themes to Occasions
Back to school uses school colors and add a name tag. Office gift uses neutral tones with a gold pen holder label. Holiday themed uses red and green for Christmas or pastels for Easter.
Customize for Different Users
Kids can glue on stickers, pom poms, or drawings. Teachers can make a set for classroom supply bins. Artists benefit from black jars for a sleek modern look, ideal for brush pens.
Pro Move: Pair with a set of colorful pens or markers for a complete gift.
Real-World Benefits
Making a pen organizer is not just crafty, it is practical.
Declutter Your Desk
Lifting pens off the surface clears visual and physical clutter, boosting focus and productivity.
Encourage Recycling
Using old cans, bottles, and tubes reduces waste and promotes eco-friendly habits.
Spark Creativity
The process of designing and building engages problem solving and artistic skills, great for kids and adults alike.
Improve Accessibility
Keep frequently used pens within reach, reducing time wasted searching.
Frequently Asked Questions About Making a Pen Organizer
Can I Make a Pen Organizer Without Glue?
Yes but with limits. Use double sided tape for paper wraps or Velcro for modular builds. However, glue offers the strongest hold for long term use.
What If I Do Not Have a Tin Can?
No problem. Try mason jars for great visibility, shampoo bottles when cut and decorated, or cardboard boxes folded into compartments.
How Do I Clean the Organizer?
Wipe metal or glass with a damp cloth. Avoid soaking paper or cardboard, use a dry or slightly damp wipe instead. Remove pens before cleaning.
What Materials Work Best for Heavy Markers?
Tin cans provide the most sturdy base for heavy markers and thick pens. Plastic bottles work for lighter items. Cardboard tubes are best for lightweight pencils only.
How Long Does It Take to Make a Simple Pen Organizer?
A basic tin can or plastic bottle organizer takes 30 to 45 minutes including drying time. More complex designs like multi compartment clusters or hexagonal paper holders may take one to two hours.
Final Thoughts on Making Your Own Pen Organizer
Making a pen organizer is a simple, satisfying project that blends utility with creativity. From recycled tin cans to handmade paper hexagons, the options are endless. Whether you are organizing a home office, crafting with kids, or creating a thoughtful gift, this DIY solution keeps your workspace tidy and your style on display. Pick your materials, follow the steps, and enjoy a cleaner, more colorful desk today. The key points to remember are choosing a sturdy base material like tin cans for heavy items, properly preparing and decorating your container, and adding functional features like wall mounting or chalkboard labels for maximum utility. Start with a simple design and let your creativity guide you toward more elaborate organizers as you build confidence.


