
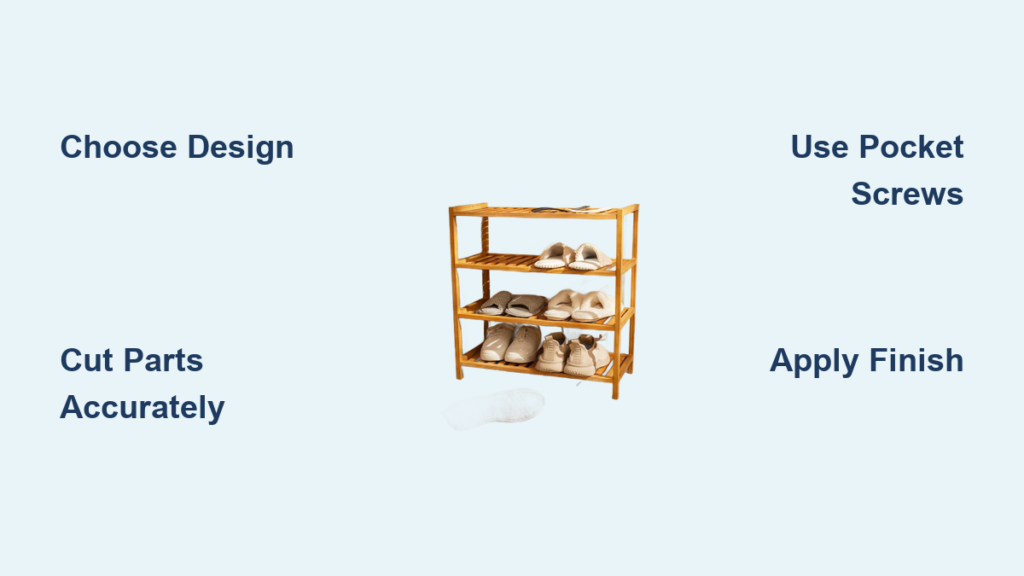
Tired of tripping over shoes by the door? A well-built shoe rack solves clutter fast, especially when it’s custom-made to fit your space and lifestyle. Whether you’re storing boots, cleats, or flip-flops, a DIY shoe rack offers more strength, capacity, and style than most store-bought versions. This guide walks you through every step, from choosing materials and tools to assembly, finishing, and long-term care.
You’ll learn how to build a sturdy, space-efficient rack that stands up to daily use, no matter how chaotic your entryway gets. We cover two proven designs: a bench-integrated shoe rack for ergonomic seating and storage, and a super-sized vertical rack for high-volume households. Both use affordable materials and common workshop tools.
Choose Your Shoe Rack Design
Bench-Integrated Shoe Rack
Perfect for entryways and mudrooms, this dual-purpose unit combines seating with under-bench shelving. At about 18 inches tall, it matches standard bench height, ideal for sitting while putting on or removing shoes. The frame uses ¾-inch porch decking or 2×2 baluster stock for legs, ensuring durability under frequent use. Recessed side panels give a clean look while angled or horizontal shelves organize footwear efficiently.
This design works best for families, small spaces, and homes with kids or pets. The built-in seating makes it practical for elderly family members or children who need support while dressing.
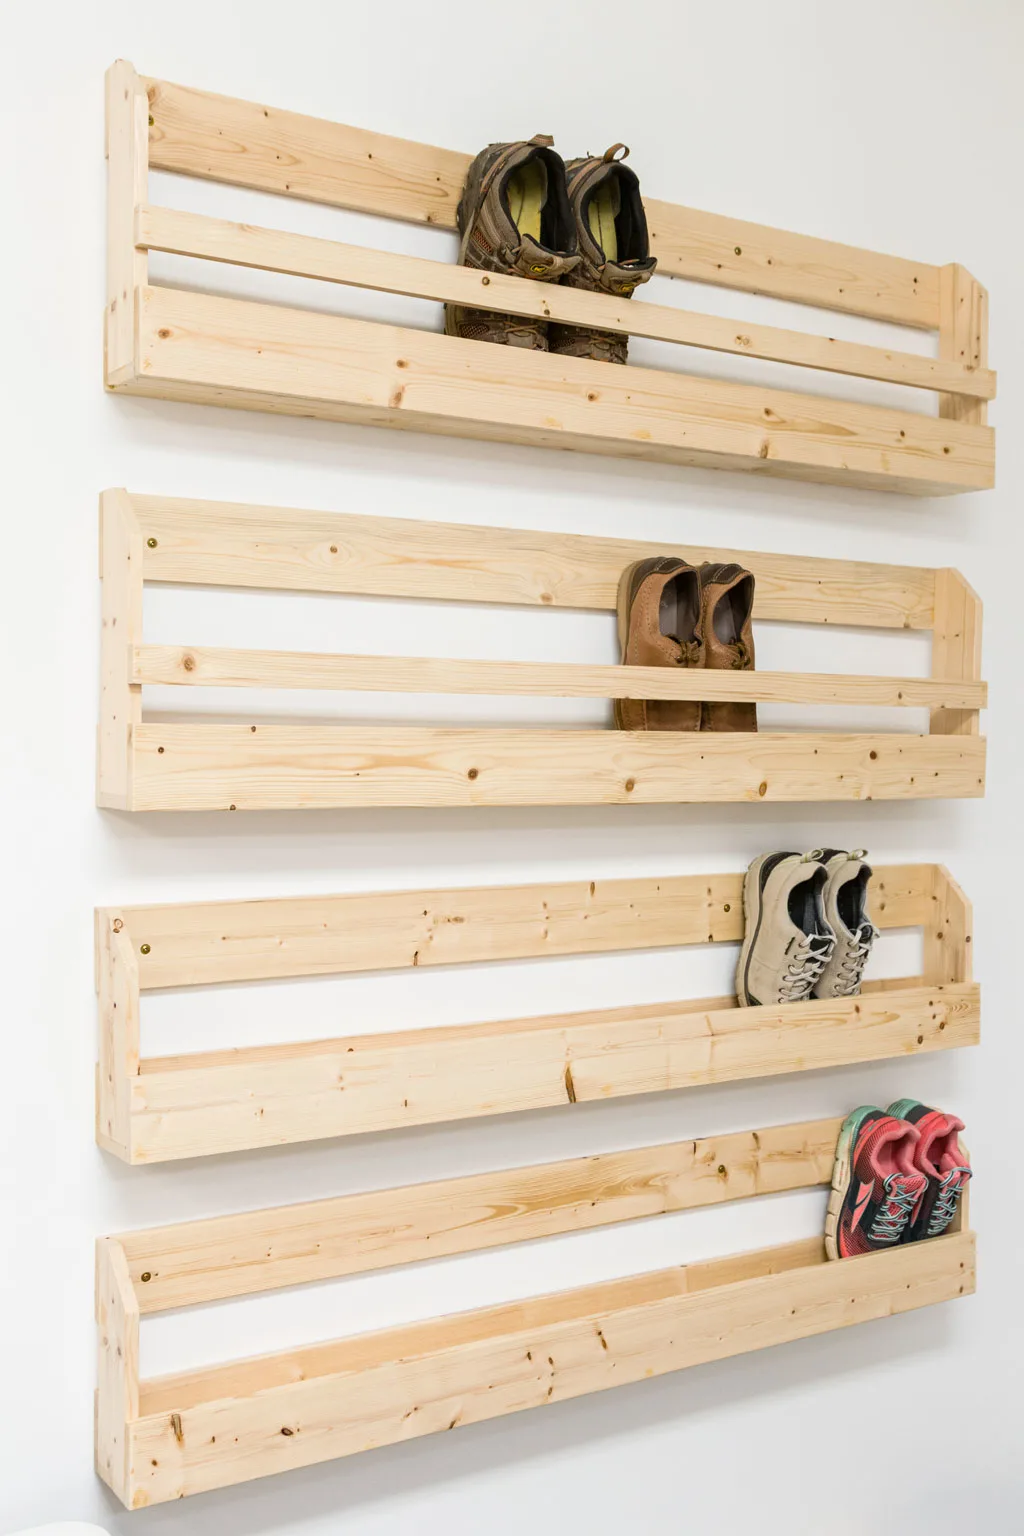
Super-Sized Vertical Shoe Rack
Standing over 58 inches tall, this narrow rack fits in hallways or closets and holds 15 or more pairs of shoes, including bulky items like ski boots, rollerblades, and cleats. Its angled shelves improve visibility and access, preventing shoes from getting buried. The top shelf stays level, doubling as storage for helmets, mittens, or drying racks.
This design suits active households with sports gear storage needs. It maximizes vertical space in narrow areas where floor space is limited.
Tapered or Compact Variants
For visual interest, try a tapered design where shelves narrow from bottom to top, reducing top-heavy appearance and drawing the eye upward. You can also build a compact bathroom rack between the toilet and wall using moisture-resistant wood and sealed finishes.
Avoid using MDF in humid areas. It swells when exposed to moisture. Use solid wood or fully sealed plywood only if necessary.
Gather Tools and Materials
Essential Tools List
You do not need a full cabinet shop. These core tools handle the job effectively.
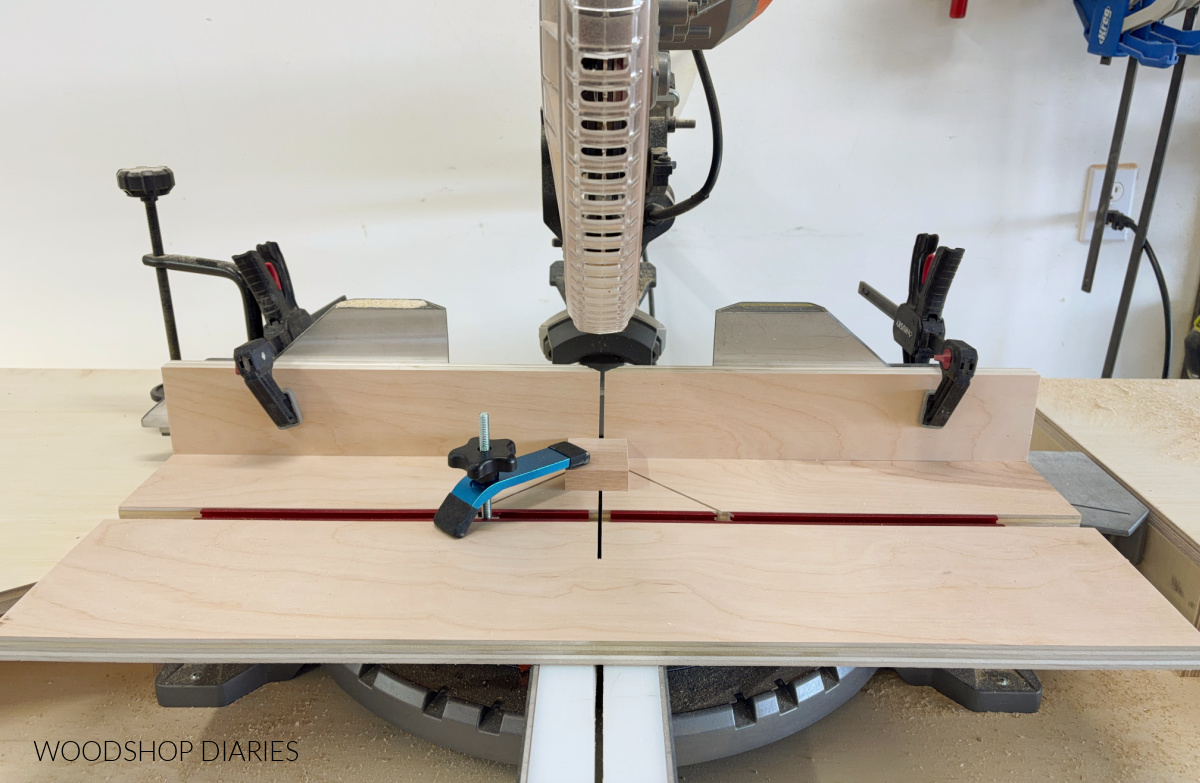
A miter saw provides precise, repeatable cuts when used with a stop block. A table saw with sled rips slats, trims shelves, and cuts dados. A pocket-hole jig like the Kreg K4 drills hidden screw holes for strong joints. You also need a drill with countersink bit to prevent splitting softwood, plus clamps and wood spacers to hold pieces during glue-up without marring surfaces.
Additional essential tools include a speed square for ensuring 90-degree corners, a level critical for building on sloped garage floors, and sanders progressing from 80 to 120 to 220 grit to prepare surfaces before finishing. A router chamfers edges for comfort and visual polish.
Optional but helpful tools include a stacked dado blade for cleaner cuts, a gas torch for shou sugi ban charring, and a planer for smoothing rough-cut shelves.
Recommended Materials
The right materials make or break your project. Here are the best options for each component.
For shelves and sides, use 1×12 rough pine or African Mahogany as premium options, or ¾-inch plywood with edge banding as a budget alternative. For legs and frames, 2×2 baluster stock or straight-grain fir performs best, though pine 2x2s work for tighter budgets.
Fasteners include 1¼-inch and 2½-inch pocket screws plus wood glue. For finishing, tung oil, Osmo Polyx-Oil, or water-based urethane provide durability, while mineral oil offers a food-safe option for homes with children or pets.
Pro tip: Buy nine 6-foot long 1×12 rough pine boards for approximately $60 to $80 for a full-sized rack. The Kreg K4 jig runs $30 to $60 as a one-time tool investment.
Cut and Prepare All Parts
Cutting List Example for Super-Sized Rack
From nine 6-foot 1×12 rough pine boards, you get two side panels at 58¼ inches long and seven shelves at 55 inches long each. All cuts use the miter saw with a stop block for consistency.
Cutting List Example for Bench-Integrated Rack
Cut legs from 2×2 baluster stock to 17½ inches for 18-inch seat height. Rails come from 1×4 porch decking at 48 inches long. Shelves rip to width, plane smooth, and trim on the sled.
Use a Stop Block for Repeat Cuts
Set up your stop block for consistent pieces. First, clamp a scrap wood block to the miter saw bed. Next, slide the workpiece until the front edge hits the stop at your desired measurement. Lock the stop in place, then cut all identical pieces without remeasuring. This ensures uniform leg lengths and shelf widths, which is critical for stability.
Cut Dados and Rabbets for Strong Joints
To simulate mortise-and-tenon joints, cut dados and rabbets in your frame pieces. Set your rip fence one blade thickness from the table saw blade. Pass the slat end through to cut a rabbet, then flip and repeat for a clean corner. A stacked dado blade provides cleaner, more precise results.
Apply dabs of wood glue inside dados before inserting filler pieces. Alternate placement by centering first, then halving the remaining gaps.
Assemble the Frame
Build Side Frames with Pocket Screws
Start by cutting four legs from 2×2s using your stop-block setup. Drill pocket holes with the Kreg K4 jig, then join legs and rails with 2½-inch pocket screws plus wood glue. Clamp with wood spacers to avoid crushing soft pine.
Glue prevents warping during thermal finishing like charring, so do not skip this step.
Install Shelves with Gauge Blocks
Ensure even shelf spacing every time using gauge blocks. Attach the bottom shelf first using 2-inch pre-drilled screws from underneath. Use a gauge block, such as a 7-inch spacer, between the current shelf and next mark. Position the new shelf, insert one to two screws, move the block up, and repeat.
Secure the center shelf with 1¼-inch screws. Attach the top shelf last, letting it overhang one inch at the back for balance.
Always pre-drill in pine to prevent splitting.
Install Angled Shelves for Super-Sized Rack
For better visibility and access, angle your shelves. Mount the base and first shelf at 90 degrees using a speed square. Leave a 16-inch gap between base and bottom shelf to fit ski boots and rollerblades.
On side boards, mark 7 inches up from the front edge and 9 inches up from the back edge. Draw a straight line between points to create a 2 to 3-degree forward slope. Align the first shelf with this line and check with a level. Install remaining shelves 7 inches above the previous one, measured at front and back. Keep the top shelf level for storing accessories.
Garage floors slope, so never rely on eye-level. Always use a level.
Reinforce for Stability
Maximize Natural Rigidity
Using ¾-inch thick boards and pocket-screw joints provides inherent strength. There is no flexing under load when built correctly.
Add Optional Bracing
In high-traffic homes, install small L-brackets at internal top and bottom corners. This increases long-term rigidity and resists wobble.
Install Rubber Foot Pads
Drill shallow recesses in leg bottoms and press in rubber foot pads. This elevates the rack slightly off the floor, prevents moisture absorption, aids leveling on uneven surfaces, and reduces floor scratches.
Test stability by sitting on the bench version. No creaking or wobbling means good to go.
Finish for Durability and Style
Sand Before Finishing
Start with 80-grit to remove mill marks, progress to 120-grit, then finish with 220-grit for a smooth surface. Wipe clean with tack cloth.
Never skip sanding. Finish will not adhere to rough surfaces.
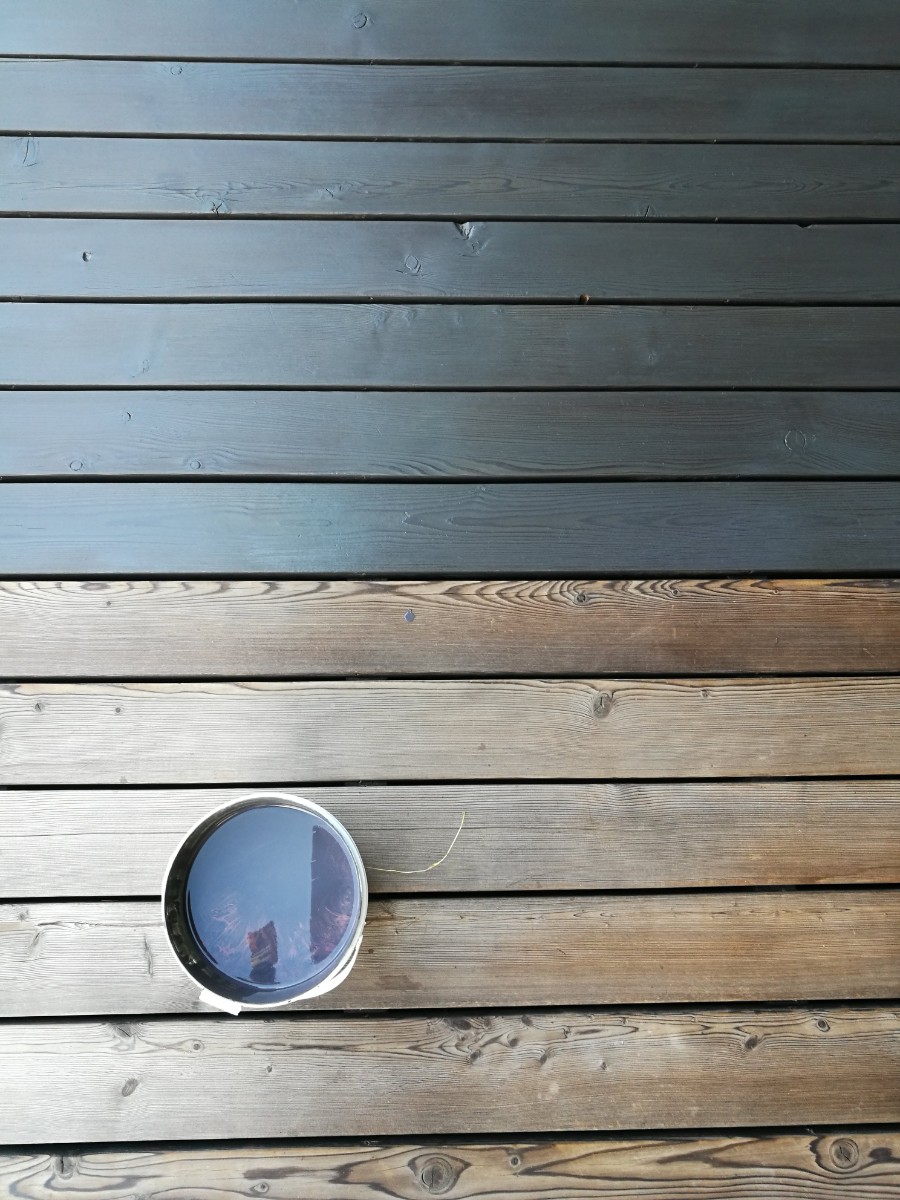
Choose the Right Finish
Different finishes suit different needs. Tung oil provides moisture resistance and rich grain enhancement. Apply by wiping on in thin coats. Mineral oil works well in homes with children or pets since it is food-safe and softens wood.
Water-based urethane in spray form offers durability and quick drying with two to three light coats. Osmo Polyx-Oil deepens luster on fine woods like curly maple and provides water resistance.
For dramatic, long-lasting protection, try shou sugi ban, which provides weather resistance and a bold look through torch charring.
Rough pine stains unevenly, so use oil instead of stain for best results.
Apply Shou Sugi Ban Yakisugi
For a striking finish, char all surfaces before final assembly. Use a MAP/PRO or propane torch to char the wood, varying flame intensity for texture. Let cool completely, then scrape off loose soot with a metal scraper. Wipe clean and seal with one coat water-based polyurethane.
Do this before final assembly for easier access to all sides.
Standard Finish Workflow
Sand fully from 80 to 120 to 220 grit. Wipe away dust. Apply your chosen finish with a rag or brush. Allow drying between coats per product instructions. Perform a final inspection for smoothness, even coverage, and no drips.
Customize for Your Space
Optimize Shelf Spacing
Test with real shoes before finalizing spacing. Use 10-inch clearance for tall boots, 8-inch clearance for average sneakers, and 6-inch clearance for flats or kids’ shoes.
Use mock-up shelves during the build to confirm fit before committing to final placement.
Add Seating to Bench Version
The frame supports adult weight when built with ¾-inch wood and glue. This is ideal for putting on shoes safely, especially great for elderly individuals or young children.
Adapt for Bathrooms or Mudrooms
Use rot-resistant wood like fir or cedar. Apply full-seal finish on all sides. Keep the design vertical to save floor space in cramped areas.
Avoid Common Mistakes
Several mistakes can undermine your project. Using MDF in damp areas leads to swelling and warping, so stick to solid wood or sealed plywood.
Skipping clamps during glue-up causes weak joints and misalignment. Always clamp all glued components until set.
Over-tightening pocket screws splits thin wood edges. Pre-drill if necessary and use the correct screw length.
Ignoring floor slope creates uneven shelves. Use a level, not your eyes.
Applying finish too early results in poor adhesion. Sand completely first.
Not pre-drilling softwood causes splitting during screw insertion. Always pre-drill in pine and other softwoods.
Dry-fit everything before gluing to catch alignment issues early.
Maintain Your Shoe Rack
Monthly Care
Wipe down your rack with a damp cloth. Remove salt, dirt, and dust from slats and corners to prevent buildup.
Every Six to Twelve Months
Reapply tung or mineral oil to prevent drying. For Osmo finishes, re-coat as needed. Check and tighten any loose screws.
Seasonal Tips
Rotate footwear by storing off-season shoes elsewhere. Clean between shelves to prevent dust buildup. Inspect rubber feet and replace if worn or detached.
A little maintenance extends life to 10 or more years.
Compare DIY vs Store-Bought

DIY shoe racks cost $55 to $150 for materials, while retail racks range from $20 to $200 or more. DIY builds use heavy-duty wood with strong joints, compared to thin metal or plastic with weak connectors on retail options.
DIY racks hold 15 or more pairs including boots, while retail options often limit storage to 6 to 8 pairs. You can build custom dimensions to fit your exact space, whereas retail options are one-size-fits-all with limited style choices.
The satisfaction of DIY craftsmanship far exceeds typical retail disappointment.
Final Tips for Success
Start simple by building a basic vertical rack before tackling tapered or shou sugi ban versions. Measure twice and cut once, especially when using stop blocks.
Work on a flat, level surface because a warped garage floor can ruin alignment. Let glue dry fully before moving to the next step.
Celebrate the organized home outcome. One builder reported the rack was almost full within weeks of completion, proving daily utility and household approval.
Frequently Asked Questions About Making a Shoe Rack
What is the best wood for a DIY shoe rack?
Straight-grain fir and rough pine are the best choices for most builds. Fir offers natural rot resistance and strength, while pine is affordable and easy to work. Avoid MDF in humid areas as it swells and delaminates.
How much does it cost to build a shoe rack yourself?
A basic pine shoe rack costs approximately $55 to $65 in materials. Premium versions with exotic woods or special finishes run $100 to $150. This beats retail prices for comparable quality.
How long does it take to build a shoe rack?
Expect 4 to 6 hours for an intermediate builder. Beginners may need 6 to 8 hours including learning time. Simple designs take less time while complex builds with dados or specialty finishes require more.
Can I build a shoe rack without a workshop full of tools?
Yes. A miter saw, drill, pocket-hole jig, and clamps handle most builds. You do not need a full cabinet shop. Basic tools suffice for quality results.
How do I make my shoe rack moisture-resistant?
Apply a full-seal finish like tung oil, polyurethane, or shou sugi ban on all surfaces. Use rot-resistant wood like fir or cedar for bathrooms and mudrooms. Install rubber foot pads to elevate off damp floors.
Key Takeaways for Building Your Own Shoe Rack
Building your own shoe rack delivers superior durability, custom fit, and satisfaction compared to store-bought options. Choose between a space-saving vertical rack holding 15 or more pairs or a bench-integrated design that adds seating to your entryway. Use quality materials like straight-grain fir or rough pine, employ pocket-screw joinery for strength, and finish with oil or polyurethane for protection.
The project costs $55 to $150 in materials plus a modest tool investment, takes 4 to 6 hours, and produces a piece that lasts 10 years or more with basic maintenance. Measure carefully, dry-fit before gluing, and always use a level to ensure proper alignment. Your organized entryway awaits.


