
Installing a shower shelf isn’t just about convenience, it’s a smart upgrade that combines function with design. Whether you’re renovating or building from scratch, knowing how to make a shower shelf the right way ensures long-term durability, water resistance, and seamless integration with your bathroom’s aesthetic. This guide focuses on permanent, built-in solutions using tile and solid-surface materials, the top choices for professionals and serious DIYers. You’ll learn how to construct recessed niches, floating shelves, and corner shelves that last decades, resist mold, and elevate your shower’s look.
Build a Floating Solid-Surface Shelf
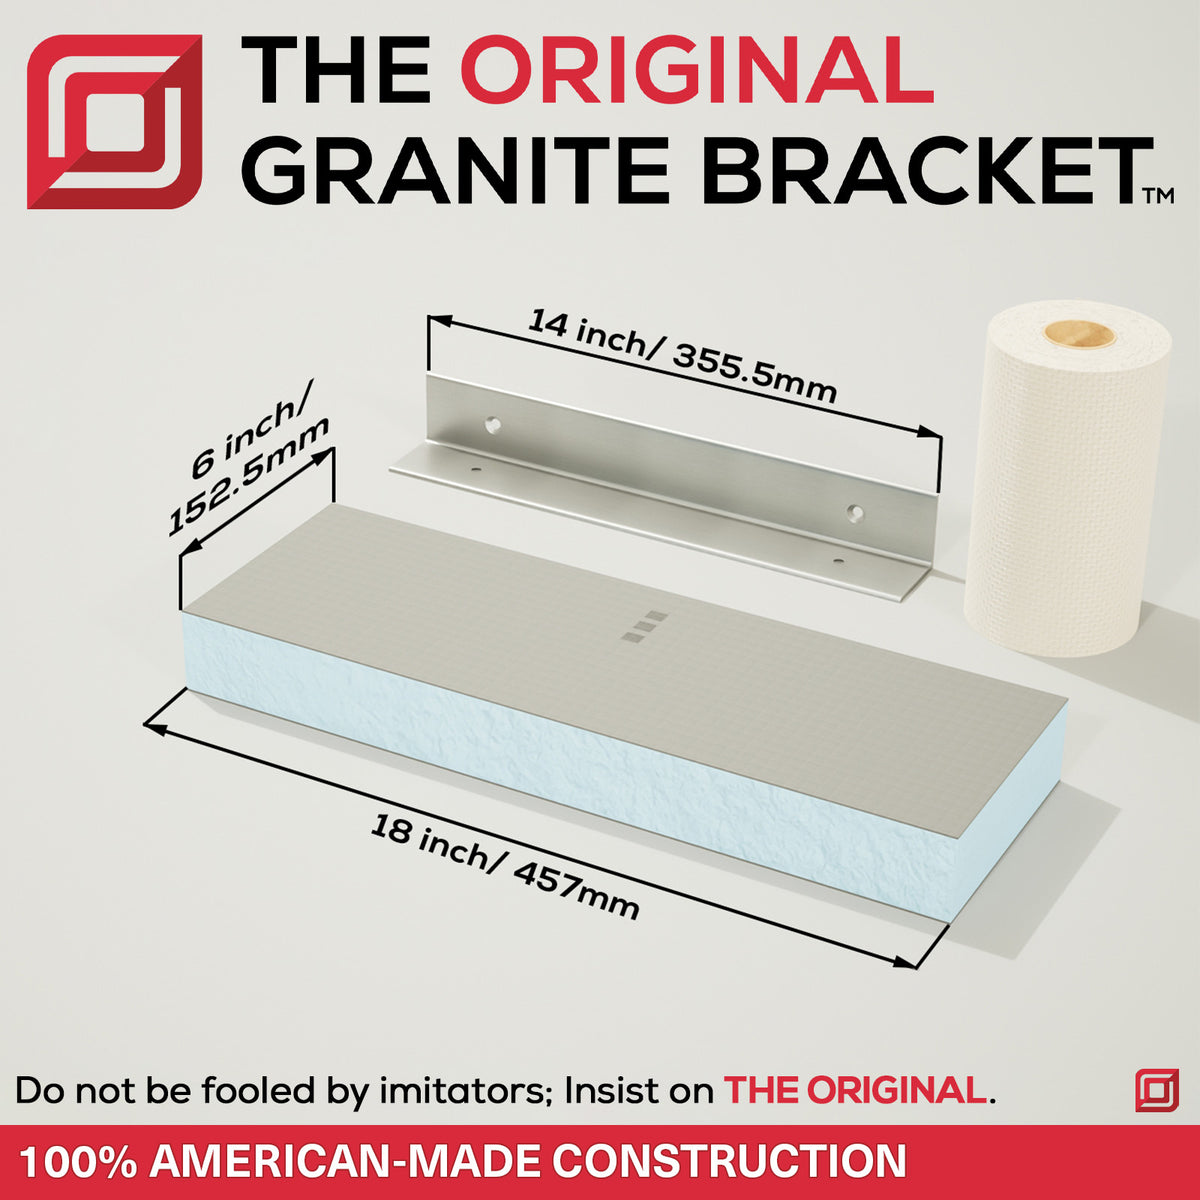
Create a sleek, modern shelf with minimal hardware and maximum impact. This method uses laminated solid-surface material for a seamless, durable finish.
Laminate Sheets for Strength
Use three ½-inch solid-surface sheets such as Corian or LG Hi-Macs glued together to form a 1½-inch thick shelf. Apply two-part epoxy acrylic adhesive for invisible, color-matched seams. Clamp layers tightly and allow full cure, about 1 hour working time and 24 hours for complete strength. The middle layer can be hollow to accommodate mounting rods while top and bottom layers stay solid for durability and finish integrity.
Pro Tip: Match adhesive color to your material to hide joints completely.
CNC Cut for Precision
Route the shelf with a CNC machine for flawless edges and consistent shape. Manual routing works but risks visible tool marks. Use a ¼-inch round-over bit to soften the front edge. Sand progressively, starting with 100-grit and finishing with 220-grit. A matte finish helps conceal any subtle seams or machining lines.
Visual Cue: After sanding, wipe the surface with a damp cloth. Any discoloration indicates areas needing more polish.
Install with Two Hidden Rods
Drill two holes through the tile at shelf height. Insert all-thread rods into the wall, extending slightly past the surface. Slide the shelf over the rods until flush. If a stud is hit, fasten directly. If not, rods penetrate insulation and anchor into ½-inch exterior wood sheathing for secure hold.
Seal rod entry points with silicone caulk on both sides. Apply from the back first to prevent water infiltration. Wipe excess immediately. Let cure overnight before use.
Warning: Never skip the back-side seal. Trapped moisture leads to mold and rot.
Install a Corner Tile Shelf

Maximize space and blend perfectly with your tiled walls by building a custom corner shelf during the tiling phase.
Cut Tile for Shelf Base
Before tiling the row above, cut a full tile diagonally corner-to-corner in both directions. This creates four right-angled triangles. Select one for the base. Flip it upside down so the glazed finished side faces down. This gives the shelf underside a smooth, polished look while exposing the raw edge on top, ideal for bonding.
Position the triangle so it rests on the top edge of the last installed tile row on both adjacent walls.
Check: Use a level. Any tilt affects drainage and stability.
Lock Shelf into Wall Structure
Apply thinset mortar to the back edge of the shelf base. Install the next course of wall tile over and around the base, notching side tiles to fit snugly. This overlap physically locks the shelf into the wall, making it as strong as the surrounding tile.
Expert Move: Let thinset partially set before grouting. This prevents the shelf from shifting under tile weight.
Add Bullnose Front Edge
For a finished look, install a bullnose tile on the front. Cut one end at a 45-degree angle. Measure the span, typically 11¾ inches for 12-inch tiles, then mark from the point of the 45-degree cut across the rounded edge. Cut the second end at an opposite 45-degree angle to fit wall-to-wall.
Dry-fit first, then set with thinset. Use tile spacers to maintain even gaps.
Close the Back Triangle
The rear gap between bullnose and wall forms an open triangle. Cut a small matching tile to fit and install with thinset. This completes the clean, built-in appearance.
Ensure Proper Drainage with Slope
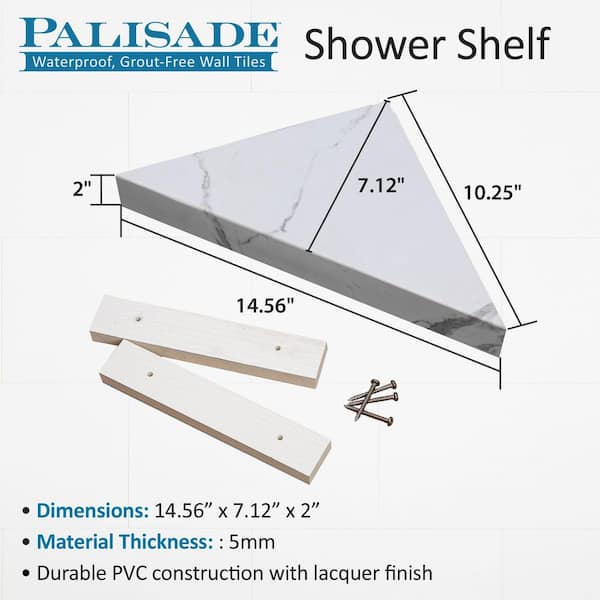
Stagnant water breeds mold and weakens adhesives. Every shelf must slope slightly toward the shower.
Shim for Subtle Incline
Place a small plastic shim in the back corner of the shelf base before installing overlying tiles. This creates a gentle slope, just enough to shed water, not so steep that bottles or soap slide off.
Test: After setting, pour a few ounces of water on the shelf. It should drain toward the shower floor within seconds.
Beveled Front Alternative
For enhanced runoff, create a beveled front edge using triangular tile pieces attached to the shelf’s leading edge. This design directs water away faster than a flat or bullnose front.
Choose the Right Materials
Match your shelf to existing finishes for a seamless upgrade.
Use Matching Tile for Blending
Ceramic, porcelain, or stone tile should exactly match your wall. Cut with a wet saw for clean edges. Apply color-matched grout to hide joints. Bullnose variants soften edges and prevent nicks.
Avoid: Square-edge tile on front unless paired with a rounded profile. Sharp edges are uncomfortable and unsafe.
Select Solid-Surface for Modern Look
Solid-surface materials like Corian or Hi-Macs offer seamless integration with countertops. They’re non-porous, easy to clean, and repairable. Scratches can be sanded out.
Limitation: These shelves support light loads only. Ideal for soap, razors, and small bottles. Avoid heavy shampoo jugs.
Avoid Problem Materials
Several materials simply cannot withstand长期 exposure to shower moisture.
- Wood: Swells and rots unless sealed constantly. Only use in freestanding units.
- Uncoated Metal: Rusts quickly. Choose stainless steel or powder-coated versions.
- Plastic Shelves: Look cheap and degrade over time. Not recommended for permanent installs.
Plan Placement and Design
Smart positioning enhances usability and aesthetics.
Use Corners for Efficiency
Corner shelves use otherwise wasted space. Ideal for small showers. Install at elbow to shoulder height for easy reach.
Mount High for Open Feel
Place glass or narrow ledges above head height. Keeps essentials accessible without crowding the visual field. Best in spacious showers.
Stack Shelves Vertically
Install multiple corner shelves in a column for added storage. Space 8 to 12 inches apart. Great for families or multi-product routines.
Pro Tip: Alternate sides, left and right corners, to balance visual weight.
Follow Critical Installation Steps
Success depends on timing, alignment, and sealing.
Work During Tiling Phase
Recessed and corner shelves must be installed before final wall tiles. The shelf base sits on the last full row then gets locked in by the next course. Delaying this step makes installation impossible without demolition.
Use Tile Spacers for Alignment
Maintain consistent grout lines by using spacers between shelf and wall tiles. Transfer alignment marks from the wall to the shelf base for perfect positioning.
Cure Before Grouting
Let thinset set for at least 4 hours before applying grout. Premature grouting can shift the shelf and break the bond.
Caulk or Grout the Front Edge
Grout creates a rigid, tile-like finish. Silicone caulk offers flexibility and better water resistance. Use mildew-resistant white caulk for a clean, durable seal.
Best Practice: Use grout on all joints except the front edge. Caulk there to handle movement and prevent cracking.
Prevent Common Mistakes
Avoid these pitfalls to ensure a lasting, professional result.
Skipping the Slope
Flat shelves pool water. Even a slight incline, 1/8-inch drop from back to front, makes all the difference. Always use a shim or sloped support.
Using Weak Adhesives
Standard construction glue fails in wet environments. Use epoxy acrylic for solid-surface lamination and modified thinset for tile bonding.
Overloading Floating Shelves
They’re designed for light items only. Heavy bottles or stacked products can stress the mounting rods. If you need more capacity, build a built-out wall ledge instead.
Poor Silicone Application
Beads should be smooth and continuous. Use a damp finger or caulk tool to press silicone into gaps. Remove excess immediately. Dried silicone is hard to clean.
Compare Shelf Types and Performance
| Feature | Floating Solid-Surface | Tile Corner Shelf |
|---|---|---|
| Load Capacity | Light | Moderate |
| Water Resistance | Excellent (sealed) | Excellent (grouted) |
| Installation Timing | Anytime (drill into tile) | During tiling only |
| Aesthetic Match | Countertop or modern tile | Wall tile |
| Drainage | Requires manual slope | Built-in slope with shim |
| Best For | Upgrades, modern baths | New builds, seamless look |
Expert Tips for Longevity
Follow these recommendations to ensure your shelf lasts for decades.
- Test-fit all pieces before applying adhesive. Adjust cuts as needed.
- Color-match everything: adhesive, grout, caulk. This creates invisible joints.
- Anchor into sheathing if no stud is available. Don’t rely on drywall alone.
- Allow full cure time, 24 hours, before water exposure.
- Clean with mild soap. Avoid harsh chemicals that degrade sealants.
Frequently Asked Questions About Making a Shower Shelf
What is the best material for a DIY shower shelf?
Tile and solid-surface materials offer the best results for permanent installations. Tile matches your existing walls perfectly while solid-surface materials like Corian provide a modern, seamless look. Both resist water damage and last for decades when properly installed.
Can I install a shower shelf in an existing shower?
Yes. Floating solid-surface shelves can be installed anytime by drilling into existing tile. Corner tile shelves require installation during the tiling phase, making them better suited for new builds or full renovations.
How do I prevent water from pooling on my shower shelf?
Every shower shelf must slope slightly toward the shower, typically 1/8 inch from back to front. Use a small plastic shim behind the shelf base or create a beveled front edge to direct water away. This prevents mold growth and adhesive failure.
How much weight can a floating solid-surface shelf hold?
Floating solid-surface shelves support light loads only. They’re designed for soap, razors, and small bottles. Avoid placing heavy shampoo jugs or stacked products on these shelves to prevent stress on mounting rods.
Do I need special tools to make a shower shelf?
Key tools include a wet saw for cutting tile, a CNC router or manual router for shaping solid-surface material, a level for alignment, and standard tiling tools. For floating shelves, you’ll need all-thread rods and a drill. Professional fabrication services can handle CNC routing if you lack the equipment.
Key Takeaways for Building Your Shower Shelf
A well-built shower shelf isn’t just storage, it’s a design statement. Whether you choose a floating solid-surface shelf for modern elegance or a tile corner shelf for perfect integration, the key is precision, slope, and sealing. Follow these steps and use the right materials for a shelf that performs flawlessly for decades.
The most critical factors are proper drainage through subtle sloping, waterproofing all hardware entry points, and matching materials to your existing bathroom design. Take time to test-fit all components before applying adhesive. Allow full cure time before exposing the shelf to water. With careful attention to these details, you’ll eliminate rusting racks and wobbly plastic add-ons forever, replacing them with clean, durable, built-in storage that elevates your entire bathroom.