
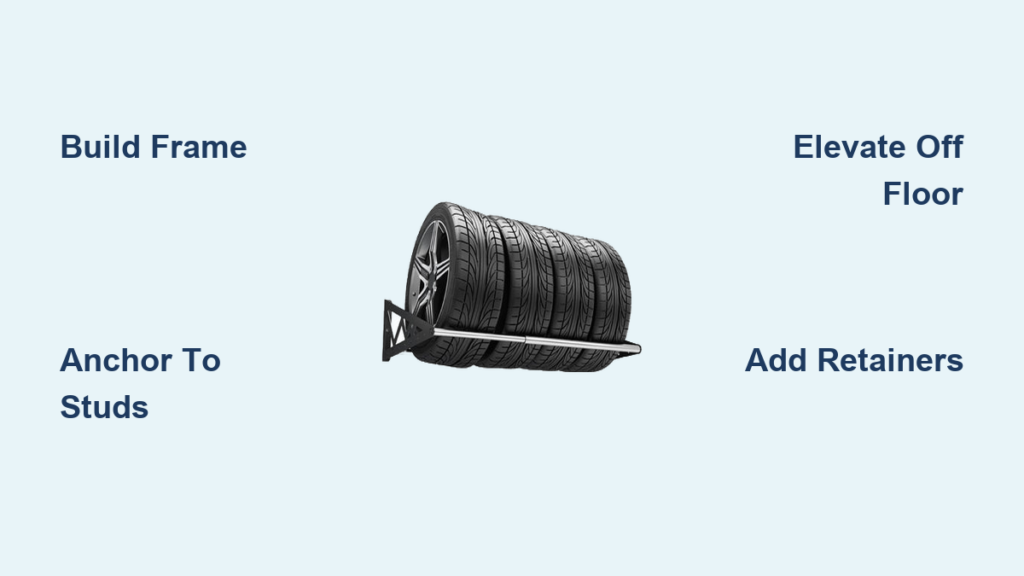
Tired of stacking tires on the garage floor, only to find them cracked, warped, or collecting dust and moisture? You’re not alone. Improper tire storage shortens tread life, promotes dry rot, and wastes valuable space. The solution is building your own tire rack, a simple and sturdy DIY project that lifts tires off the ground, organizes seasonal sets, and keeps your workspace clean. Whether you drive one car or manage a multi-vehicle fleet, a custom-built rack delivers big benefits at a fraction of the cost of store-bought models. This guide walks you through every proven design, from wall-mounted to freestanding, wood to modular aluminum, so you can choose the right tire rack for your space, tools, and storage needs.
Wall-Mounted Horizontal Tire Rack

This low-profile tire rack mounts directly to wall studs and stores tires horizontally, saving floor space while keeping them accessible. It works best in tight garages where floor space is limited but vertical wall space is available. The horizontal orientation also makes it easy to see all your tires at a glance without moving anything.
Locate and Mark Wall Studs
Start by finding wall studs with a stud finder. Standard spacing is 16 inches on center, but always verify before marking. Mark each stud location with a pencil so you know exactly where to fasten. This step is critical because a fully loaded rack can exceed 300 lbs, and drywall anchors will simply fail.
Install the Base Board
Cut a 9-foot 2×4 to serve as the base board, supporting three tire sets. Position it at waist to chest height for easy loading. Begin installation from the center by pre-drilling pilot holes to prevent wood splitting, then drive a #10 deck screw into a centered stud. Use a level to ensure alignment before securing the board into each stud, working outward.
Attach Upper Support and Angled Braces
Once the base is secure, install a second 2×4 above it, parallel and higher on the wall. Cut two 2×4s at 45° angles to fit diagonally from the top board down to the base. These braces prevent sagging and add lateral strength. Fasten each end to the base and upper board using 3-inch wood screws, ensuring joints are flush and tight.
Add Vertical Tire Retainers
Cut 20-inch pallet boards or scrap 1×2s to act as vertical dividers between tires. Space them every 6 to 8 inches along the rack, screwing each end securely into the base and upper board. These spacers keep tires from rolling into one another and maintain structural squareness. Countersink all screws so there are no protruding edges that could damage tire sidewalls.
Freestanding Vertical Tire Rack
This freestanding tire rack holds up to 10 tires vertically, leans them slightly forward for easy access, and costs under $30 to build. It provides mobility for rental properties or dynamic workshop layouts where permanent wall mounting isn’t possible.
Build the Main Frame
Use six 8-foot 2×4s to construct a rectangular frame with two vertical sides standing 4 feet tall, plus a top, bottom, and intermediate horizontal board placed 13 inches from the top. Assemble with 3-inch deck screws, pre-drilling all joints to prevent splitting. Ensure the frame is square by measuring diagonally from corner to corner and adjusting until both measurements match.
Install Top Retaining Board and Base Elevation
The horizontal board 13 inches from the top serves as a tire stop, preventing wheels from sliding out when loaded. Secure it firmly across the frame. Raise the bottom of the rack 6 inches off the floor using short wooden legs, blocks, or locking casters. This small lift prevents moisture wicking from concrete floors and protects tires from dampness.
Reinforce With Center Support
For heavy-duty use or wider tires, add a center vertical 2×4 from top to bottom. This prevents frame flex when fully loaded up to 600 lbs. Without reinforcement, the rack may wobble under extreme weight. Secure all joints with two screws per intersection and inspect annually for loosening.
Modular Aluminum T-Slot Rack
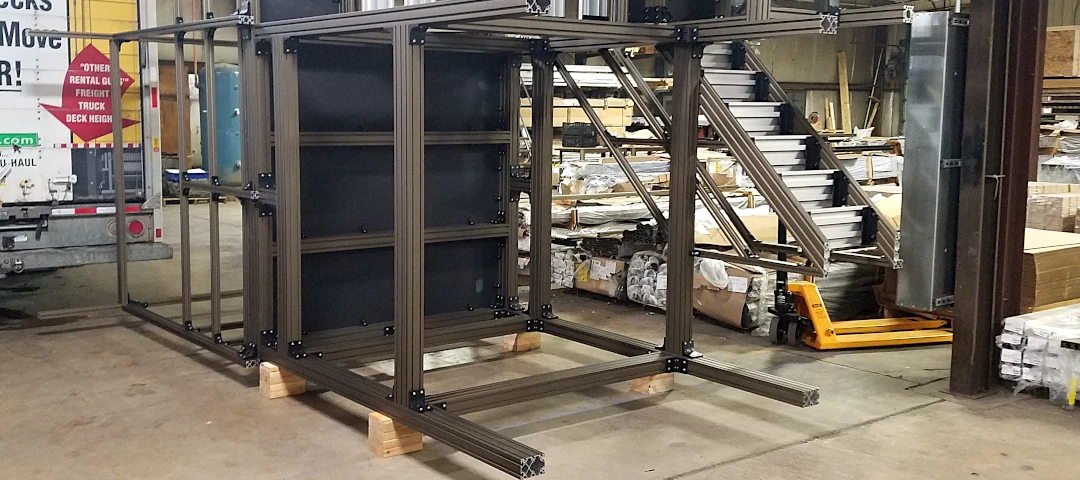
For a sleek, reconfigurable, and long-lasting tire rack, consider T-slot aluminum extrusions commonly used in industrial framing. This design offers tool-free assembly, reusability, and corrosion resistance, making it ideal for workshops that evolve over time.
Cut and Assemble Aluminum Extrusions
Cut four vertical aluminum posts to 48 to 60 inches and two horizontal base and top rails to 24 to 30 inches. Use a Combination Socket Tee and Crossover to connect horizontal beams at 10 to 12 inch intervals, creating multiple tire tiers. This modular connector allows right-angle joints and crossover connections without welding.
Secure Joints and Add Protection
Tighten all connections with hex bolts and nuts, no special tools required beyond a wrench. The T-slot system lets you disassemble, reposition, or expand the rack later. To protect tire sidewalls, apply self-adhesive rubber strips or foam tubing along horizontal rails. This prevents abrasion and reduces vibration. Label each tier with tire type using plastic tags or vinyl labels for quick identification.
Anchor or Add Mobility
For added stability, attach a Flange at each base corner and bolt the rack to the floor. Alternatively, add casters for mobility if you need to move the rack around your workshop occasionally.
Steel Pipe or Angle Iron Rack
Built for durability and heavy loads, a steel pipe tire rack supports 8 or more tires and withstands professional shop use. This option works best for long-term home garages or professional mechanics who need maximum durability.
Cut and Mount Vertical Pipes
Use 1.25-inch steel pipe cut to 48 to 60 inches for vertical supports. Attach pipe flanges to a wooden base or concrete floor to anchor each post. For indoor workshops, a 2×6 base frame with flanged pipes offers excellent stability without permanent floor mounting.
Weld Horizontal Tire Arms and Add Padding
Cut shorter lengths of pipe, 18 to 24 inches, and weld them horizontally between vertical posts at 10 to 12 inch intervals. Angle each arm slightly inward to cradle tires securely. If welding isn’t an option, use pipe clamps or brackets to bolt arms in place, though this reduces load capacity. Slide rubber hose sleeves or foam insulation tubing over each horizontal arm to cushion contact points and prevent sidewall damage.
Protect Against Rust
For outdoor use, apply rust-inhibiting paint or powder coating to all metal surfaces. This extends the rack’s lifespan significantly in environments with moisture or temperature fluctuations.
Load Capacity and Stability Testing
Even the best tire rack design fails without proper load validation. Test every build before full use to ensure safety and structural integrity.
Start With Gradual Loading
Begin by placing one tire per level and inspecting all joints. Look for wood splitting at screw points, metal flexing or joint loosening, and frame wobble or uneven settling. Add tires incrementally, waiting 24 hours between full loads to monitor for delayed stress.
Perform Stability Checks
Apply gentle lateral pressure to simulate accidental bumps. A well-built rack should resist movement. If it wobbles, add diagonal bracing for wood designs, tighten bolts for aluminum, or anchor to wall or floor for steel racks.
Monitor Long-Term Performance
Inspect every 6 months by retightening screws and bolts, checking for rust, warping, or moisture damage, and reapplying sealant to wood racks every 2 to 3 years.
Material and Cost Comparison

Your budget and available tools determine the best tire rack build path. Consider both upfront costs and long-term value when making your decision.
Wood Racks Under $20
Using 2×4s and scrap pallet wood, you can build a wall-mounted or freestanding rack for $15 to $20. Add deck screws, sealant, and casters for under $30. The main advantages are low cost and ease of building. The main disadvantage is reduced durability in damp environments.
Aluminum Modular Systems $100 to $300
T-slot aluminum systems cost more upfront but offer tool-free assembly, reusability, and corrosion resistance. Ideal for workshops that evolve, you can repurpose the frame for other projects later.
Steel Pipe Racks $50 to $150
Steel offers maximum durability but requires welding or advanced clamping. Best for professional mechanics or long-term home garages. Add casters for mobility if needed.
Store-Bought Racks $50 to $150
Pre-made racks from auto stores lack customization and often cost 3 to 5 times more than DIY versions. You save 70 to 90 percent by building your own.
Safety and Best Practices
A tire rack should enhance safety, not create hazards. Follow these guidelines to ensure your build is secure and functional.
Anchor to Studs, Never Drywall
Wall-mounted racks must be secured into wood or metal studs, never drywall anchors. A fully loaded rack can exceed 300 lbs, and drywall anchors will fail catastrophically.
Respect Weight and Spacing Limits
Avoid overloading by respecting tire spacing and weight limits. Wood racks handle a maximum of 10 tires. Aluminum racks hold 6 to 8 tires. Steel racks support 8 or more tires. Overloading leads to joint failure and collapse.
Round and Cover Sharp Edges
Grind down sharp pipe ends or cover with plastic end caps. Exposed metal can puncture tires or injure users during loading and unloading.
Store in Appropriate Conditions
Keep your tire rack in a UV-protected, low-humidity space. Direct sunlight and moisture accelerate rubber degradation, defeating the purpose of proper storage.
Customization and Pro Tips
Make your tire rack work harder with smart upgrades that add functionality and convenience.
Add Casters for Mobility
Install locking swivel casters on freestanding or steel racks. Choose wheels rated for 500 lbs or more total to handle full loads safely. This transforms a stationary storage solution into a mobile workstation.
Label Tires Clearly
Use weatherproof tags or painted labels to mark tire type, vehicle, and storage date. No more guessing which set is for winter or which wheels belong to which car.
Repurpose Leftover Space
Attach a small shelf or tool tray to the top of freestanding racks. Store valve caps, TPMS tools, or cleaning supplies for added convenience.
Flip Frame for Enhanced Stability
When building a freestanding rack, orient the 2×4s so the 4-inch face lies flat against the wall. This increases wall contact and reduces tipping risk significantly.
Frequently Asked Questions About Building a Tire Rack
How much does it cost to build a DIY tire rack?
A basic wood tire rack costs $15 to $20 using 2×4 lumber and deck screws. Steel pipe racks run $50 to $150, while modular aluminum systems cost $100 to $300. All DIY options save 70 to 90 percent compared to store-bought racks priced at $50 to $150.
What is the best material for a garage tire rack?
The best material depends on your needs. Wood offers the lowest cost and simplest construction. Aluminum provides reusability and corrosion resistance. Steel delivers maximum durability for professional use. Consider your budget, tools, and how long you plan to use the rack.
How many tires can a DIY tire rack hold?
A wall-mounted horizontal rack holds approximately 6 tires. A freestanding vertical rack holds up to 10 tires. Steel and aluminum racks hold 8 or more tires depending on design. Always respect weight limits and add reinforcement for heavy loads.
Do I need to anchor a wall-mounted tire rack to studs?
Yes, absolutely. Wall-mounted racks must be secured into wood or metal studs, never drywall anchors. A fully loaded rack can exceed 300 lbs, and drywall anchors will simply pull out, causing collapse and potential injury.
How high should a tire rack be off the floor?
Freestanding racks should be elevated 6 inches off the floor using legs or casters. This prevents moisture wicking from concrete floors and protects tires from dampness. Wall-mounted racks are typically installed at waist to chest height for easy loading.
Key Takeaways for Building Your Own Tire Rack
Building a tire rack is one of the most cost-effective upgrades for any vehicle owner. Whether you choose a $20 wall-mounted design or a modular aluminum system, you gain organized, elevated storage that extends tire life and frees up floor space. All designs in this guide are field-tested, structurally sound, and adaptable to your specific needs.
The most affordable option uses 2×4 lumber and scrap pallet wood, costing under $20 and requiring only basic tools. For maximum durability, steel pipe or modular aluminum systems offer professional-grade performance but at higher cost. Whatever you choose, always anchor wall-mounted racks to studs, avoid overloading, and inspect your build annually.
With common tools and a few hours of work, you can create a durable, long-lasting solution that outperforms most store-bought models. Start measuring your space, cut your lumber or extrusions, and build a smarter garage today.


