
Tired of wobbly store-bought towel racks that barely hold a towel? Learning how to make a towel rack gives you a durable, custom piece that fits your space perfectly—often for under $20. Whether you prefer rustic reclaimed wood, sleek acrylic, or nautical rope, DIY towel racks let you match your bathroom’s style exactly. From wall-mounted bars to freestanding ladders, you can build exactly what you need with basic tools.
This guide walks you through every step of building your own towel rack. You’ll discover beginner-friendly designs like the one-board wall rack, creative upcycled ideas like vintage balusters, and modern solutions like lucite bars. We cover wood, metal, rope, and fabric options so you can create a piece that complements your bathroom perfectly.
Choose Your Towel Rack Type
Wall-Mounted Racks
Wall-mounted racks attach directly to your wall, making them ideal for small bathrooms where floor space matters. They support heavy towels when secured properly and save valuable floor space. Use wood boards, dowels, or lucite bars with secure mounting hardware. Install at 48 to 52 inches from the floor for comfortable adult access.
These racks require finding wall studs or using appropriate anchors for your wall type. They work best when you want a permanent, sturdy solution that won’t move or shift.
Freestanding Designs
Freestanding racks stand independently without wall attachment, perfect for renters or bathrooms with tile walls where drilling feels risky. Ladder-style or framed builds with casters let you move them anywhere you need towels. These work especially well in larger bathrooms where flexibility matters or near the tub where you want easy access.
The mobility factor makes these ideal for anyone who likes to rearrange or move their bathroom layout without permanent changes.
Decorative and Specialty Holders
Add charm with rope, driftwood, or fabric band holders. These suit powder rooms, coastal themes, or guest bathrooms where heavy towels aren’t needed. While not ideal for thick bath towels, they excel as hand towel displays and make thoughtful handmade gifts.
Gather Essential Tools
You need basic tools to build any towel rack design. The must-have items include a drill with bits for screwing and pre-drilling, a level for ensuring straight installation, and a stud finder for locating secure wall mounting points. A miter saw handles precision cuts, while a hand saw works for basic straight cuts. Use 80 to 220 grit sandpaper to smooth surfaces and remove splinters. Have measuring tape and a carpenter’s square ready for accurate measurements.
Optional tools that make builds easier include a pocket hole jig for creating strong invisible joints, a brad nailer for clean assembly without visible screws, and a sewing machine only needed for fabric towel bands.
Build a One-Board Wall Towel Rack
Cut and Sand the Board
Start with a 1 by 8 or 1 by 12 board cut to 27 to 32 inches long. Cut with a miter saw for clean edges, then sand all surfaces with 120-grit paper to prevent splinters. Round any sharp corners slightly for a finished look.
Apply Your Finish
Stain or paint the board according to your bathroom style. Popular choices include Minwax Early American for warm wood tones or white paint for modern clean looks. Let the finish dry completely, usually 6 to 8 hours, then seal with two or more coats of polycrylic for moisture resistance.
Mount the Board Securely
Hold the board at 48 to 52 inches from the floor. Use a stud finder to locate wall studs, which provide the strongest attachment. Pre-drill holes through the back edge of the board and secure with 2-inch wood screws driven into studs. If no stud aligns with your board position, use toggle bolts or heavy-duty drywall anchors rated for 50 pounds or more.
Install Evenly Spaced Hooks
Mark hook positions every 6 to 8 inches along the board. Draw short level guide lines so screws stay hidden behind the hooks. Attach cup or coat hooks firmly, then test by pulling down gently to verify secure mounting.
Pro Tip: Mounting into studs doubles the strength, especially important in homes with children who might pull on towels.
Assemble a Scrap Wood Frame Rack
Build the Side Frames
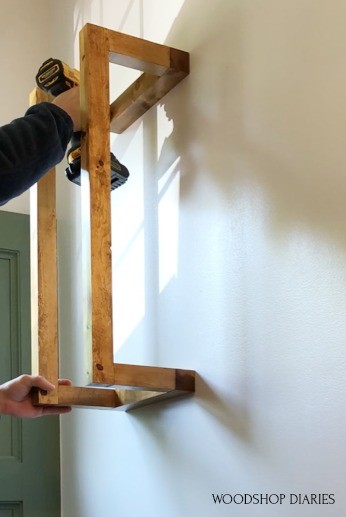
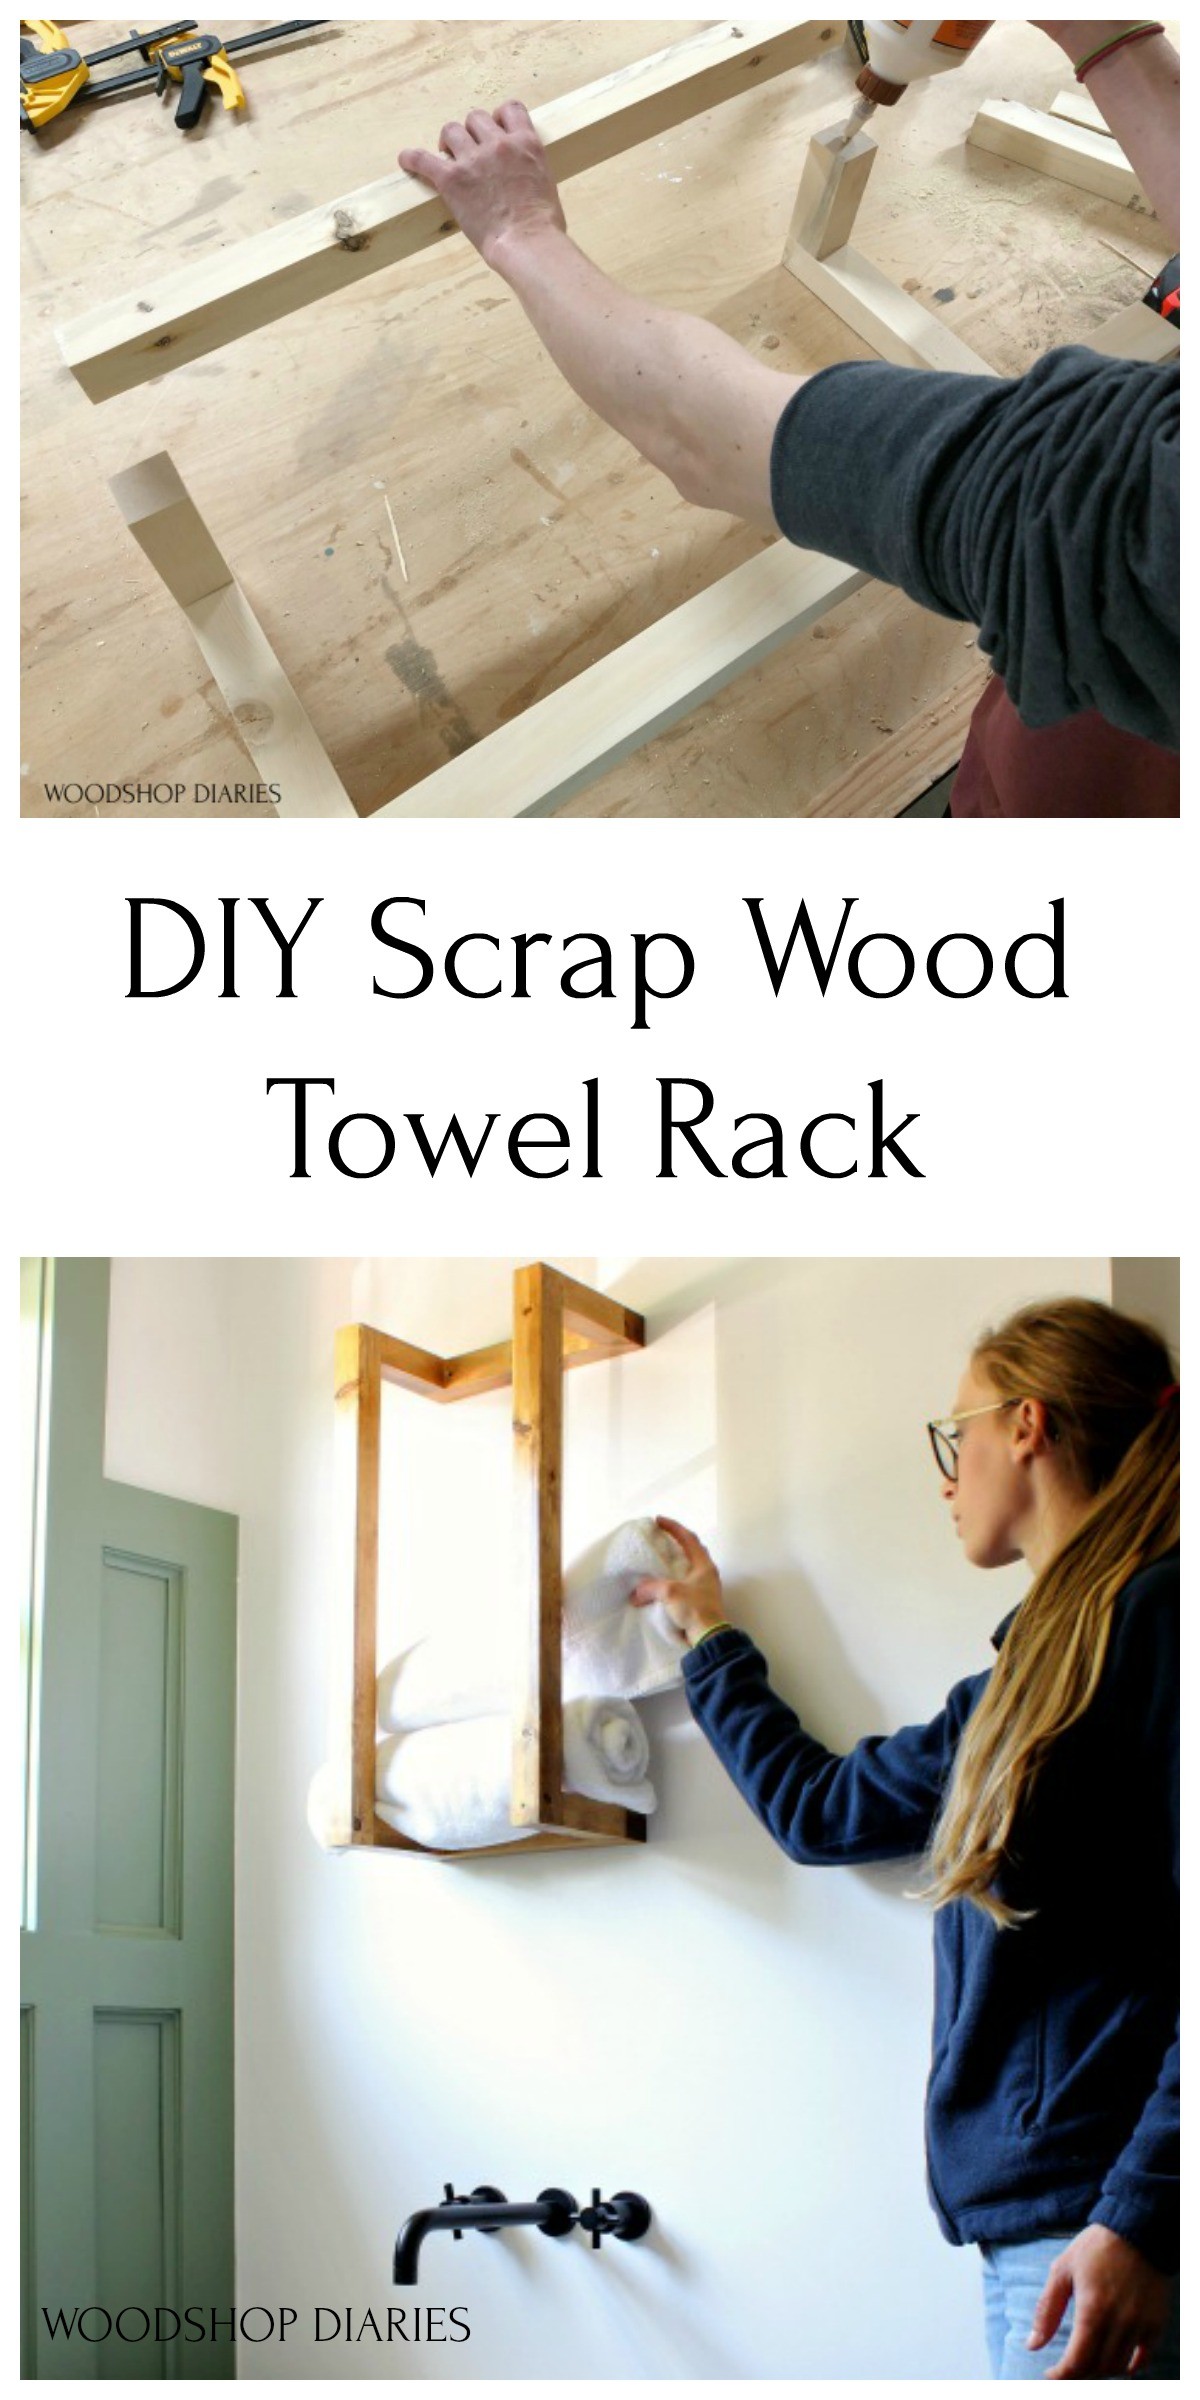
Cut two 12-inch pieces and four 5-inch pieces from 2 by 2 lumber. Apply wood glue to the ends of the 5-inch pieces, then attach them perpendicularly to each 12-inch back piece to form L shapes. Pre-drill and secure with 2.5-inch wood screws.
Attach the Front Frame
Glue the exposed ends of the side pieces and position two 24-inch front boards to complete the rectangle. Clamp everything together and let the glue dry. Reinforce with brad nails or 2.5-inch screws for additional strength.
Finish and Mount
Sand smooth and apply your chosen stain or paint. Use Minwax Gray Wash for a modern gray tone or Early American for traditional warmth. Apply two or more coats of polycrylic to seal everything. Pre-drill through the 12-inch back pieces and secure to wall studs with 3-inch screws.
Customization: Adjust the 5-inch side length to fit your specific towel thickness.
Create a Freestanding Rack with Casters
Cut Lumber to Size
Use five 2 by 2 by 8-foot boards. Cut legs, base, and towel bars according to your ladder design. Typical height reaches 60 inches, which accommodates multiple towels hanging at once.
Assemble with Pocket Holes
Drill pocket holes on joining ends using a Kreg Jig or similar pocket hole jig. Build the base first, then attach legs, and finally add horizontal towel bars. Use wood glue and screws together for maximum rigidity.
Add Mobility
Attach lightweight swivel casters to the bottom of each leg. Locking casters improve stability when you want the rack to stay put.
Paint or Stain
Apply white paint or natural stain. Let dry fully before loading with towels. White paint brightens small bathrooms and matches most decor styles.
Best For: Bathrooms with windows or tile walls where drilling feels risky.
Repurpose Reclaimed or Pallet Wood
Disassemble and Prepare
Take apart a pallet and remove all nails. Select straight, clean planks without major damage. Cut to 24 to 30 inches for a uniform look, or vary lengths for a staggered design.
Sand Thoroughly
Start with 80-grit sandpaper to remove rough spots, then finish with 220-grit for a smooth surface. Remove all splinters and smooth any gouges.
Finish and Add Hardware
Stain with your preferred color or seal with polycrylic for durability. Install 3 to 5 cup hooks along the length, or drill holes for 0.5 to 1-inch wooden dowels if you prefer a bar-style rack.
Mount to Wall
Use screws anchored into studs, or use drywall toggles if studs don’t align with your design. Pre-drill all holes to prevent wood splitting.
Upgrade Idea: Add a small shelf above the rack for folded towels or toiletries.
Craft a Driftwood or Baluster Rack
Use Driftwood
Clean and dry a flat piece of driftwood between 24 and 36 inches long. Attach marine-grade coat hooks with screws, spacing them evenly. Mount using wall anchors or into studs for secure attachment.
Repurpose a Baluster
Choose a decorative porch baluster between 24 and 36 inches tall. Sand lightly and apply stain or paint. Attach 2 to 4 towel hooks along its length, then mount vertically on your wall.
Design Perk: Both options offer instant character, ideal for beach homes or vintage bathrooms.
Install a Rope or Lucite Towel Holder
Rope Towel Holder
Cut UV-resistant nautical rope to 24 to 36 inches. Attach ends to wall with eye screws or decorative brackets. Drape towels over the rope line. This works especially well in coastal-themed bathrooms or kids’ bathrooms where durability matters less than style.
Lucite Towel Bar
Cut acrylic rod to 18 to 24 inches using an acrylic-specific blade to prevent cracking. Sand edges smooth with fine grit paper. Spray-paint metal brackets gold or chrome for an elegant accent. Mount brackets to wall and insert the lucite bar.
Style Benefit: Nearly invisible look that enhances small modern bathrooms without visual clutter.
Sew a Fabric Hand Towel Band
Cut and Prepare Fabric
Use quilting cotton with fusible batting that has glue-dot backing. Cut the pattern at 100 percent scale with notches marked for alignment.
Make a Tassel
Wrap embroidery floss around a card several times. Tie the center tightly, then trim the ends to create a tassel. Stitch this to the top center of your band.
Sew the Band
Fold fabric right-sides together. Sew with 3/8-inch seam allowance, leaving the top center open for elastic. Insert 0.25-inch elastic at the center notch, then back-tack for security. Trim corners to reduce bulk when turned.
Turn and Finish
Use a point turner or knitting needle to flip the piece right-side-out. Fold seams neatly and edge-stitch through all layers to hold everything in place.
Use It
Fold a hand towel in thirds, hang over your sink bar, and slip the band over to hold it in place. This prevents slipping and adds decorative appeal.
Bonus: Makes a thoughtful handmade gift for housewarmings or holidays.
Follow Installation Best Practices
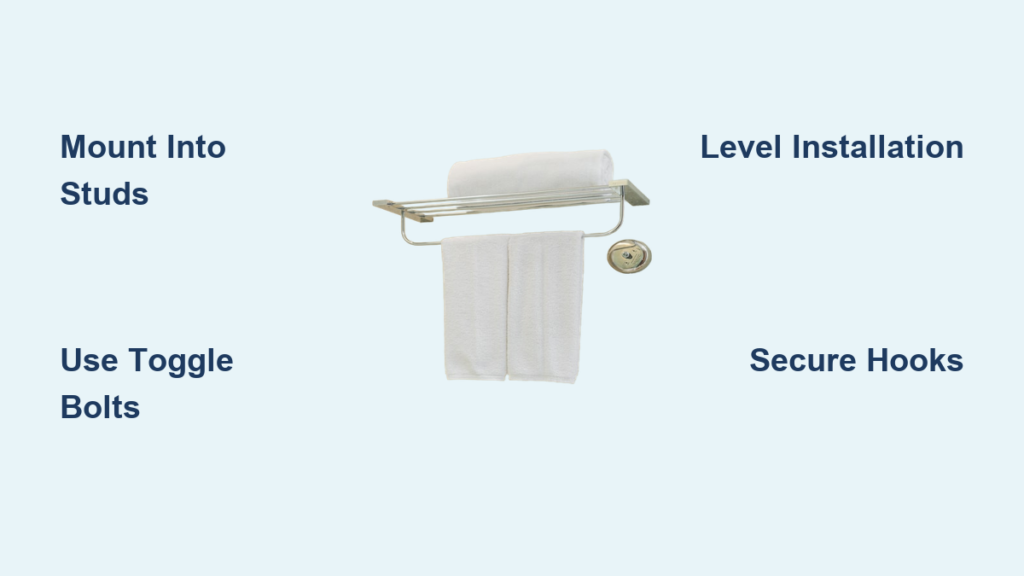
Mount Into Studs
Always secure heavy racks to wall studs with 3-inch screws. This prevents wobbling and supports the weight of wet towels. Use a stud finder to locate studs before marking your mounting positions.
Use Anchors When Needed
If no stud aligns with your rack position, use toggle bolts or heavy-duty drywall anchors rated for 50 pounds or more. Follow anchor manufacturer instructions for proper installation.
Level Every Step
Check alignment with a bubble level before drilling. Mark level lines for hooks and brackets to ensure perfect horizontal alignment. Small errors become very noticeable once towels hang on the rack.
Position Correctly
Mount towel racks 12 to 18 inches from the faucet for sink-side access. For children, lower to 36 to 42 inches. Above the tub, center or offset the rack for easy reach without interfering with shower doors.
Customize for Style and Function
Match Your Decor
Rustic bathrooms benefit from driftwood or unstained reclaimed wood. Modern spaces shine with lucite, brass rods, or geometric shapes. Industrial homes pair well with rope, copper, and exposed screws. Vintage bathrooms suit balusters and upcycled shelves.
Optimize Hook Spacing
Place hooks 6 to 8 inches apart to accommodate different towel sizes. Use cup-style hooks to prevent towels from sliding off. For smooth bars, wrap a rubber band around the ends to create friction.
Add Multi-Functional Features
Consider adding a shelf above the rack for soap, plants, or folded towels. Integrate a robe hook or mirror nearby. Combine with a blanket ladder for dual use in bedrooms adjacent to bathrooms.
Maintain Your Towel Rack
Clean Regularly
Wipe wood with a dry or slightly damp cloth. Avoid soaking wood or leaving moisture sitting on surfaces for extended periods. Clean metal hooks with mild soap and water, then dry thoroughly.
Inspect Annually
Tighten loose screws every 6 to 12 months. Check wall anchors for wear or loosening. Reapply sealant every 2 to 3 years if the finish dulls or shows wear.
Replace When Needed
Fabric bands last 1 to 3 years before elastic weakens. Rope holders typically last 3 to 5 years if UV-resistant. Wood racks with proper sealing last 5 to 10 years or more.
Avoid Common Problems
Fix a Wobbly Rack
If your rack shakes, it’s likely not attached to a stud. Use toggle bolts to anchor into drywall, or relocate the rack to align with a stud line.
Prevent Warping
Seal all wood sides with polycrylic or marine varnish. Use kiln-dried or outdoor-rated lumber in humid bathrooms to resist moisture damage.
Stop Hooks from Loosening
Tighten screws periodically, especially in the first few months after installation. Add thread-locker compound to screws in vibration-prone areas.
Stop Towels from Slipping
Use cup-style hooks instead of simple nails. Add a small back splash behind the rack. For smooth bars, wrap rubber bands around the ends to create friction.
Choose the Right Design for You
Best for Beginners
The one-board rack takes under an hour with minimal tools. The baluster rack requires no cutting, just sanding and painting. The fabric band needs only sewing skills and makes a great starter project.
Most Cost-Effective
Use scrap wood, old hooks, or thrifted balusters from salvage stores. Most builds cost under $20 compared to $50 or more for retail racks with similar quality.
Highest Impact
Handmade wood racks receive the most compliments from guests. Freestanding ladders add visual height to small spaces and hold multiple towels at once.
Frequently Asked Questions About Making a Towel Rack
What is the best wood for a DIY towel rack?
Reclaimed wood, pallet wood, and dimensional lumber like 1 by 8 or 2 by 2 work well for most builds. Driftwood adds rustic charm, while porch balusters offer vintage appeal. Choose kiln-dried lumber for humid bathrooms to prevent warping.
How high should I mount a towel rack?
Standard height ranges from 48 to 52 inches from the floor for adults. For children or ADA compliance, mount between 36 and 48 inches. Near the sink, position 12 to 18 inches from the faucet.
Can I make a towel rack without drilling into studs?
Yes. Use toggle bolts or heavy-duty drywall anchors rated for 50 pounds or more. Freestanding racks with casters require no wall drilling at all. Rope holders need only small pilot holes.
How much does it cost to build a towel rack yourself?
Most DIY towel racks cost under $20 in materials. Scrap wood, reclaimed items, and thrifted hardware reduce costs further. Retail towel racks often cost $50 or more.
How do I prevent my towel rack from wobbling?
Always mount into wall studs when possible. Use 3-inch screws for secure attachment. If studs don’t align, use toggle bolts rather than basic wall anchors. Check and tighten screws every 6 to 12 months.
Key Takeaways for Building Your Own Towel Rack
Making your own towel rack is simple, affordable, and rewarding. Choose a design that matches your skill level and bathroom style. Start with a basic one-board rack if you’re new to DIY projects, or repurpose a vintage baluster for instant character without cutting. Prioritize secure mounting by finding wall studs or using proper anchors rated for heavy loads. Use quality finishes like polycrylic to protect wood from bathroom moisture. With basic tools and this guide, you can build a beautiful, functional towel rack in under two hours. Your handmade piece will last for years and impress everyone who sees it.


