
Tired of clothes toppling over or pantry items spilling into one another? Shelf dividers transform chaotic shelves into tidy, functional zones with minimal effort. Whether you’re organizing sweaters, snacks, or office supplies, learning how to make shelf dividers unlocks smarter storage without major renovation. These vertical separators keep stacks upright, improve visibility, and prevent the frustrating “buy more because I can’t see what I have” dilemma. In this guide, you’ll discover how to build durable, custom dividers from wood, cardboard, wire, and acrylic using proven DIY strategies.
Choose the Right Material for Your Shelf Dividers
Selecting the best material depends on your storage needs, budget, and whether you’re in a rental or permanent home.
Wood: Strong and Stylish
Wood is ideal for lasting organization in closets, bookshelves, and pantries. It supports heavy loads like folded sweaters or jars of food.
- Plywood: Affordable and paintable; ¾-inch thickness matches standard shelves
- Solid wood: More durable; perfect for high-use areas
- Reclaimed wood: Eco-friendly and low-cost; great for renters avoiding permanent changes
For a clean look, sand edges smooth and finish with paint or stain to match your space.
Cardboard: Free and Fast
Need a zero-cost, no-tools solution? Corrugated cardboard from shipping boxes works surprisingly well for light items.
- Cut with scissors or a utility knife
- Reinforce seams with packing tape
- Use color-coded boxes like Lowe’s orange cartons for visual appeal in cube shelves
While not long-lasting, cardboard dividers are perfect for testing layouts before investing in wood.
Wire: Ideal for Mesh Shelves
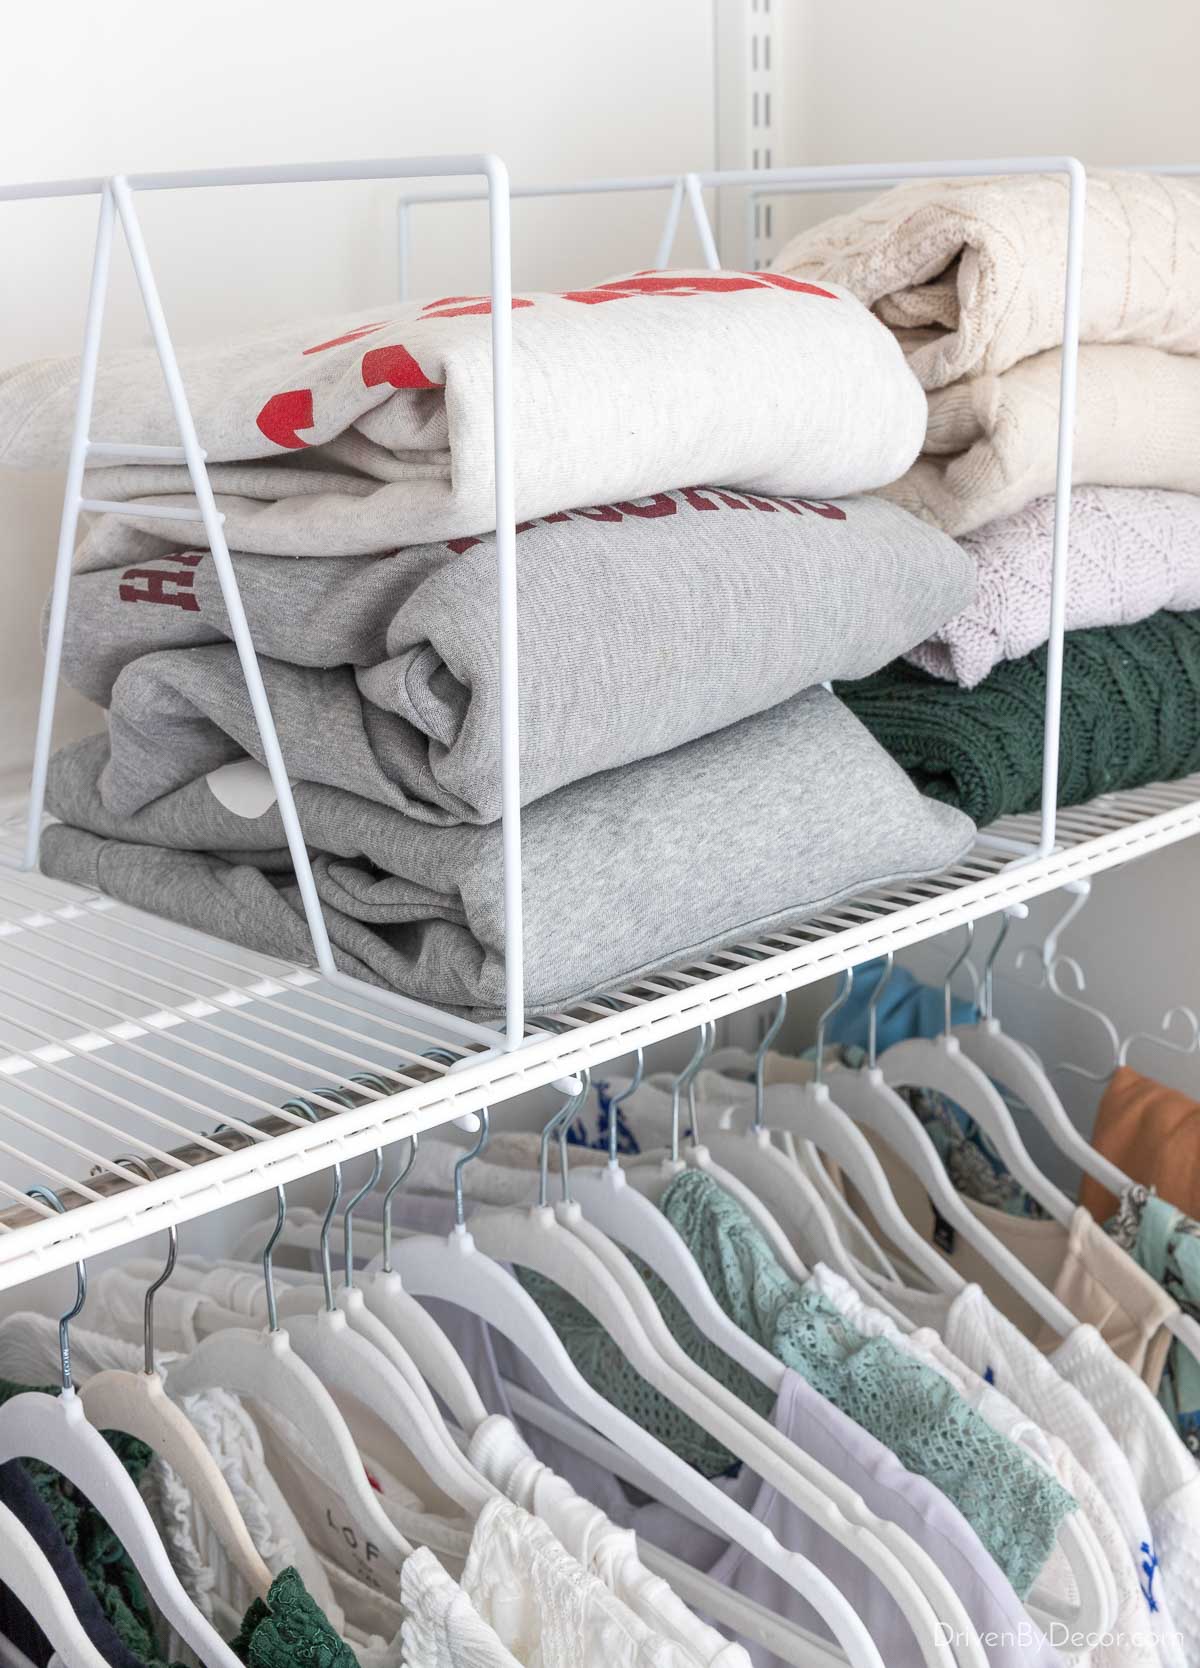
If your pantry or linen closet uses wire shelving, wire dividers clip or screw into place without blocking airflow.
- Use pre-made models priced $5 to $15 or bend coat hangers into shape
- Match grid spacing, typically 1-inch squares, for secure fit
- Great for towels, linens, and breathable kitchen storage
Acrylic: Sleek and Modern
Clear acrylic sheets offer a minimalist look, especially in bathrooms or display cabinets.
- Cut with a fine-tooth saw or score and snap
- Wipe clean with glass cleaner
- Avoid high-impact zones since acrylic can crack under pressure
Pair with labels for invisible yet functional organization.
Cut Wooden Dividers Correctly
:max_bytes(150000):strip_icc()/WD312966-1f34740523ee49a5b9dcc7a451048fe2.jpg)
A well-cut wooden divider slides easily onto the shelf and locks securely against the back wall.
Mark the L-Shaped Notch
Every slide-on divider needs a notch to fit over the shelf.
- Draw a line ¾ inch up from the bottom edge to match shelf thickness
- Draw a line 1¼ inches in from the back edge
- Connect the lines with a carpenter’s square to form an L-shaped cutout
This notch allows the divider to slide on and sit flush against the cabinet back.
Cut the Notch and Shape Edges
Use a jigsaw or scroll saw for precise cuts.
- Cut out the L-shaped section carefully
- For a professional finish, use a #7 reverse-tooth blade to reduce splintering on the top surface
- Round the top front corners using a paint can lid as a guide with ½ to 1-inch radius
- Sand all edges smooth, especially if children will access the shelf
Test Fit Before Finishing
Always test the fit before painting or staining.
- Slide the divider onto the shelf; it should move smoothly but stay in place
- Adjust the notch slightly if too tight
- Minor imperfections won’t affect function; focus on usability over perfection
Install Shelf Dividers Without Tools or Damage
You don’t need screws, glue, or power tools to install effective shelf dividers.
Slide-On Design: No Fasteners Needed
This method is perfect for rentals and temporary setups.
- Align the L-notch with the shelf’s back edge
- Slide the divider backward until it touches the rear wall
- Adjust position to create ideal compartment sizes
The result is a cubby-like section that keeps stacks upright and prevents forward tipping.
Use Pocket Holes for Permanent Hold
For long-term stability, attach dividers with a Kreg jig.
- Drill pocket holes on the back edge of the divider
- Screw into the cabinet wall or shelf support from underneath
- Creates a strong, invisible bond ideal for heavy books or kitchen jars
Try Adhesive or Clips for Flexibility
- Heavy-duty removable adhesive like Command strips works for lightweight dividers
- Wire clips snap onto grid shelves in seconds
- Repurposed shelf brackets priced around $9.99 each mount vertically with no cutting needed
Avoid nails or screws in rental units unless you’re allowed to patch holes later.
Customize Shelf Dividers for Style and Function
Make your dividers match your decor and boost usability with smart enhancements.
Paint or Wrap for Visual Appeal
- Match dividers to your shelf color using spray paint or stain
- Apply contact paper or vinyl wrap for patterned finishes like marble or wood grain
- Use chalkboard paint on the top edge to write and erase labels
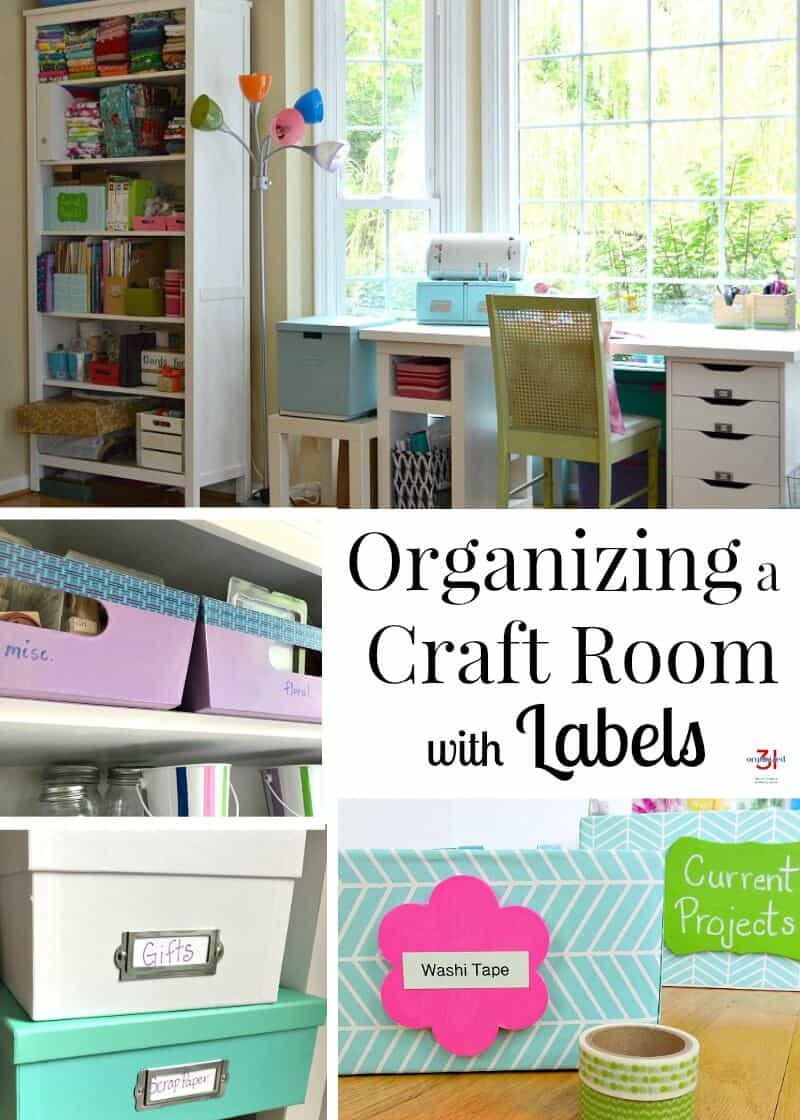
Label Categories Clearly
Visibility is key to lasting organization.
- Attach labels to the top front edge or face of the divider
- Use adhesive tags, printed inserts, or chalkboard stickers
- Label by category such as “Cereal,” “Winter Sweaters,” or “Baking Supplies”
One user shared: “I end up buying extra sugar because I don’t know what we have.” Labels fix that problem completely.
Color-Code for Faster Access
Assign colors to categories for instant recognition.
- Red for holiday decor, blue for kids’ clothes, green for snacks
- Especially helpful in shared homes or family closets
- Combine with bins or cardboard inserts for full visual harmony
Apply Shelf Dividers by Use Case
Tailor your design to the shelf’s purpose and contents.
Organize Closet Shelves
Closets benefit most from vertical separation.
- Sweaters: Use 8 to 10 inch high wooden dividers to prevent collapse
- T-shirts: Separate stacks by color or season using cardboard or wood
- Handbags: Place dividers between purses to maintain shape
- Out-of-season items: Store on upper shelves with labeled bins
Tame Pantry Chaos
Pantry dividers reduce overbuying and streamline cooking prep.
- Group baking supplies like flour, sugar, and chocolate chips in one section
- Use slide-on wood dividers or labeled bins
- Create “kits” like a “Cookie Baking Kit” inside bins for one-stop access
Maximize Cube Storage
IKEA KALLAX or similar cube units thrive with internal dividers.
- Cut wood or cardboard to 13 by 13 inches to fit inside cubes
- Add sub-dividers to split one cube into two or three sections
- Combine with fabric bins and labels for a polished look
Upgrade Bookshelves and Offices
Keep books, files, and supplies orderly.
- Separate books by genre, author, or size
- Use acrylic or painted wood for a clean aesthetic
- Add dividers to file stacks to prevent leaning
Build Rental-Friendly Solutions
Avoid permanent changes with removable options.
- Use slide-on wood or cardboard dividers
- Build from scrap or free materials costing under $5 per unit
- Pair with $40 Target bookshelves for a full closet overhaul with no drilling required
Maintain and Optimize Shelf Dividers Long-Term
Even the best dividers need occasional care to stay effective.
Match Material to Load
Don’t overload lightweight materials.
| Material | Best For |
|---|---|
| Solid wood | Books, jars, folded sweaters |
| Plywood | General use |
| Cardboard | T-shirts, scarves, light items |
| Wire | Towels, linens, breathable storage |
| Acrylic | Light to medium loads; avoid impact |
Clean Based on Material
- Wood: Wipe with a damp cloth; never soak
- Cardboard: Replace when bent or stained
- Wire: Dust or wipe with disinfectant
- Acrylic: Clean with glass cleaner to prevent clouding
Prevent Wear and Tear
- Sand sharp edges before use
- Reapply finish to wood if it starts to dull
- Rotate or replace cardboard dividers every few months
One user reported their closet stayed neat for over a month, a huge leap from previous chaos.
Safety Tips for DIY Shelf Divider Builds
Protect yourself when cutting and assembling dividers.
- Unplug tools before changing blades
- Wear safety goggles and hearing protection when using saws
- Clamp your workpiece to prevent slipping
- Use push sticks to keep fingers away from blades
- Work in a well-lit, ventilated area
After cutting, sand all edges especially in homes with children.
Save Money With Smart Shelf Divider Builds
DIY dividers cost a fraction of store-bought versions.
| Option | Cost Per Unit | Notes |
|---|---|---|
| DIY wood (scrap) | Under $5 | Most cost-effective |
| Cardboard | Near $0 | Free with recycled boxes |
| Pre-made wire | $5 to $15 | Ready to install |
| Shelf brackets | About $9.99 | Less efficient for multiple units |
| IKEA dividers | About $5 per pair | Requires screws; limited adjustability |
| DIY acrylic | $10 to $20 | Sheet cost; needs tools |
Remember: “It’s better to get things done than do it perfectly.” Even rough dividers bring order to your space.
Frequently Asked Questions About Making Shelf Dividers
What is the easiest material for beginners to use?
Cardboard is the easiest material for beginners. It requires no special tools, costs nothing, and can be cut with scissors or a utility knife. While not as durable as wood, cardboard dividers are perfect for testing your organization layout before committing to permanent materials.
How do I measure for custom wooden dividers?
Measure your shelf depth and height first. For slide-on dividers, subtract ¾ inch from the depth for the notch and 1¼ inches from the back edge. Height should match your tallest items plus 2 to 4 inches for visibility. Always test fit before final cuts.
Can I make shelf dividers without a saw?
Yes. Use cardboard with scissors or a utility knife for lightweight dividers. For wood, many hardware stores offer cutting services. You can also use pre-made wire dividers, adhesive-backed foam boards, or repurposed items like wooden bookends.
Are DIY shelf dividers as sturdy as store-bought options?
DIY wooden dividers are often sturdier than cheaper store-bought options. Using ¾-inch plywood or solid wood provides excellent durability. Cardboard and acrylic dividers are less durable but work well for their intended lighter applications.
How do I keep wooden dividers from sliding forward?
The L-shaped notch design prevents forward movement by locking the divider onto the shelf edge. For extra stability, add a small strip of wood glue on the bottom or use removable adhesive strips. In high-traffic areas, consider pocket hole attachment.
What height should shelf dividers be?
Shelf divider height depends on your items. Use 8 to 10 inches for folded sweaters, 6 inches for t-shirts, and 10 to 12 inches for handbags or pantry jars. Taller items need taller dividers. Always err on the side of slightly taller for better visibility.
Key Takeaways for Making Effective Shelf Dividers
Making shelf dividers is a simple, high-impact project that turns clutter into calm. The right material for your situation matters: choose wood for durability, cardboard for budget-friendly testing, wire for mesh shelving, and acrylic for modern minimalism. Cutting the L-shaped notch correctly ensures a snug slide-on fit that stays in place without fasteners. For rentals, stick to slide-on designs or adhesive options that leave no damage. Customize with paint, labels, and color-coding to maintain your organization long-term. Whether you choose wood, cardboard, wire, or acrylic, the key is to start because function over perfection yields meaningful results. With the right cut, fit, and placement, your shelves will stay organized longer, look better, and make daily life easier.


