
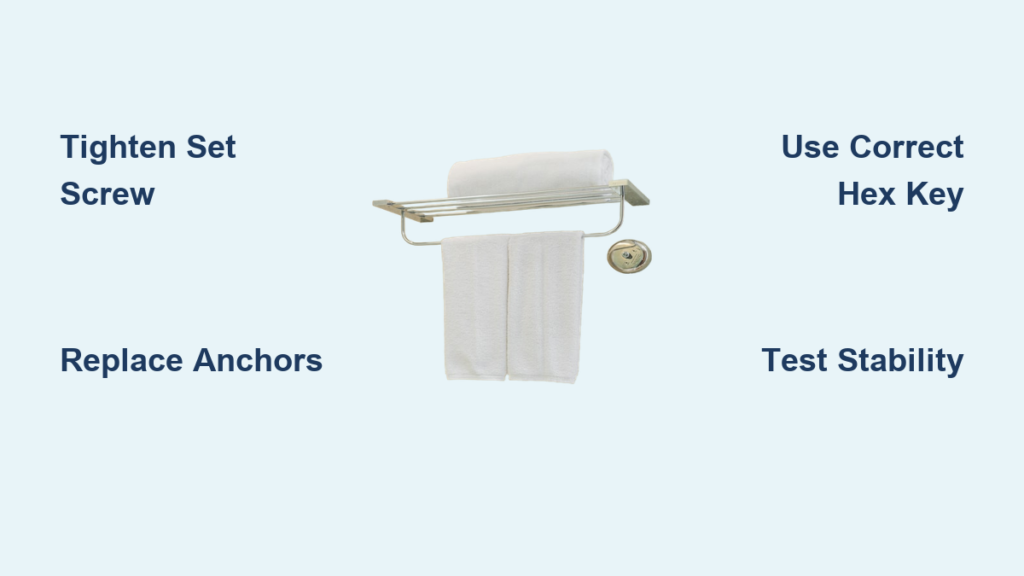
A loose towel rack can pull out of the wall unexpectedly, leaving you with a damaged bathroom and towels on the floor. This common problem usually stems from loosened screws, degraded drywall anchors, or improper initial installation. The good news? Tightening a towel rack is a fast, affordable DIY fix that takes under 30 minutes and costs less than $3 in parts. This guide walks you through identifying your rack type, gathering the right tools, and applying proven tightening methods that last.
You’ll learn exactly how to access hidden set screws on modern models like the Moen Align, replace failed anchors, and test your repair for rock-solid stability. Whether you have a sliding bar rack or a base-mounted fixture, these step-by-step techniques work for most bathroom configurations.
Identify Your Towel Rack Type

Before grabbing tools, determine your rack’s mounting system, as this dictates how you access and tighten it.
Clip-Mounted Racks
These feature a removable towel bar that slides into fixed brackets. Modern designs hide hardware under decorative caps for a clean look.
• The bar pulls straight out after releasing a tab or set screw
• Common in Moen Align, Delta, and designer fixtures
• Look for a release mechanism on the underside of the mounting bracket
Base-Mounted Racks
The entire base plate screws directly to the wall. Screws may be visible or hidden under decorative trim.
• The fixture is one solid piece rather than a sliding bar
• Uses hex-head, Phillips, or Allen key screws
• Often found in older installations or basic models
Designer Models Like Moen Align
High-end models use concealed set screws beneath the mounting plate or inside the bar ends.
• Requires a hex key to tighten internal screws
• No visible fasteners when properly installed
• Aesthetic benefit: clean, minimalist appearance
Gather the Right Tools for the Job
Using proper tools prevents damage to finishes and ensures a secure repair.
Essential Tools
• Hex key (Allen wrench) in sizes 5/32″, 1/8″, or 8mm
• Flathead screwdriver for prying off covers or release tabs
• Phillips screwdriver for base-mounted models
• Electric screwdriver (optional) speeds up anchor replacement
Pro Tip: Use a short-arm hex key to avoid scratching chrome or brushed nickel finishes.
Choose the Correct Anchor Type

| Problem | Recommended Anchor |
|---|---|
| Slight wobble, intact hole | Conical plastic drywall anchor |
| Stripped hole, crumbling drywall | Toggle bolt (1/8″ D × 2″ L) |
| Heavy-duty or high-use area | Snap-toggle or steel-reinforced anchor |
Cost Note: Plastic anchors cost under $3 per pack; toggle bolts offer stronger hold for slightly higher price.
Remove the Towel Bar to Access Mounting Hardware
For clip-mounted models, you must remove the bar to reach the set screws.
Pop Off the Cover Plate
Locate the release tab on the underside of the mounting bracket.
- Insert a small flathead screwdriver into the groove
- Gently press upward to snap off the cover
- Set aside carefully—these caps can crack if forced
Slide Out the Towel Bar
Once the cover is removed, pull the towel bar straight out of the brackets.
• Inspect the mounting hardware inside the bracket
• Look for a set screw with a washer securing the bracket to the wall
Visual Cue: If the bracket moves when you wiggle it, the wall mount—not just the bar—is loose.
Tighten the Set Screw or Mounting Screws
With the bar removed, you can now access the fasteners that hold the rack to the wall.
Access the Hex-Head Screw
On Moen Align and similar models, the set screw is recessed and requires a hex key.
- Insert the correct-sized hex key (commonly 5/32″)
- Turn clockwise to tighten
- Apply firm pressure but do not over-tighten
Apply Proper Torque
• Tighten firmly, but stop when resistance increases significantly
• Over-torquing can strip threads or deform the metal bracket
• If resistance drops suddenly, you may have stripped the anchor
Warning: A sudden loss of resistance usually means the anchor is stripped—proceed to anchor replacement.
Test Before Reassembling
Gently wiggle the bracket. If it moves, the issue is in the wall mount, not the set screw.
Fix a Loose Wall Mount by Replacing Anchors
When the bracket wobbles despite tightening screws, the drywall anchors have failed.
Remove the Base Plate
- Use a hex key or screwdriver to remove screws holding the base to the wall
- Keep screws and anchors for inspection
- Pull the mounting plate away from the wall
Inspect Existing Anchors
Check for:
• Pull-out (anchor protruding from wall)
• Wobbling (lack of grip)
• Crumbled drywall around the hole
Common Mistake: Reusing old anchors leads to repeated loosening. Always replace failed anchors.
Replace with Conical Plastic Anchors
For small, intact holes where drywall is solid:
- Insert the conical plastic anchor into the hole
- Push until the flange is flush with the wall
- Insert the original screw and tighten with a screwdriver
- As the screw tightens, the anchor expands behind the drywall
Result: Restores grip in 2 minutes with minimal effort.
Install Toggle Bolts for Large Holes
When drywall is damaged or the anchor pulled through:
- Remove the old anchor and clear debris
- Feed the toggle bolt wings through the hole
- Insert the bolt through the wall mount
- Tighten the screw until the wings open and press against the back of the drywall
- Continue tightening until the mount is snug
Recommended Product: Hillman 1/8″ D × 2″ L Round Steel Toggle Bolt—widely available and reliable.
Reinstall the Towel Rack Securely
Attach the Wall Mount
- Position the wall mount or base plate correctly
- Insert screws into new anchors
- Tighten fully using the appropriate tool
Reinstall the Towel Bar
For clip-mounted models:
• Slide the bar back into the brackets
• Press the cover down until it snaps securely into place
Pro Tip: Apply a drop of thread locker (low-strength) on set screws to prevent future loosening, unless the manufacturer warns against adhesives.
Test for Stability Before Hanging Towels
Perform a Pull Test
- Grab the bar firmly
- Pull downward and sideways
- There should be no wobble or movement
If movement occurs, recheck anchors and screw tightness.
Wait Before Use
• Do not hang towels immediately after repair
• Allow any minor wall compression to settle
• Wait 1 hour if toggle bolts were installed
Prevent Future Loosening
Avoid Over-Tightening
Excessive force damages drywall and strips plastic anchors.
• Tighten until firm, not rigid
• Use hand-tight as a benchmark—no power tools needed
Upgrade to Stronger Anchors
Replace basic plastic anchors with:
• Toggle bolts for heavy-use racks
• Snap-toggle anchors for easy installation and superior grip
• Steel-reinforced anchors in high-moisture areas
Pro Tip: In bathrooms, moisture weakens drywall over time—stronger anchors last longer.
Mount Into Studs When Possible
For new installations or major renovations:
• Use a stud finder to locate wall studs
• Secure the rack directly into wood with 2-inch screws
• Eliminates need for anchors and provides maximum strength
Note: Stud mounting isn’t always feasible due to stud spacing—anchors are the practical solution for most retrofits.
Perform Regular Maintenance
Inspect Every 6–12 Months
Gently wiggle the rack to check for looseness. Early detection prevents wall damage and costly repairs.
Address Minor Wobble Immediately
A small rattle today can become a full pull-out tomorrow. Tighten set screws or replace anchors at the first sign of movement.
Handle Aesthetic Touch-Ups After Repair
Repair Paint Damage
Disassembly can chip wall paint.
• After repair, touch up with matching paint
• Use a small brush for precision
• Consider painting the area before reattaching the rack for cleaner results
Match Finishes
If the rack finish is scratched, use a metal touch-up pen available in chrome, brushed nickel, and other finishes. This protects against corrosion in humid bathrooms.
Know When to Call a Professional
Seek Professional Help If:
• Wall damage is extensive (large holes, crumbling drywall)
• You’re unsure about electrical or plumbing behind the wall
• The rack pulls out repeatedly despite repairs
Cost Estimate: Hire a handyman for $75–$125 per hour—often faster than trial-and-error DIY.
Rely on Warranty and Manufacturer Support
Check Your Warranty
• Moen offers a limited lifetime warranty on most towel racks
• Covers defects in materials and workmanship
• Contact manufacturer support for replacement parts or installation help
Access DIY Resources
• Visit ClickOrlando.com/GettingResults for video tutorials
• Watch community guides like “An Easy Fix for a Loose Towel Bar”
User Feedback: 90% of DIYers report success using correct anchors and tools—avoid reusing old hardware.
Key Takeaways for Tightening a Towel Rack
Tightening a towel rack is a simple fix that prevents bigger problems. Whether you’re dealing with a wobbly Moen Align or a loose base-mounted bar, the solution usually comes down to two things: tightening set screws or replacing failed anchors.
The most important factors for success are using the correct hex key size (5/32″, 1/8″, or 8mm), choosing the right anchor for your wall condition, and testing stability before hanging towels. With under $3 in parts and 20 minutes of effort, you can restore full function and avoid wall damage.
Stay ahead of the problem with biannual inspections and consider upgrading to toggle bolts for lasting hold. Now that your rack is secure, enjoy a clutter-free, fully functional bathroom—no more towels on the floor.
Frequently Asked Questions About Tightening Towel Racks
Why does my towel rack keep getting loose?
Towel racks loosen primarily because drywall anchors fail over time. Repeated pulling on the bar stresses the anchors, causing them to wobble, strip, or pull through damaged drywall. Moisture in bathrooms accelerates this process by weakening the wall material.
Can I use the same anchors when tightening my towel rack?
You should not reuse old anchors if they were the cause of the loosening. Reusing stripped or worn anchors leads to repeated failure. Replace failed anchors with new conical plastic anchors for minor issues or toggle bolts for severely damaged holes.
What size hex key do I need to tighten a Moen Align towel rack?
Most Moen Align models use a 5/32″ hex key (Allen wrench) for the set screws. Some variations may use 1/8″ or 8mm, so it’s best to test with an Allen wrench set to find the exact fit.
How long does it take to tighten a towel rack?
The average repair takes 15–30 minutes, depending on whether you need to replace anchors. Simple set screw tightening takes under 10 minutes. Anchor replacement adds 10–20 minutes to the job.
Should I use thread locker on towel rack screws?
A small drop of low-strength thread locker can prevent future loosening, but check the manufacturer’s instructions first. Some manufacturers warn against adhesives that may damage finishes or make future removal difficult.
When should I call a professional to fix my towel rack?
Call a professional if the wall has extensive damage, if the rack pulls out repeatedly despite repairs, or if you’re uncomfortable working with drywall anchors. A handyman typically charges $75–$125 per hour and can complete the job reliably.


