

You’re pulling a casserole from the oven when your hand brushes the hot rack. Suddenly, a sharp sting spreads across your skin. You’ve just joined millions who experience minor burns in the kitchen every year. Most oven rack burns are first- or second-degree injuries caused by brief contact with scorching metal. The good news? With prompt, correct care, these burns usually heal without complications.
This guide delivers step-by-step treatment methods, clear warning signs for when to seek help, and expert-backed prevention strategies. You’ll learn how to manage the pain, avoid infection, and get back to cooking safely.
Identify Your Burn Type
:max_bytes(150000):strip_icc()/degrees-of-burns-1298906_v2-b34a363d24824c8b935448fe774a753d.png)
Before treating a burn, determine its severity. The depth of skin damage dictates whether home care is enough or if medical help is urgent.
First-Degree: Superficial Skin Damage
This is the mildest burn type, affecting only the outer layer of skin. It’s common when you quickly touch a hot oven rack.
Symptoms: Redness, mild pain, slight swelling, no blisters
Healing time: 3 to 10 days
Scarring risk: Very low, unless irritated or picked at
These burns are safe to treat at home. Keep the area clean and moisturized to speed healing.
Second-Degree: Deeper Tissue Injury
A second-degree burn reaches the lower layer of skin. It often happens when your hand presses against a hot rack or lingers on the surface.
Symptoms: Intense pain, red and swollen skin, visible blisters, possible thickening
Healing time: 2 to 3 weeks
Infection risk: High because broken blisters expose raw tissue
Treat small second-degree burns at home only if they’re not on the face, hands, feet, or joints. Larger or sensitive-area burns need medical attention.
Third- or Fourth-Degree: Medical Emergency
These severe burns destroy skin layers and may damage fat, muscle, or bone. Rare from brief oven rack contact, but possible with prolonged exposure.
Symptoms: Skin appears white, charred, or leathery, numbness (not pain), no blistering
Action: Call 911 immediately
Do not apply water, ointments, or try to remove stuck clothing. Cover loosely with a clean cloth and wait for emergency help.
Cool the Burn Immediately
The first 20 minutes after a burn are critical. Cooling stops heat from spreading deeper into the skin.
Run Cool Water for 10 to 20 Minutes
Hold the burn under cool (not cold) tap water for at least 10 minutes, up to 20. Use a sink or shower for easy access. Avoid ice or ice water because extreme cold can damage tissue further.
Cooling reduces pain, inflammation, and long-term damage. The sooner you start, the better the outcome.
Use Cold Compresses If No Sink
If you cannot reach a faucet, soak a clean cloth in cool water and apply gently to the burn. Re-wet as it warms.
Never apply ice directly. It can cause frostbite on injured skin.
Clean and Protect the Burn
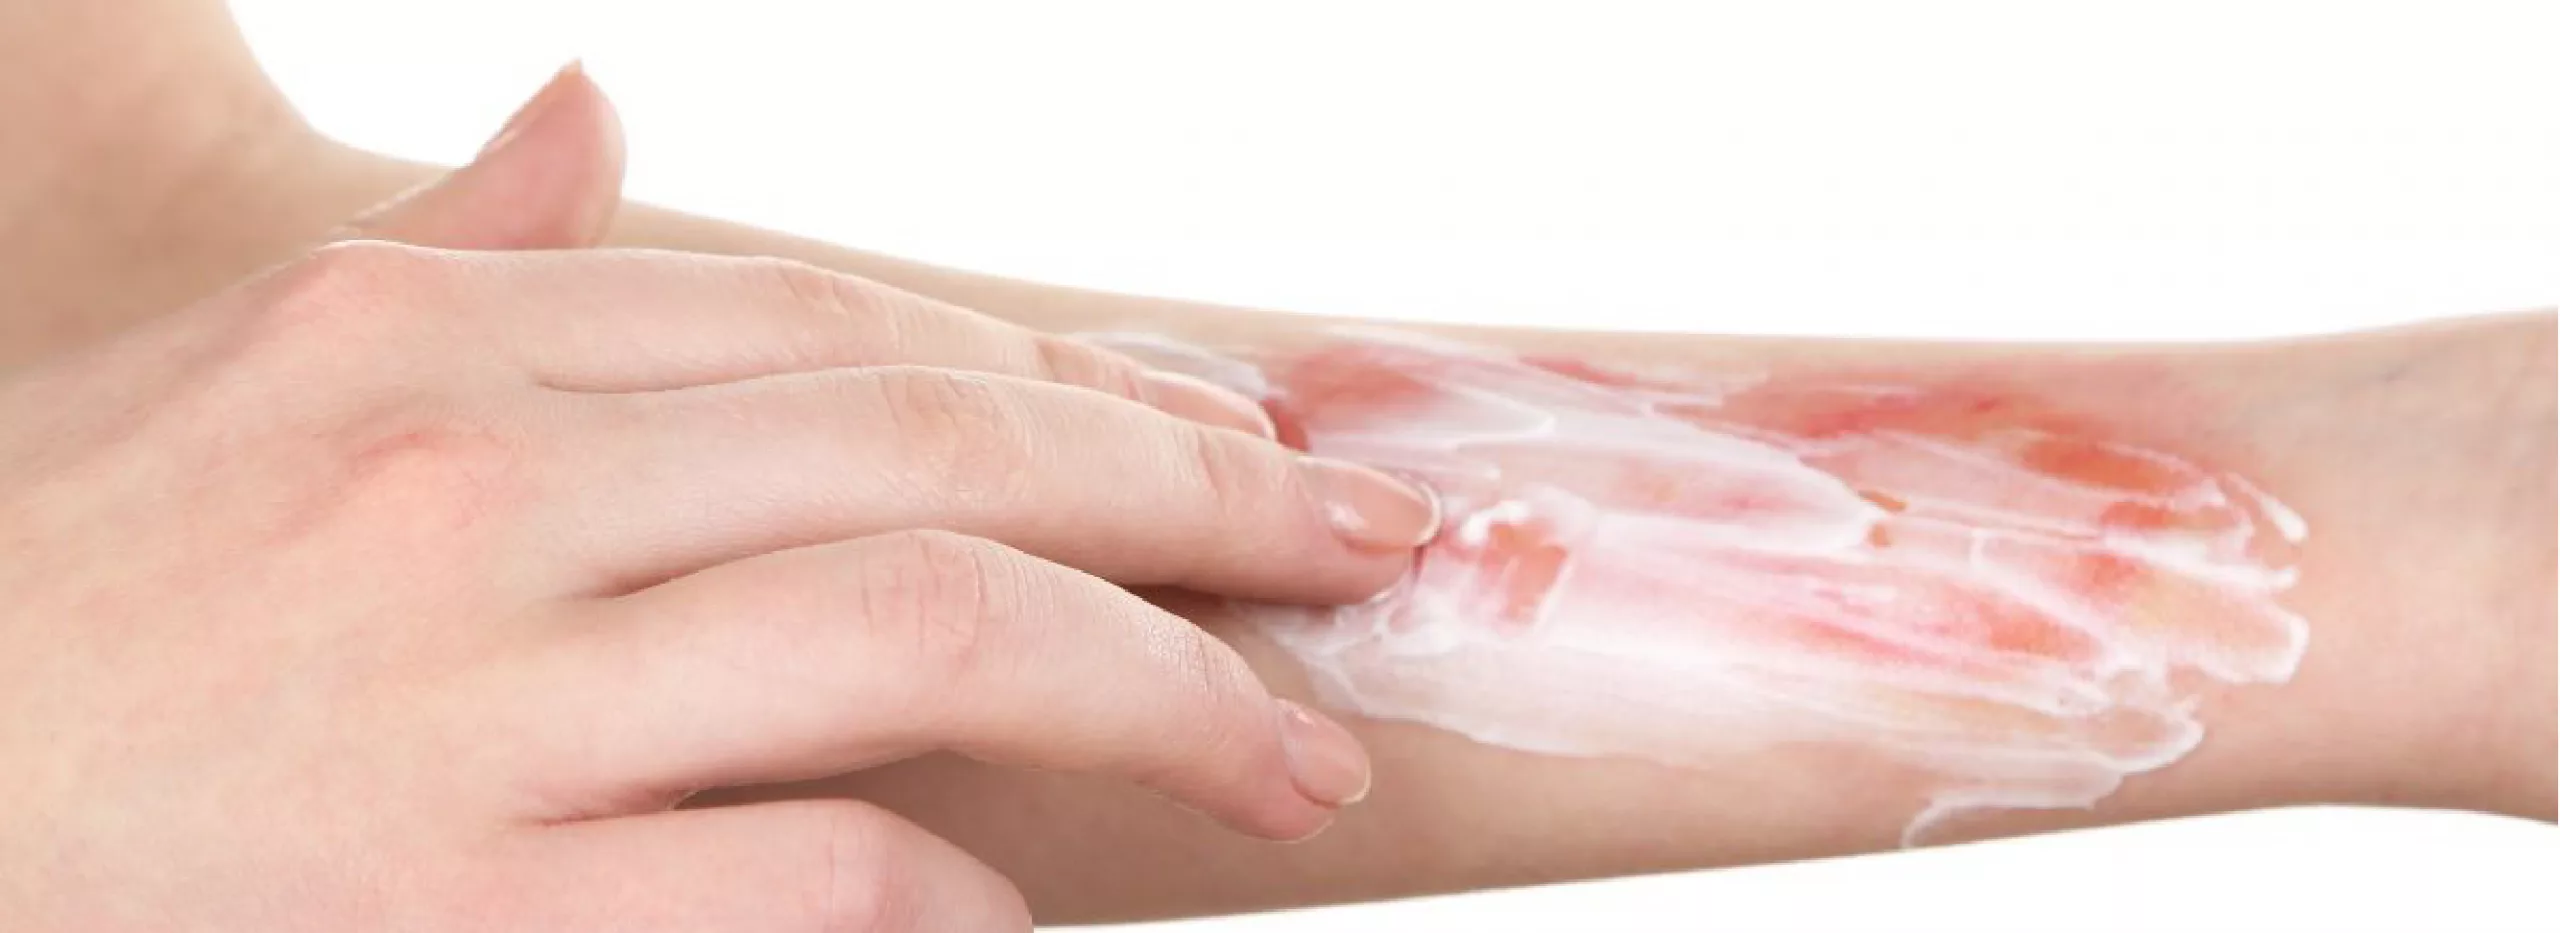
Once cooled, clean the area carefully to prevent infection.
Gently Dry and Avoid Breaking Blisters
Pat the burn dry with a soft towel. Do not rub the area. Never pop blisters because they form a natural barrier against bacteria. If a blister breaks on its own, clean it with mild soap and water.
Breaking blisters increases infection risk and delays healing.
Apply the Right Ointment
Choose one of these safe, effective treatments.
Petroleum jelly (Vaseline): Keeps the wound moist, speeds healing, and is safe for all skin types
Antiseptic ointment (e.g., Betadine): May reduce infection risk. Use if the burn is dirty or exposed.
Avoid antibiotic creams unless advised by a doctor. Some people develop allergic reactions, and petroleum jelly is often just as effective.
Cover with a Non-Stick Bandage
Use a sterile, non-adhesive dressing such as a Telfa pad. Wrap loosely to allow swelling and airflow. Change daily or when wet or dirty.
A proper dressing shields the burn from friction, dirt, and bacteria.
Manage Pain Effectively
Burns can be surprisingly painful, even if small. Over-the-counter medications help.
Use Ibuprofen or Acetaminophen
Ibuprofen (Advil, Motrin) reduces both pain and swelling, making it ideal for burns. Acetaminophen (Tylenol) works well for pain relief, especially if you cannot take NSAIDs.
Follow label dosing. Avoid aspirin in children due to Reye’s syndrome risk.
Reapply Ointment for Comfort
Reapplying petroleum jelly two to three times daily soothes dry, tight skin and maintains a healing-friendly environment.
Avoid Harmful Home Remedies
Many common cures do more harm than good. Skip these risky treatments.
Never Use Butter or Oil
Butter and oil trap heat inside the skin and increase infection risk due to bacteria in kitchen ingredients. Despite old myths, dairy and oils are not safe for burns.
Skip Toothpaste and Home Mixes
Toothpaste contains menthol and alcohol that irritate burned skin. It can also introduce contaminants.
Avoid egg, honey (unless medical-grade), aloe vera from unverified sources, and essential oils. Stick to cool water and petroleum jelly, the gold standard for minor burns.
Watch for Infection Signs
Even small burns can become infected. Monitor daily for red flags.
Early Infection Clues
Seek medical help if you notice increasing pain, redness, or swelling after day two. Also watch for pus or cloudy fluid draining from the burn, fever or chills, or red streaks spreading from the site.
These signs mean bacteria have entered the wound. You may need antibiotics.
When Blisters Turn Dangerous
Blisters are protective, but see a doctor if they grow larger, turn cloudy or yellow, leak foul-smelling fluid, or surround increasingly red skin. Infected blisters may require drainage and prescription care.
Know When to See a Doctor
Most oven rack burns heal at home, but some need professional treatment.
Go to ER for These Signs
Seek emergency care if skin is white, charred, or numb (third-degree). Also go to the ER if the burn is larger than three inches, located on face, hands, feet, joints, or genitals, or if the person is an infant, elderly, or has diabetes or immune issues.
These factors increase complication risks and require expert evaluation.
Schedule a Clinic Visit If
Schedule a visit if there’s no improvement in seven days, healing stalls or worsens, scar tissue forms over joints limiting movement, or skin color changes (dark or light patches). A dermatologist can help with scarring, pigmentation, and slow-healing wounds.
Prevent Future Oven Rack Burns
Most burns are preventable with simple kitchen habits.
Adjust Racks When Oven Is Cool
Always move oven racks before preheating. Hot racks radiate heat even if the oven is not fully heated.
Keep Oven Mitts Handy
Place silicone mitts next to the oven. They resist heat better than fabric and offer a secure grip. Use mitts every time, even for quick tasks. A split-second slip can cause a painful burn.
Turn Pot Handles Inward
Prevent accidental bumps, especially with kids or pets nearby. This simple step reduces kitchen collisions.
Stay Present and Use Timers
Set a timer when baking. Distractions lead to rushed movements and burns. Keep the area clear of clutter so you can move safely.
Promote Healing and Reduce Scarring
Proper aftercare ensures your skin heals smoothly and with minimal marks.
Keep the Burn Moist and Covered
Reapply petroleum jelly two to three times daily. Cover with a clean bandage until fully healed. Avoid picking scabs because this causes scars.
Moist wounds heal faster and with less scarring.
Protect New Skin from Sun
Healed burn areas are ultra-sensitive to UV rays. Sun exposure can cause dark spots, especially in darker skin tones. Use SPF 30 or higher broad-spectrum sunscreen. Wear gloves or long sleeves when outdoors. Continue sun protection for up to one year.
This prevents hyperpigmentation and uneven skin tone.
Consider Silicone for Scars
For deeper burns that leave scars, use silicone gel or sheets daily. Ask a dermatologist about topical corticosteroids for thick scars. Explore laser or microneedling if scarring persists.
Early intervention improves cosmetic results.
Special Cases: High-Risk Individuals
Some people need extra caution with even minor burns.
At-Risk Groups
Seek medical advice for any burn if you are over 65 or under five years old. Also seek care if you have diabetes or poor circulation, are immunocompromised (e.g., on steroids, chemotherapy), or take blood thinners.
These conditions slow healing and increase infection risk. A small burn can become serious quickly.
Dermatologist Consultation
A board-certified dermatologist can assess healing progress, treat pigmentation changes, recommend scar-minimizing products, and rule out skin damage from heat exposure. Do not hesitate to get expert skin care, especially for hand or face burns.
Frequently Asked Questions About Oven Rack Burns
What should you never put on a burn?
Never apply butter, toothpaste, ice, oils, or thick creams. These trap heat, irritate skin, and increase infection risk.
How long does an oven rack burn take to heal?
First-degree burns heal in 3 to 10 days. Second-degree burns take 2 to 3 weeks.
Can a second-degree burn be treated at home?
Yes, if it’s small (less than three inches) and not on a high-risk area such as the face, hands, feet, or joints. Larger or deeper burns require medical evaluation.
When is a burn an emergency?
A burn is an emergency if there are signs of third- or fourth-degree burns (charred, white, numb skin), burns on face, hands, feet, or genitals, difficulty breathing, or signs of infection in any burn.
How can you prevent scarring?
Keep the burn moist with petroleum jelly, cover with a non-stick bandage, avoid sun exposure for up to one year, and use SPF 30 or higher sunscreen after healing.
Key Takeaways for Treating Oven Rack Burns
Most oven rack burns are treatable at home with prompt cooling, proper wound care, and pain relief. Remember to run cool water over the burn for 10 to 20 minutes immediately after injury. Clean gently, apply petroleum jelly, and cover with a non-stick bandage. Avoid harmful remedies like butter, toothpaste, and ice. Monitor for infection signs such as increasing redness, pus, or fever. Seek professional help for burns larger than three inches, located on sensitive areas, or showing no improvement after a week. With the right steps, you can heal quickly and safely while preventing future injuries in the kitchen.


